Mushrooms have been depicted in art for centuries, but they did not become popular until the 20th century when modernism became more prominent in the art world. During this time, artists began using their own perceptions of reality rather than copying what was seen before them as classical painters had done before.
Mushrooms are an intriguing subject for artists because they look unusual and come in many shapes and colors. The variety of textures makes them perfect for drawing, especially when going for a realistic approach.
And that’s what we’re going to do in this tutorial!
What you’ll learn:
- Basic Shapes of a Mushroom
- How to Draw a Mushroom
- How to Shade and Detail a Mushroom
Materials needed:
- A piece of paper
- A 2H graphite pencil
- A 4B graphite pencil
- A blending stump
- An eraser or a kneaded eraser
- A Tombow Mono Zero 2.3mm
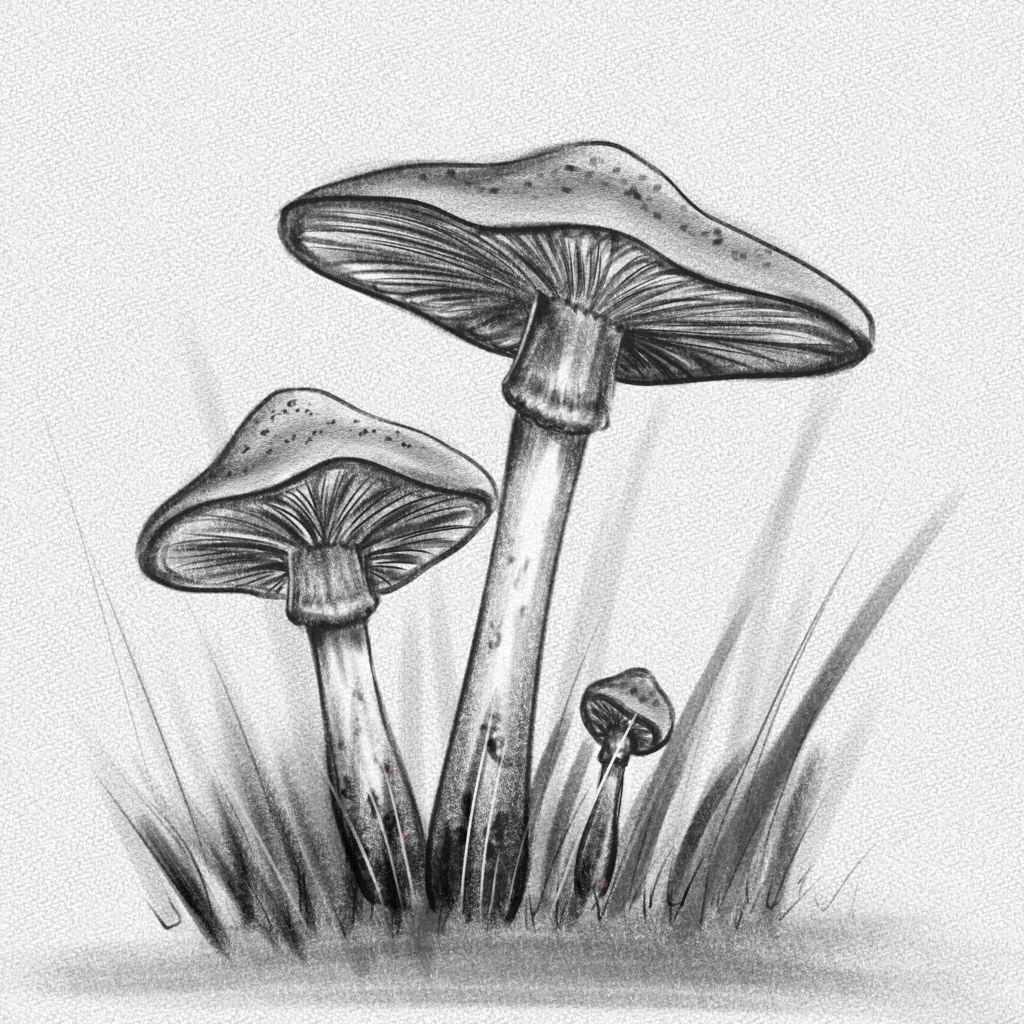
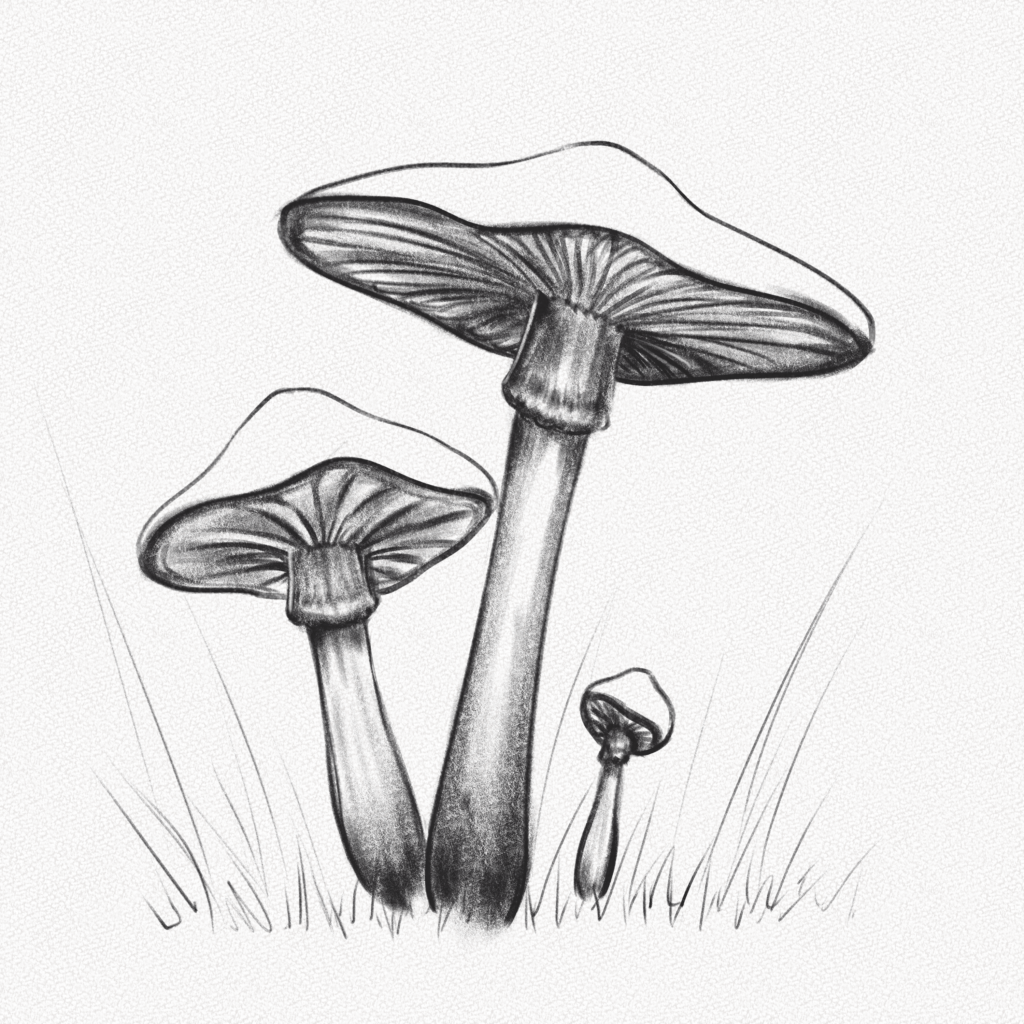
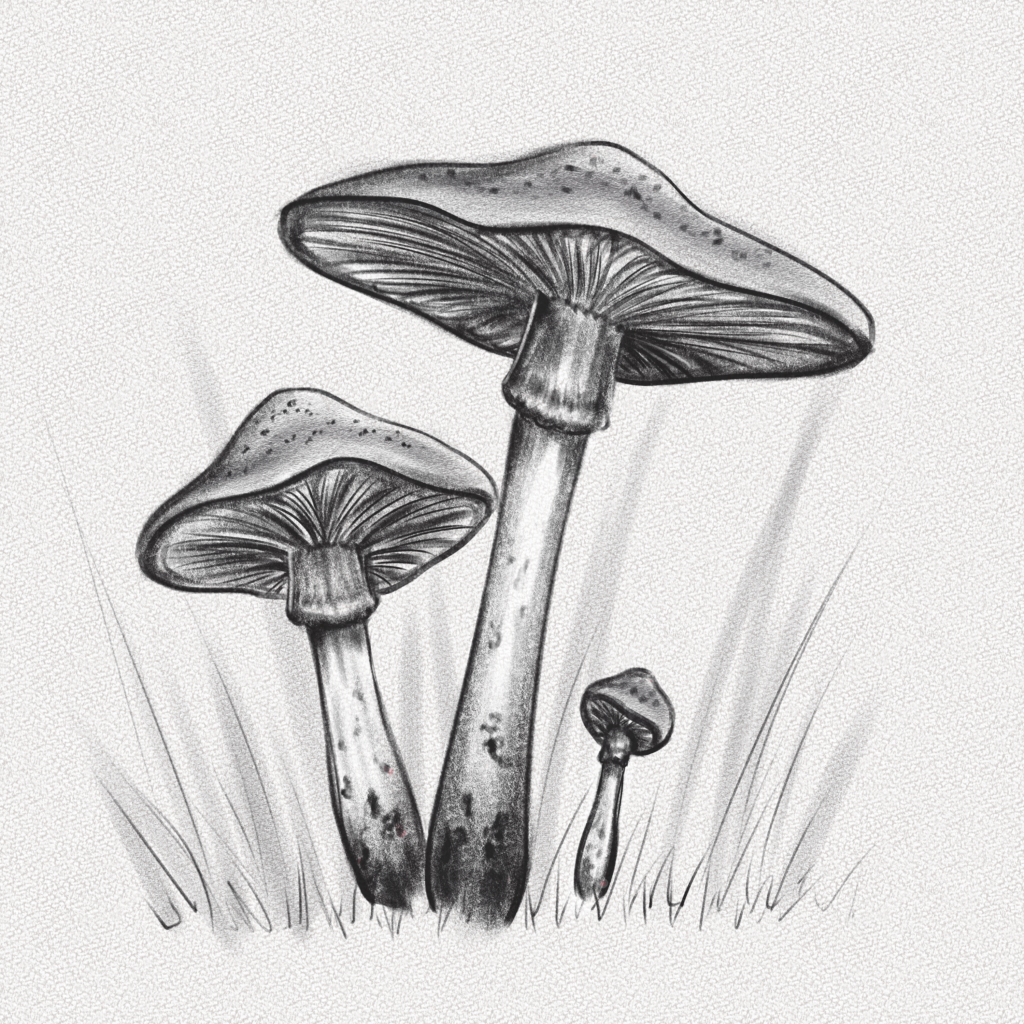
This is the mushroom you’re going to draw:
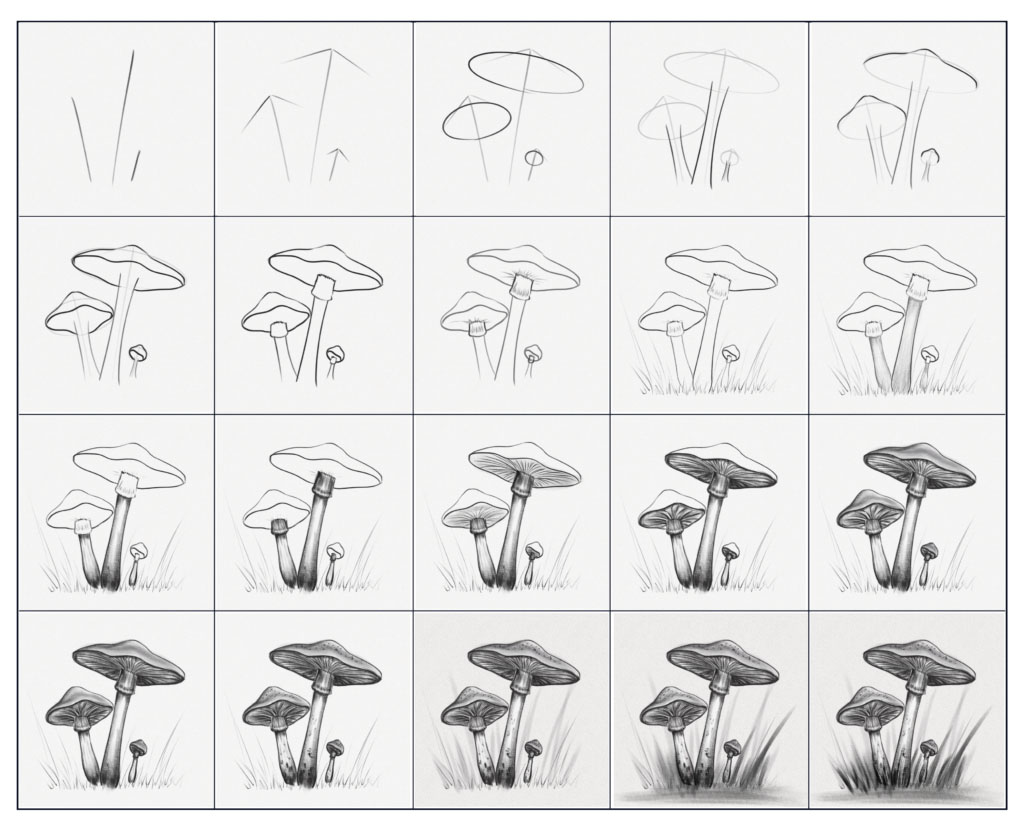
And these are all the steps we’ll walk you through:
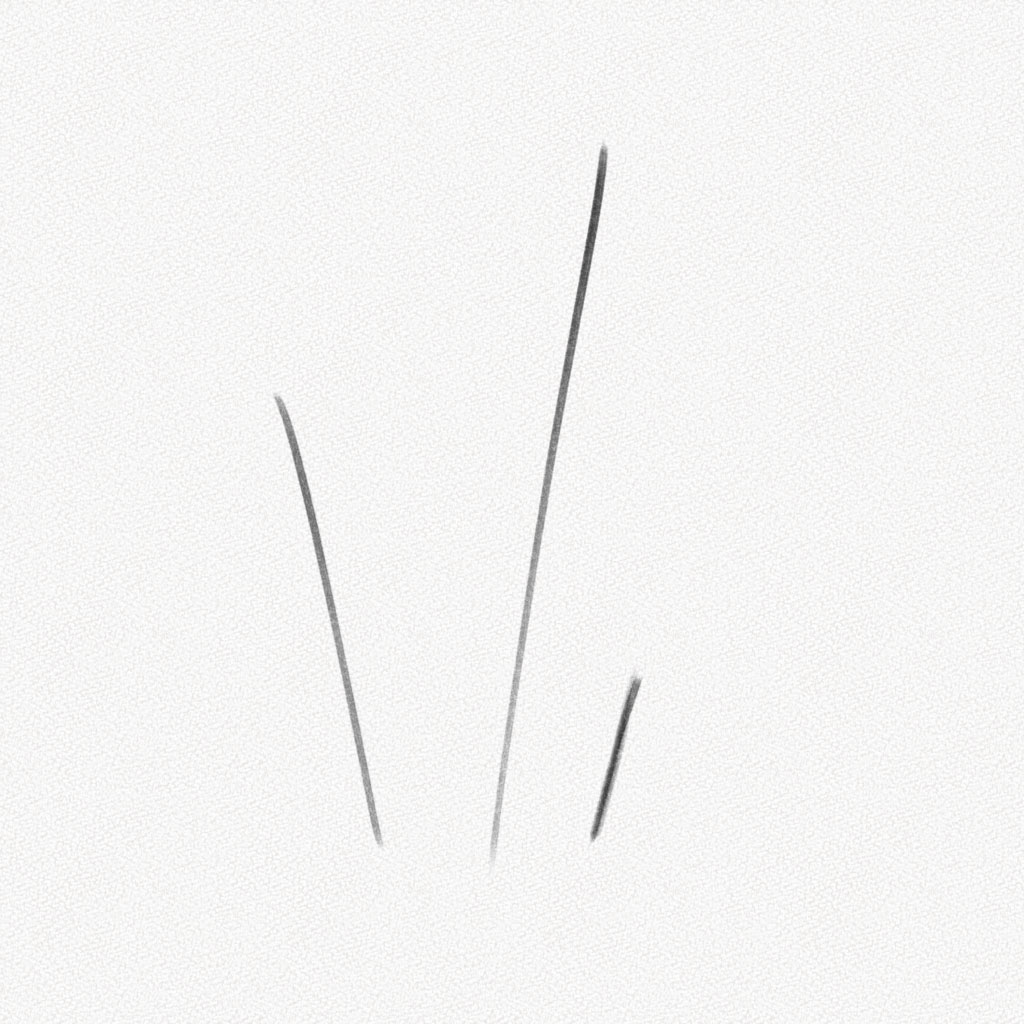
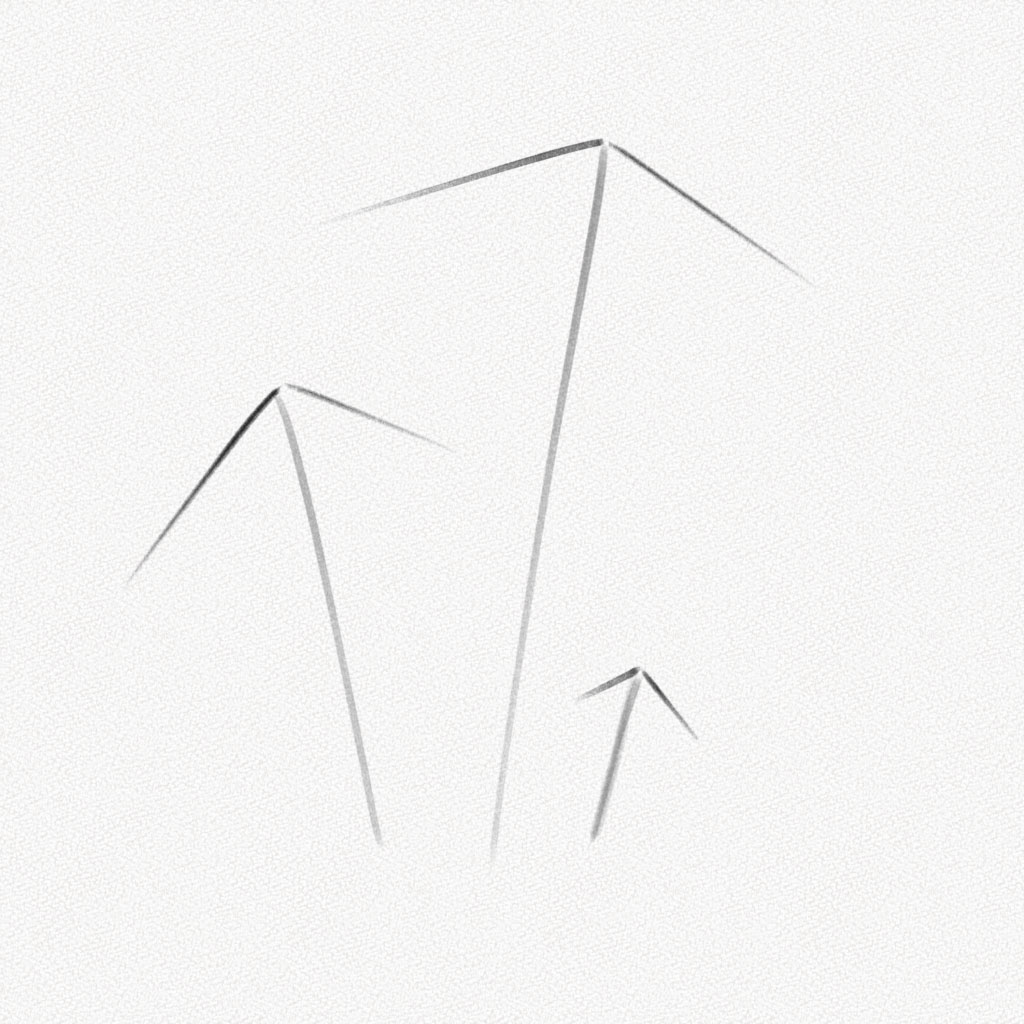
Step 1: Draw three straight lines
Deconstructing anything into basic shapes is essential to understand the structure behind it. Mushrooms are no different. The structure behind a mushroom is quite simple, and learning how it works will help you with composition and perspective.
We are going to draw a frontal view of the mushrooms, so draw three lines of the sizes of each mushroom. We recommend you use the Small-Medium-Large choice since that will bring balance to your composition.
Step 2: Draw the top structure
Draw hat-like shapes on top of each line you drew, and make each one proportionate to the height of the mushroom.
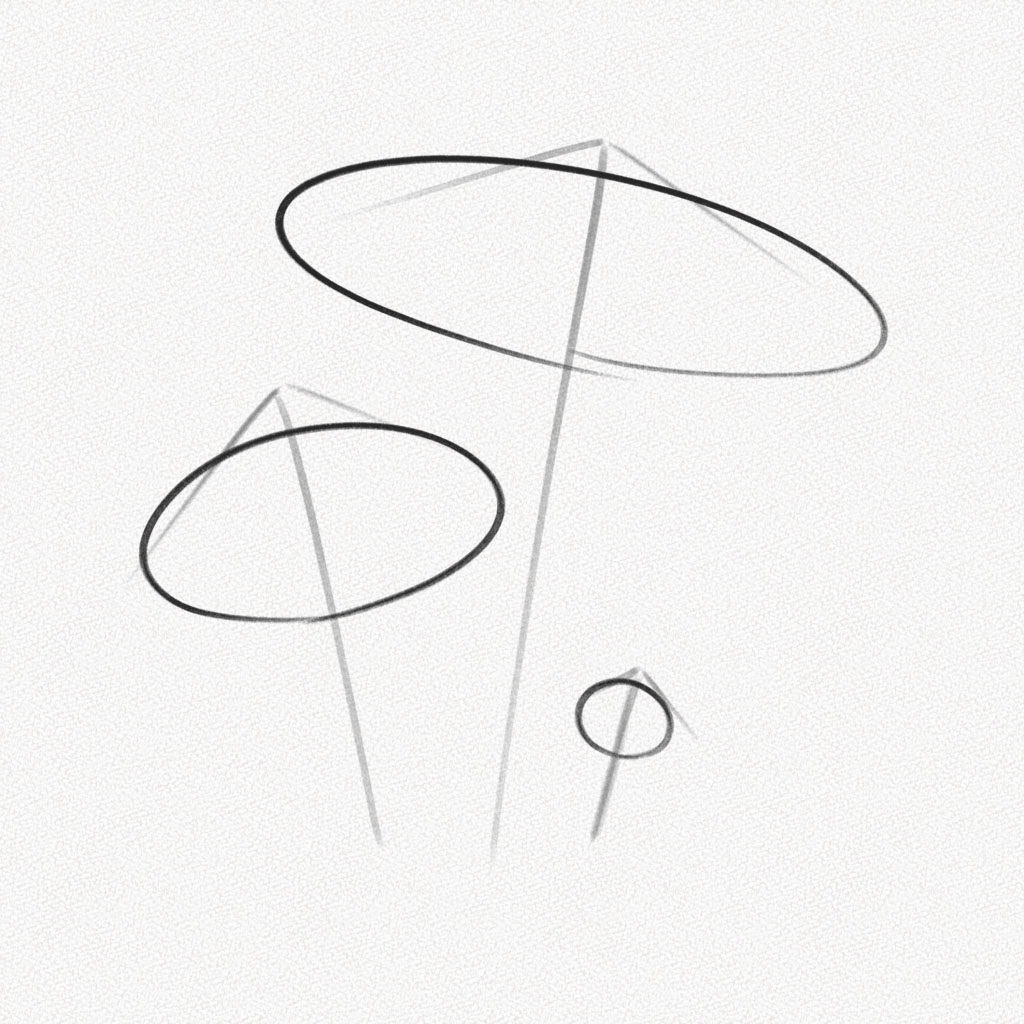
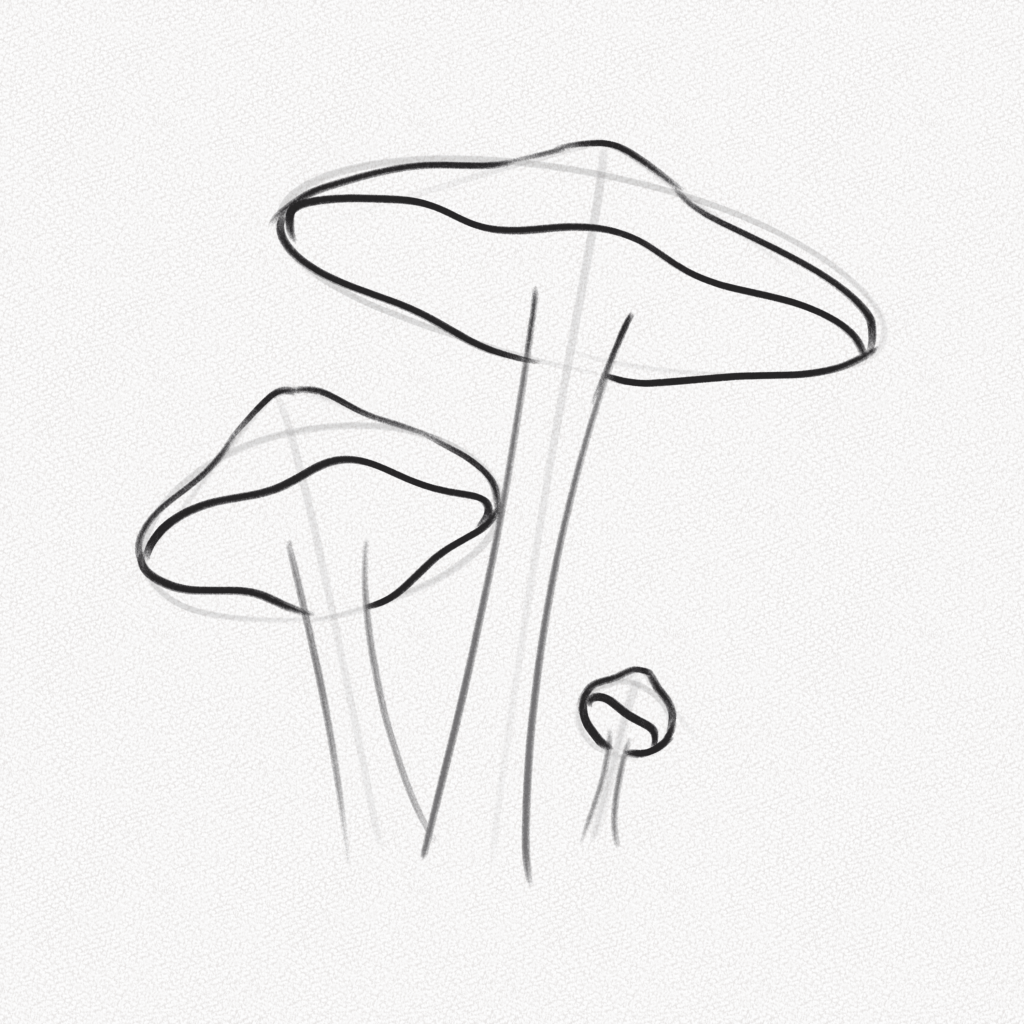
Step 3: Draw three ellipses
Draw three ellipses, one per mushroom. These will help you draw the inner and outer parts of the mushroom body and determine the inclination and angle of each one of them.
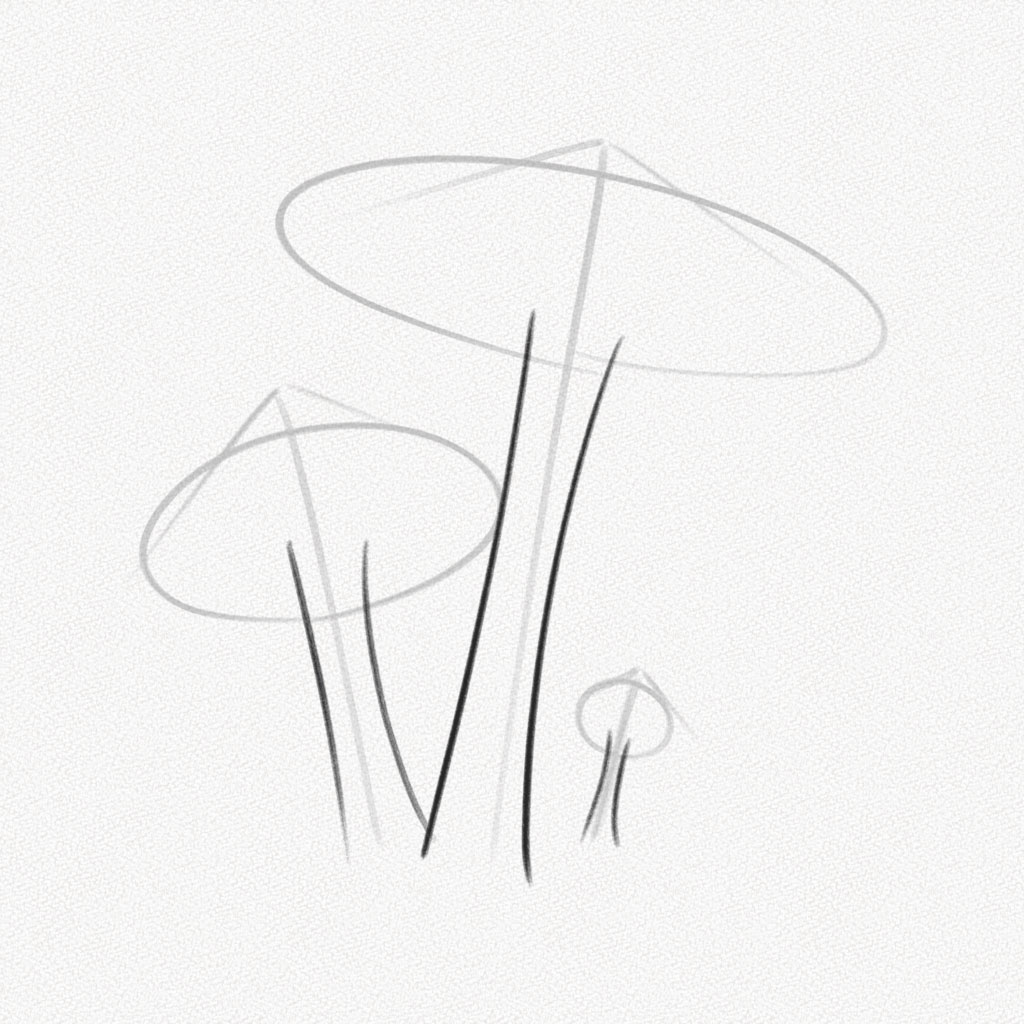
Step 4: Draw the stalk
With your kneadable eraser, softly erase your structure lines enough to use them as a guide, and draw the stalk on each mushroom.
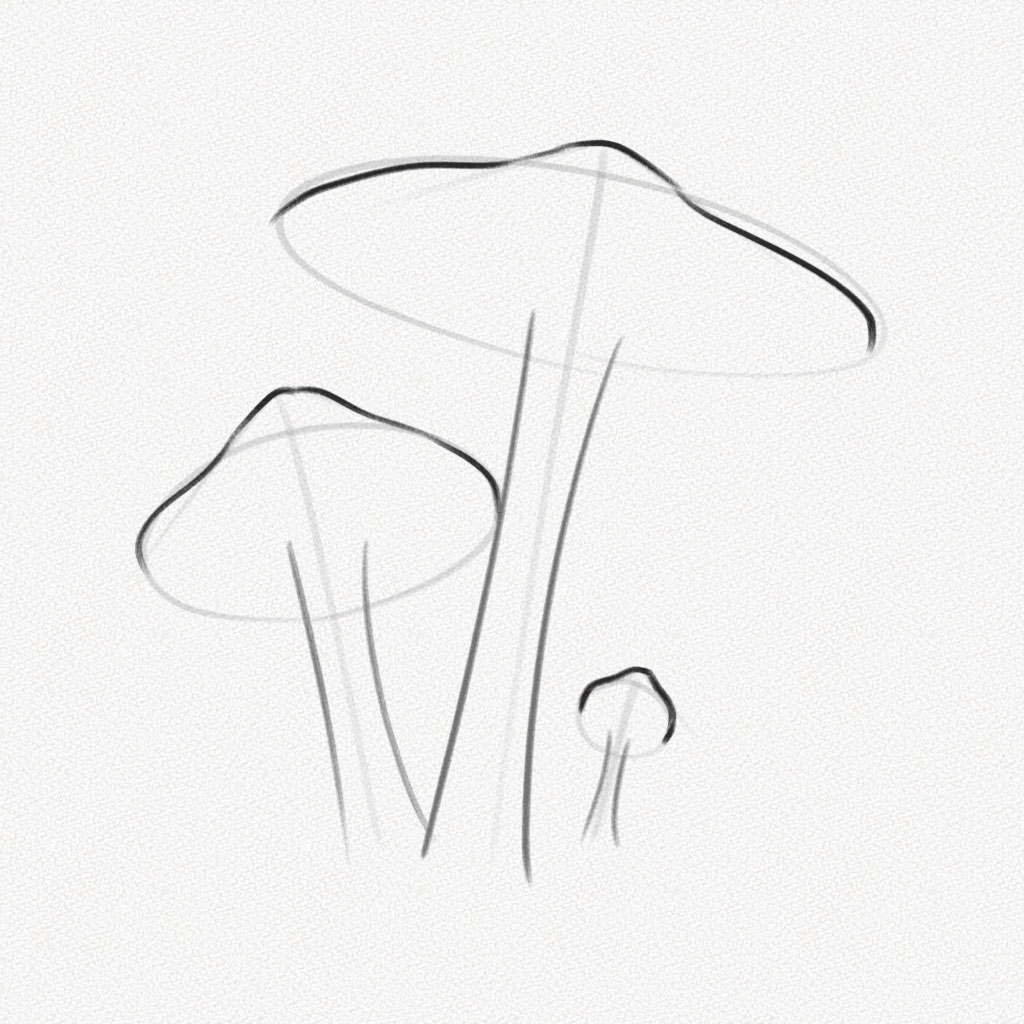
Step 5: Draw the upper part of the caps.
Using a curved, organic line, draw the cap of each mushroom. Remember that the smaller mushrooms have rounder caps since their caps are still opening, and the larger mushrooms have flatter caps.
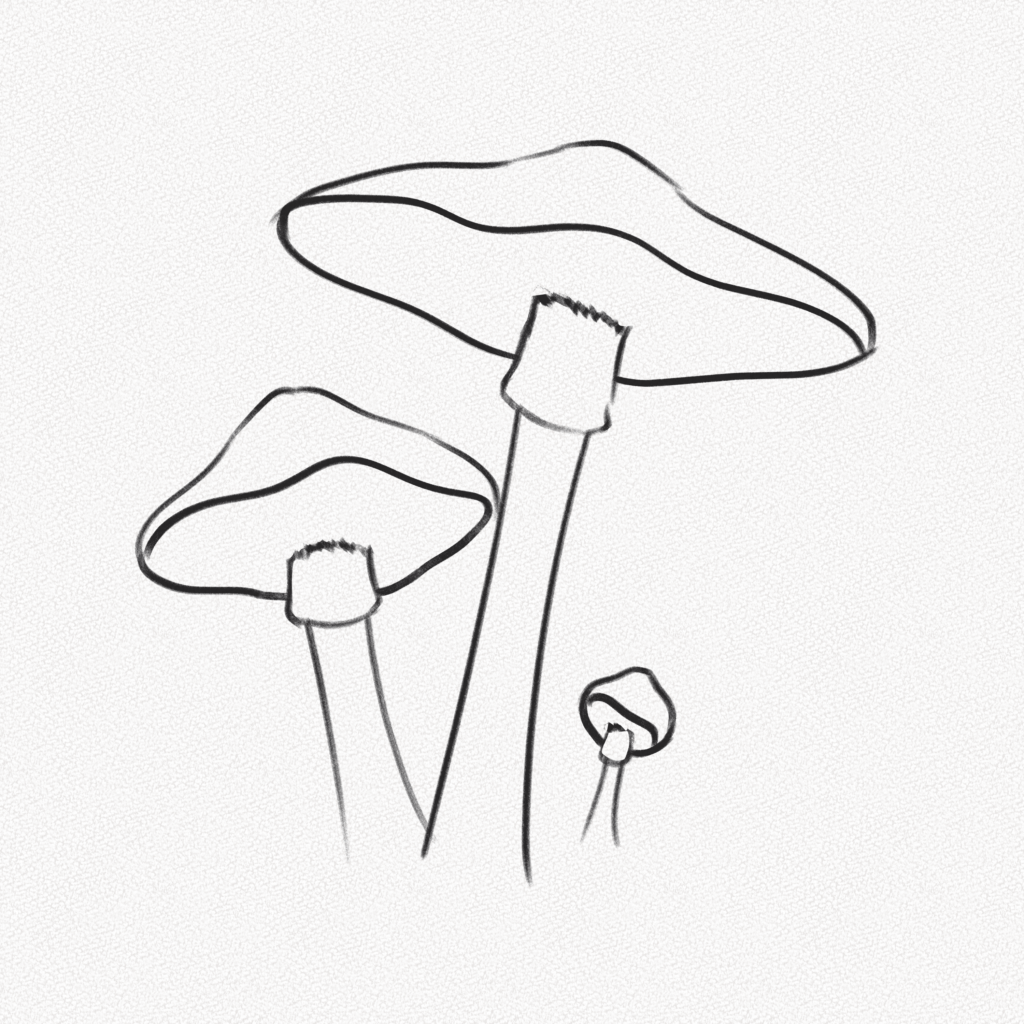
Step 6: Draw the base of the caps
Complete the caps using the ellipses we drew in step 3 as a guide.
Step 7: Draw the ring
The ring is a thin structure that often hangs under a mushroom cap. Draw it using a curved rectangle as a reference for the base and multiple small lines for the top since those will connect the gills to the ring.
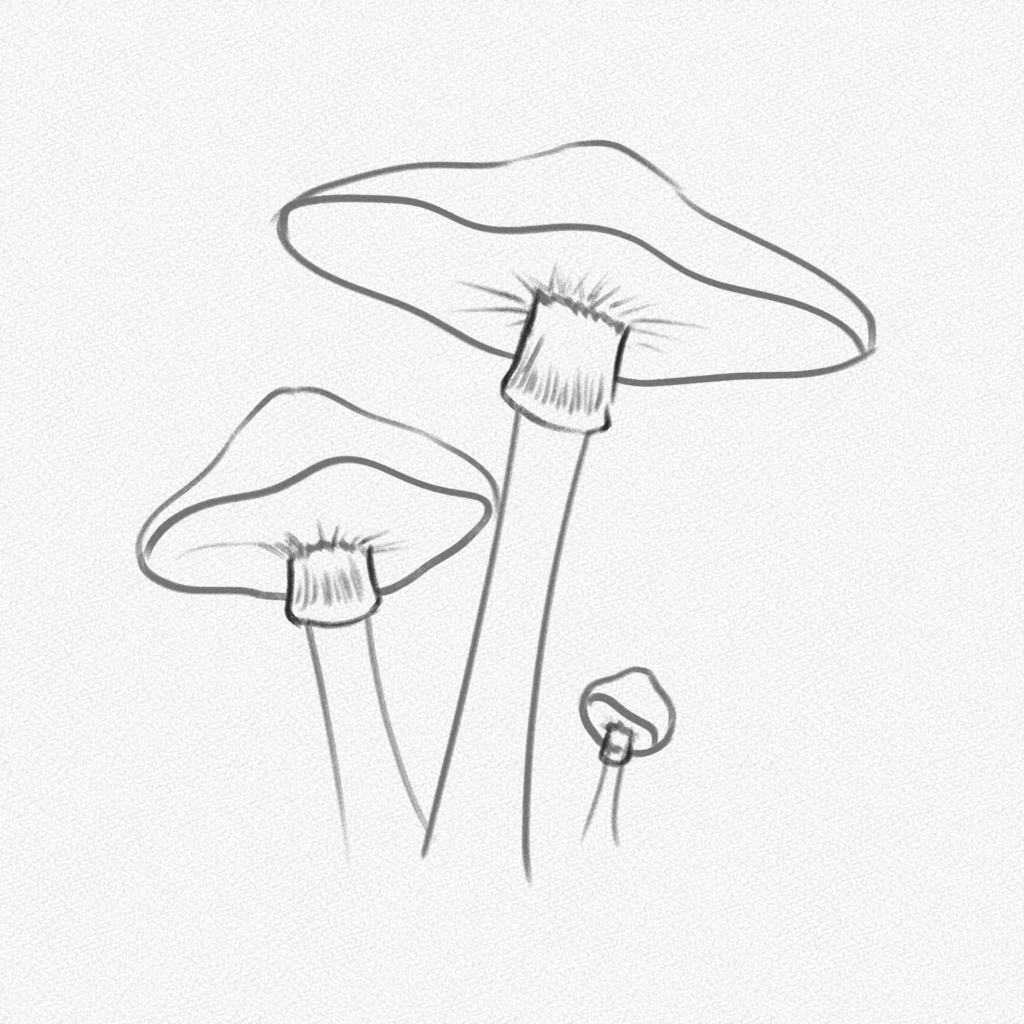
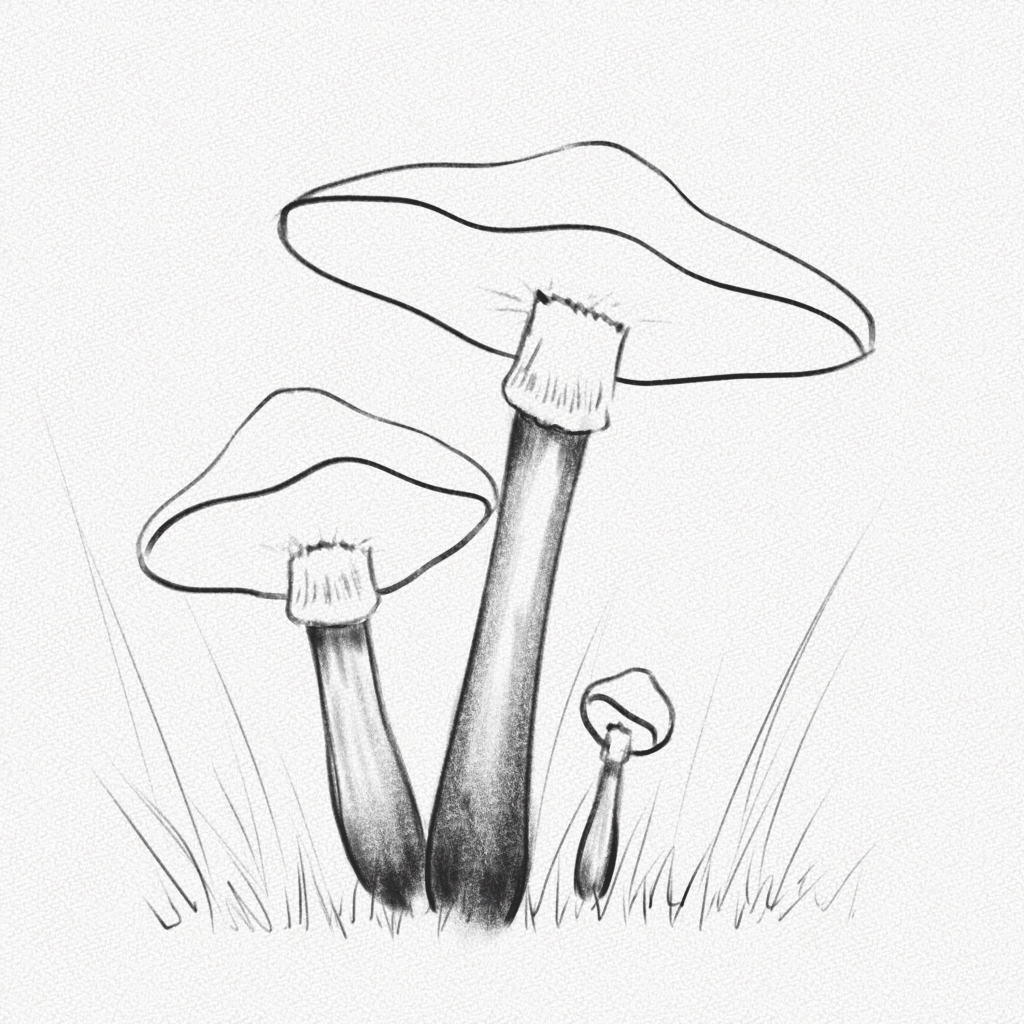
Step 8: Add some details
Add some details to the ring and hint at some of the lines of the gills, correct any mistakes and get ready to shade and detail.
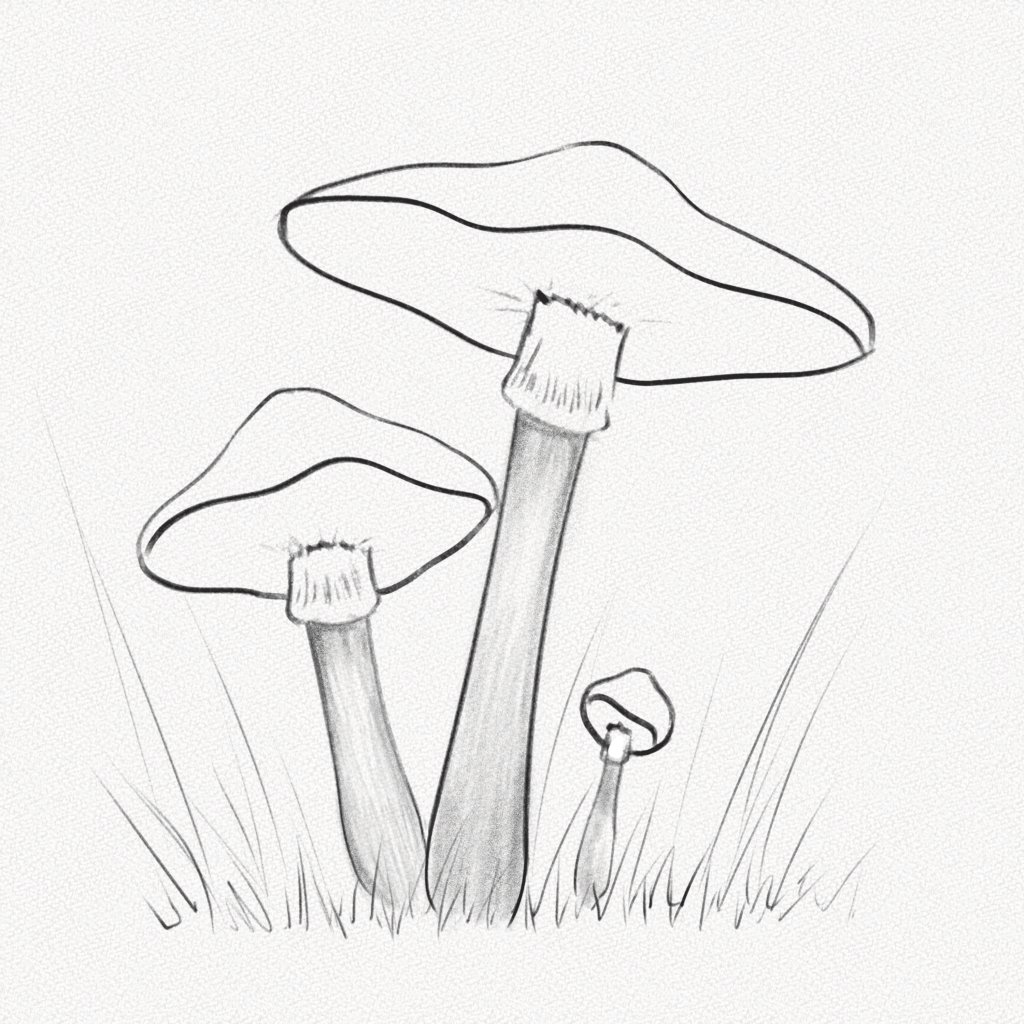
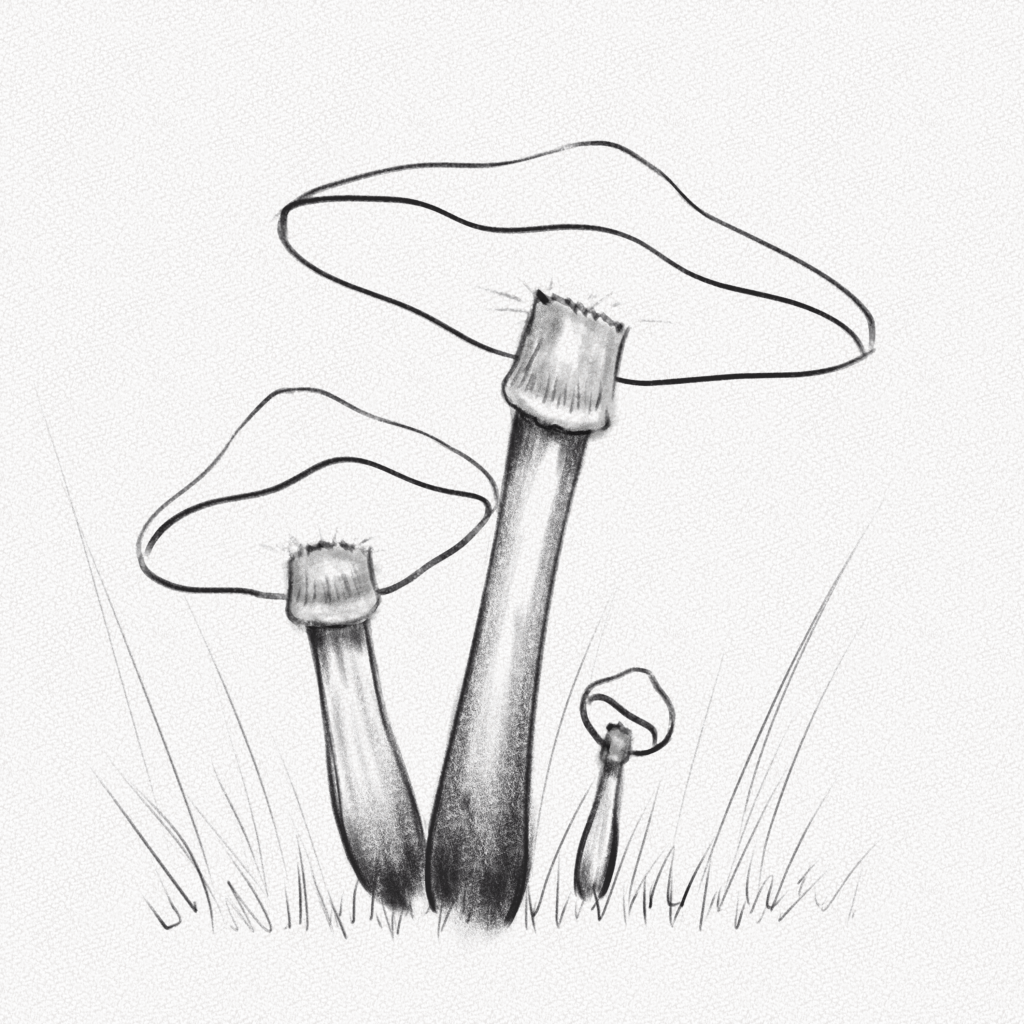
Step 9: Add some grass
Complete the curved mushroom base and add some grass around it to add realism to the drawing. Remember, any grass that grows around mushrooms will probably be the same size or longer than the mushrooms.

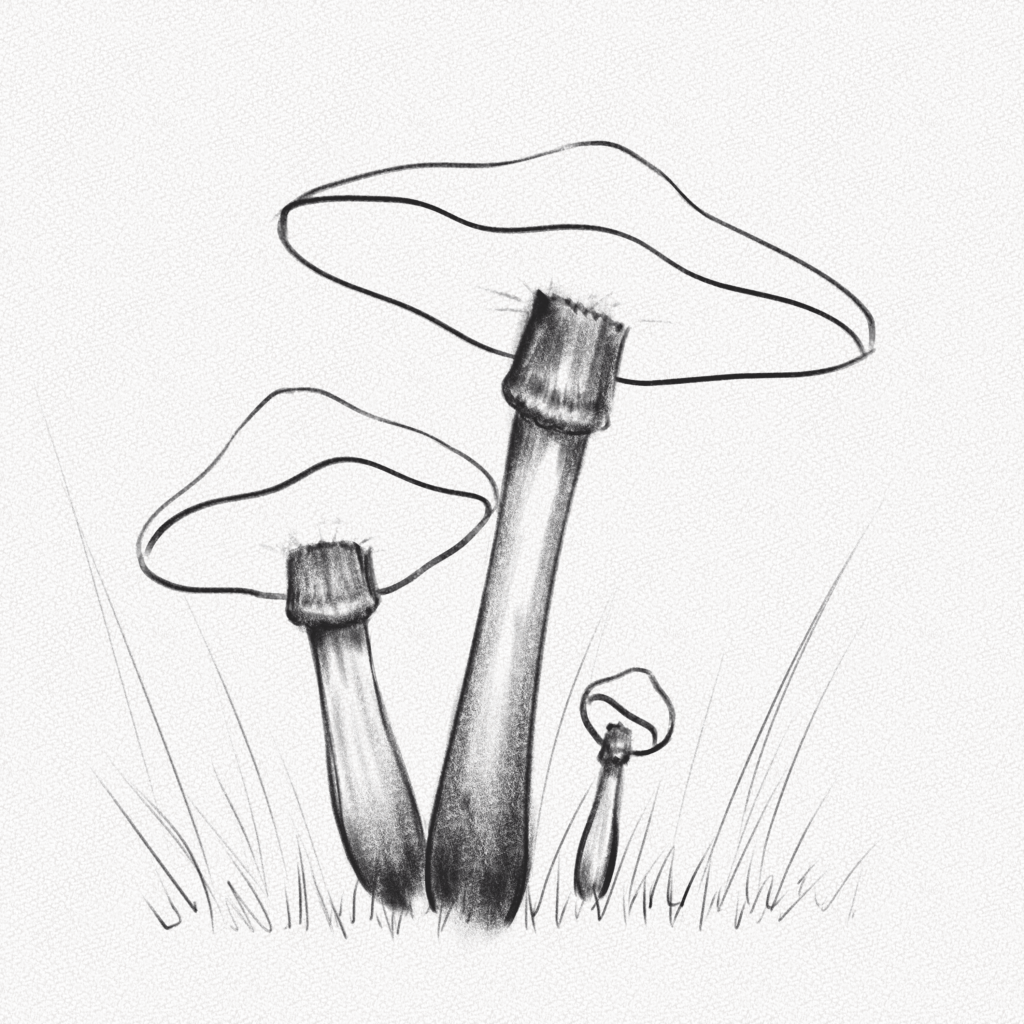
Step 10: Shade the stalk
Using your 2B pencil, shade the mushrooms’ stalk with soft movements. This will be the first layer of graphite we’re going to build.
Step 11: Add contrast to the stalk
With your 4B pencil, add contrast to the sides of the stalk, the base, and the ring area. Make sure to darken the bottom the most since it’s the part of the mushroom that is in constant contact with the ground.
Step 12: Shade the ring
Use your 2H pencil to softly shade the ring of the mushroom, emphasizing the borders and the bulbous base.
Use your 4B pencil to add contrast to the ring. Remember, this part will most likely be in the shadow of the cap, so it will be quite dark.
Step 13: Shade the base of the cap
Fill the base with a soft layer of graphite with your 2B pencil, and then draw the lines that will be the mushroom’s gills with your 4B pencil.
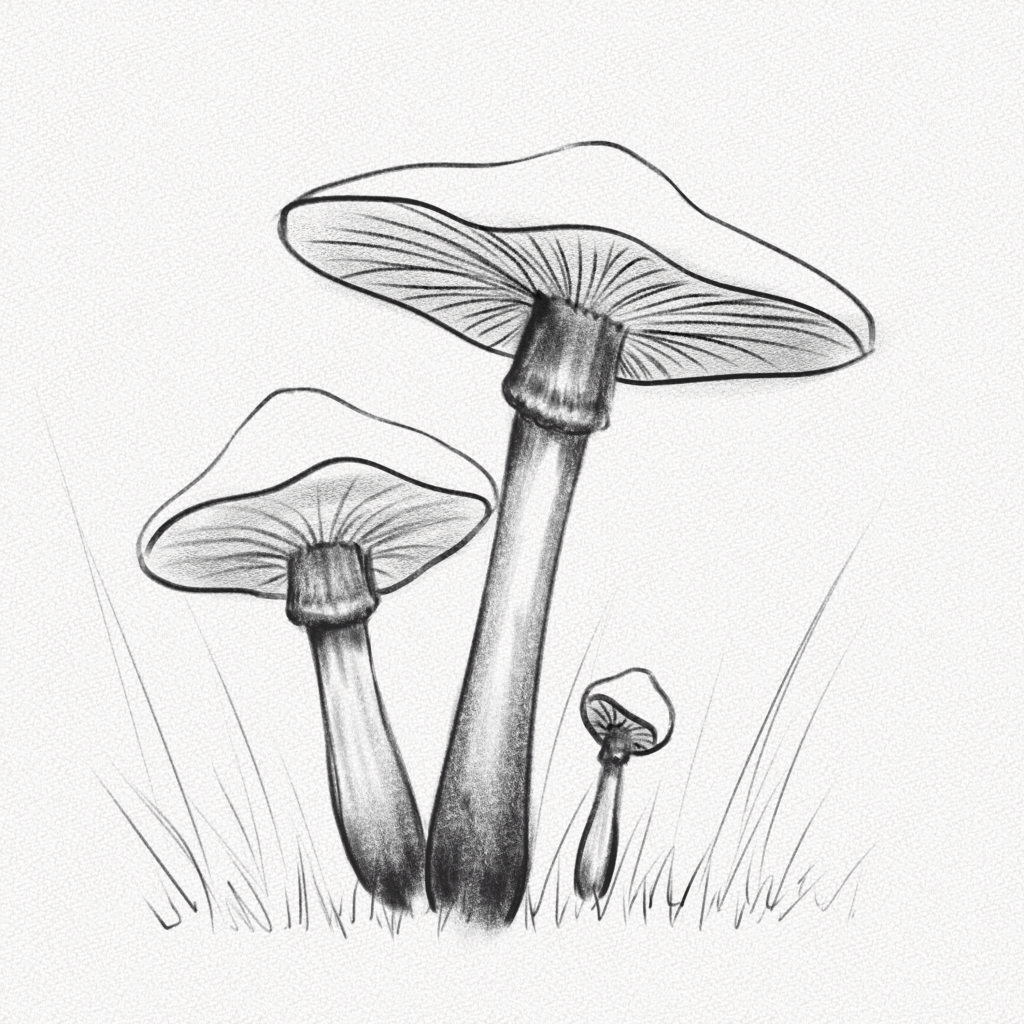
Step 14: Add contrast to the base of the cap
Use your 4B pencil to add more contrast to the base of the cap by darkening the gills and adding depth to the base outline. Make sure to darken the center as well, as this area is the one that gets less sunlight.
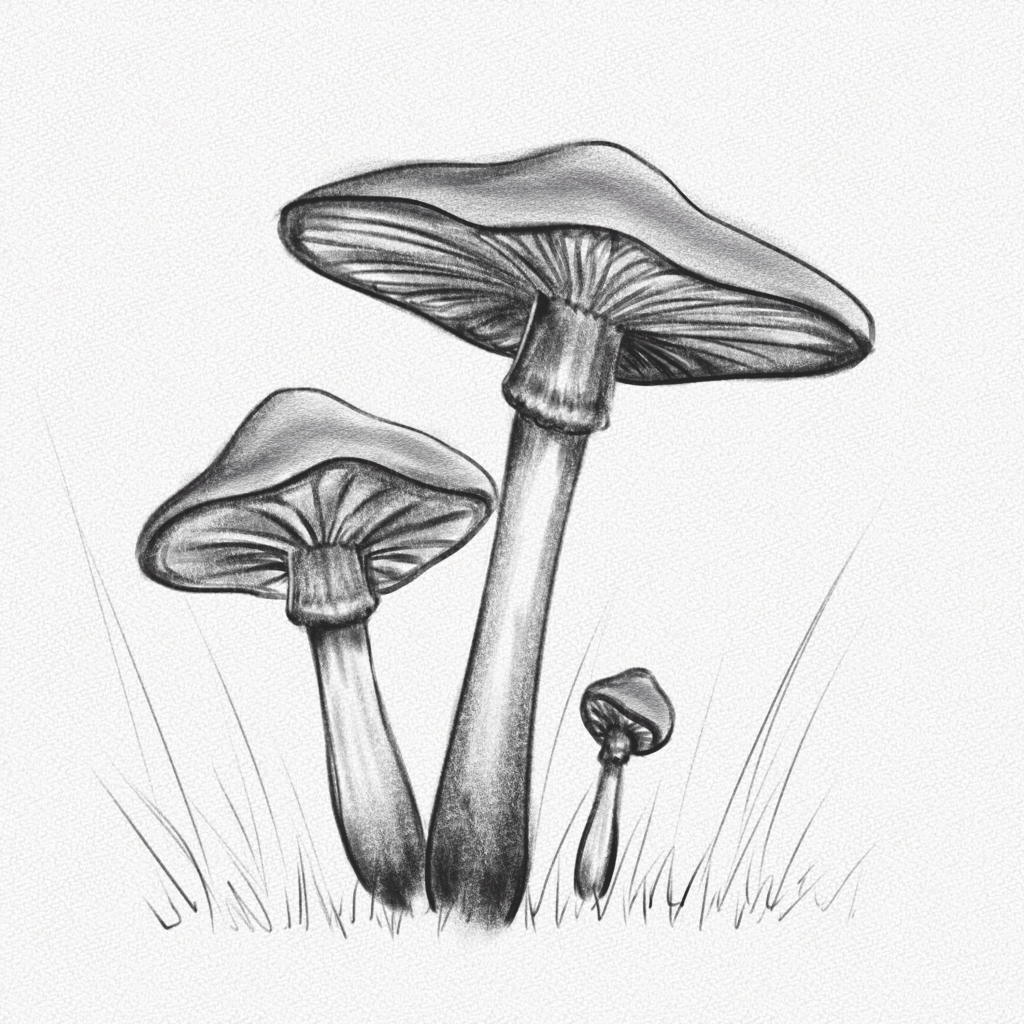
Step 15: Shade the cap
Now it’s time to shade the cap. Use your 2B pencil for the first layer and make it very uniform, and for the second layer, give it a little bit more volume by shading the sides and the horizontal middle section a bit more.
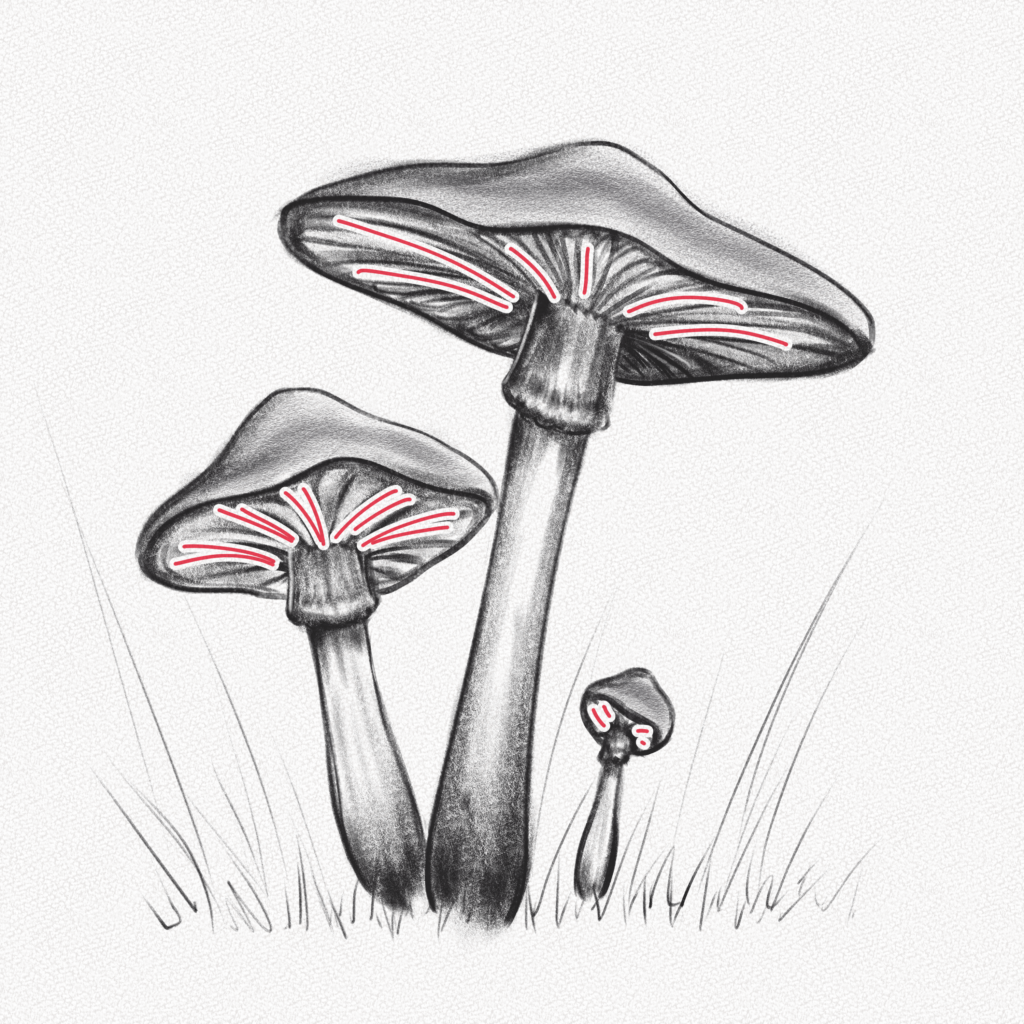
Step 16: Detail the gills
For this step, we are going to sharpen our 4B pencil until we get a very fine tip and start detailing with very strong and fine lines the gills of our mushroom.

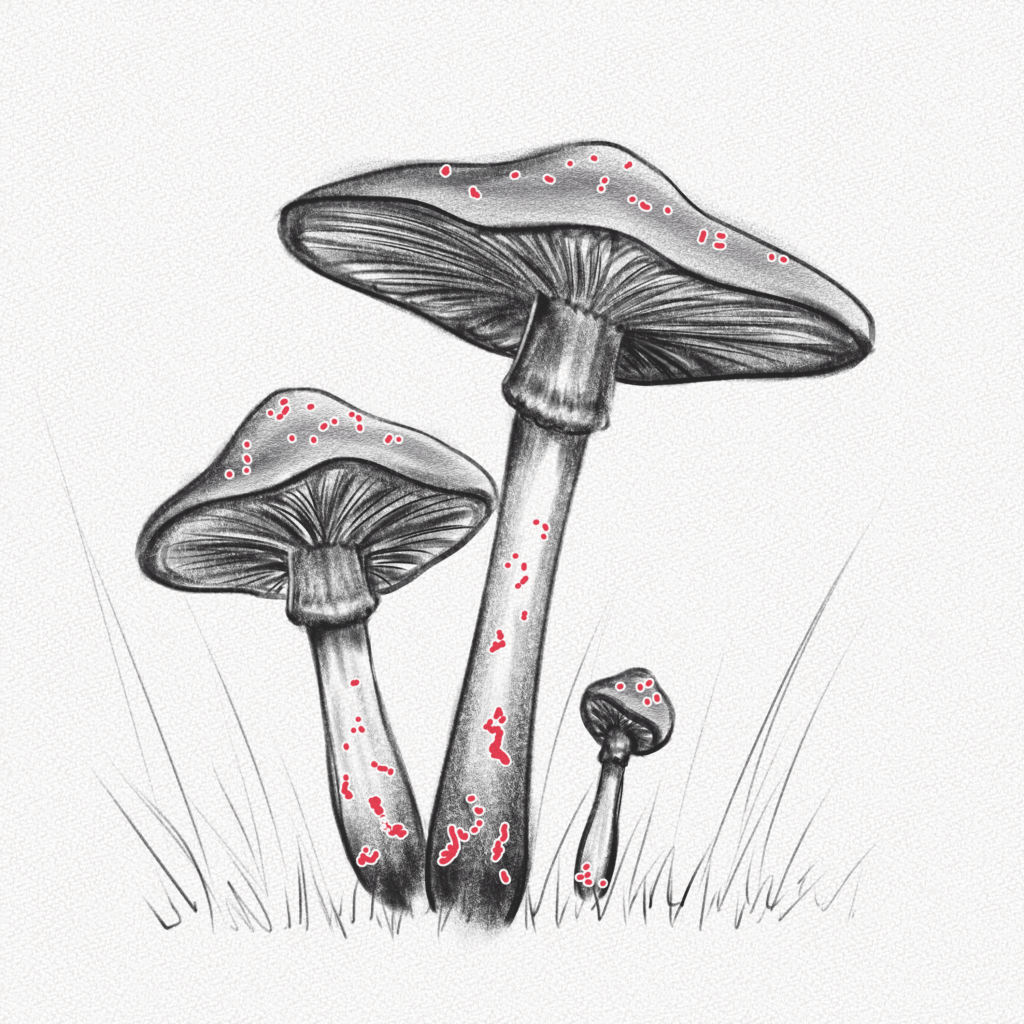
Step 17: Add some spots
Now it’s time to add some of the characteristic spots from dirt and the sun on the mushrooms. Follow the diagram below or add your own. Remember, the higher concentration of these spots is on the base of the stalk, near the ground.

Step 18: Start drawing the grass.
Take your blending stump and stain it with a bit of graphite. Start making long soft lines on the background following the shape of grass.
Step 19: Add contrast to the grass
Repeat the step above, this time with a bit more pressure and graphite on the tip of the blending stump. Tilt your blending stump to add the ground as well.
Step 20: Add details to the grass
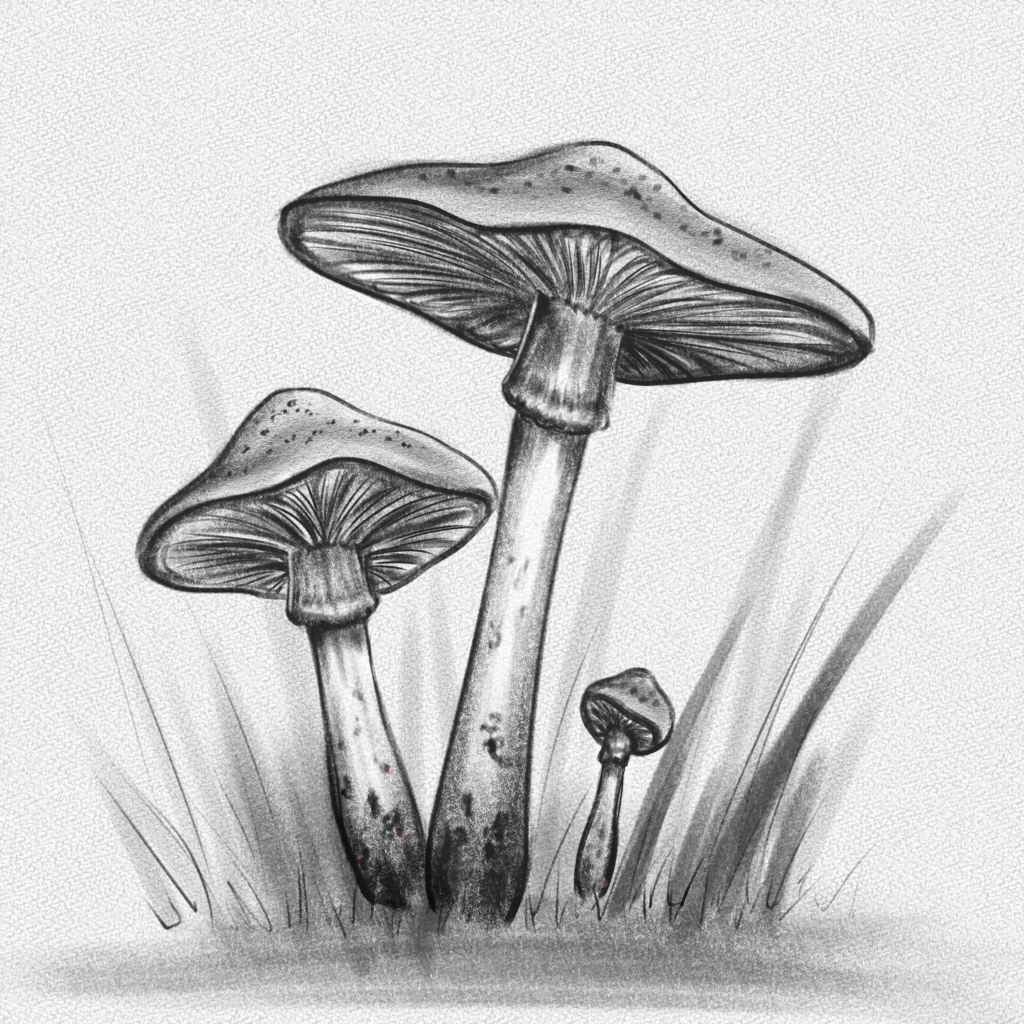
Finally, with your Tombow Mono Zero eraser, take some graphite away, following the direction of the grass. This will add a new dimension of realism to your drawing.
And that’s it. You’re done.
Thank you for following this tutorial. You did great!
I hope that you have learned something new and will try your best to apply it in the future. Drawing is a great way of expressing your creativity and emotions visually and can be done by anyone!
Until next time!