Welcome to this how-to guide on drawing penguins!
There are 18 different species of penguins, each with its own unique characteristics. From the towering emperor penguin, which can grow up to 4 feet tall, to the diminutive little blue penguin, which stands just 16 inches tall, there’s no shortage of variety when it comes to penguins.
Penguins have long been a popular subject in art, thanks to their distinctive black and white plumage and comical waddling gait. From classic illustrations in children’s books to modern cartoon characters like Pingu, penguins have become a beloved staple in popular culture.
But how do you draw a penguin? Well, fear not! With a few simple steps and some practice, you can learn to capture the essence of these charming birds on paper. Whether you’re an experienced artist or just starting out, this guide will show you how to draw a penguin that looks both accurate and adorable.
So, grab your pencils and paper, and let’s get started!
What you will learn:
- Body Structure of A Penguin.
- The Anatomy of A Penguin
- How to Draw and Shade a Penguin.
Materials needed:
- A piece of paper
- A 2H graphite pencil
- A 4B graphite pencil
- A 0.5 2B mechanical pencil
- A Tombow Mono Zero 2.3mm
- A kneaded eraser
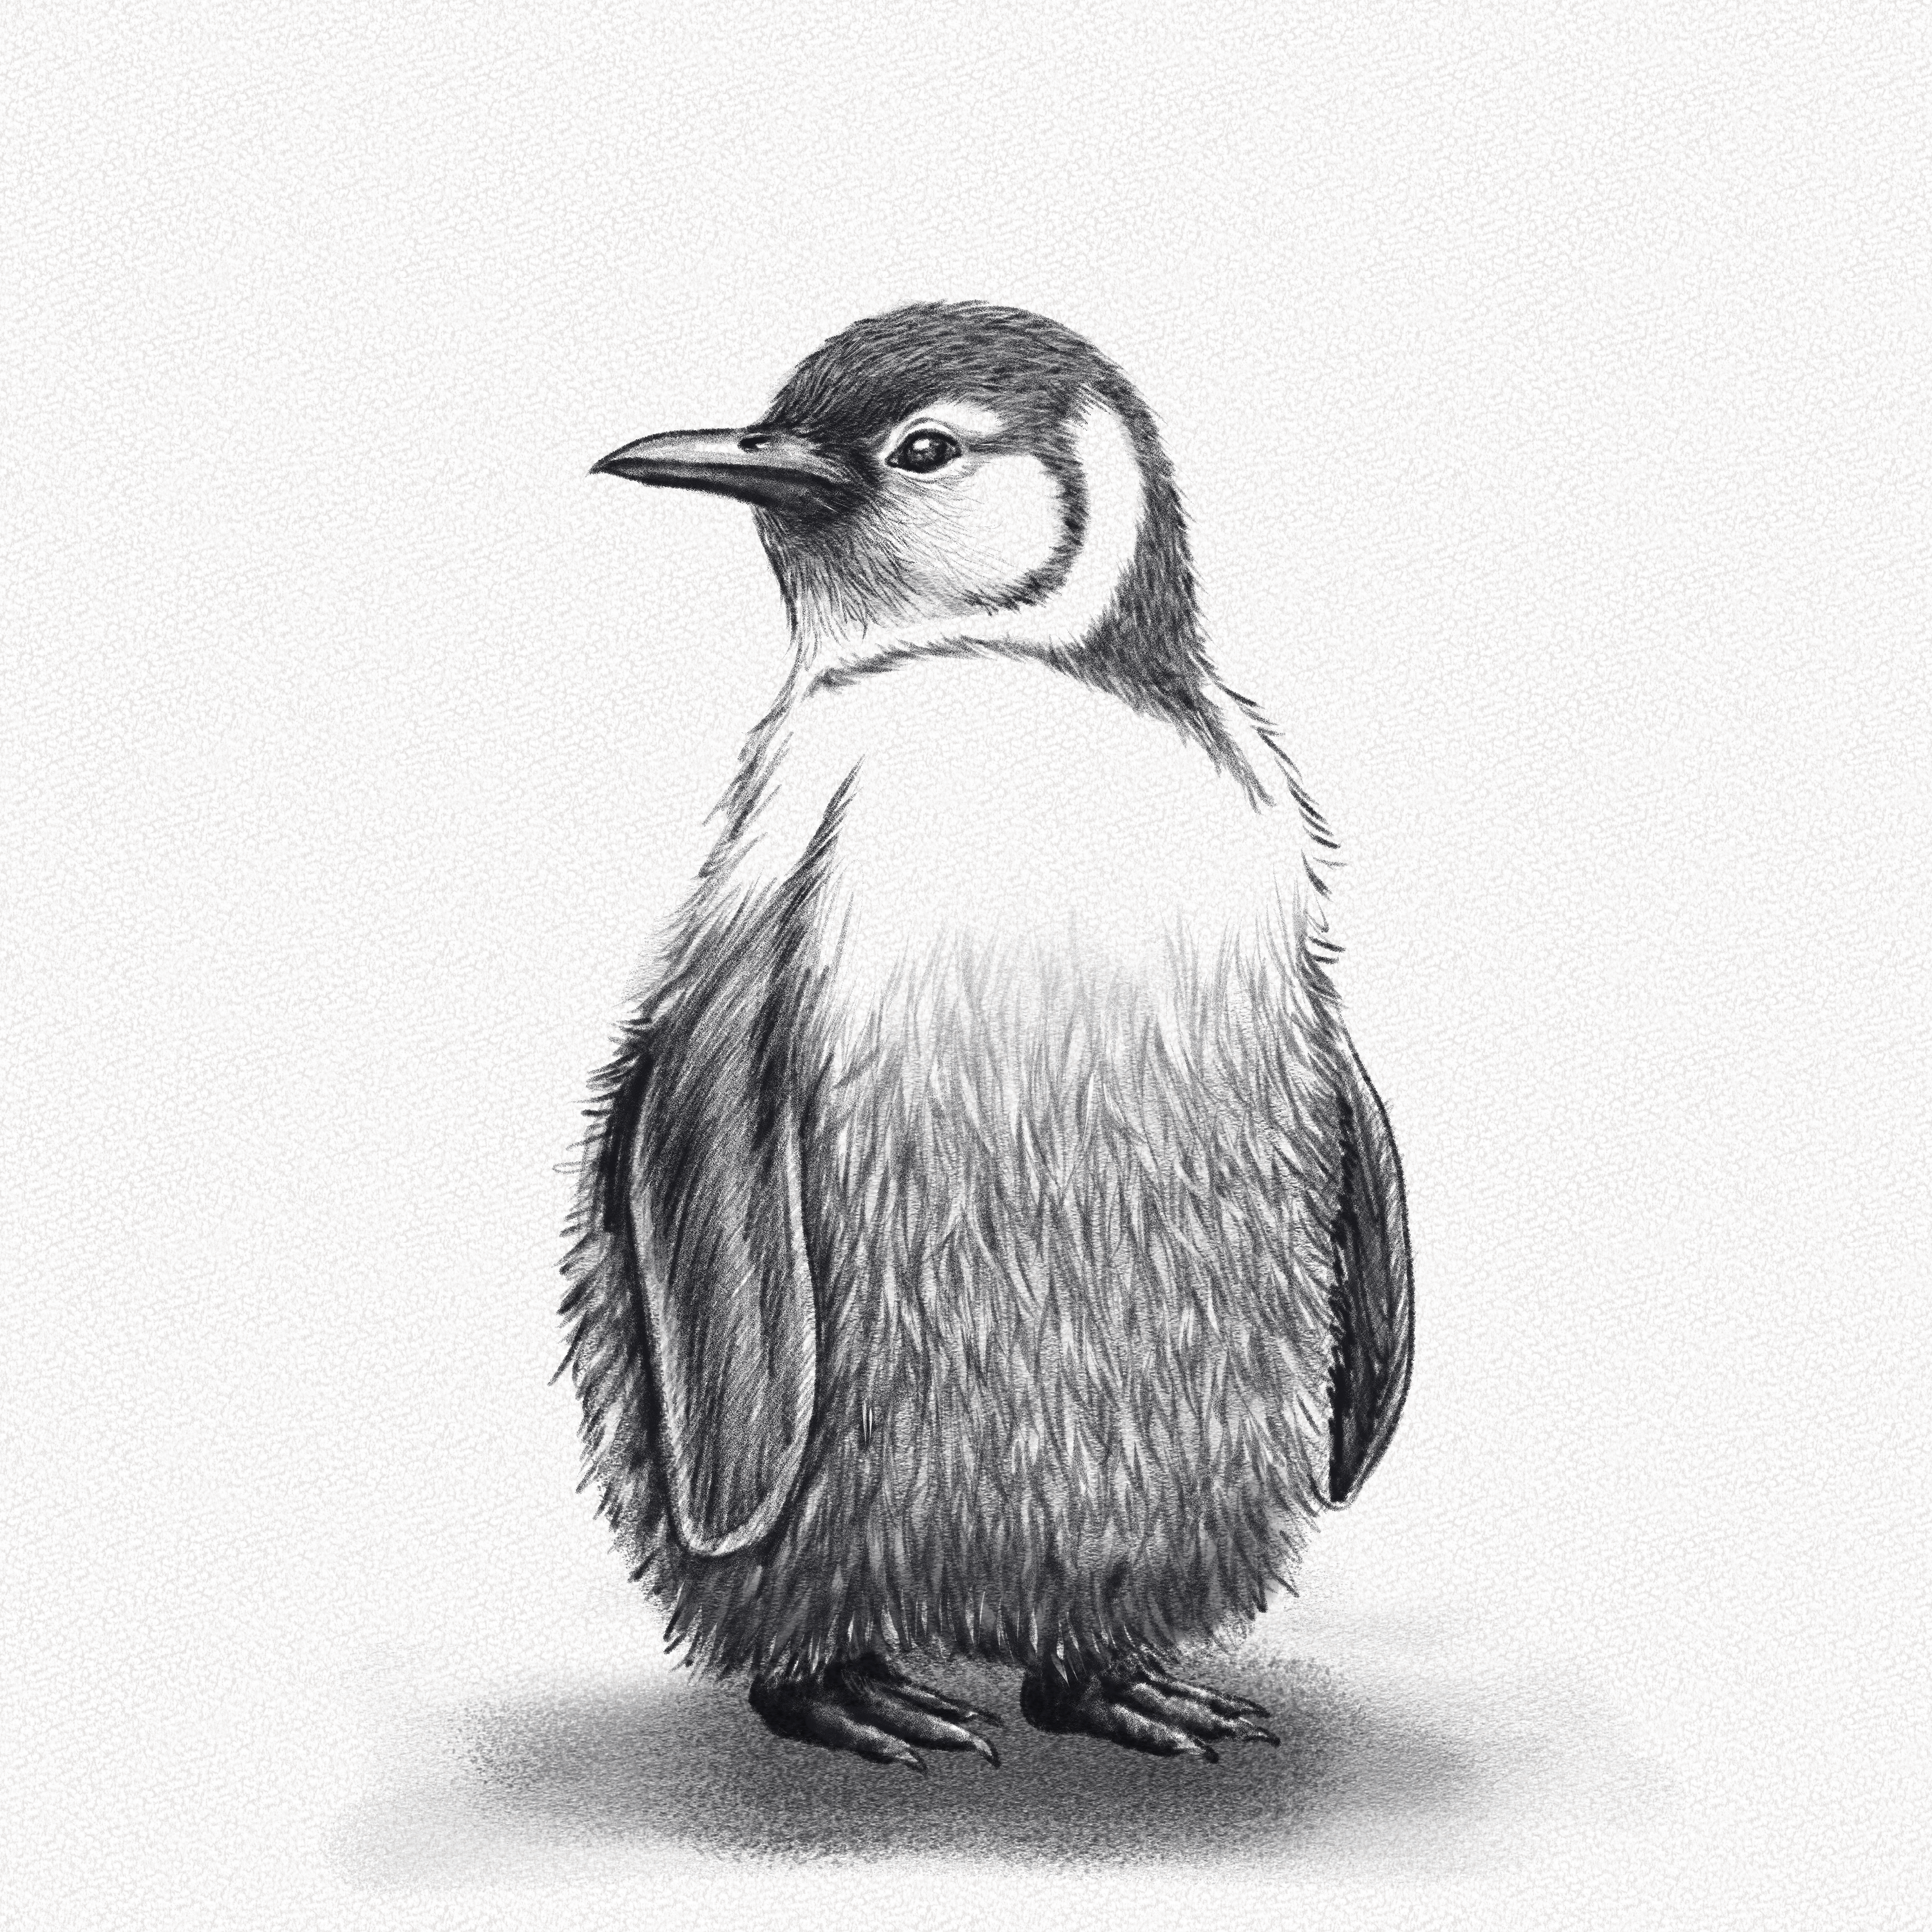
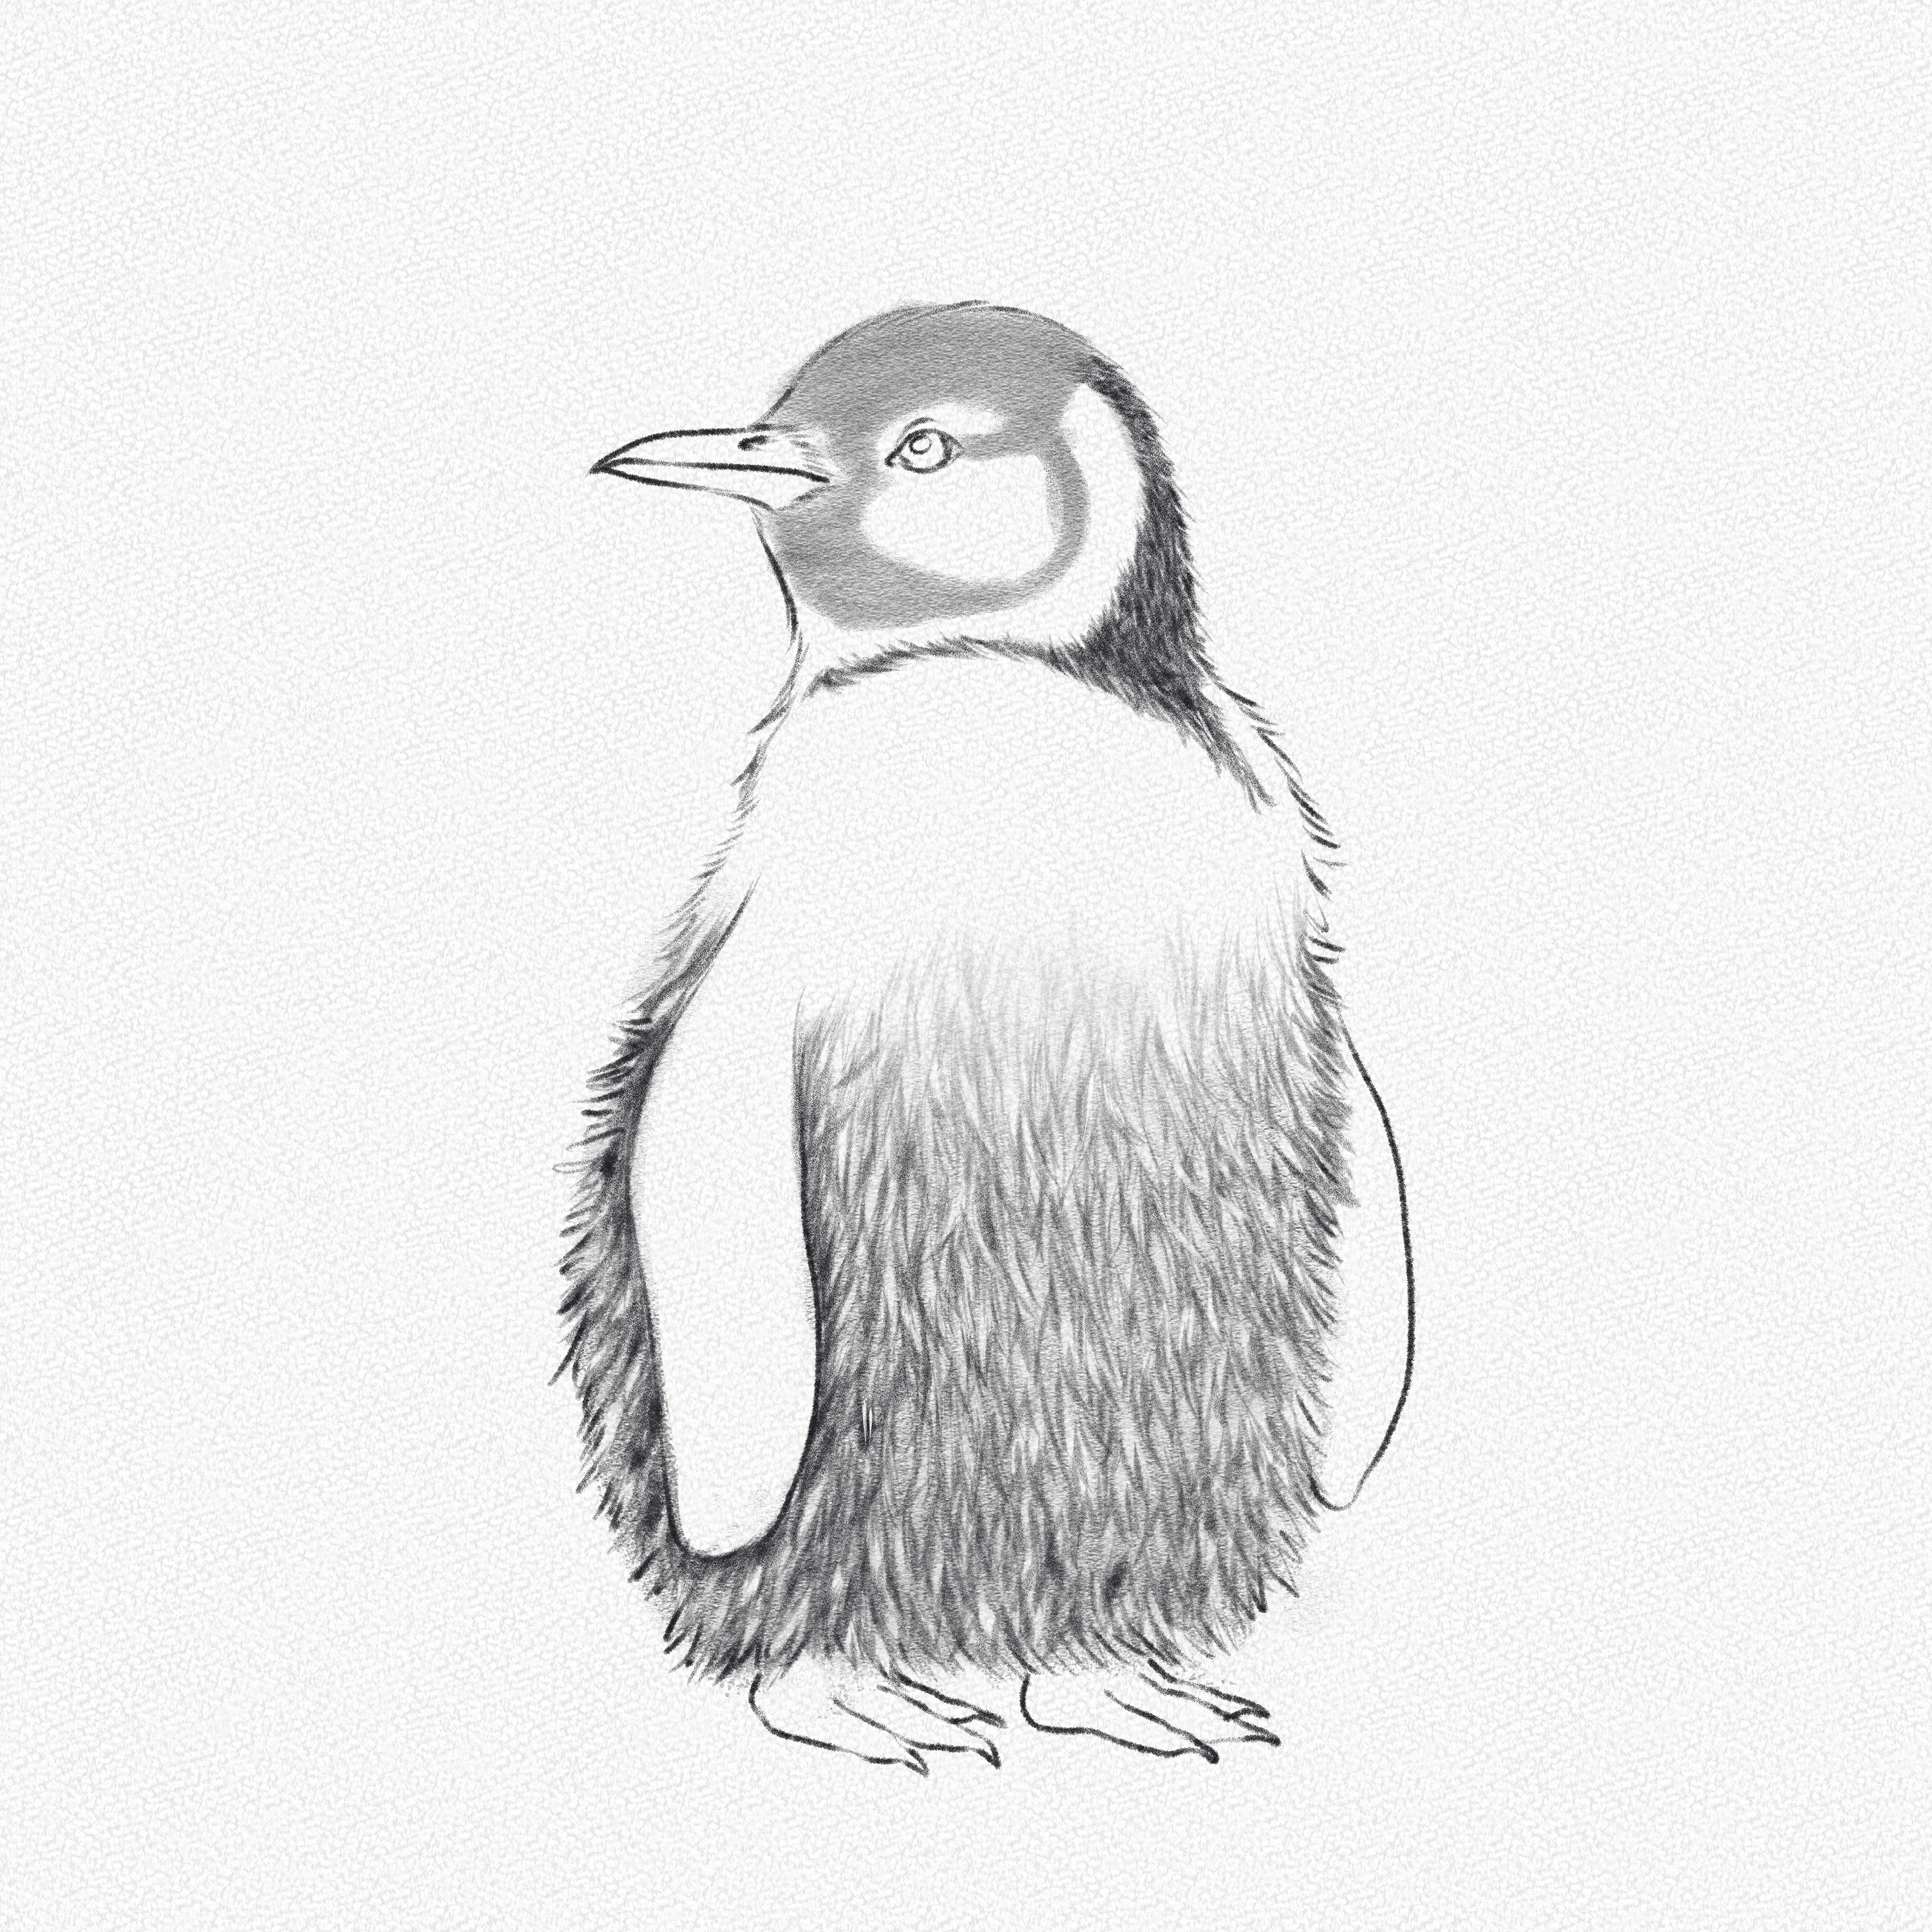
This is the penguin you will be drawing:
And these are all the steps we’ll guide you through:
Section 1 – Drawing the structure
Drawing the body structure of a penguin is essential to creating a realistic and believable final drawing. For this section, we will learn to draw the structure behind a penguin’s body with simple shapes.
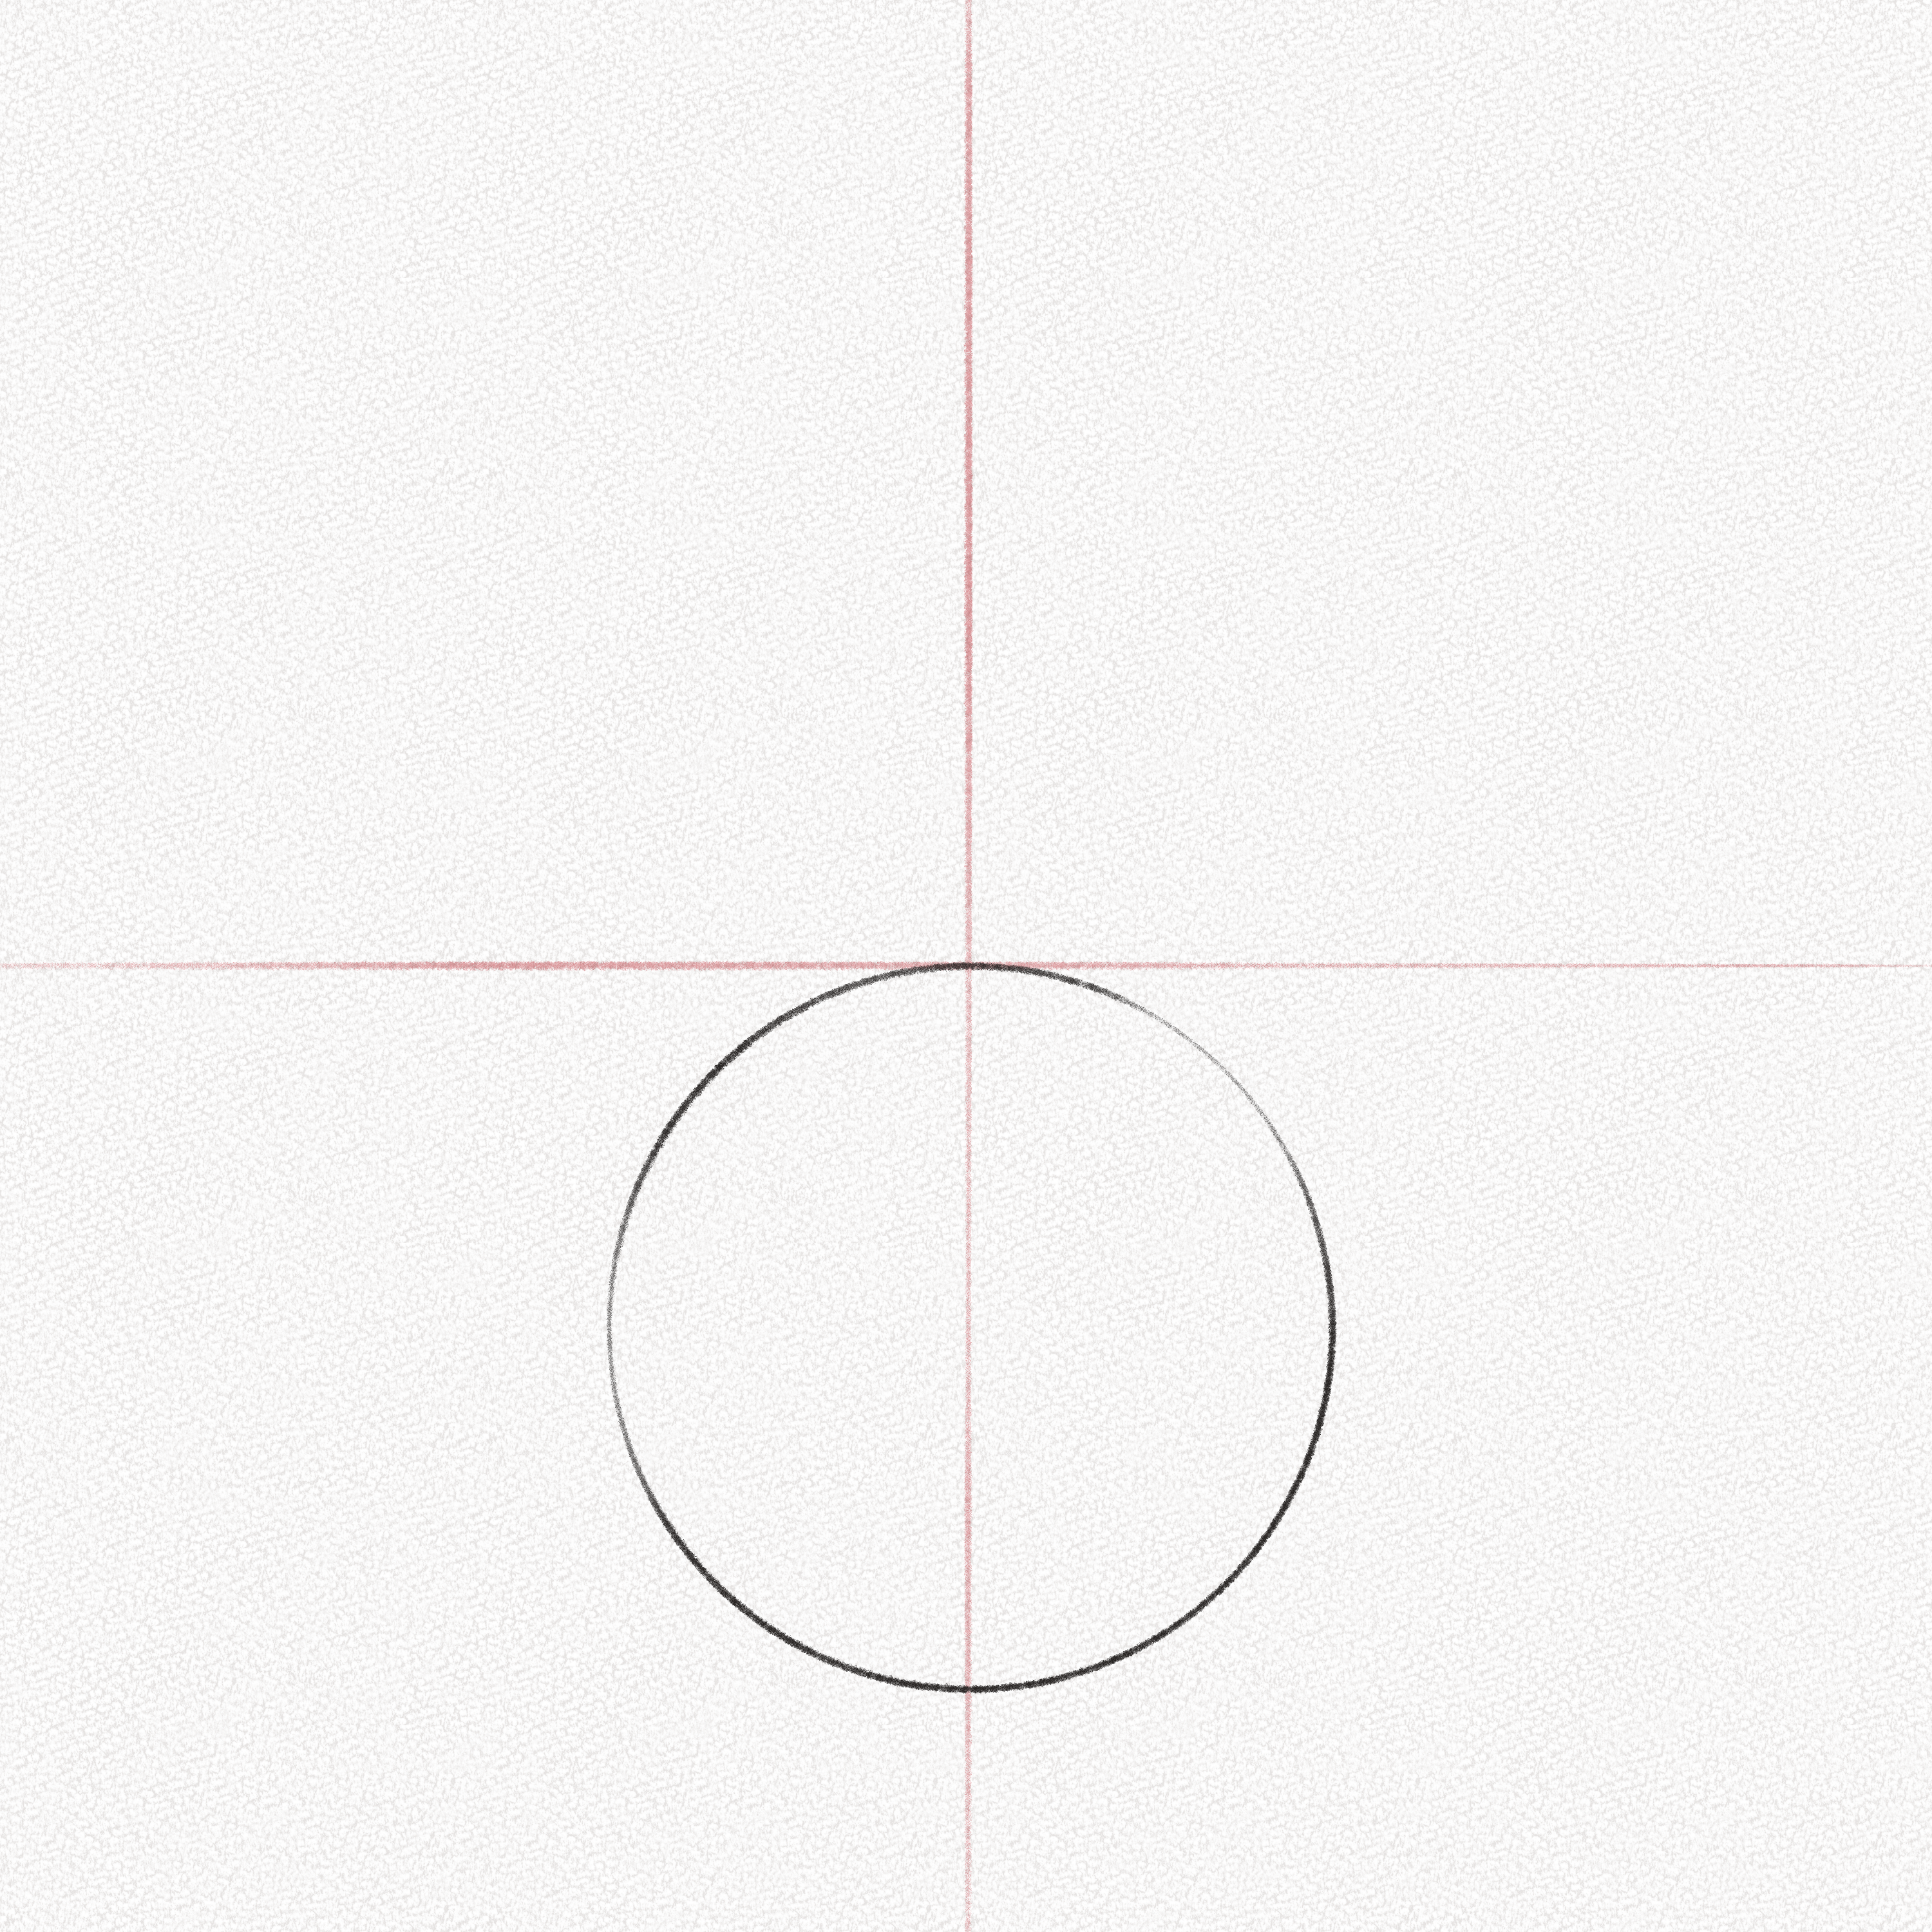
Step 1: Divide your canvas into four
Divide your canvas into four equal parts.

Step 2: Draw a circle
Draw a circle in the central bottom part of your canvas. This will be the bottom part of our penguin’s body, and the size of this circle will define the width of our penguin’s abdomen.
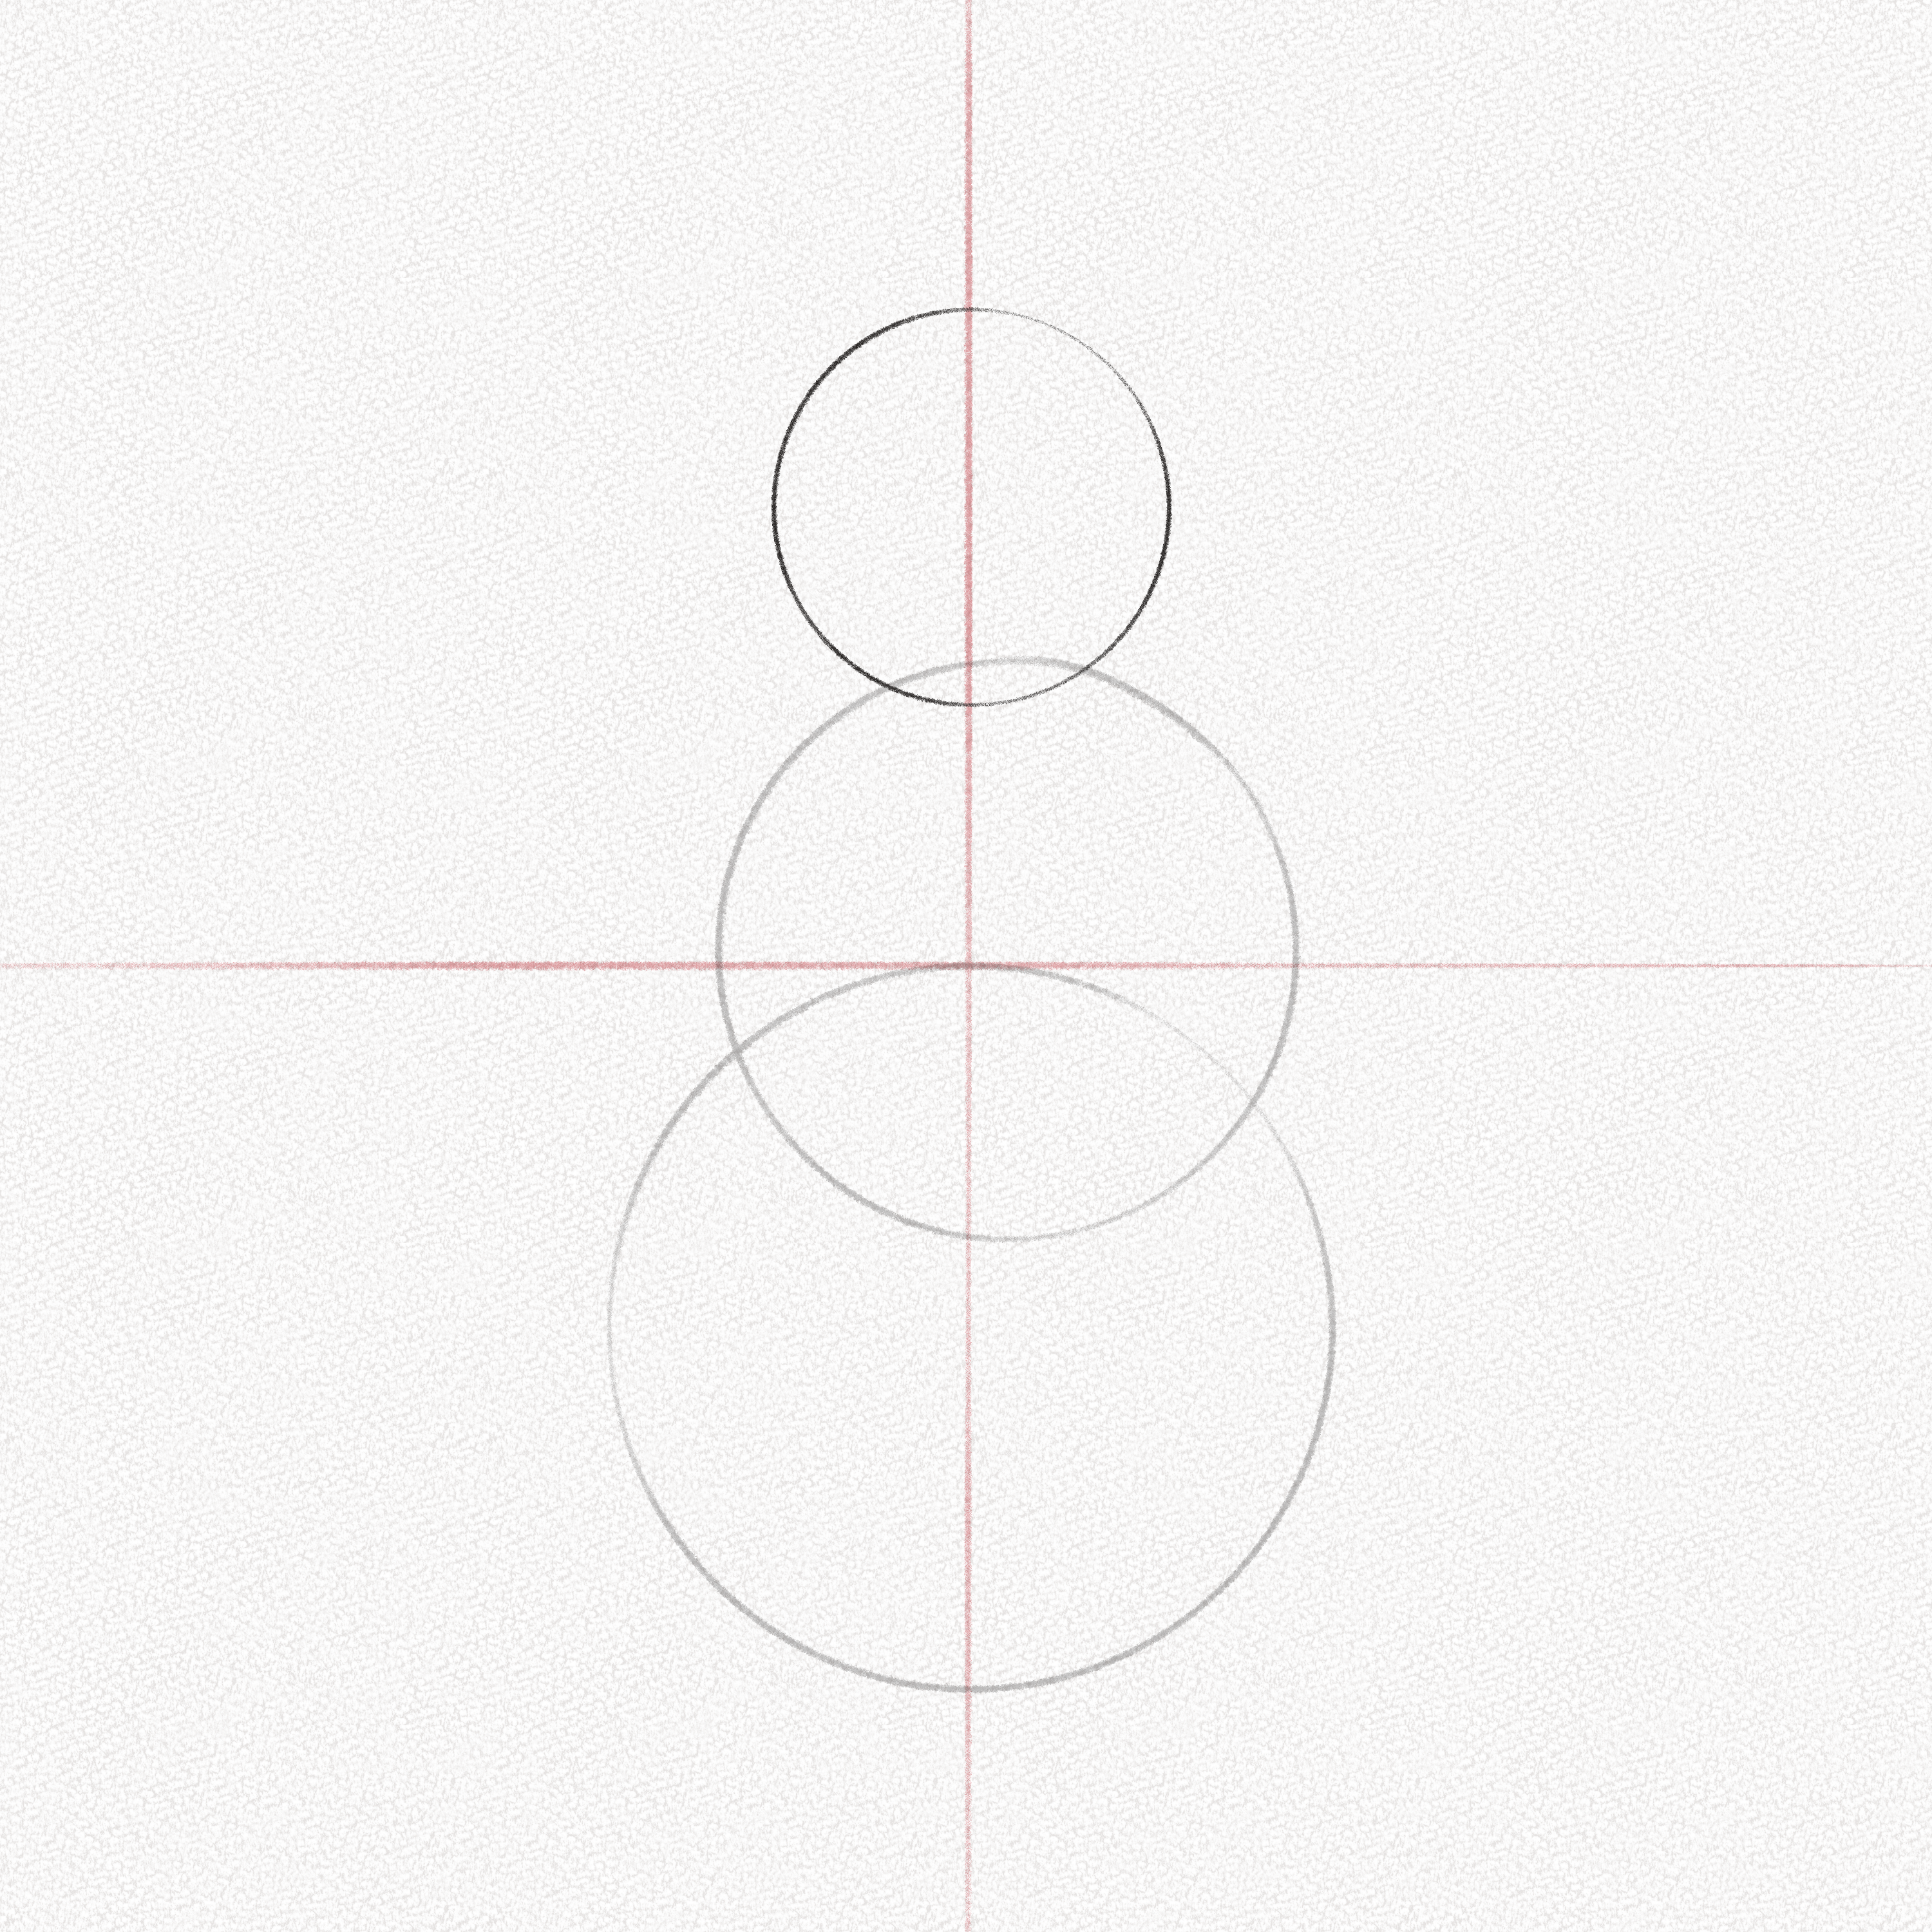
Step 3: Draw another circle
Draw another slightly smaller circle in the central part of our canvas, with a slight deviation to the right. This circle will define the width of our penguin’s torso.

Step 4: Draw another circle
Draw another smaller circle on top of the torso structure, taking into account the horizontal line previously drawn. This circle will be our penguin’s head.
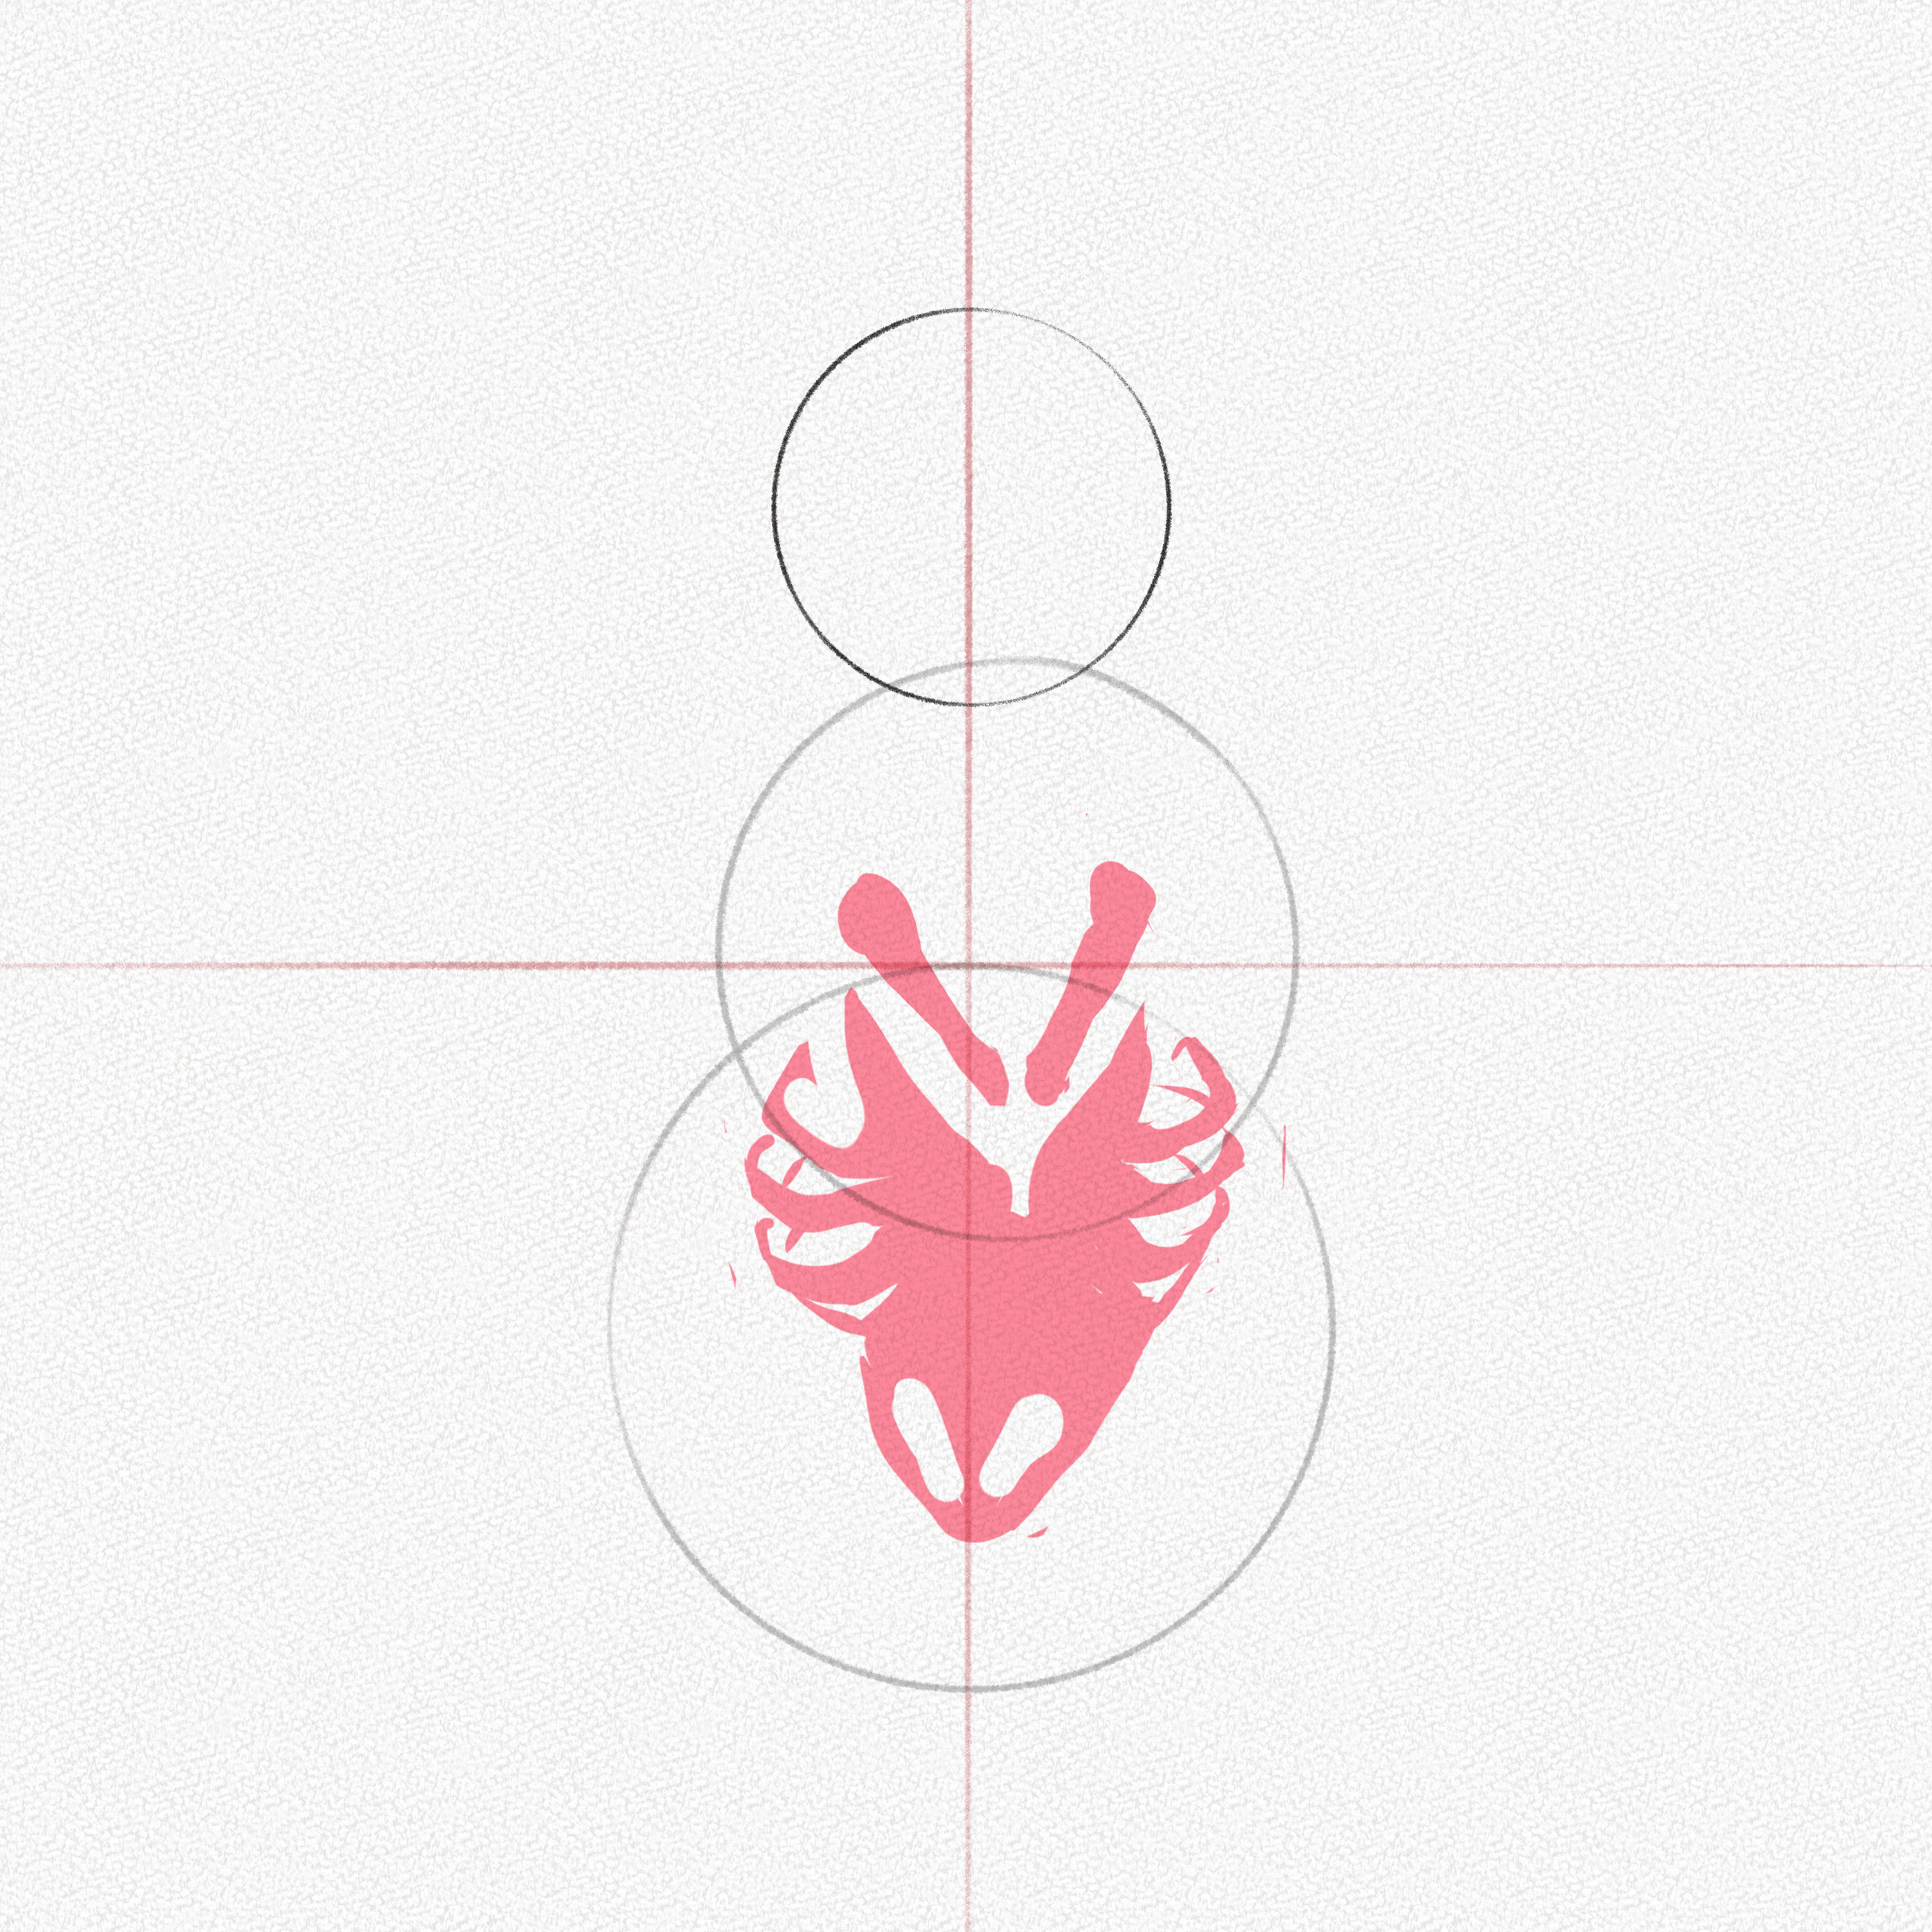
Section 2.- Understanding the Anatomy of a Penguin
To properly structure and draw the body of our penguin, it is necessary to know and take into account the anatomy of a penguin. In this image, we will observe in red the bones of the chest and abdomen of a penguin.
To correctly place the feet and wings, we need to first learn the anatomy behind the plumage. In blue, we have the head, trunk, and upper extremities. In green, we have the leg bones.
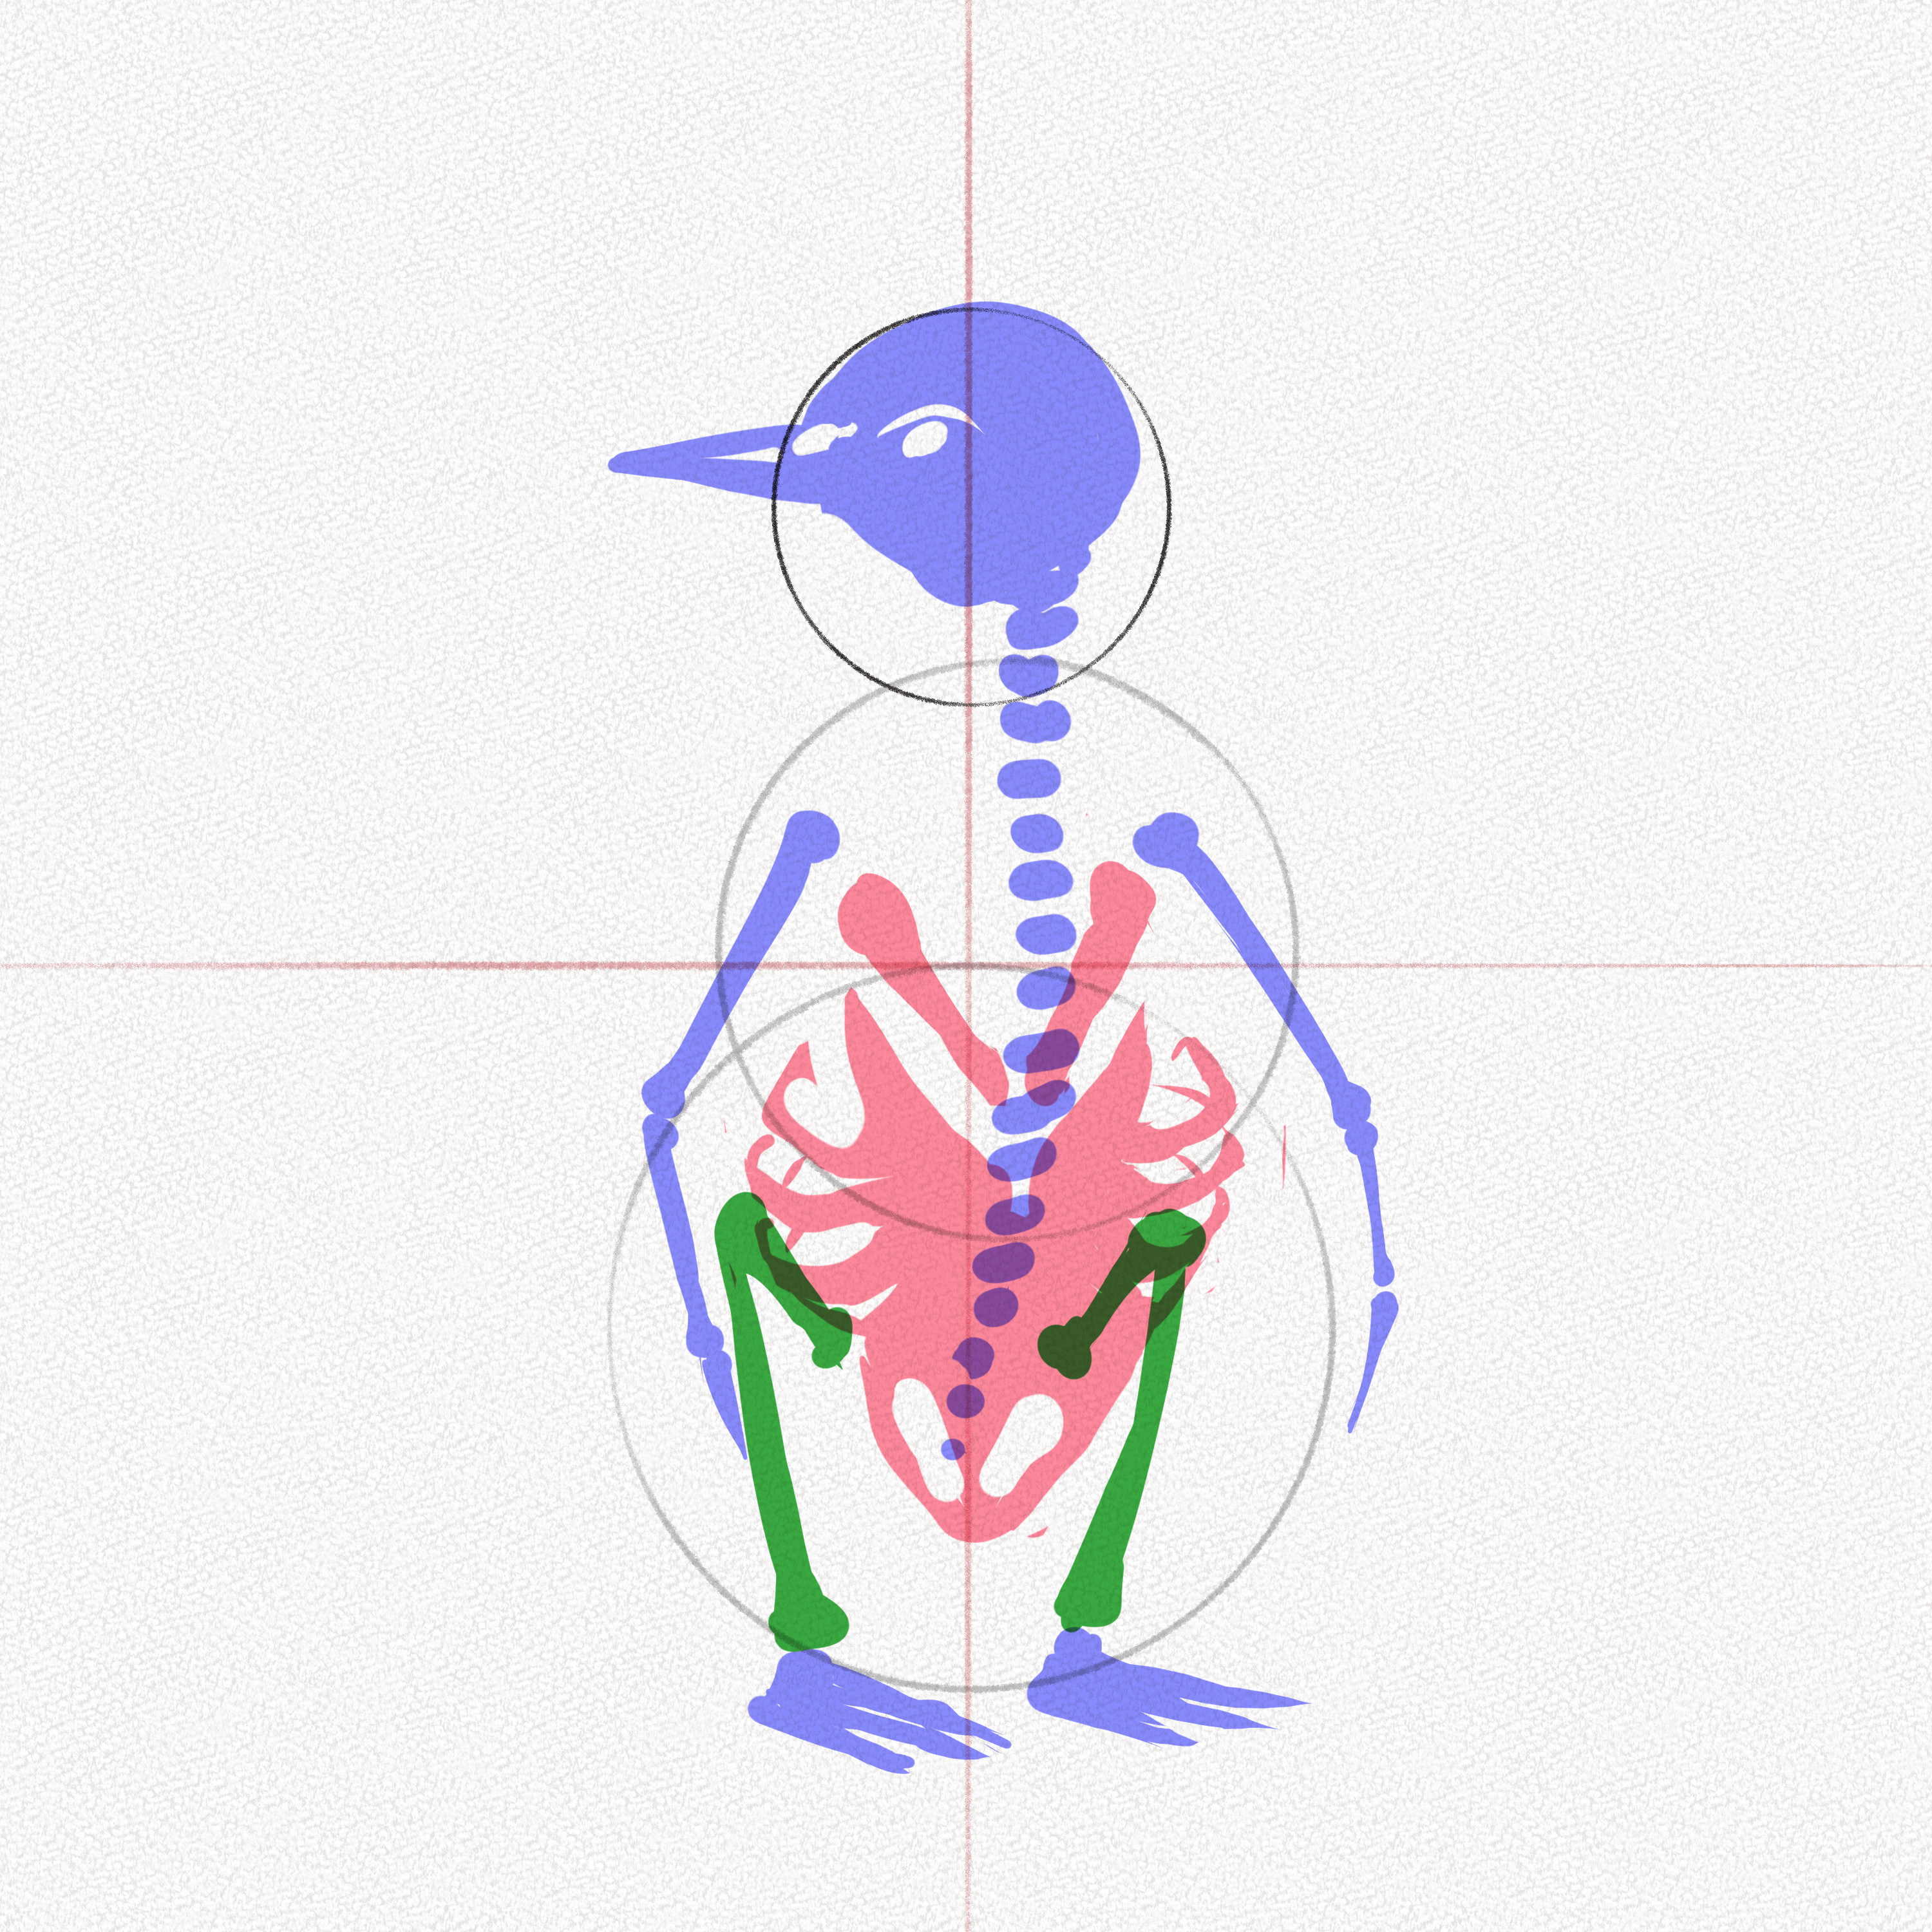
Visualization of the penguin’s body
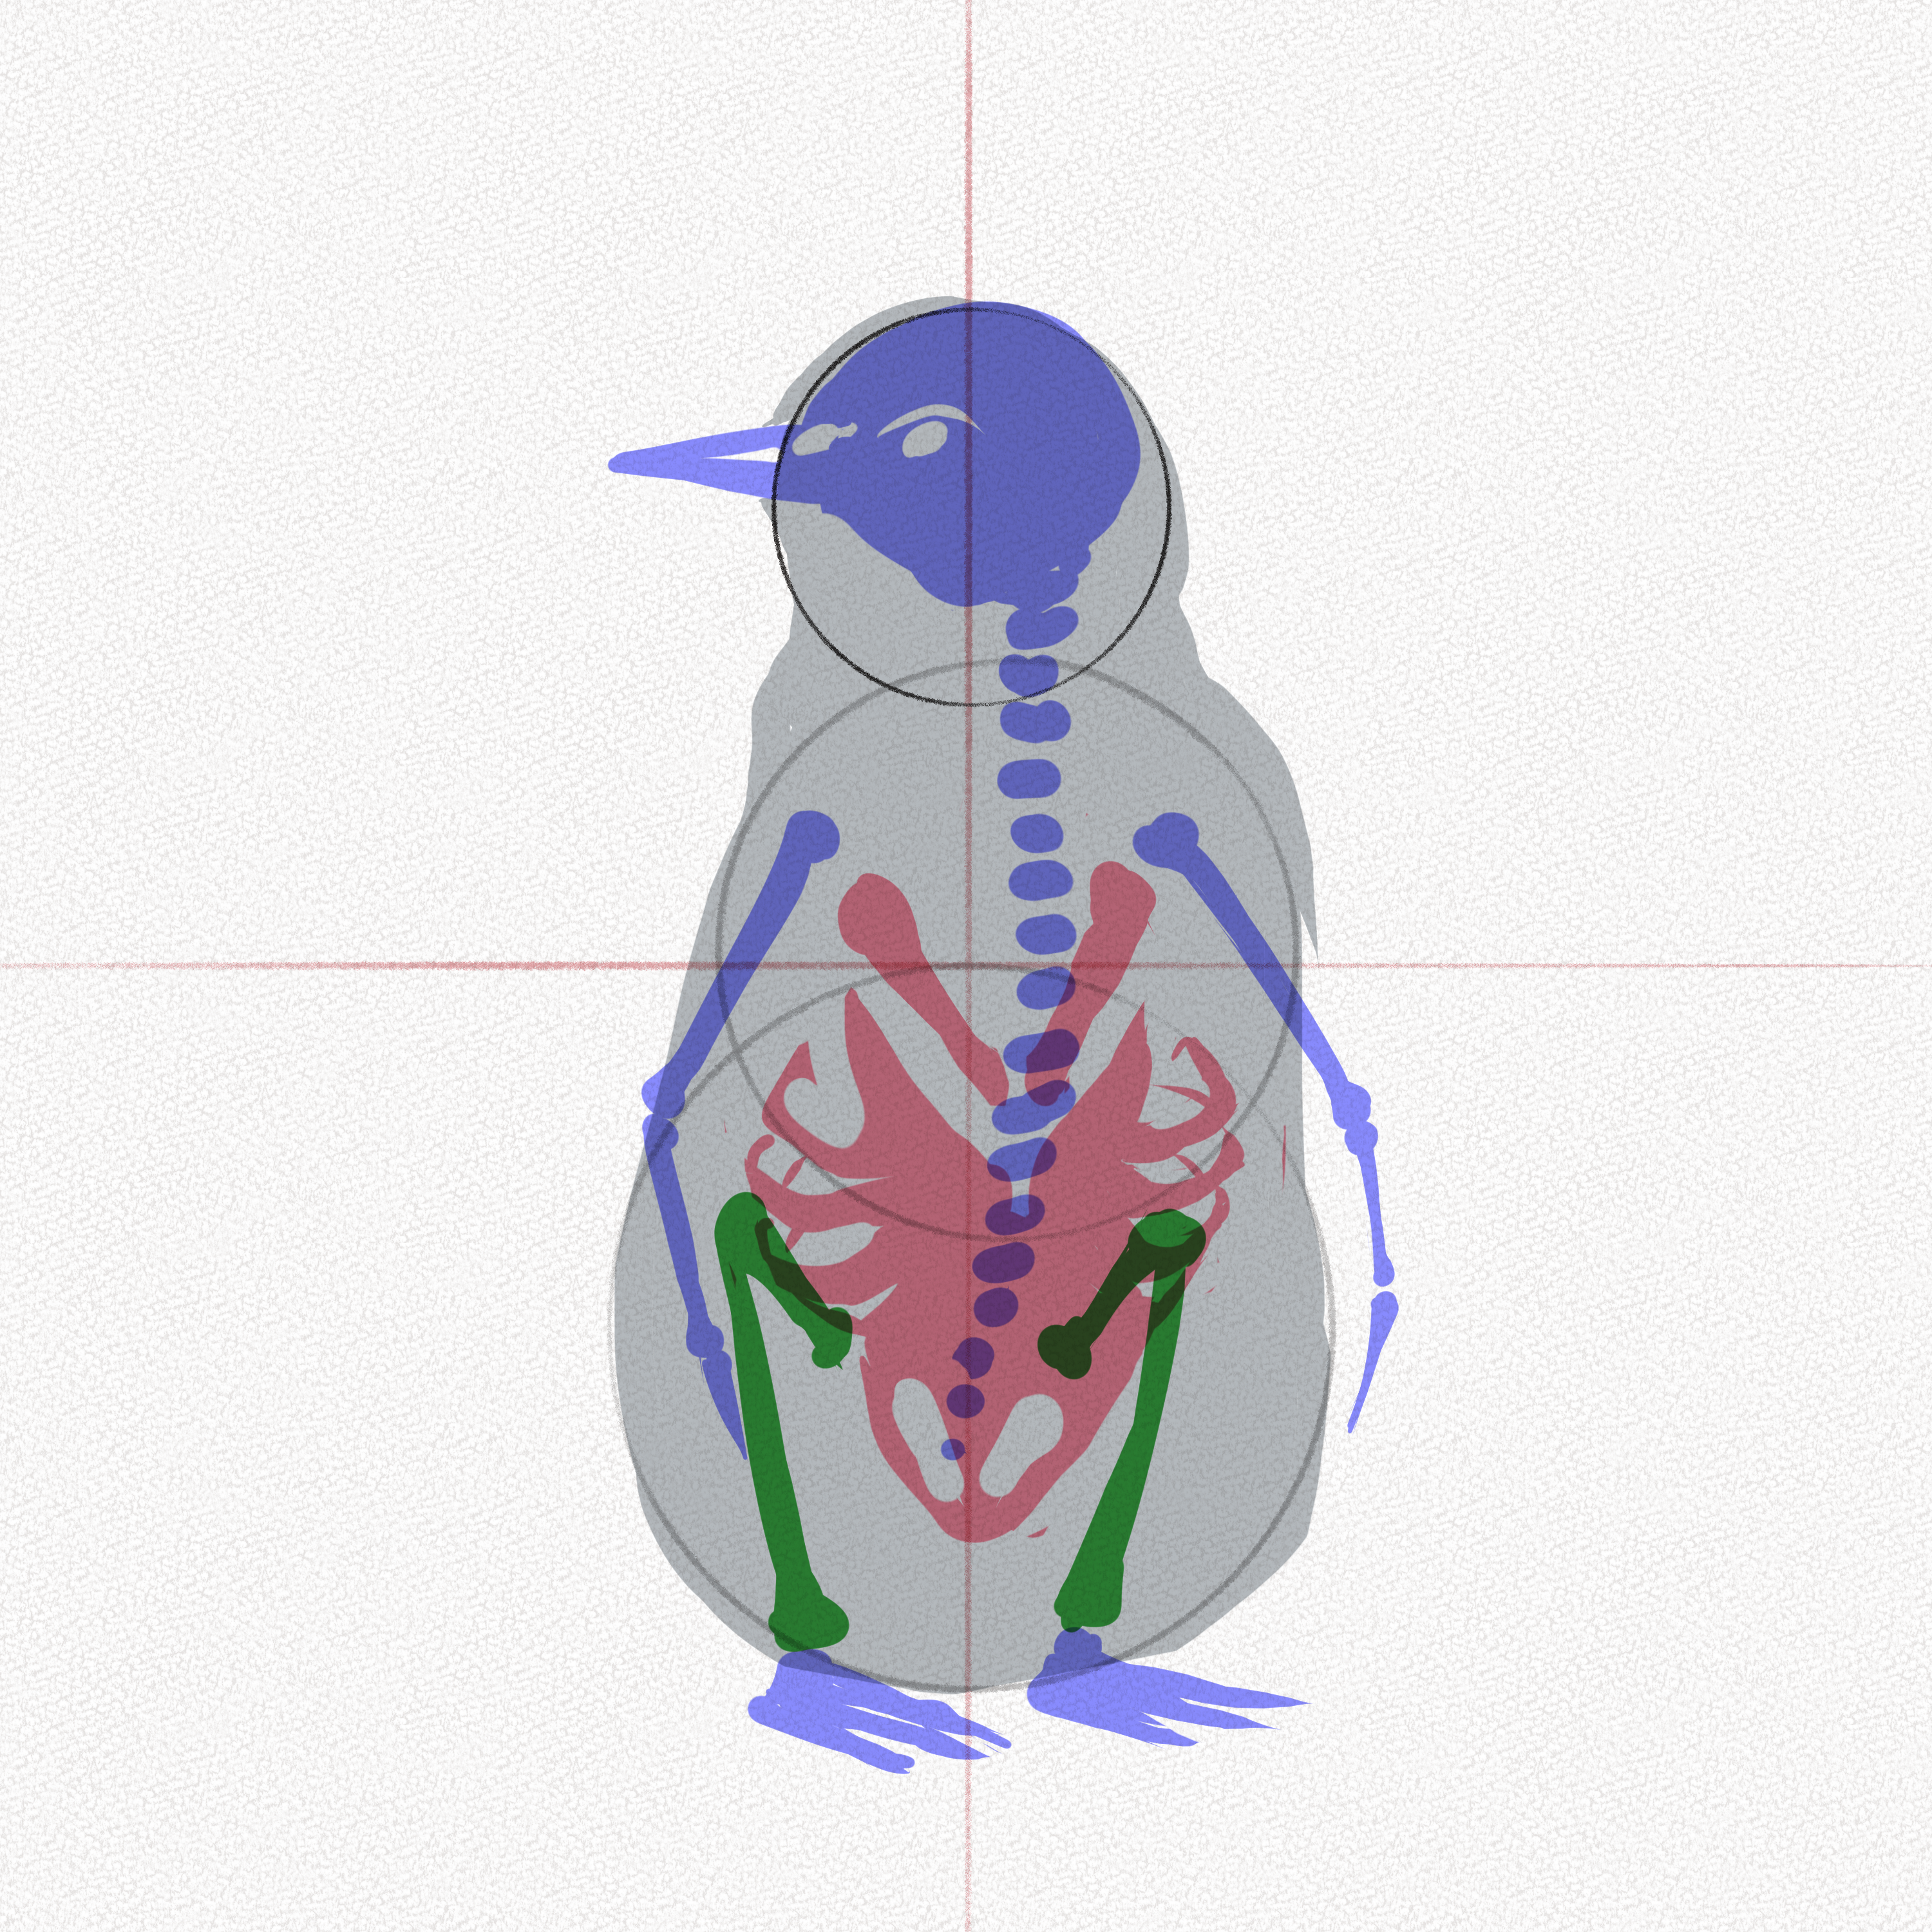
Now that we have knowledge of our penguin’s bone structure, complemented with the geometric figures of our penguin, we can visualize the outline of our penguin.
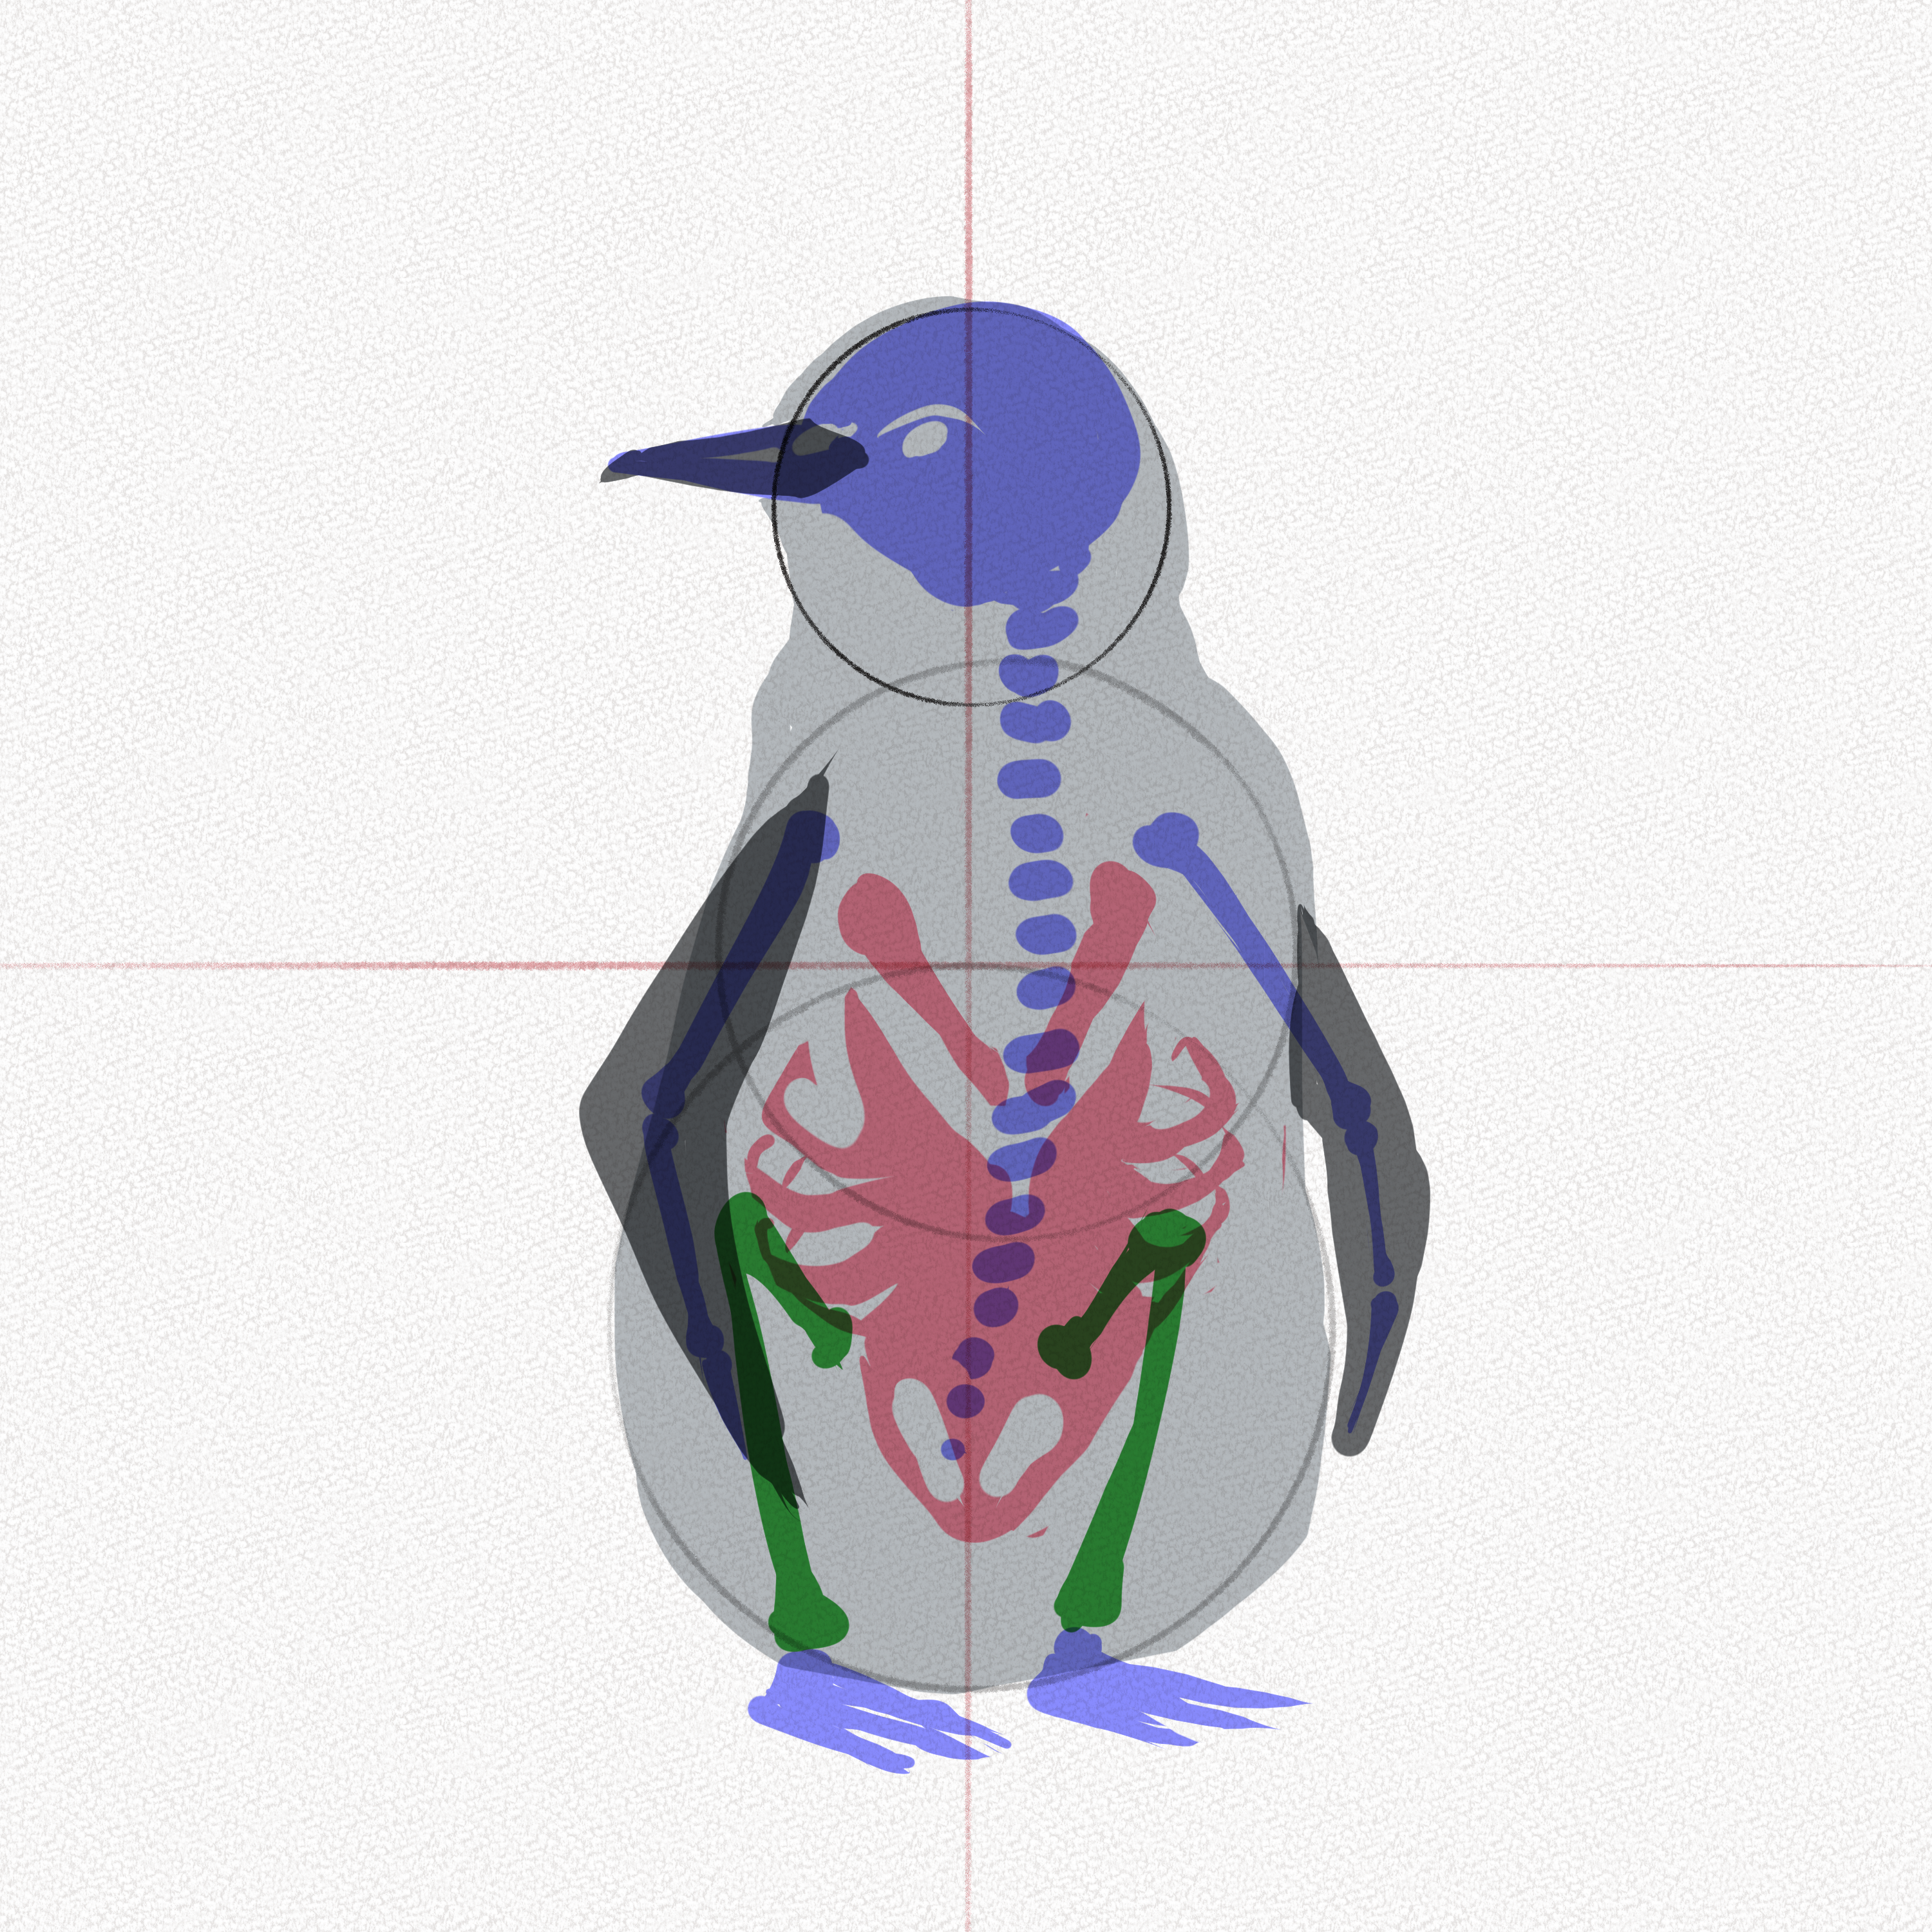
Visualization of the penguin’s wings
Taking into account the anatomy of the upper extremities, we can get an idea of how to give the correct shape to our penguin’s wings.
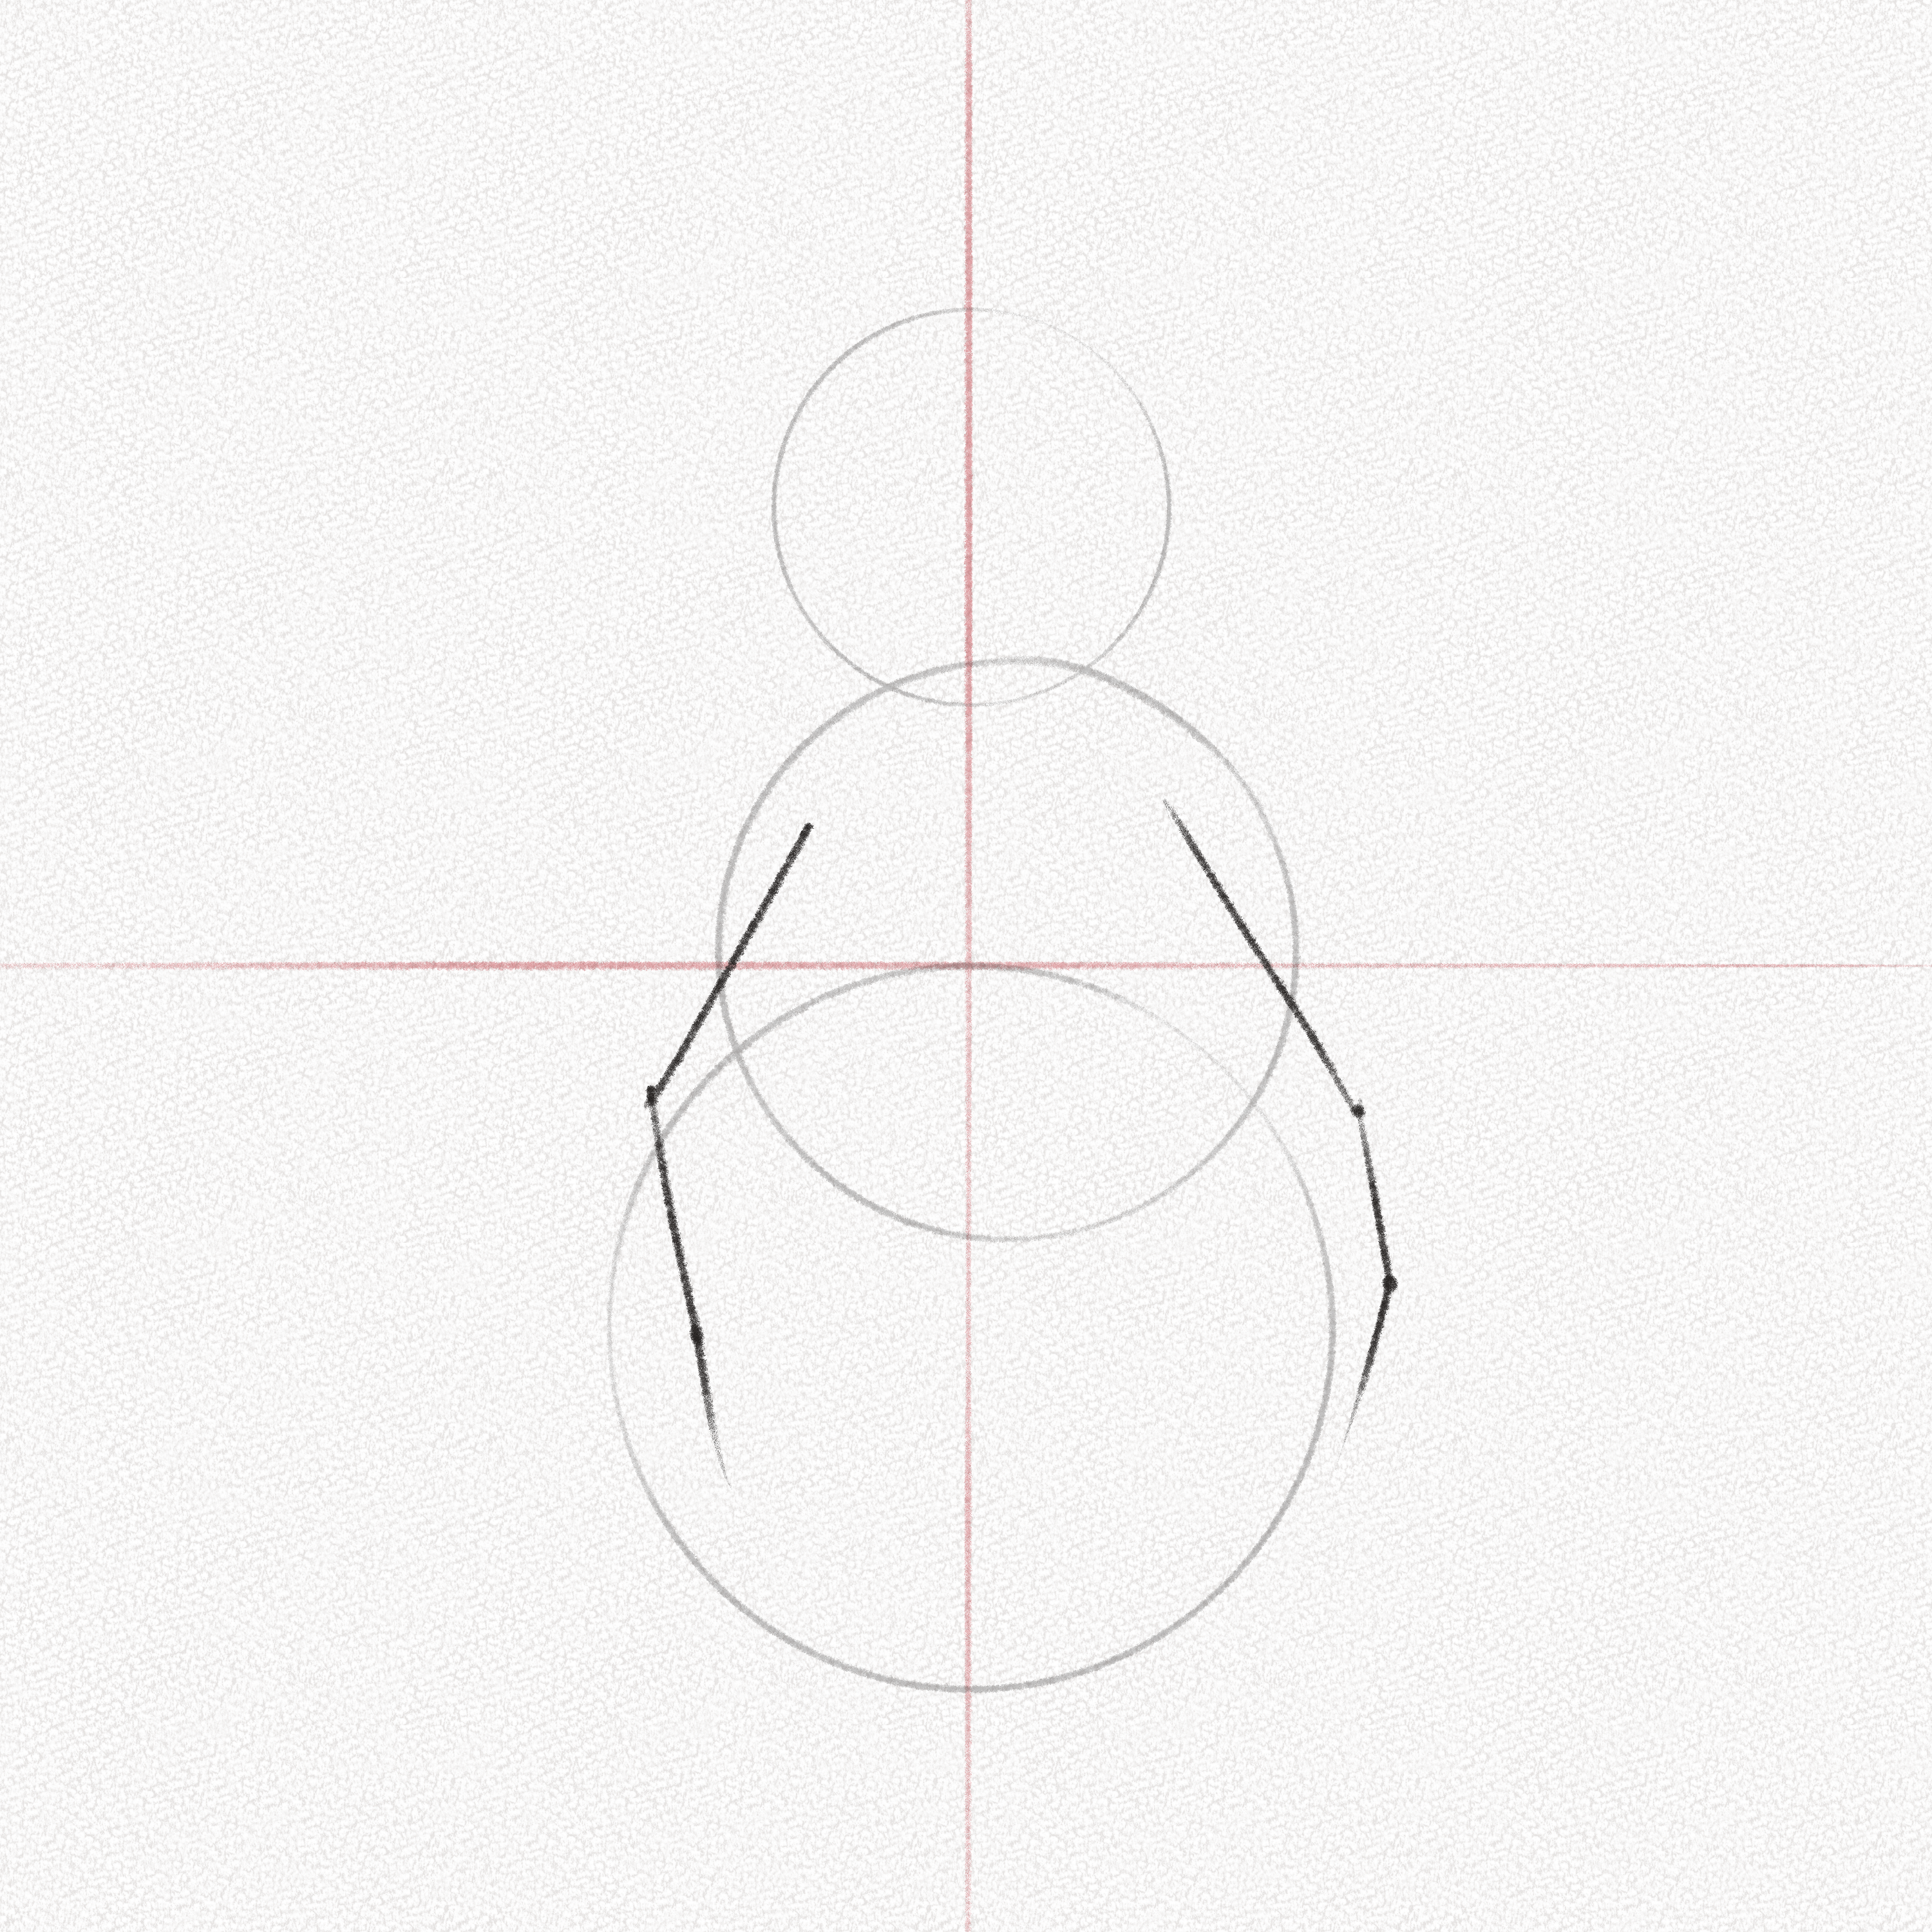
Step 6: Draw three lines for each wing
Draw one elongated line from the upper half of the central circle to the intersection with the abdomen circle, then draw another smaller line at a slightly tilted angle, and finally, a smaller line for the tip. Repeat this for the other wing as well.
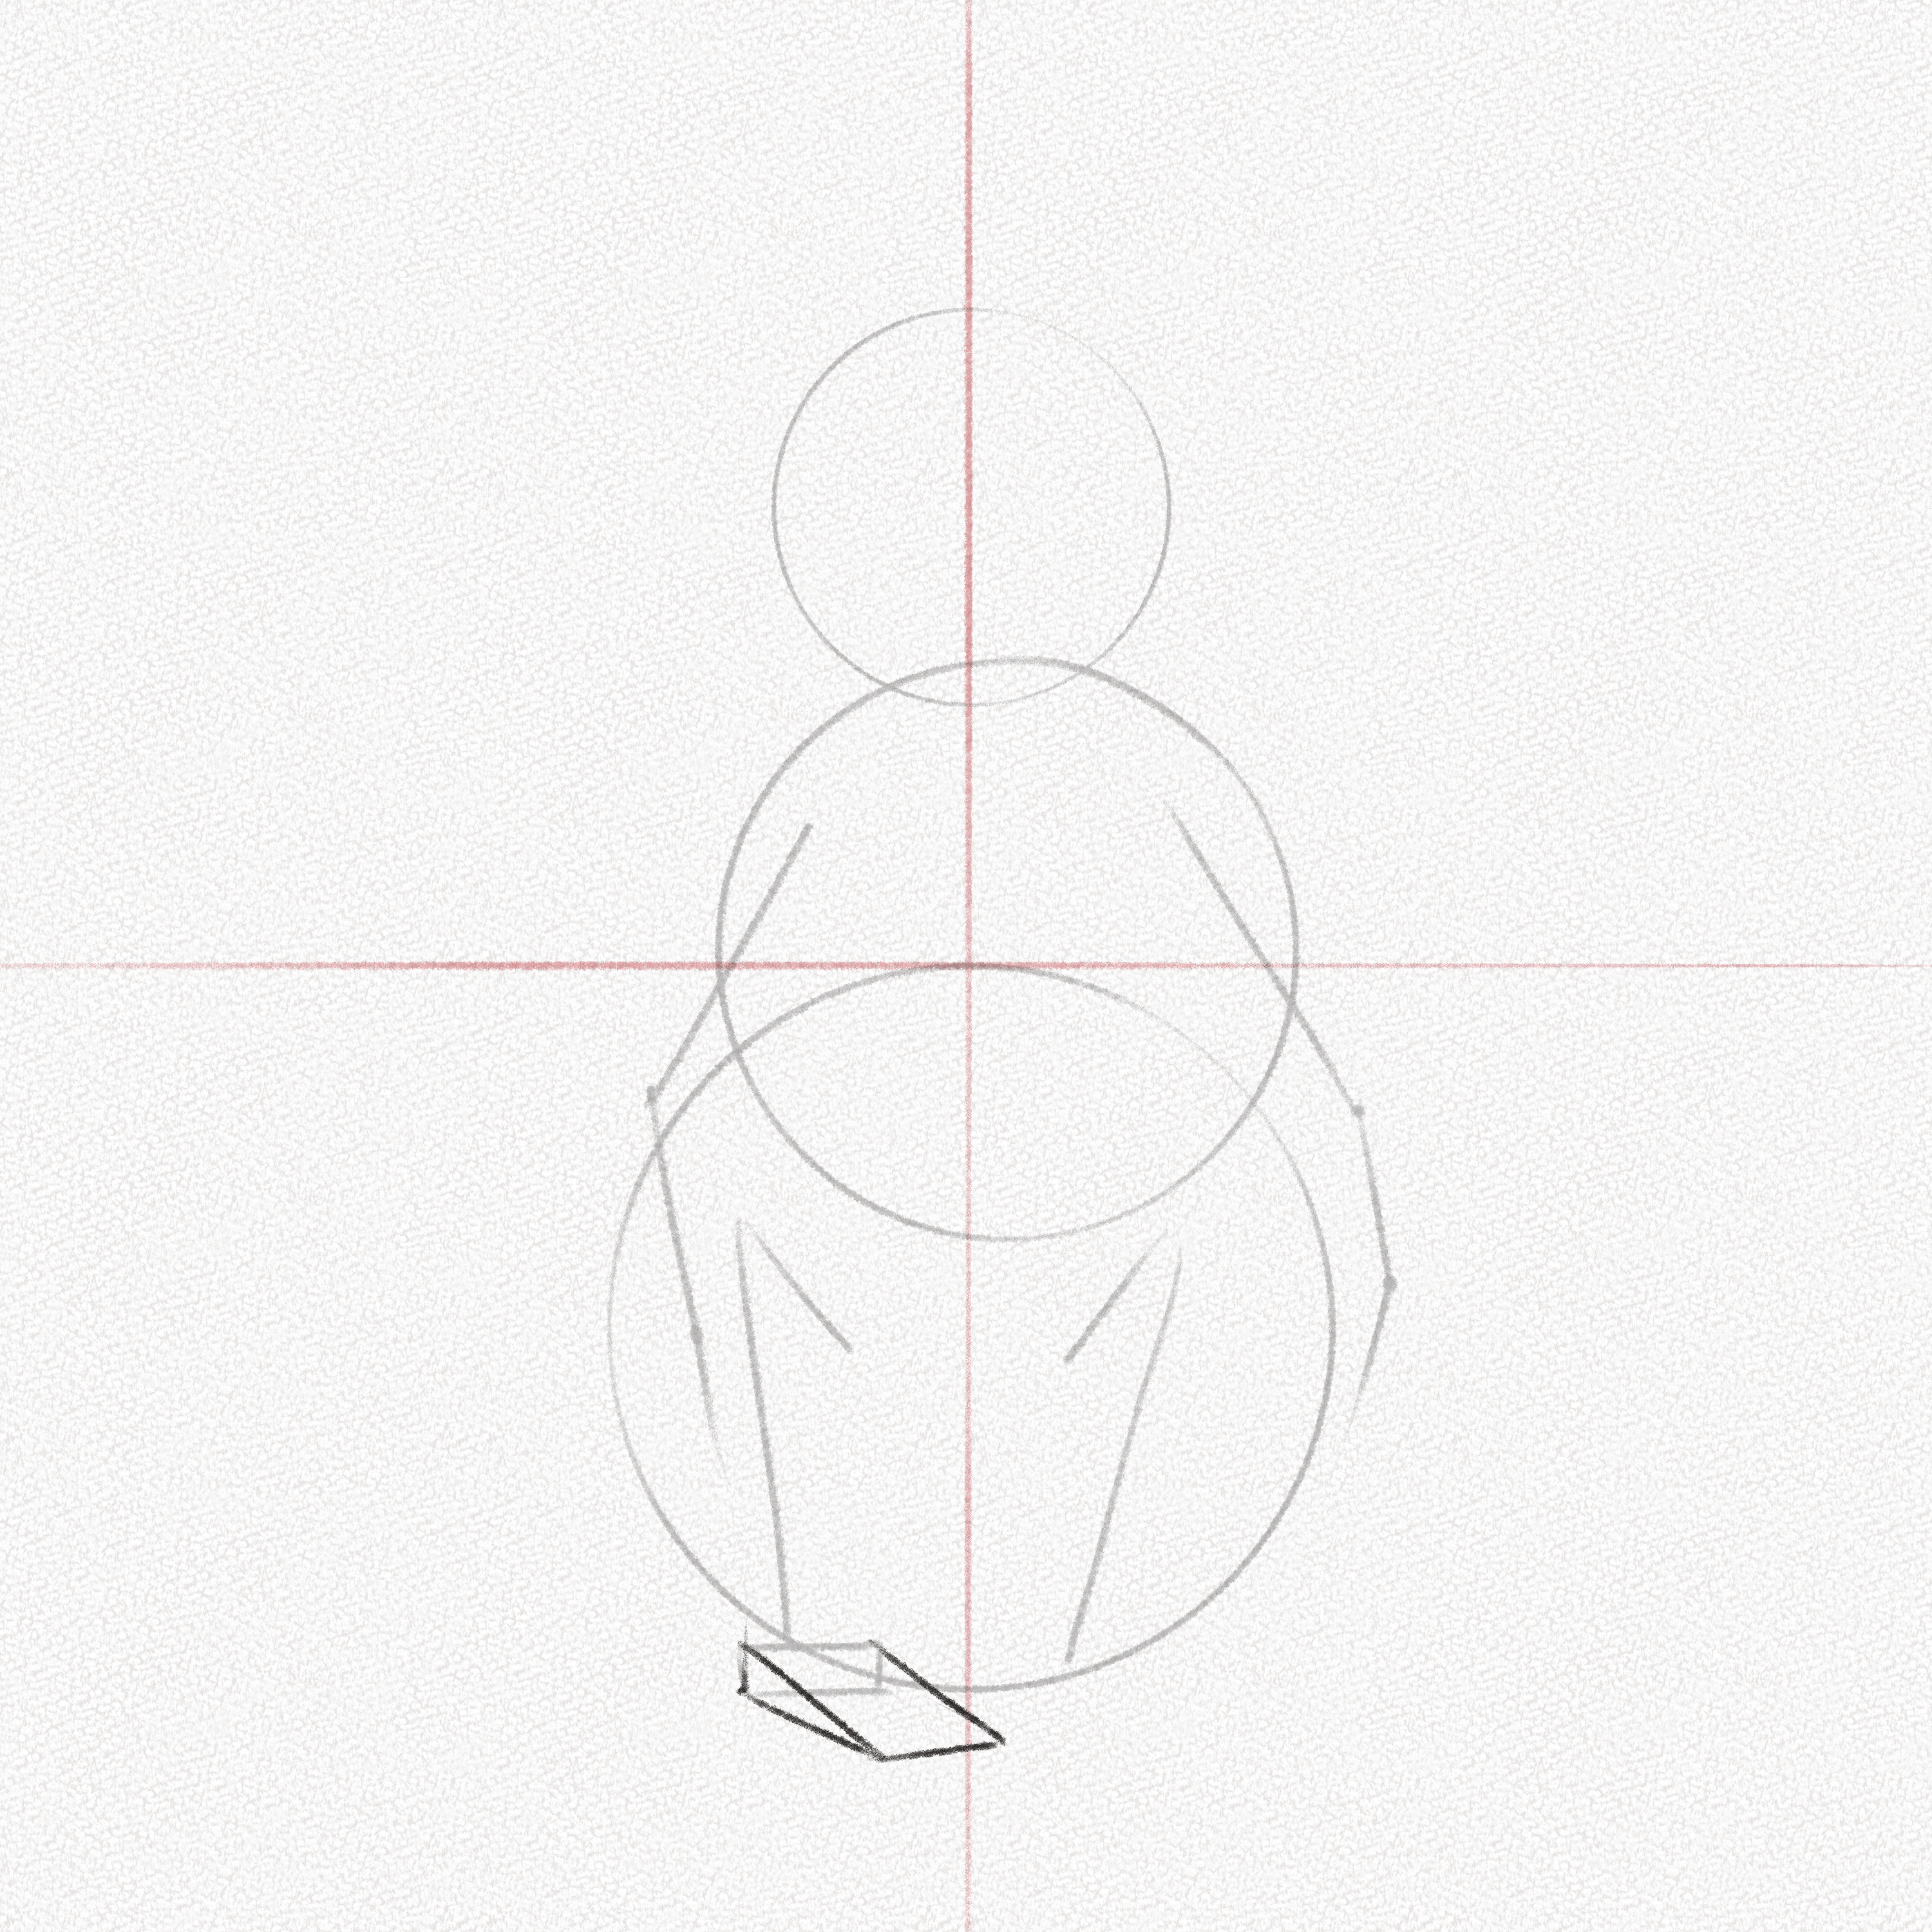
Step 7: Draw two lines for the legs
Draw a small line in the center of the lower half of the circle for the abdomen, then draw an elongated line that goes all the way to the bottom of the circle, taking into account the anatomy of the limbs from step number 5.

Step 8: Draw the feet structure
Draw a rectangle at the end of the leg lines, then two diagonal lines creating a 3D shape for the feet. Repeat for both legs.

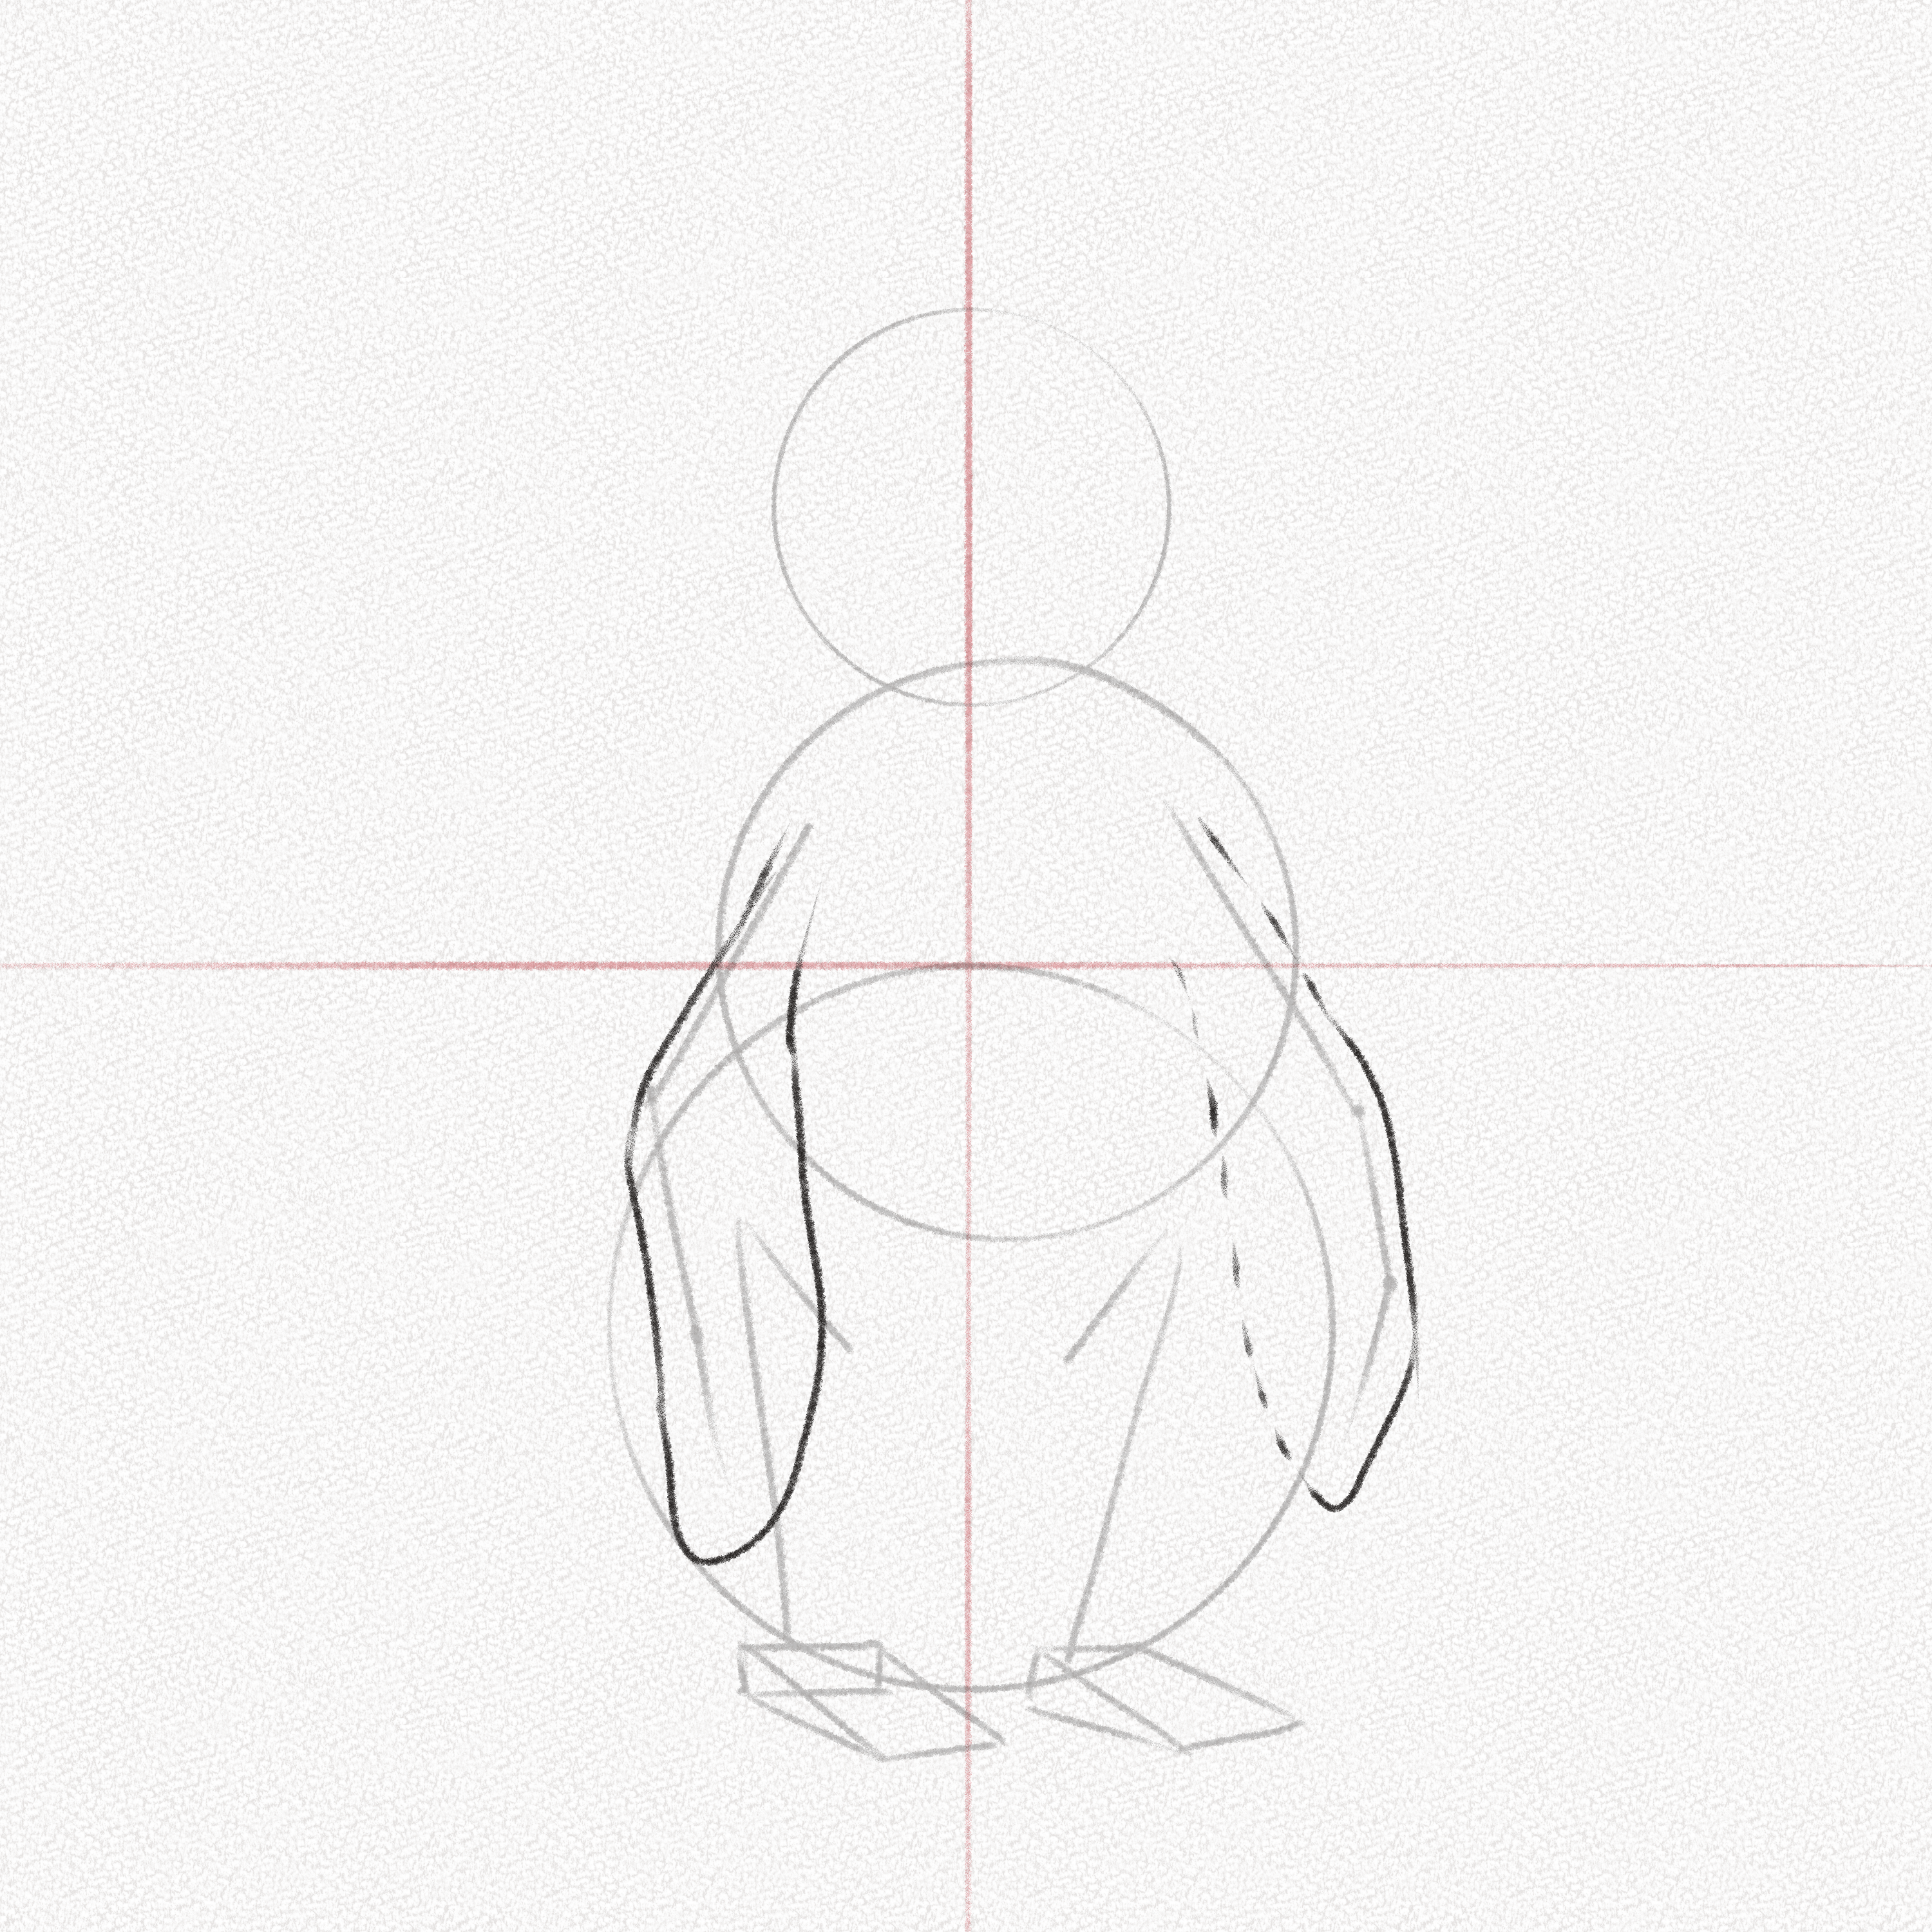
Step 9: Outline the wings
Draw two elongated shapes respecting the angles formed by the lines drawn for the wings in step 9, as seen in the image. Keep in mind that the dotted lines won’t be visible and will only serve as a reference.
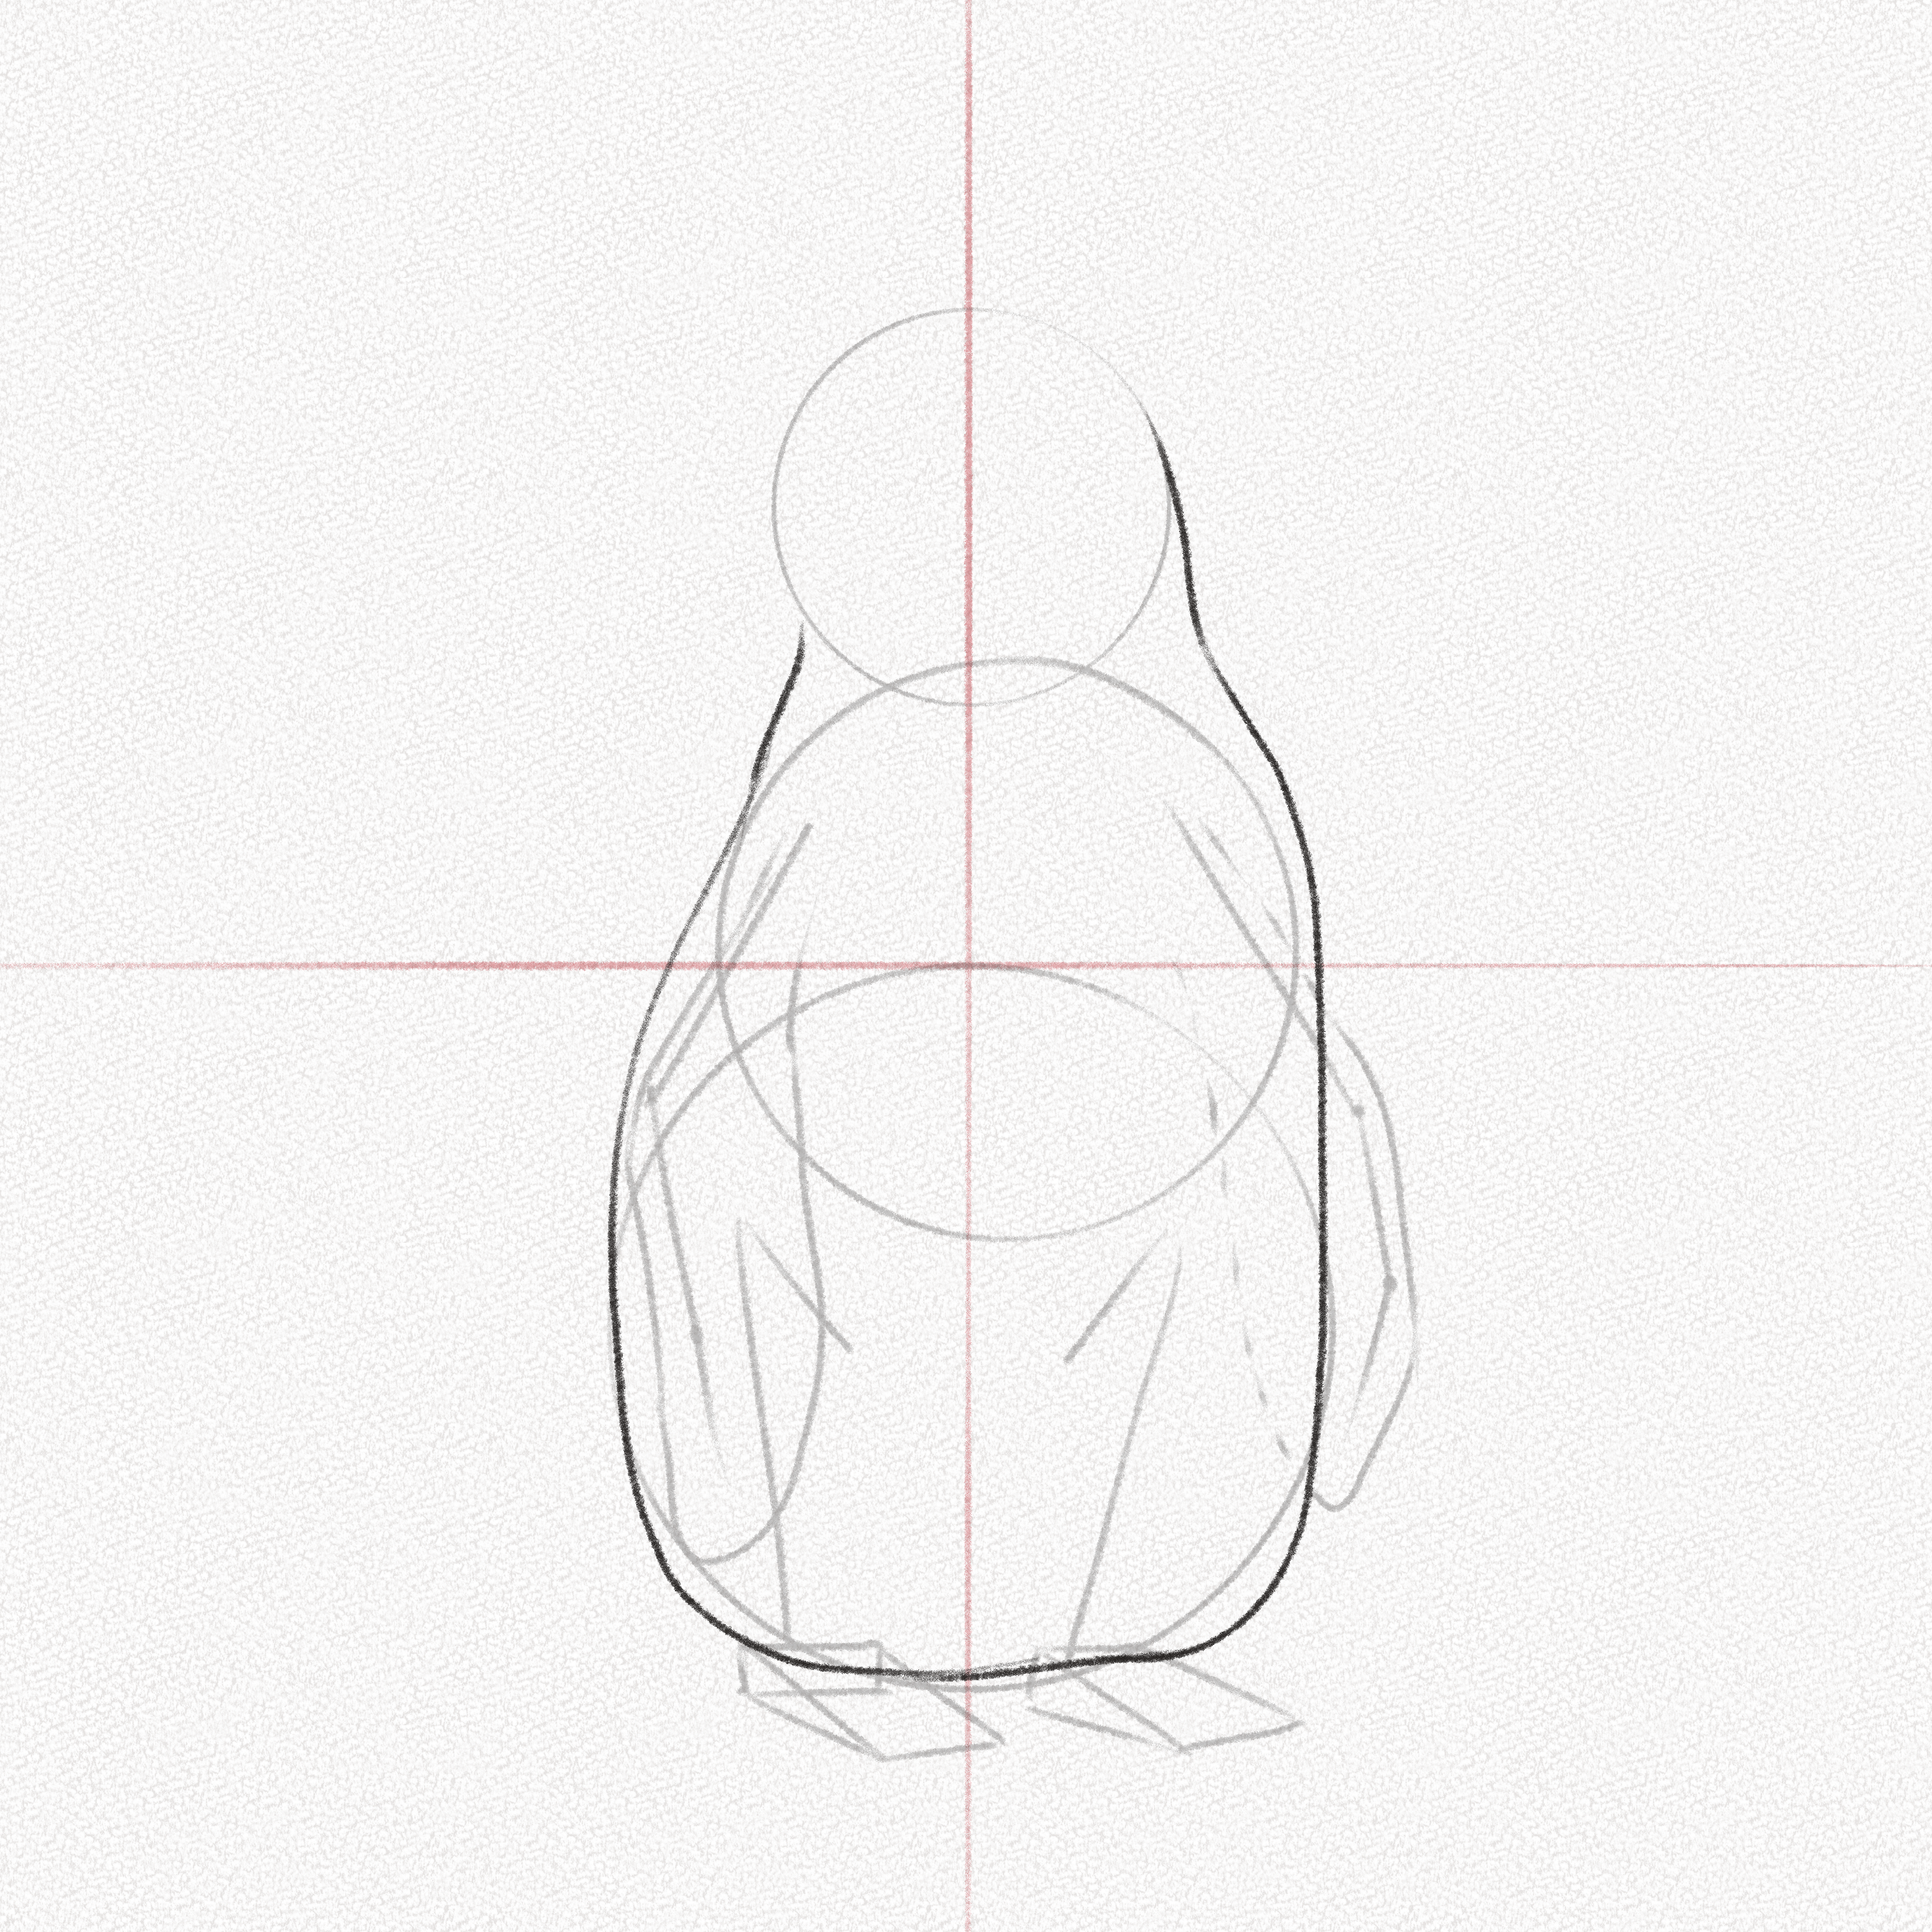
Step 10: Outline the body
Let’s draw the outline of our penguin’s body by connecting the circles’ contours. For the lower part, take into consideration the shape of the plumage and draw a flatter round shape.
Step 11: Erase your guidelines
With your kneaded eraser, erase the guidelines of the wings and legs, as well as the circles for the abdomen and torso.
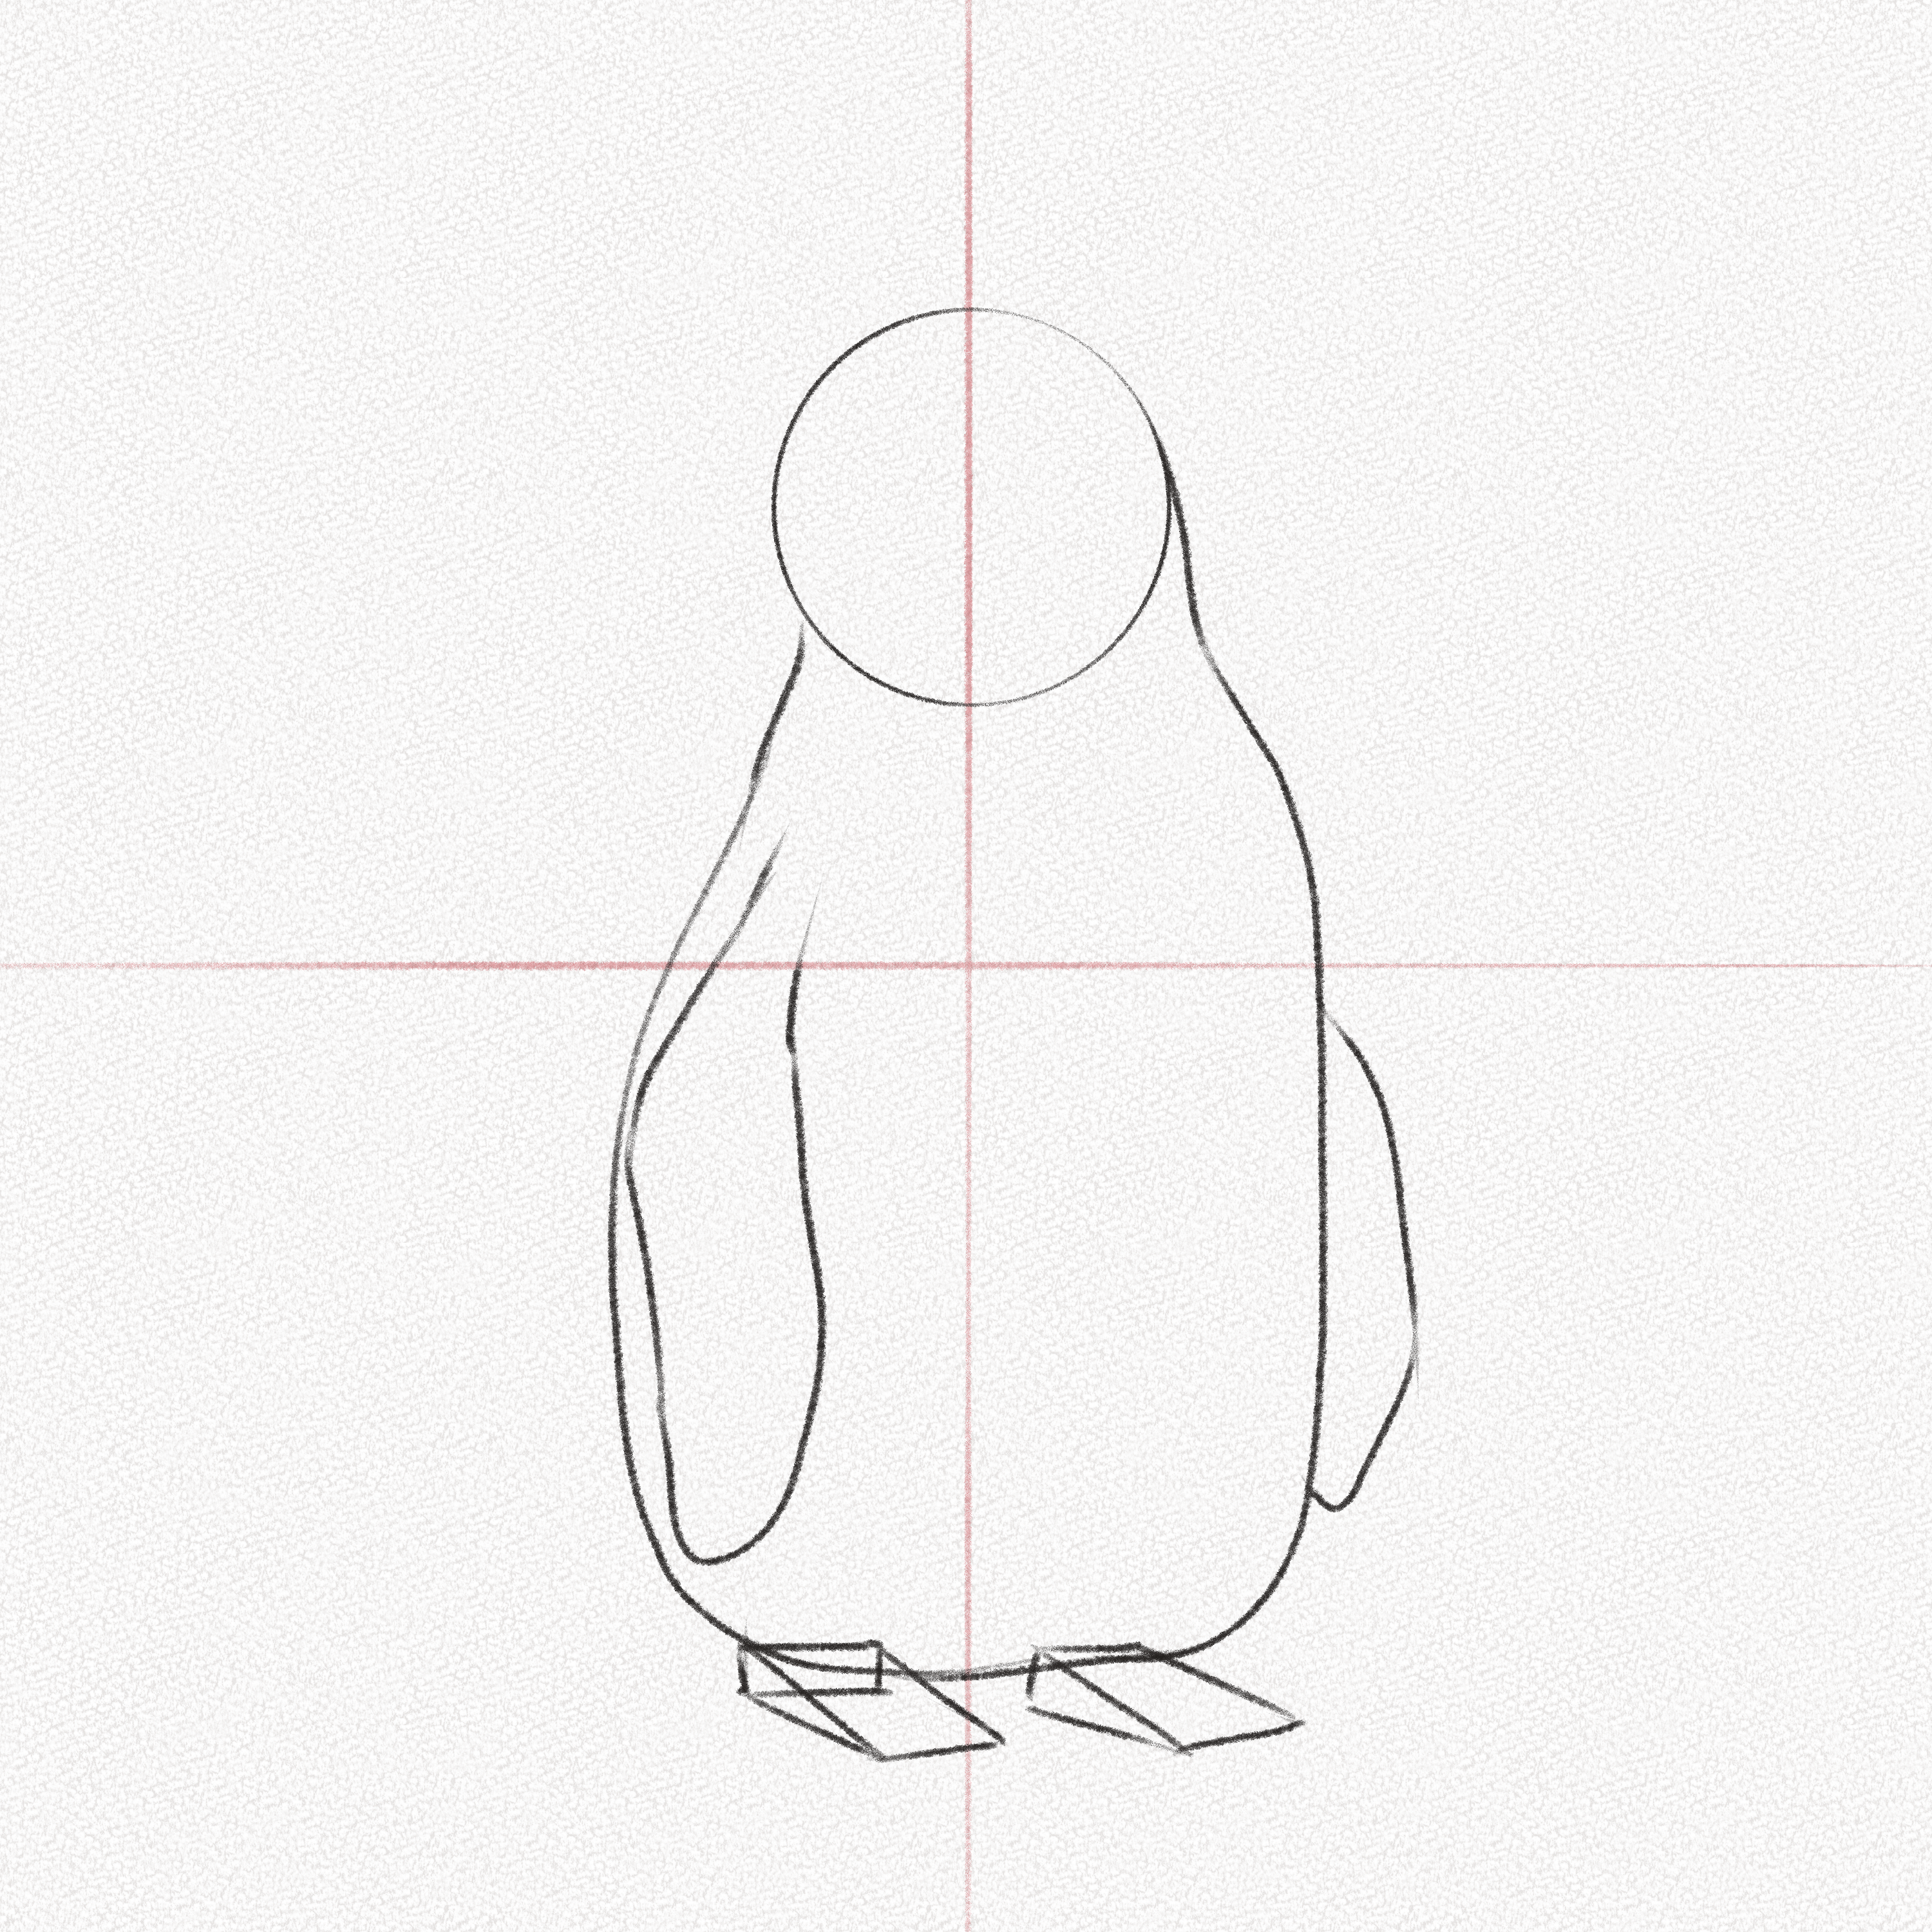
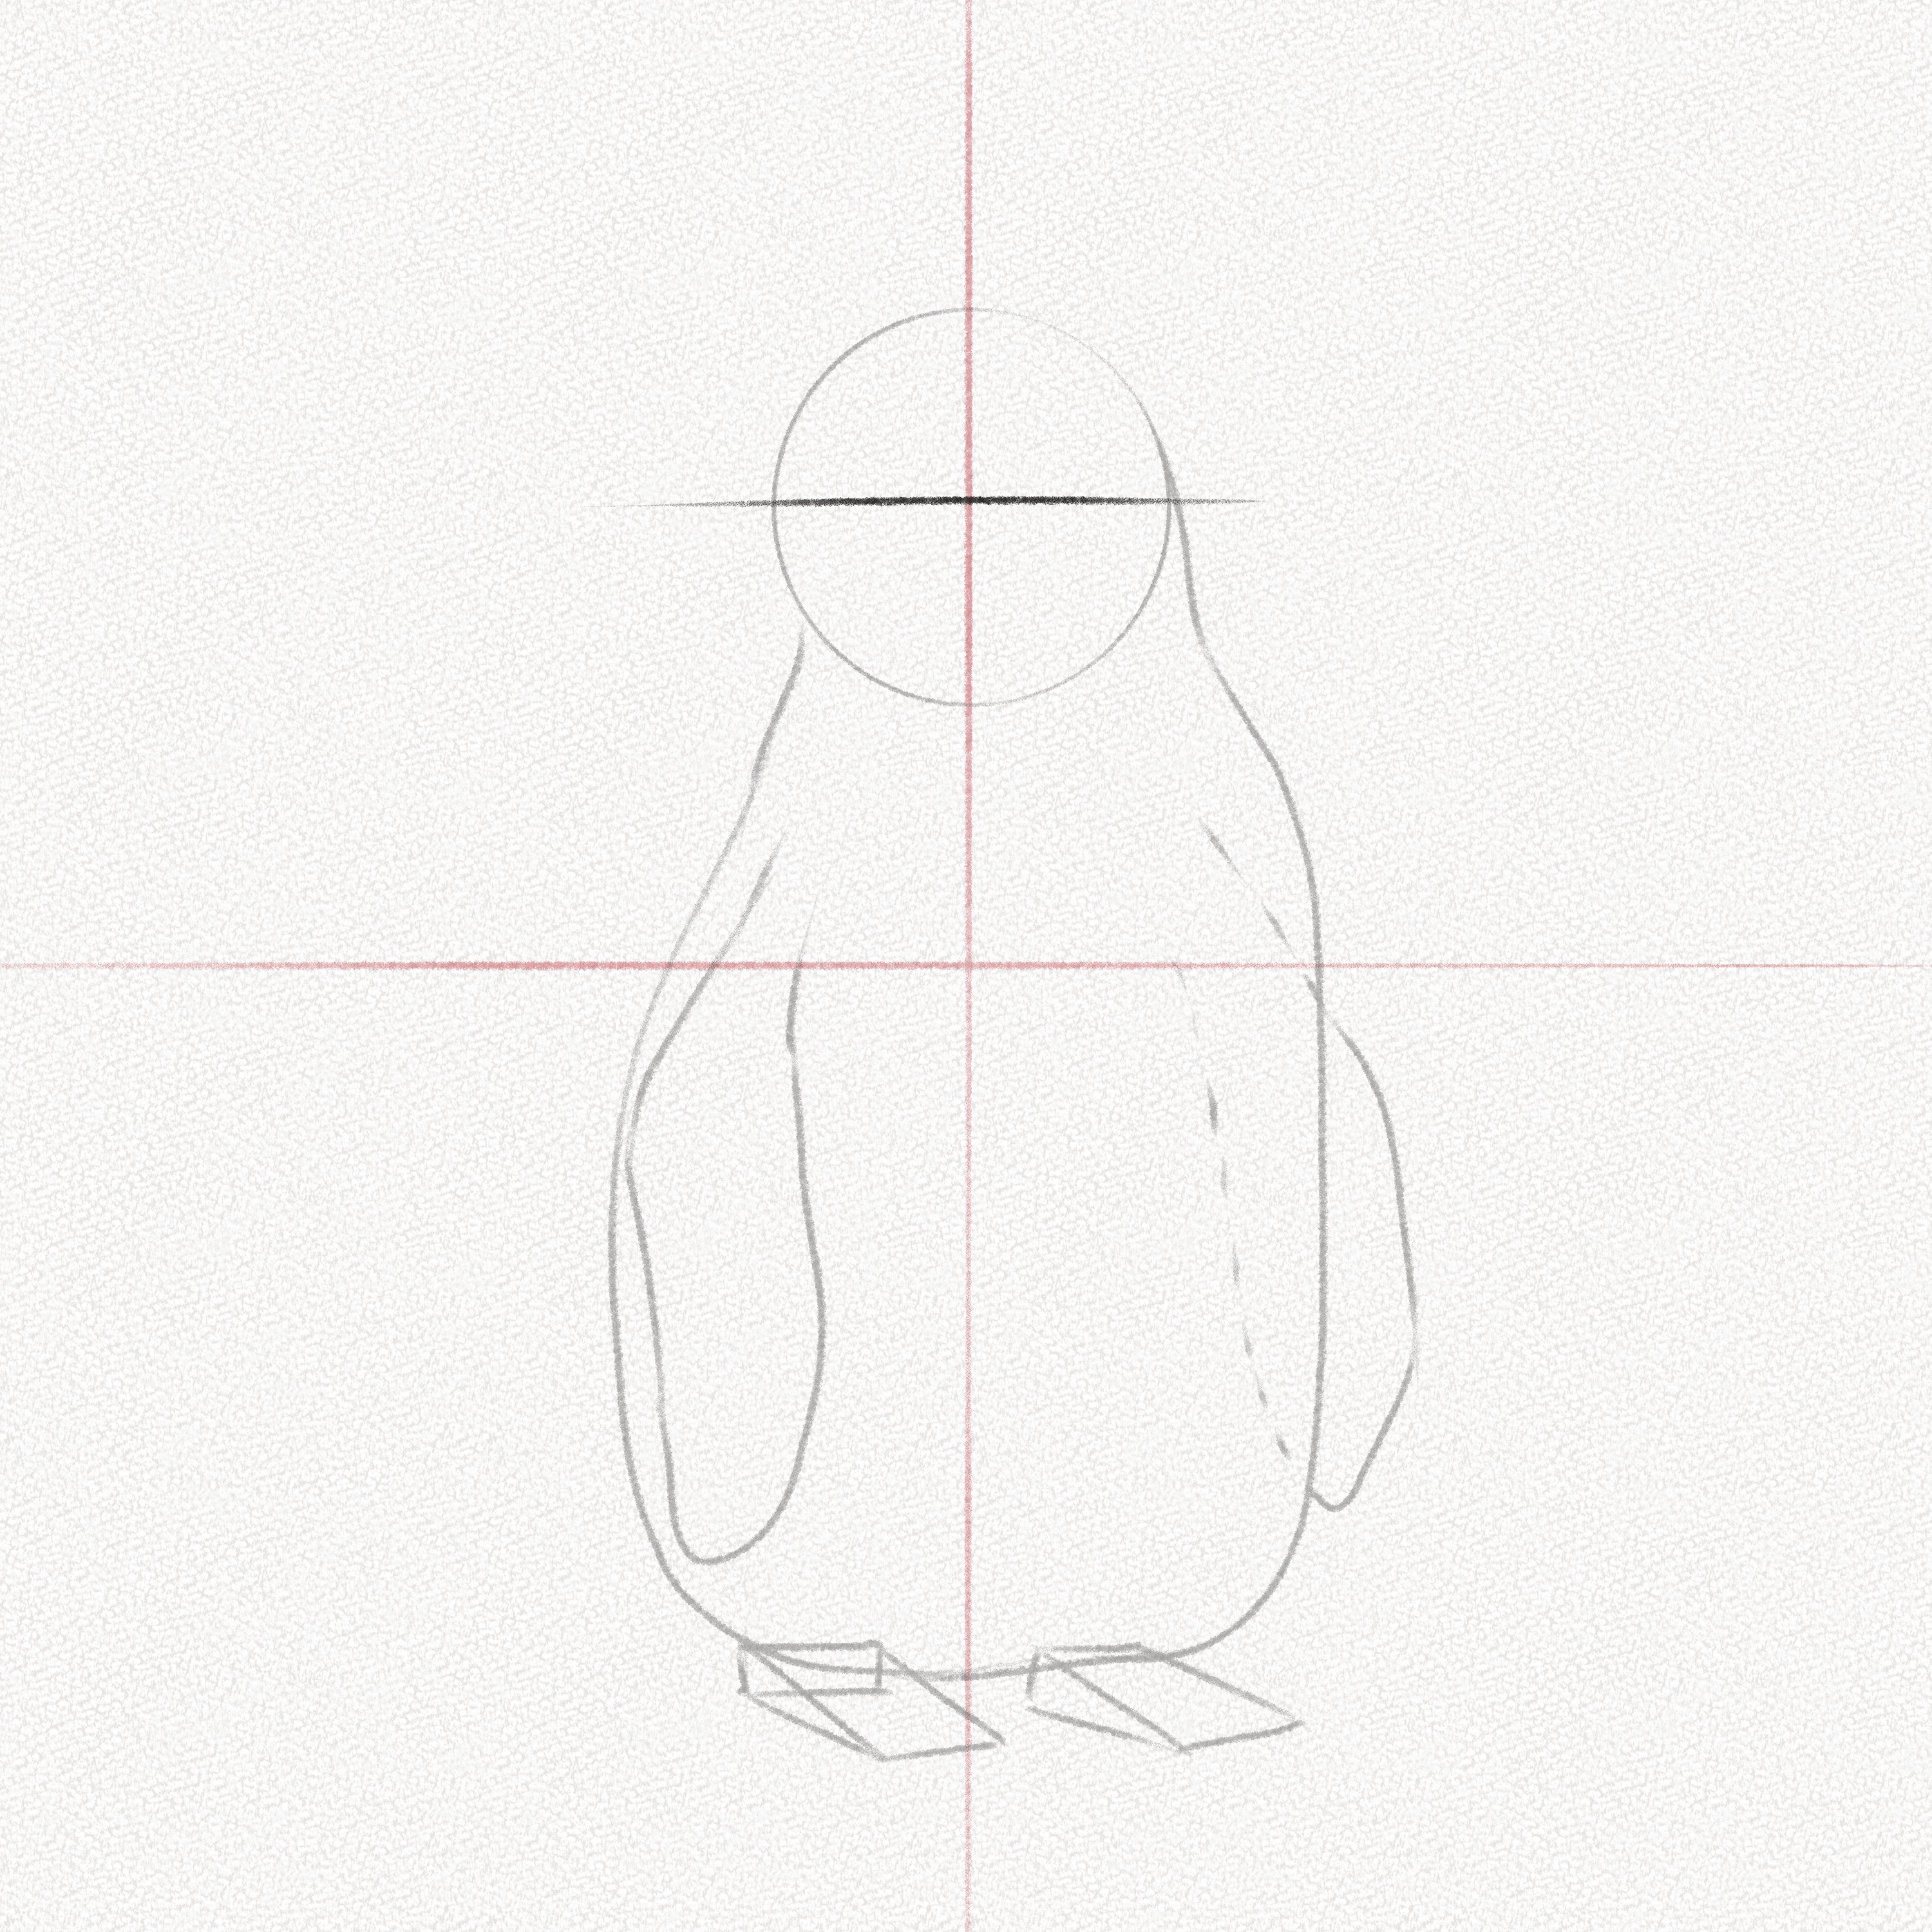
Step 12: Draw a straight line
Draw a horizontal line in the middle of the head’s circle.
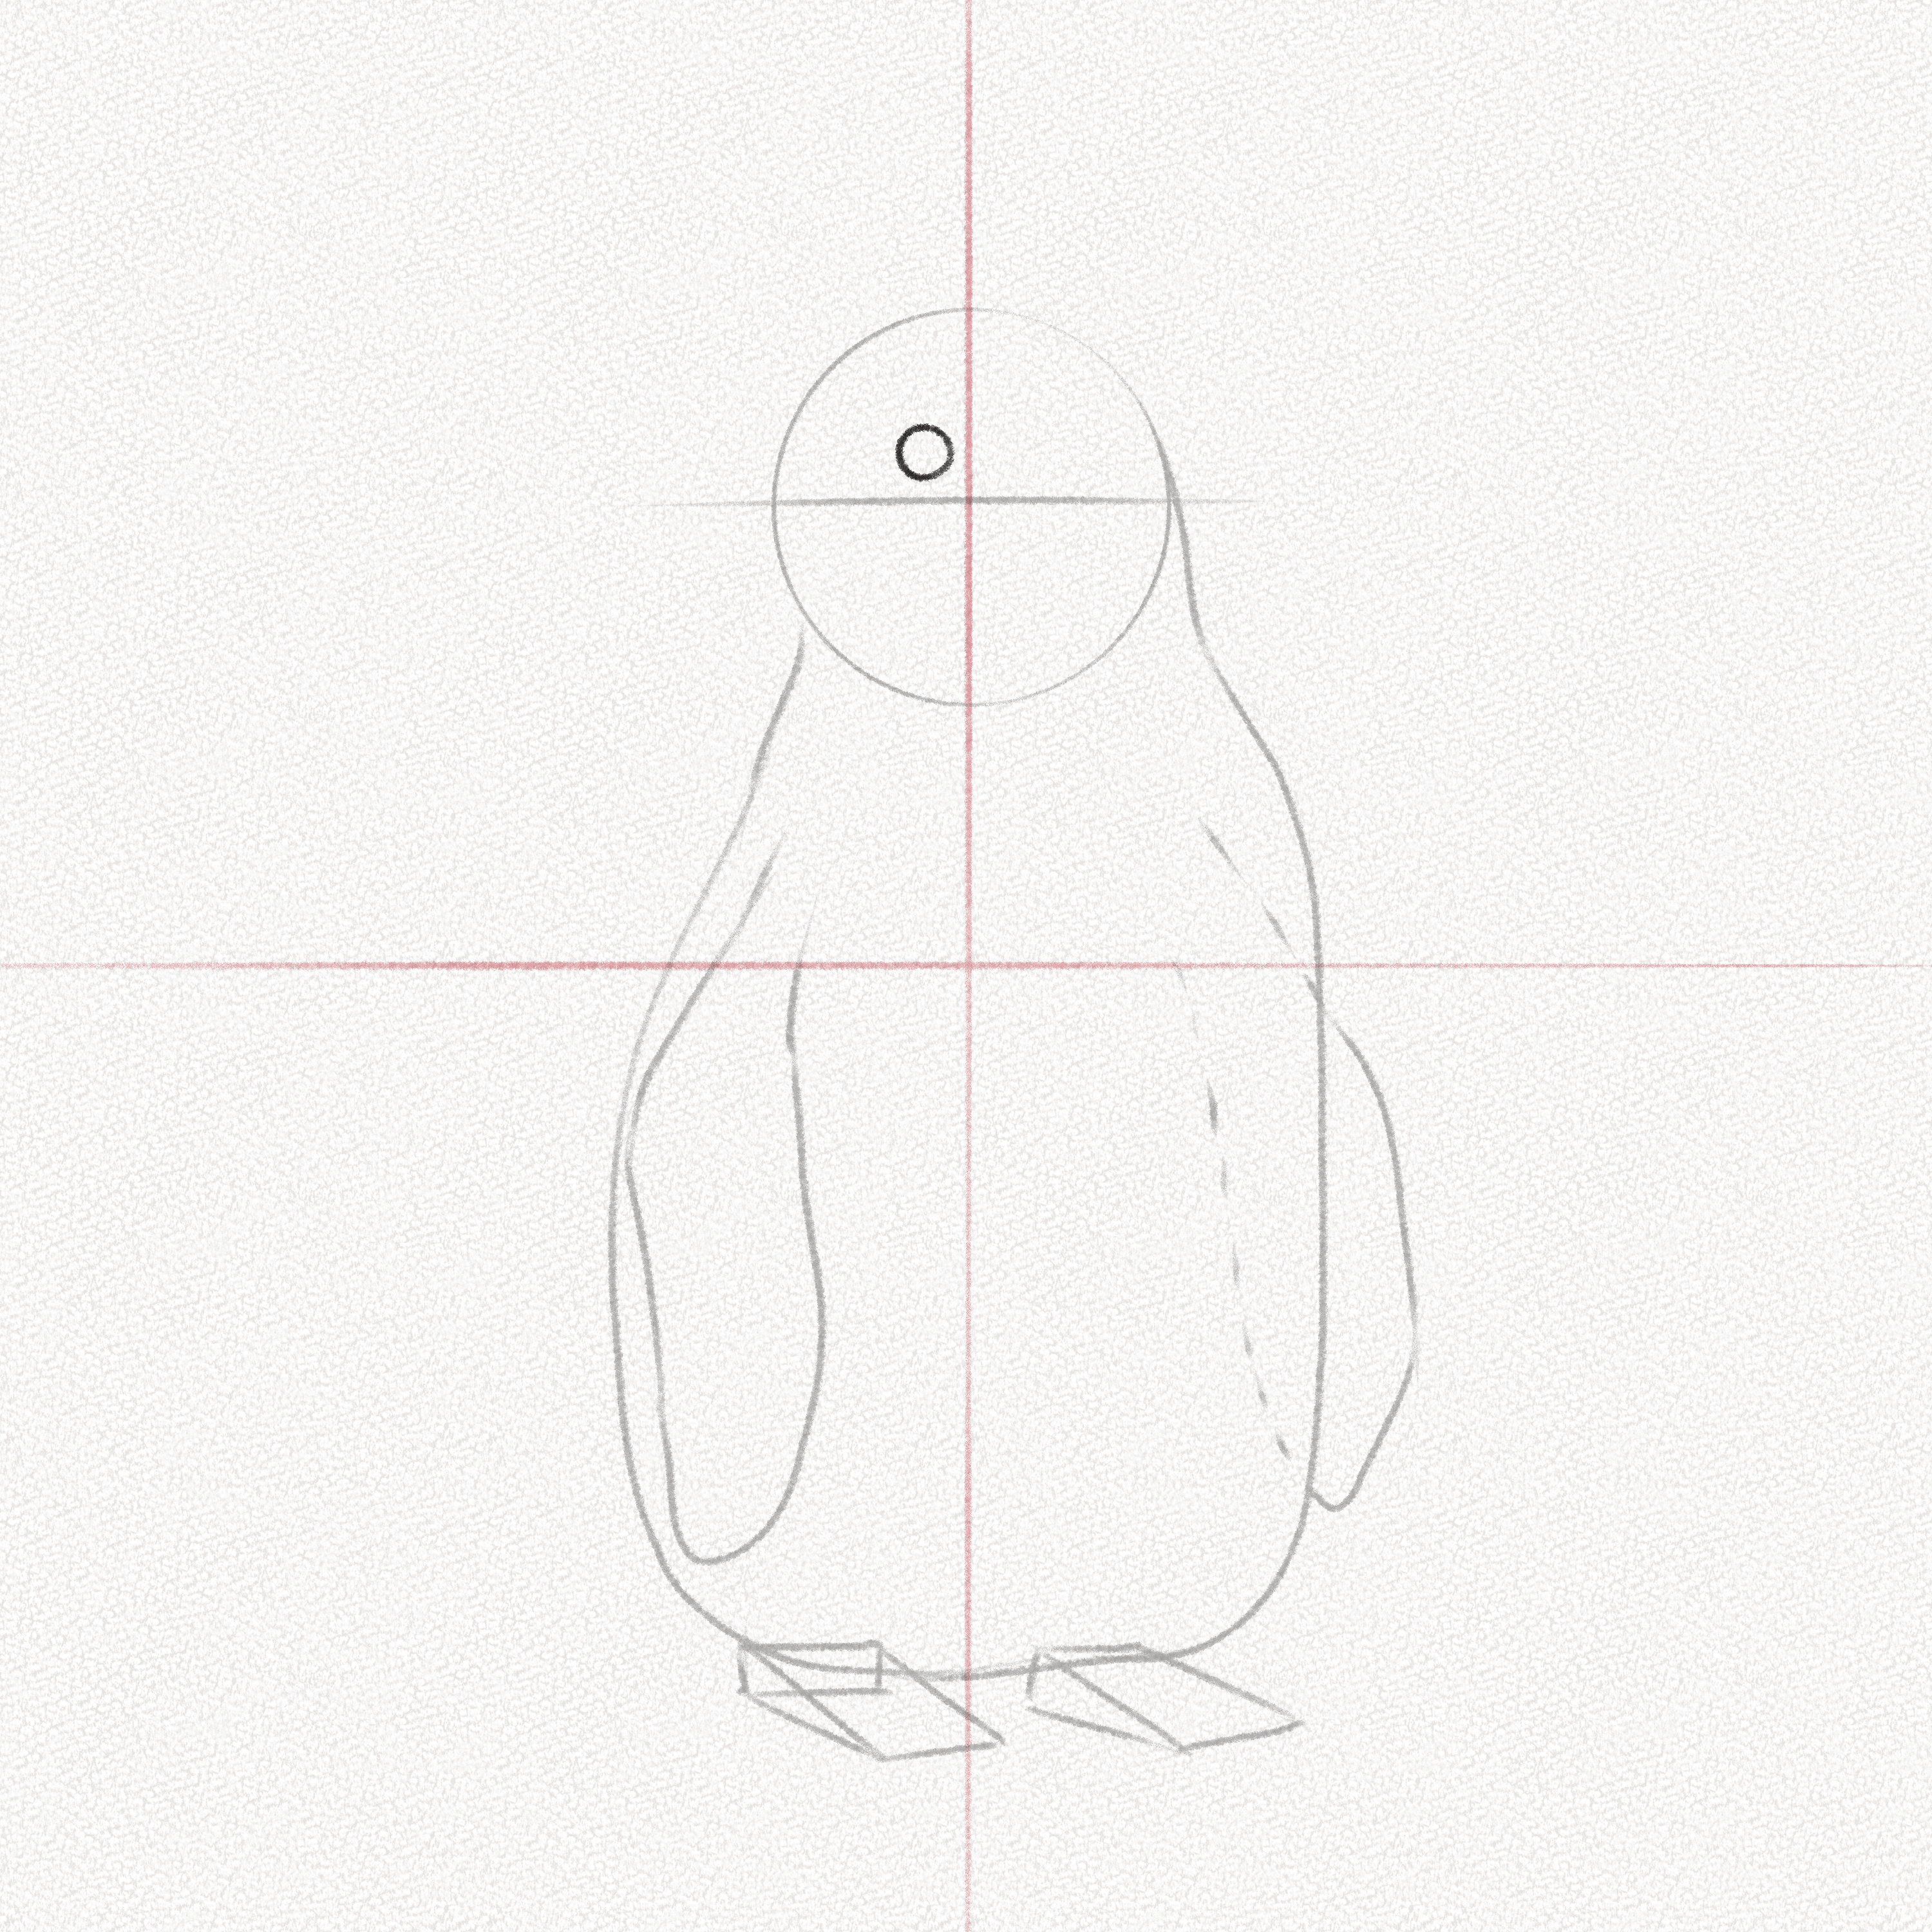
Step 13: Draw a circle
Draw a small circle in the upper-left quadrant of the head circle, a little away from the midpoint. This will be the base of our penguin’s eye.
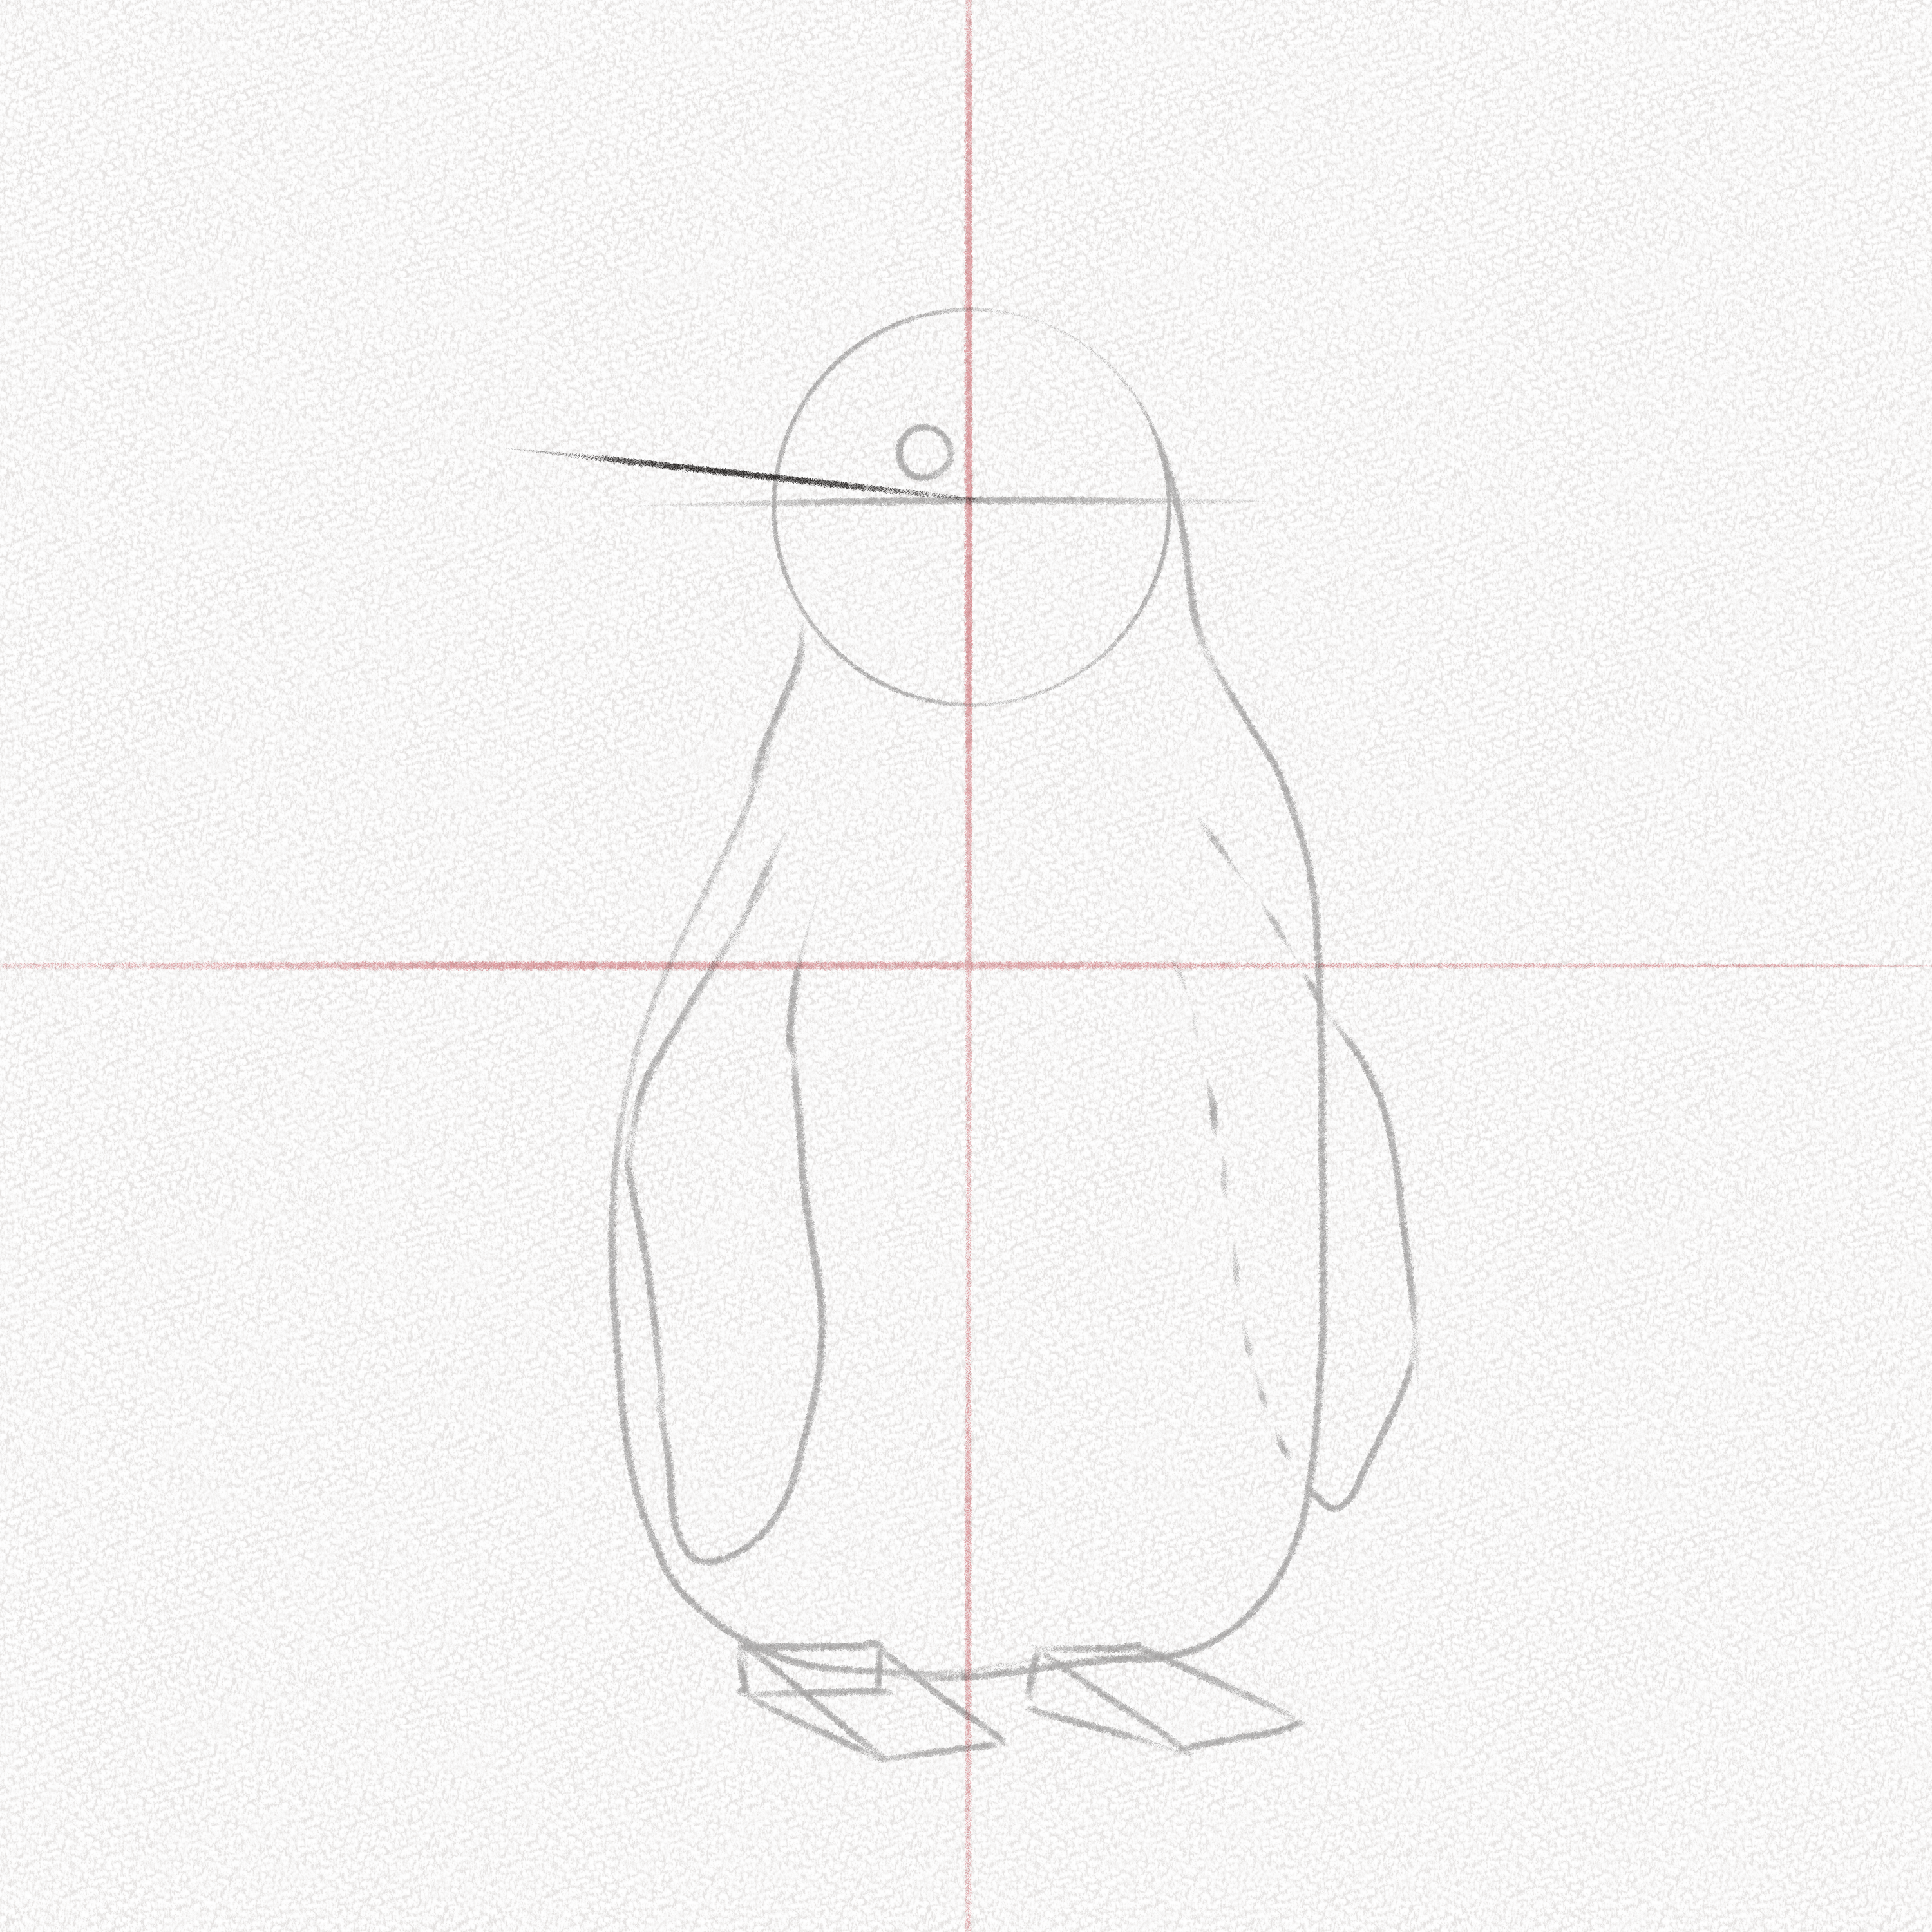
Step 14: Draw a straight line
Draw a vertical line that starts at the intersection of the straight line and our guideline, about 15 degrees, and twice as long as the head circle’s radius.
Step 15: Connect them
As our penguin is facing to the right, let’s draw a line that connects the top of the eye with the vertical line and another that connects it to the horizontal line.
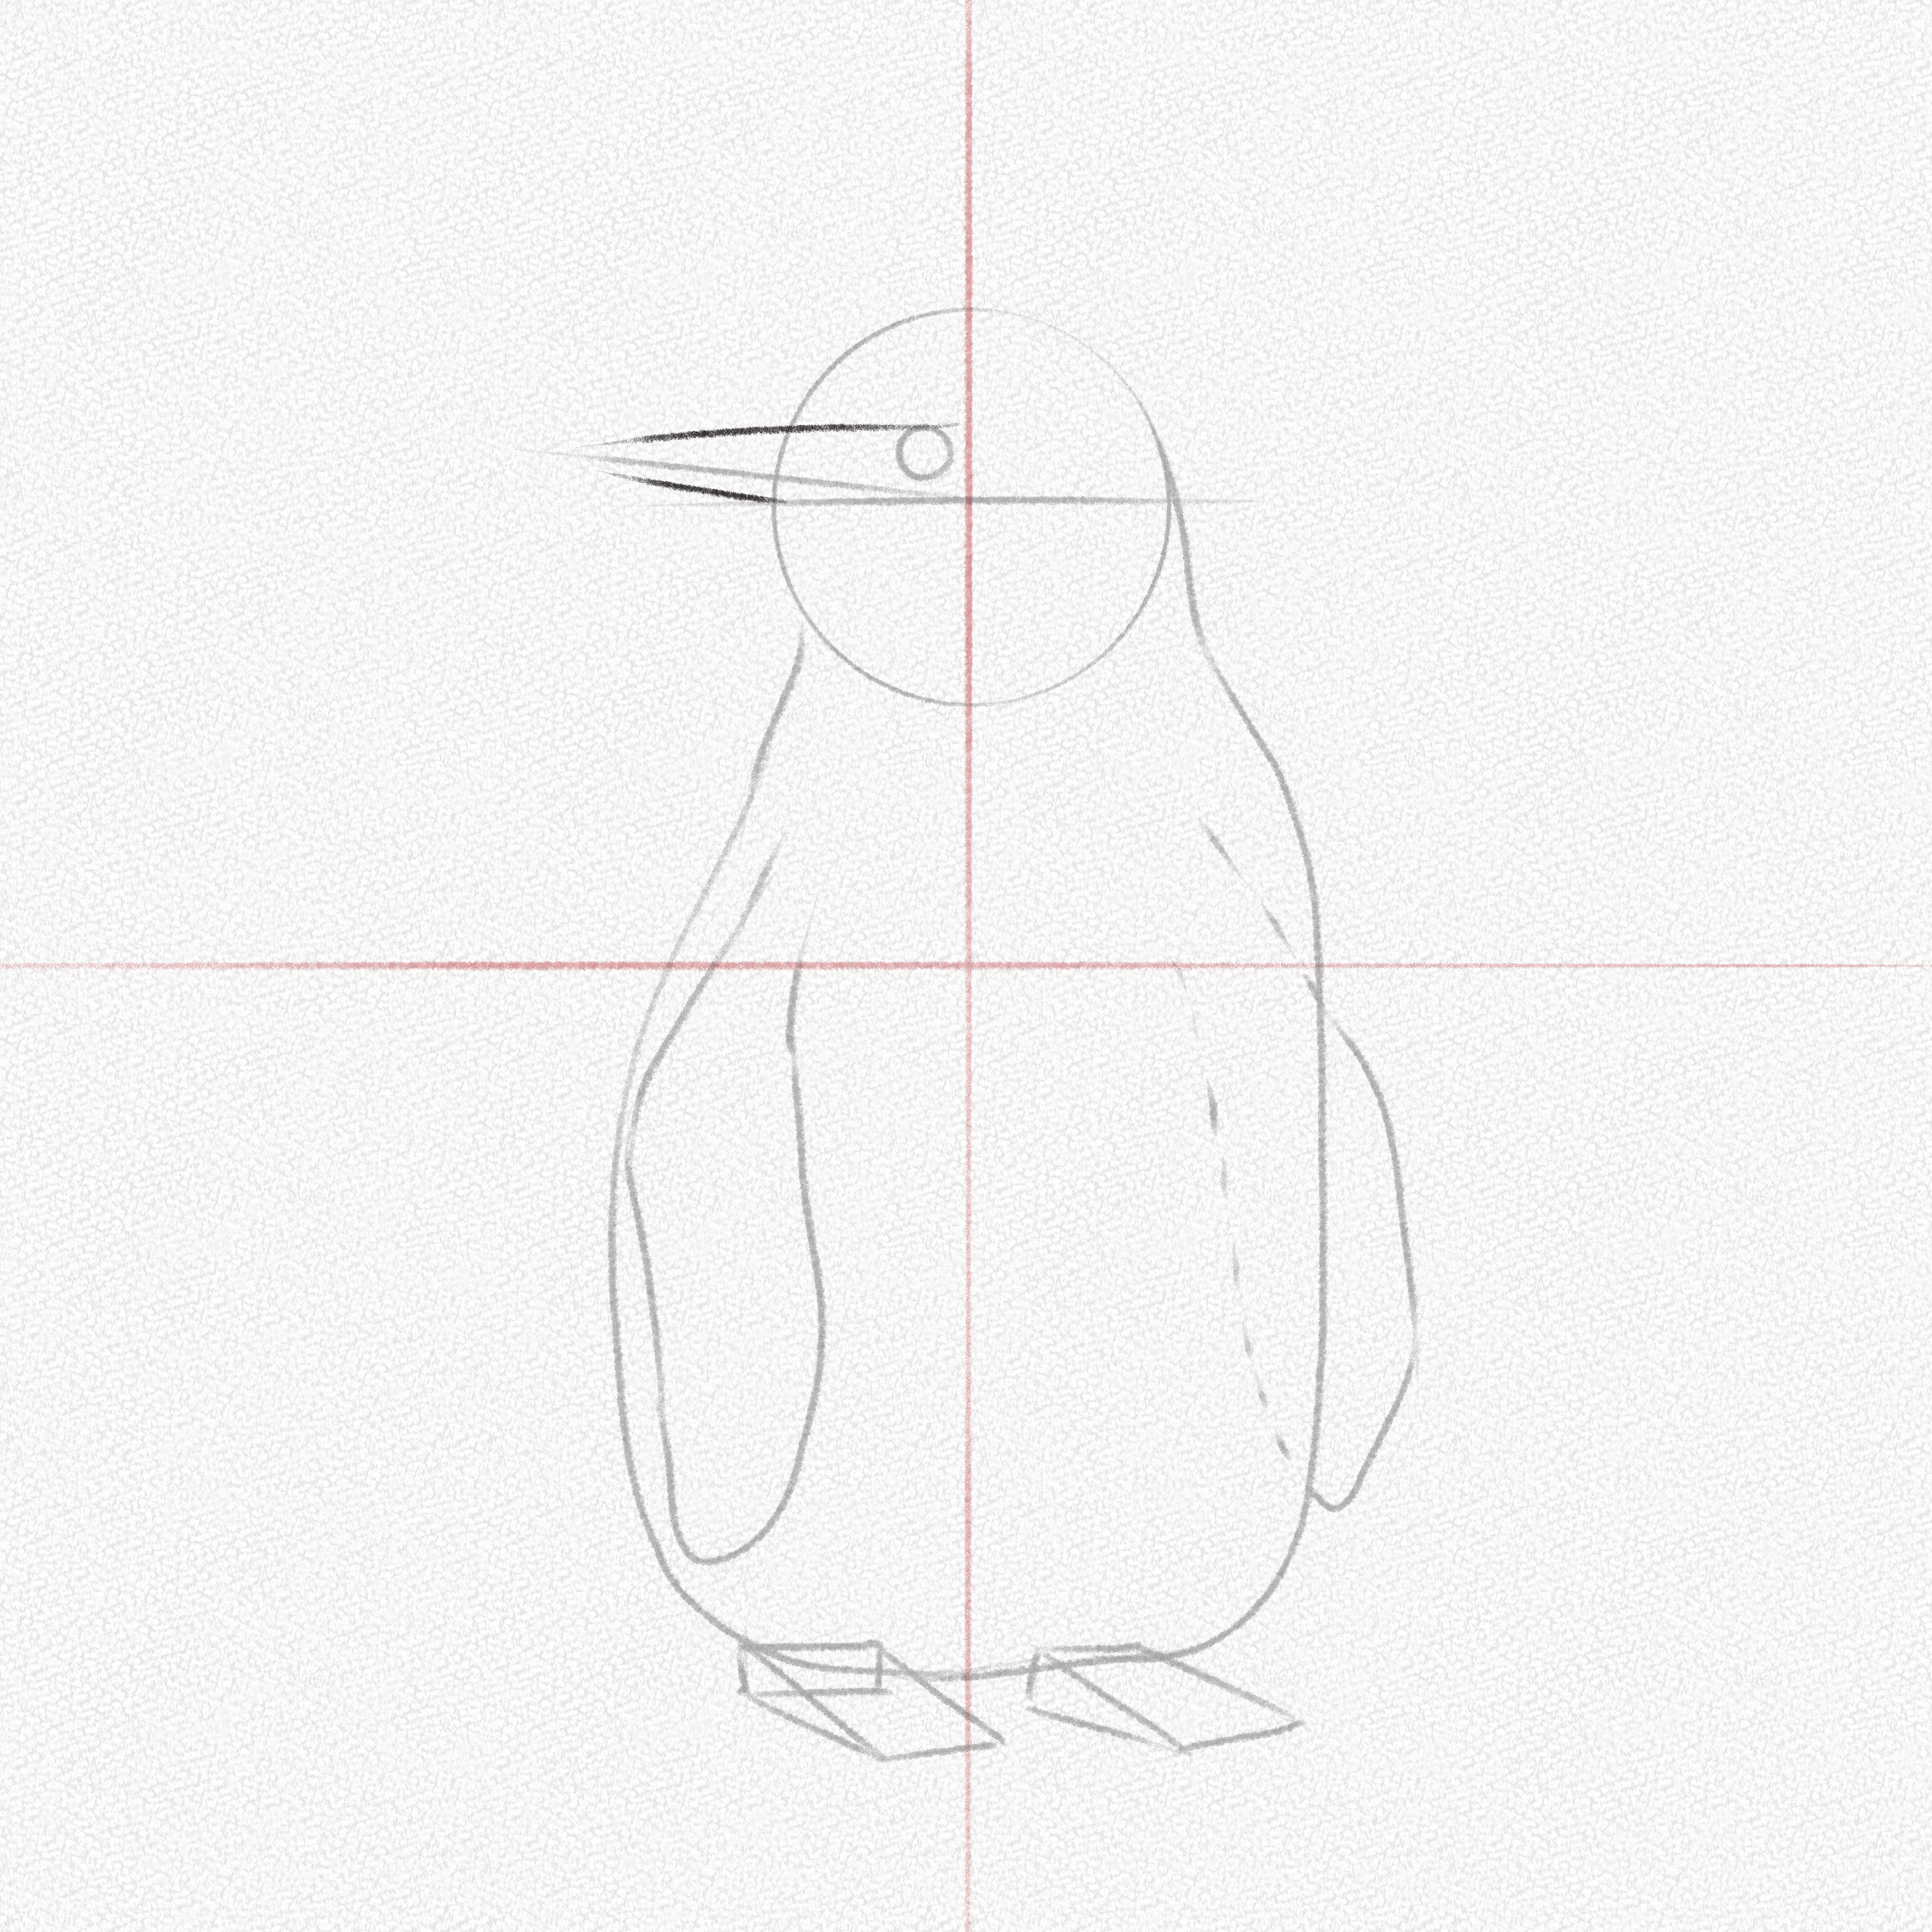
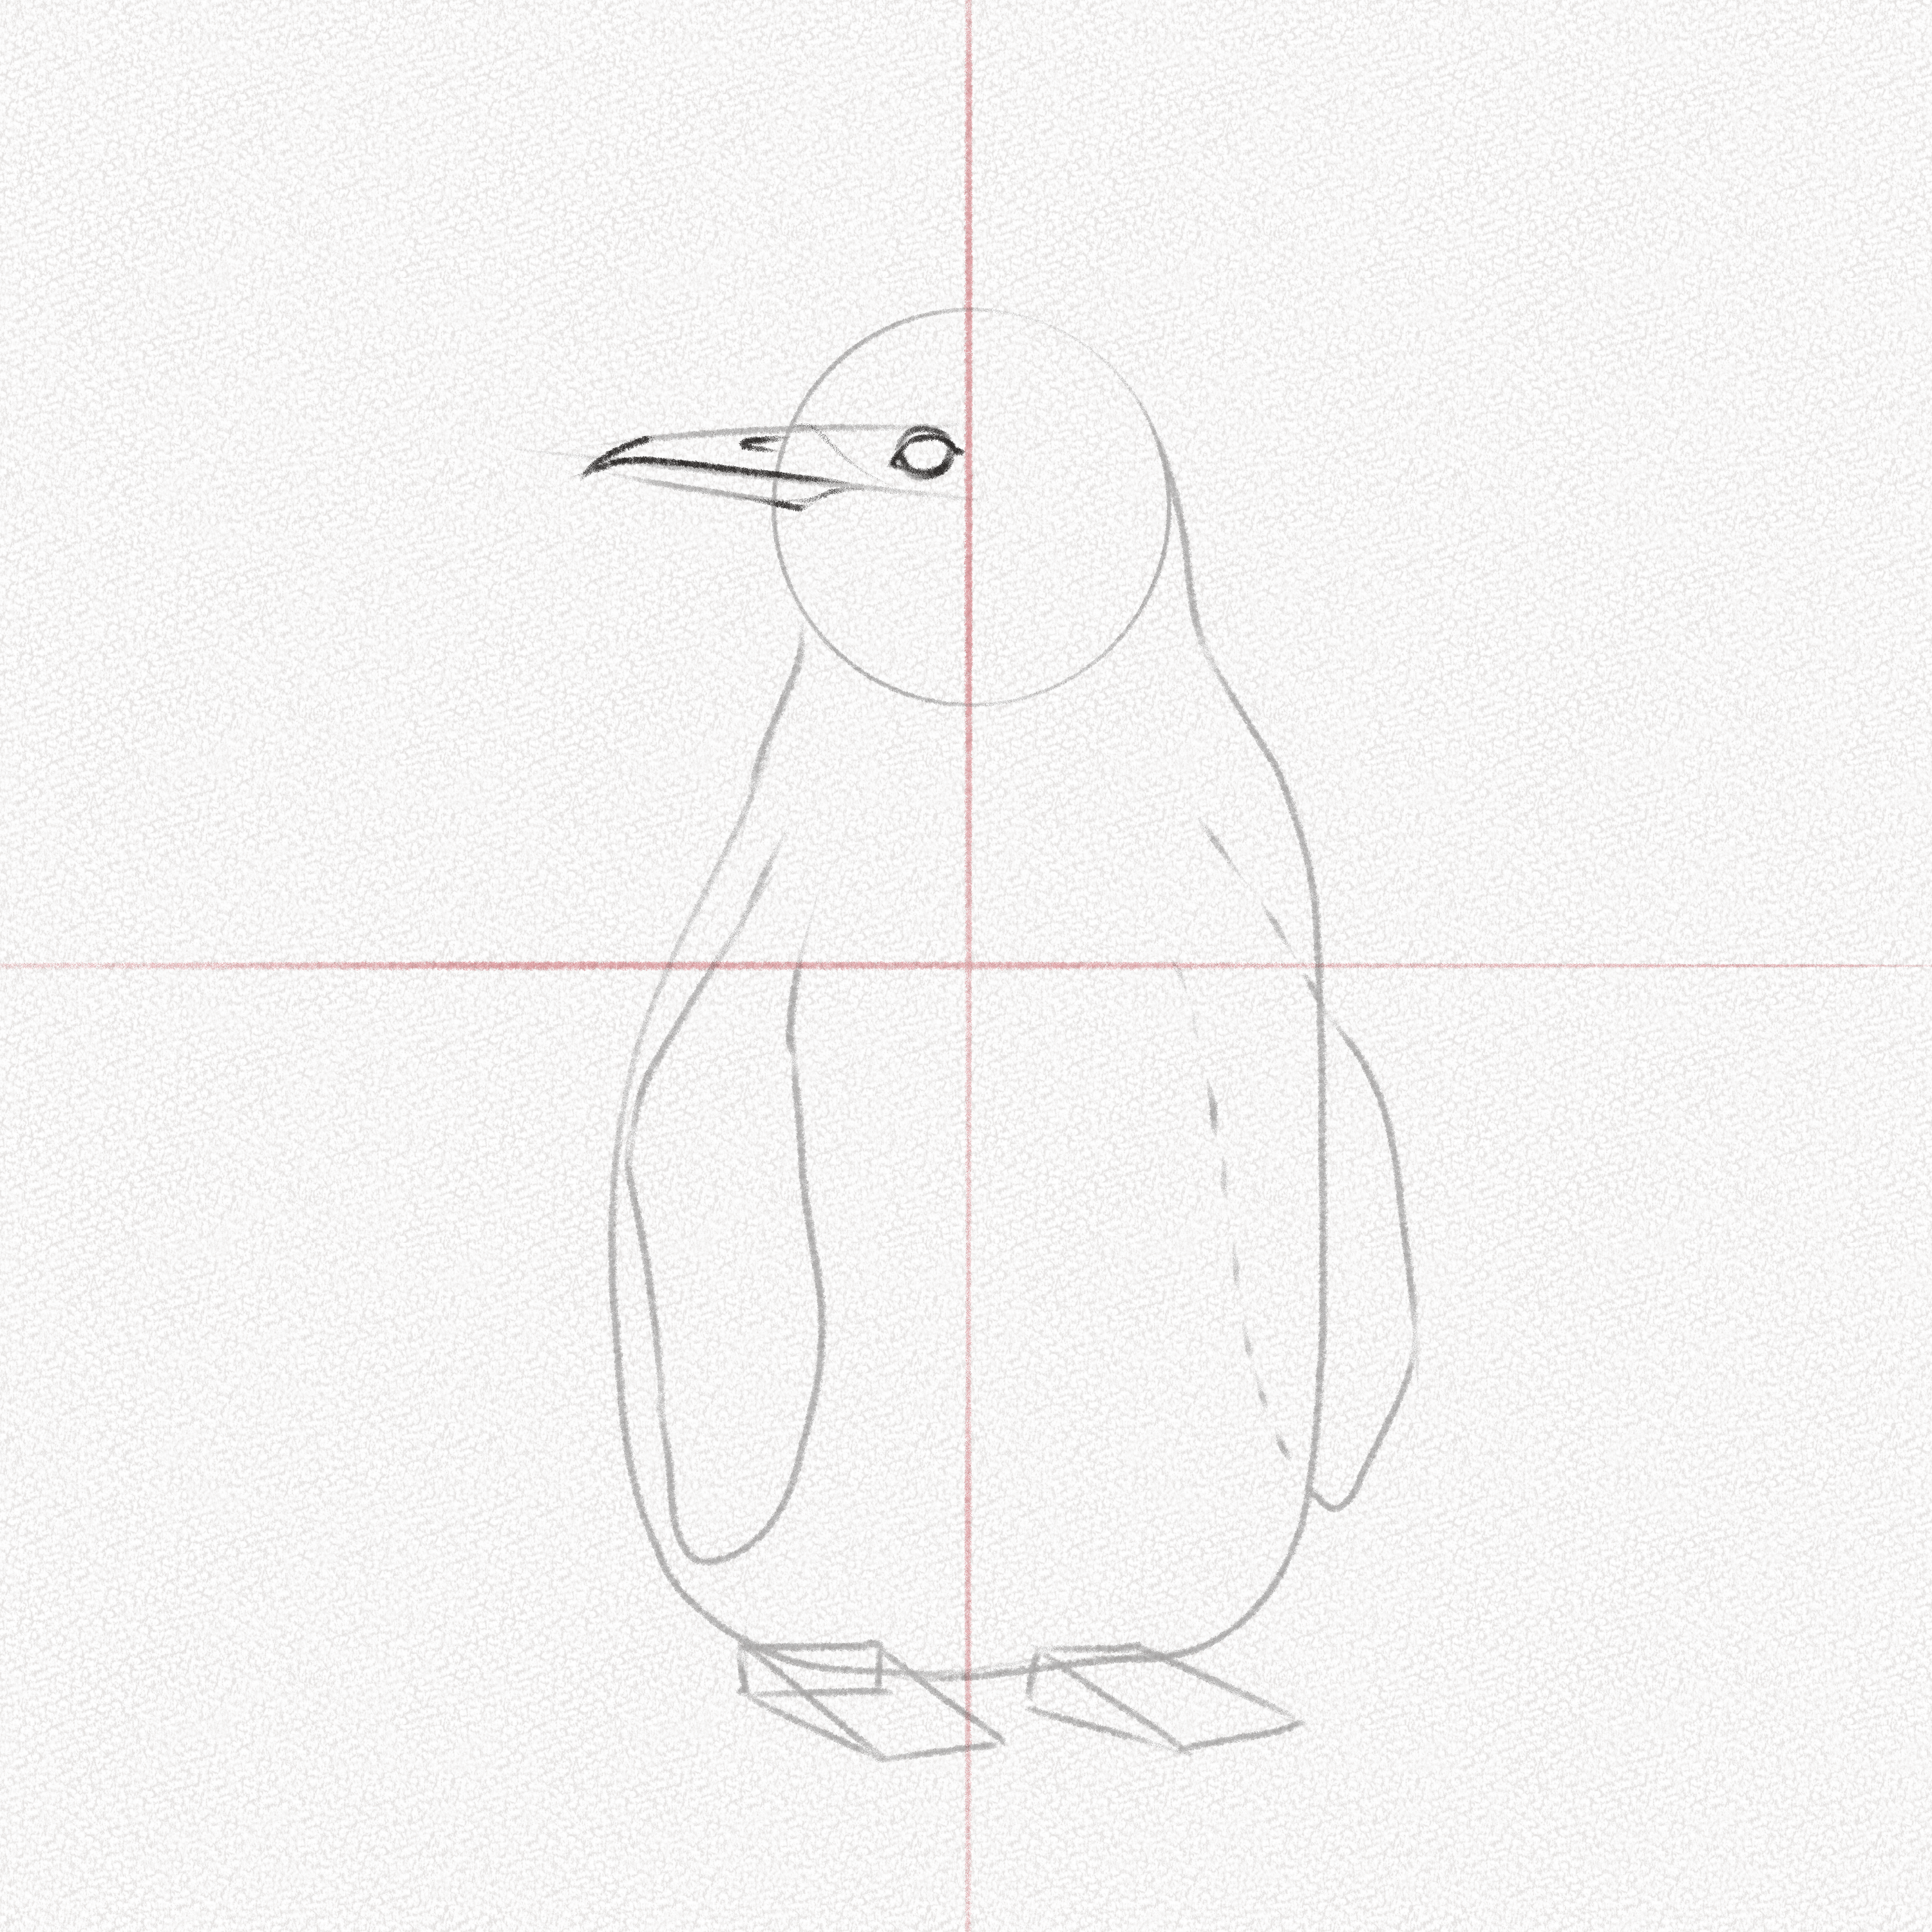
Step 16: Draw the beak and outline the eye
Using two fast strokes, draw the beak, adding a slight downward inclined line at the beak’s tip. Outline the upper part of the eye, and don’t forget the nostril.
Step 17: Draw the legs and shape the head
With intersecting lines, connect the center of the beak and the head circle. Outline the feet as well, using the prism’s shape as a base. Proceed to erase the leg and head guidelines.
Section 3.- How to Draw and Shade a Penguin
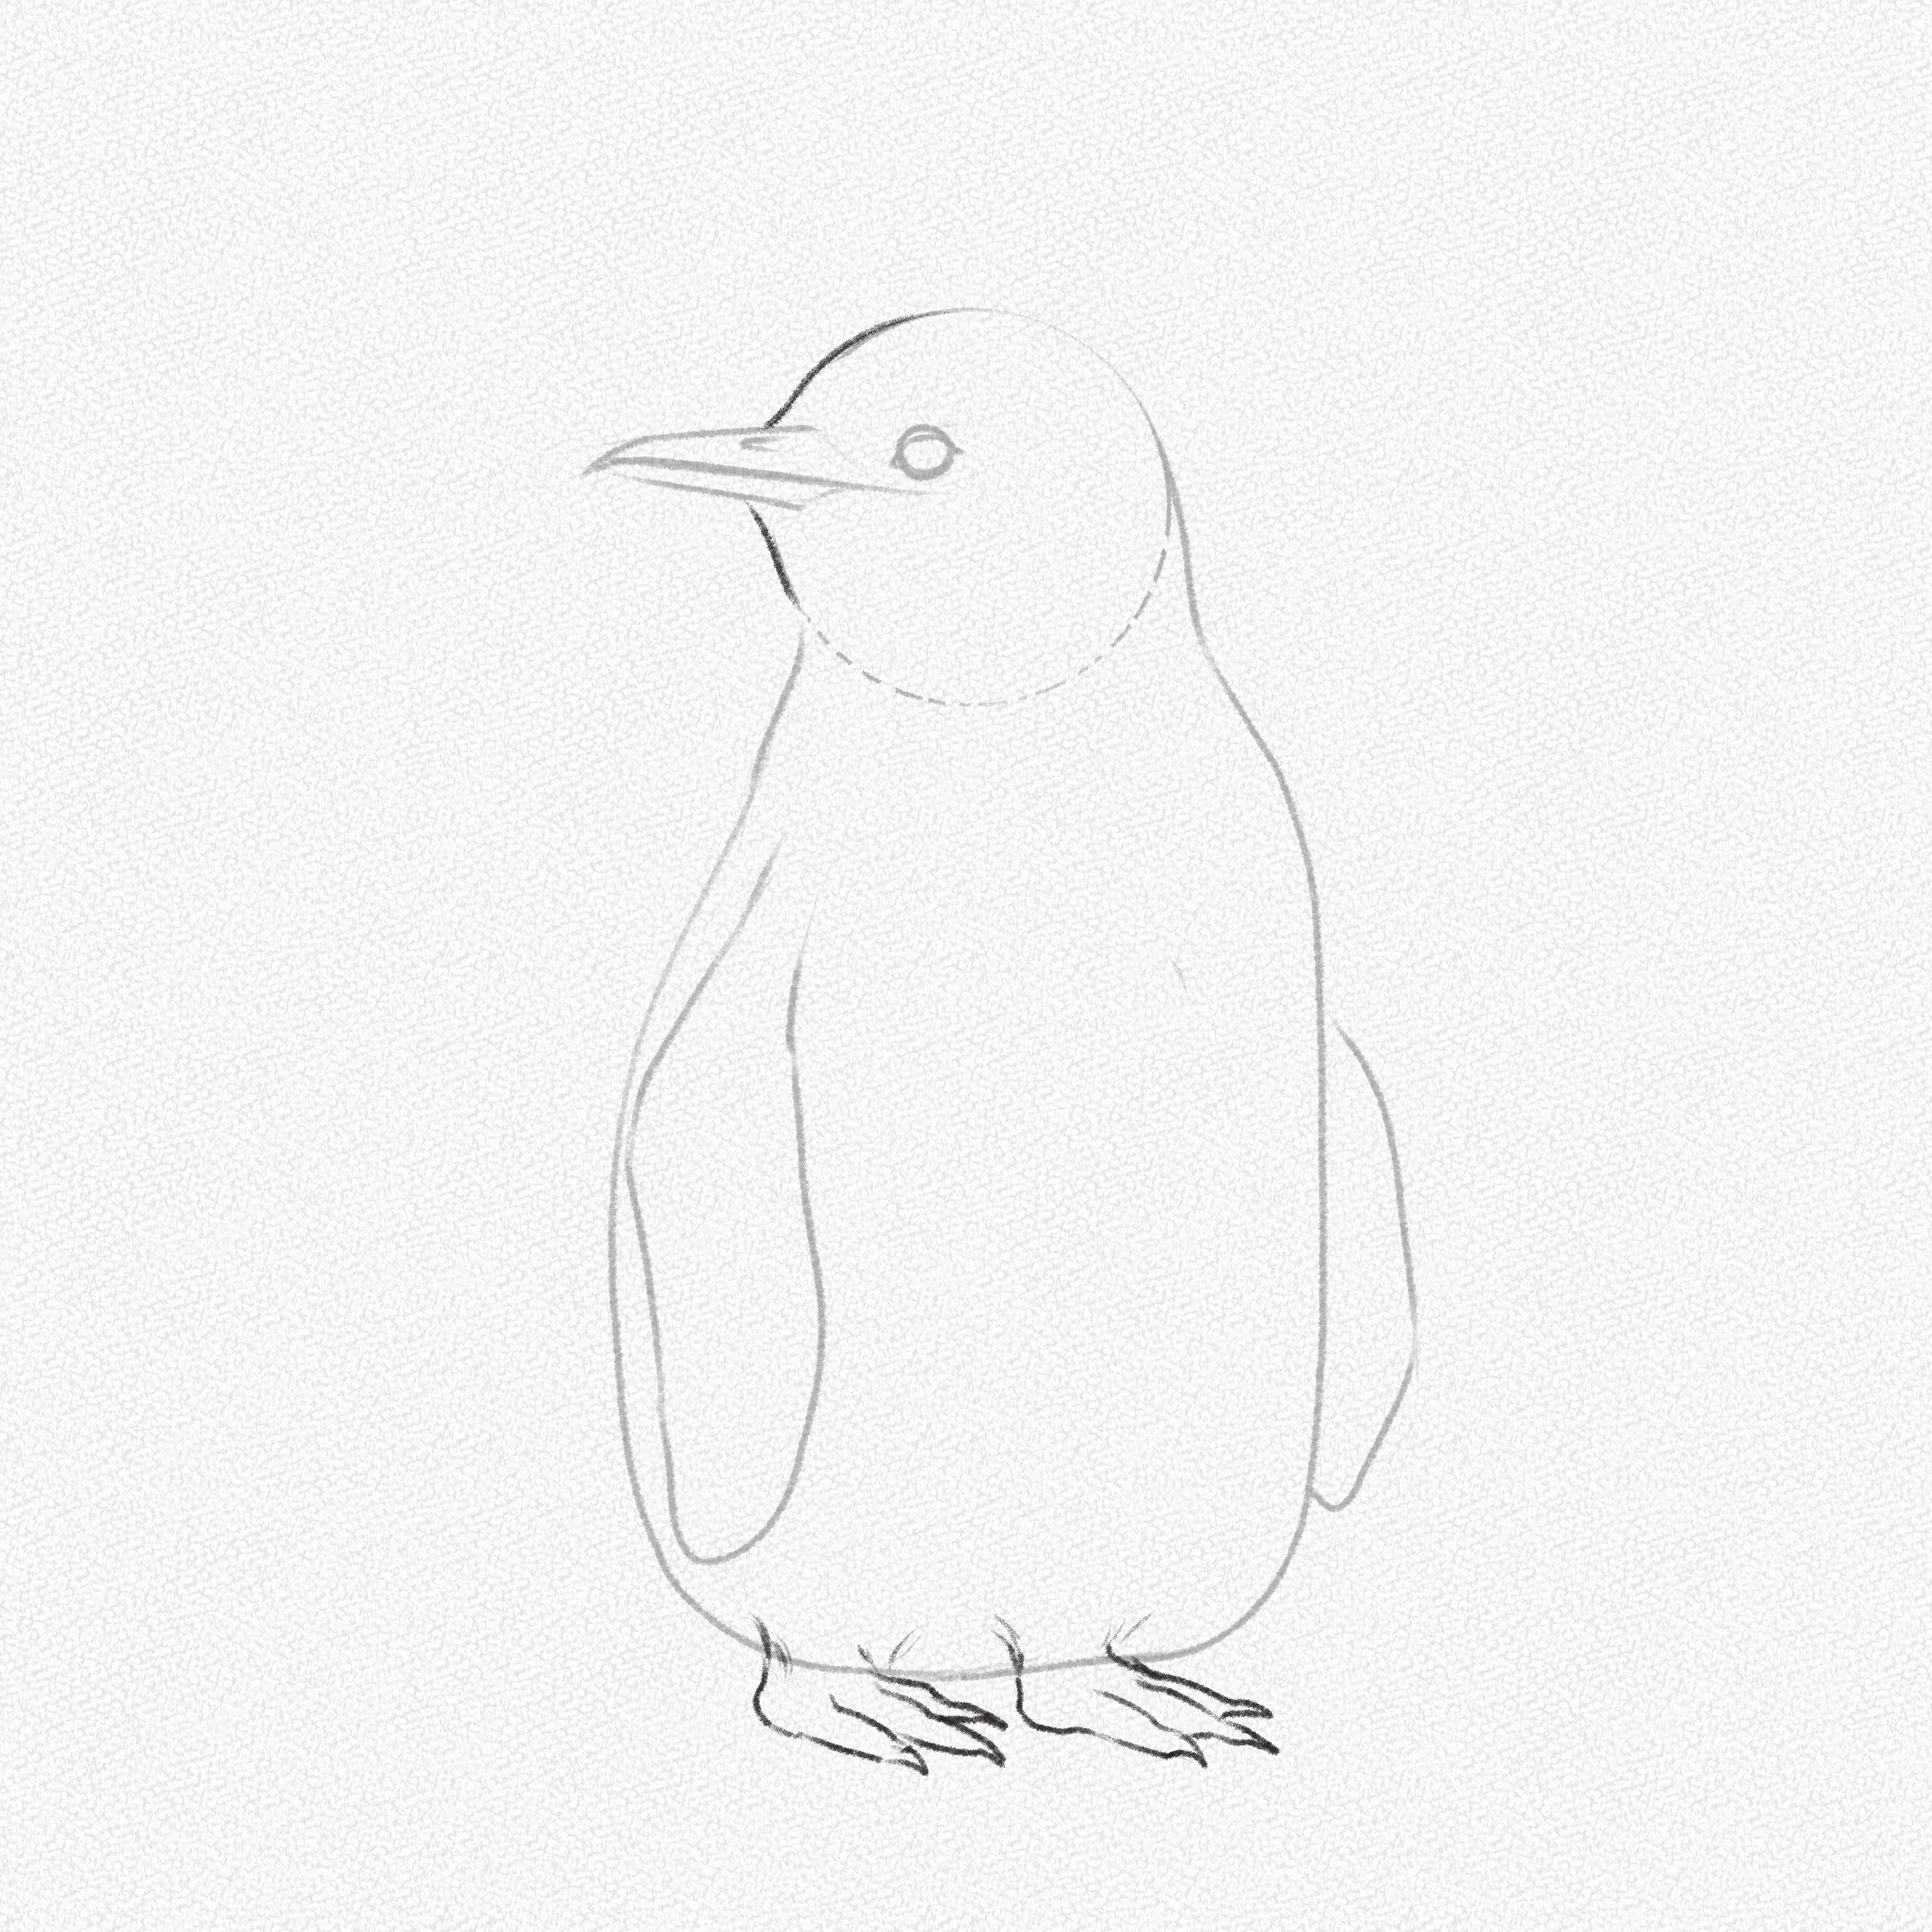
Step 1: Outline the Penguin
Draw the penguin’s outline following the basic shapes we drew in section one. Remember, penguin plumages are thin and short, almost like fur, so use short, repeated strokes to give the illusion of feathers around our penguin body.
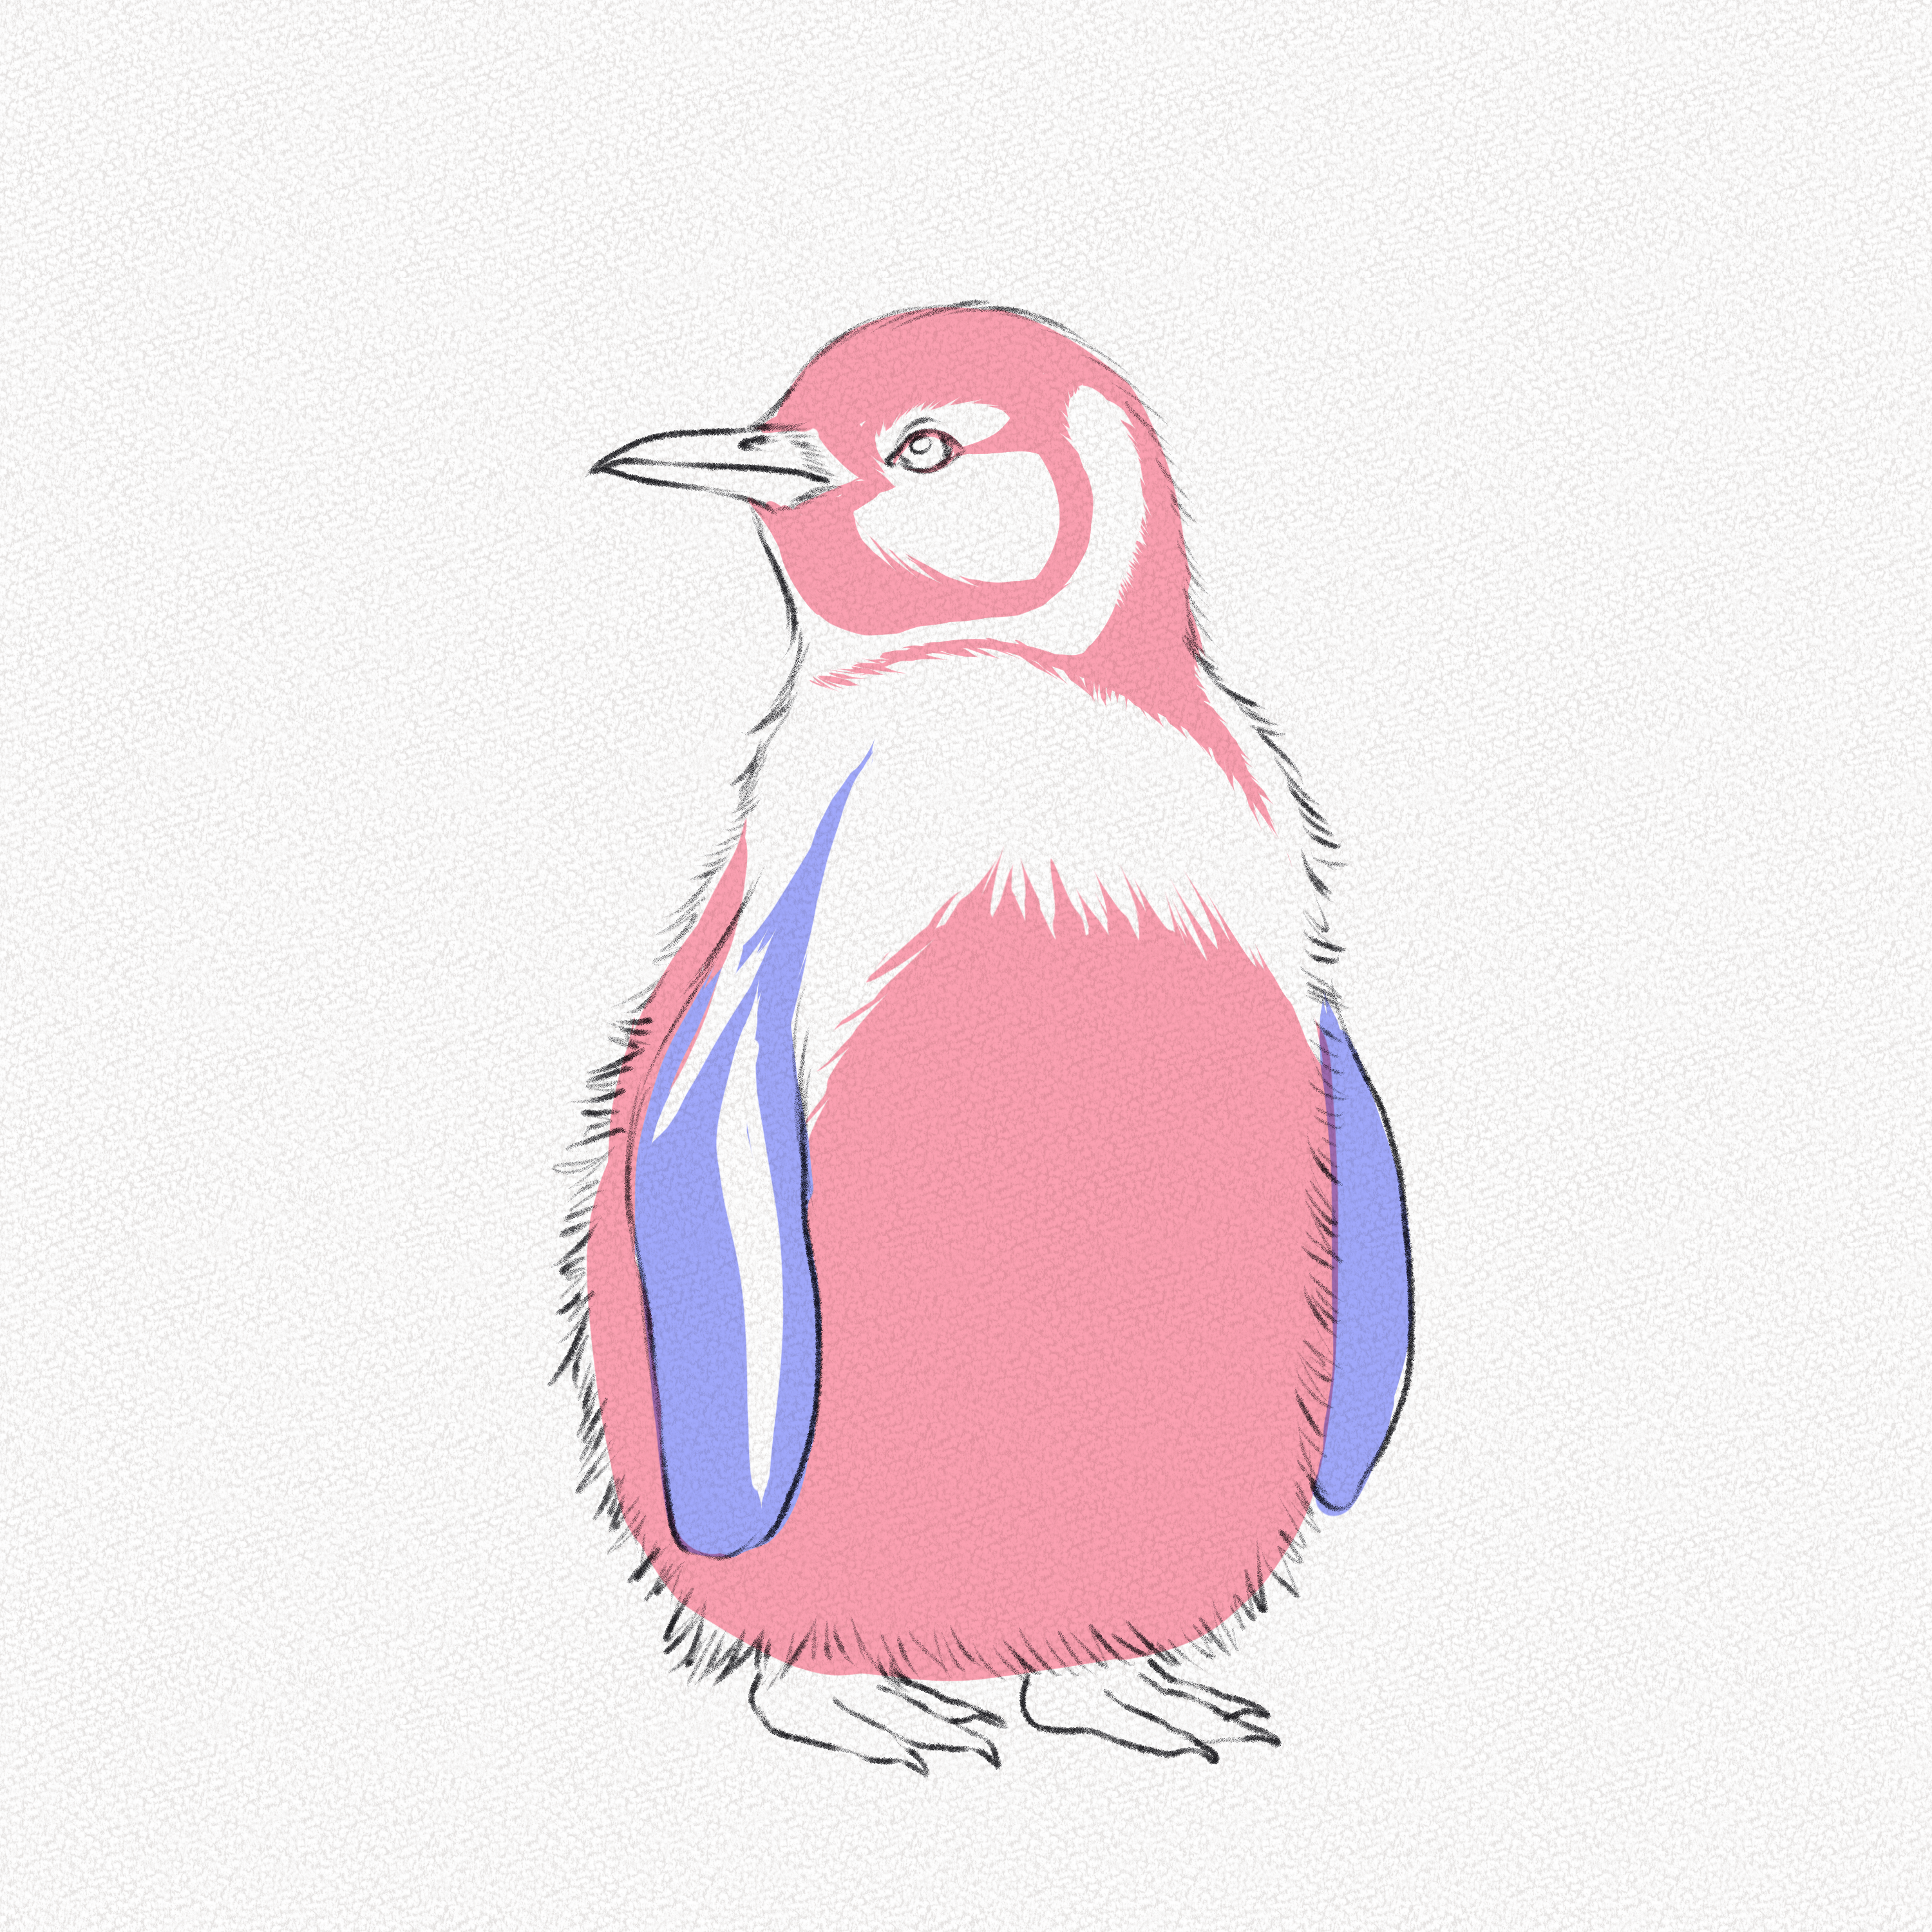
Step 2: Define the areas to shade
Now let’s define the areas we’re going to shade. Each penguin species is different, so the feather patterns can vary from one species to another. Similarly, the plumage changes according to the penguin’s growth stages. In the diagram below, we’ll define the areas we’re going to shade according to the penguin we’re drawing. The red areas will be lighter, while the blue areas will be darker.
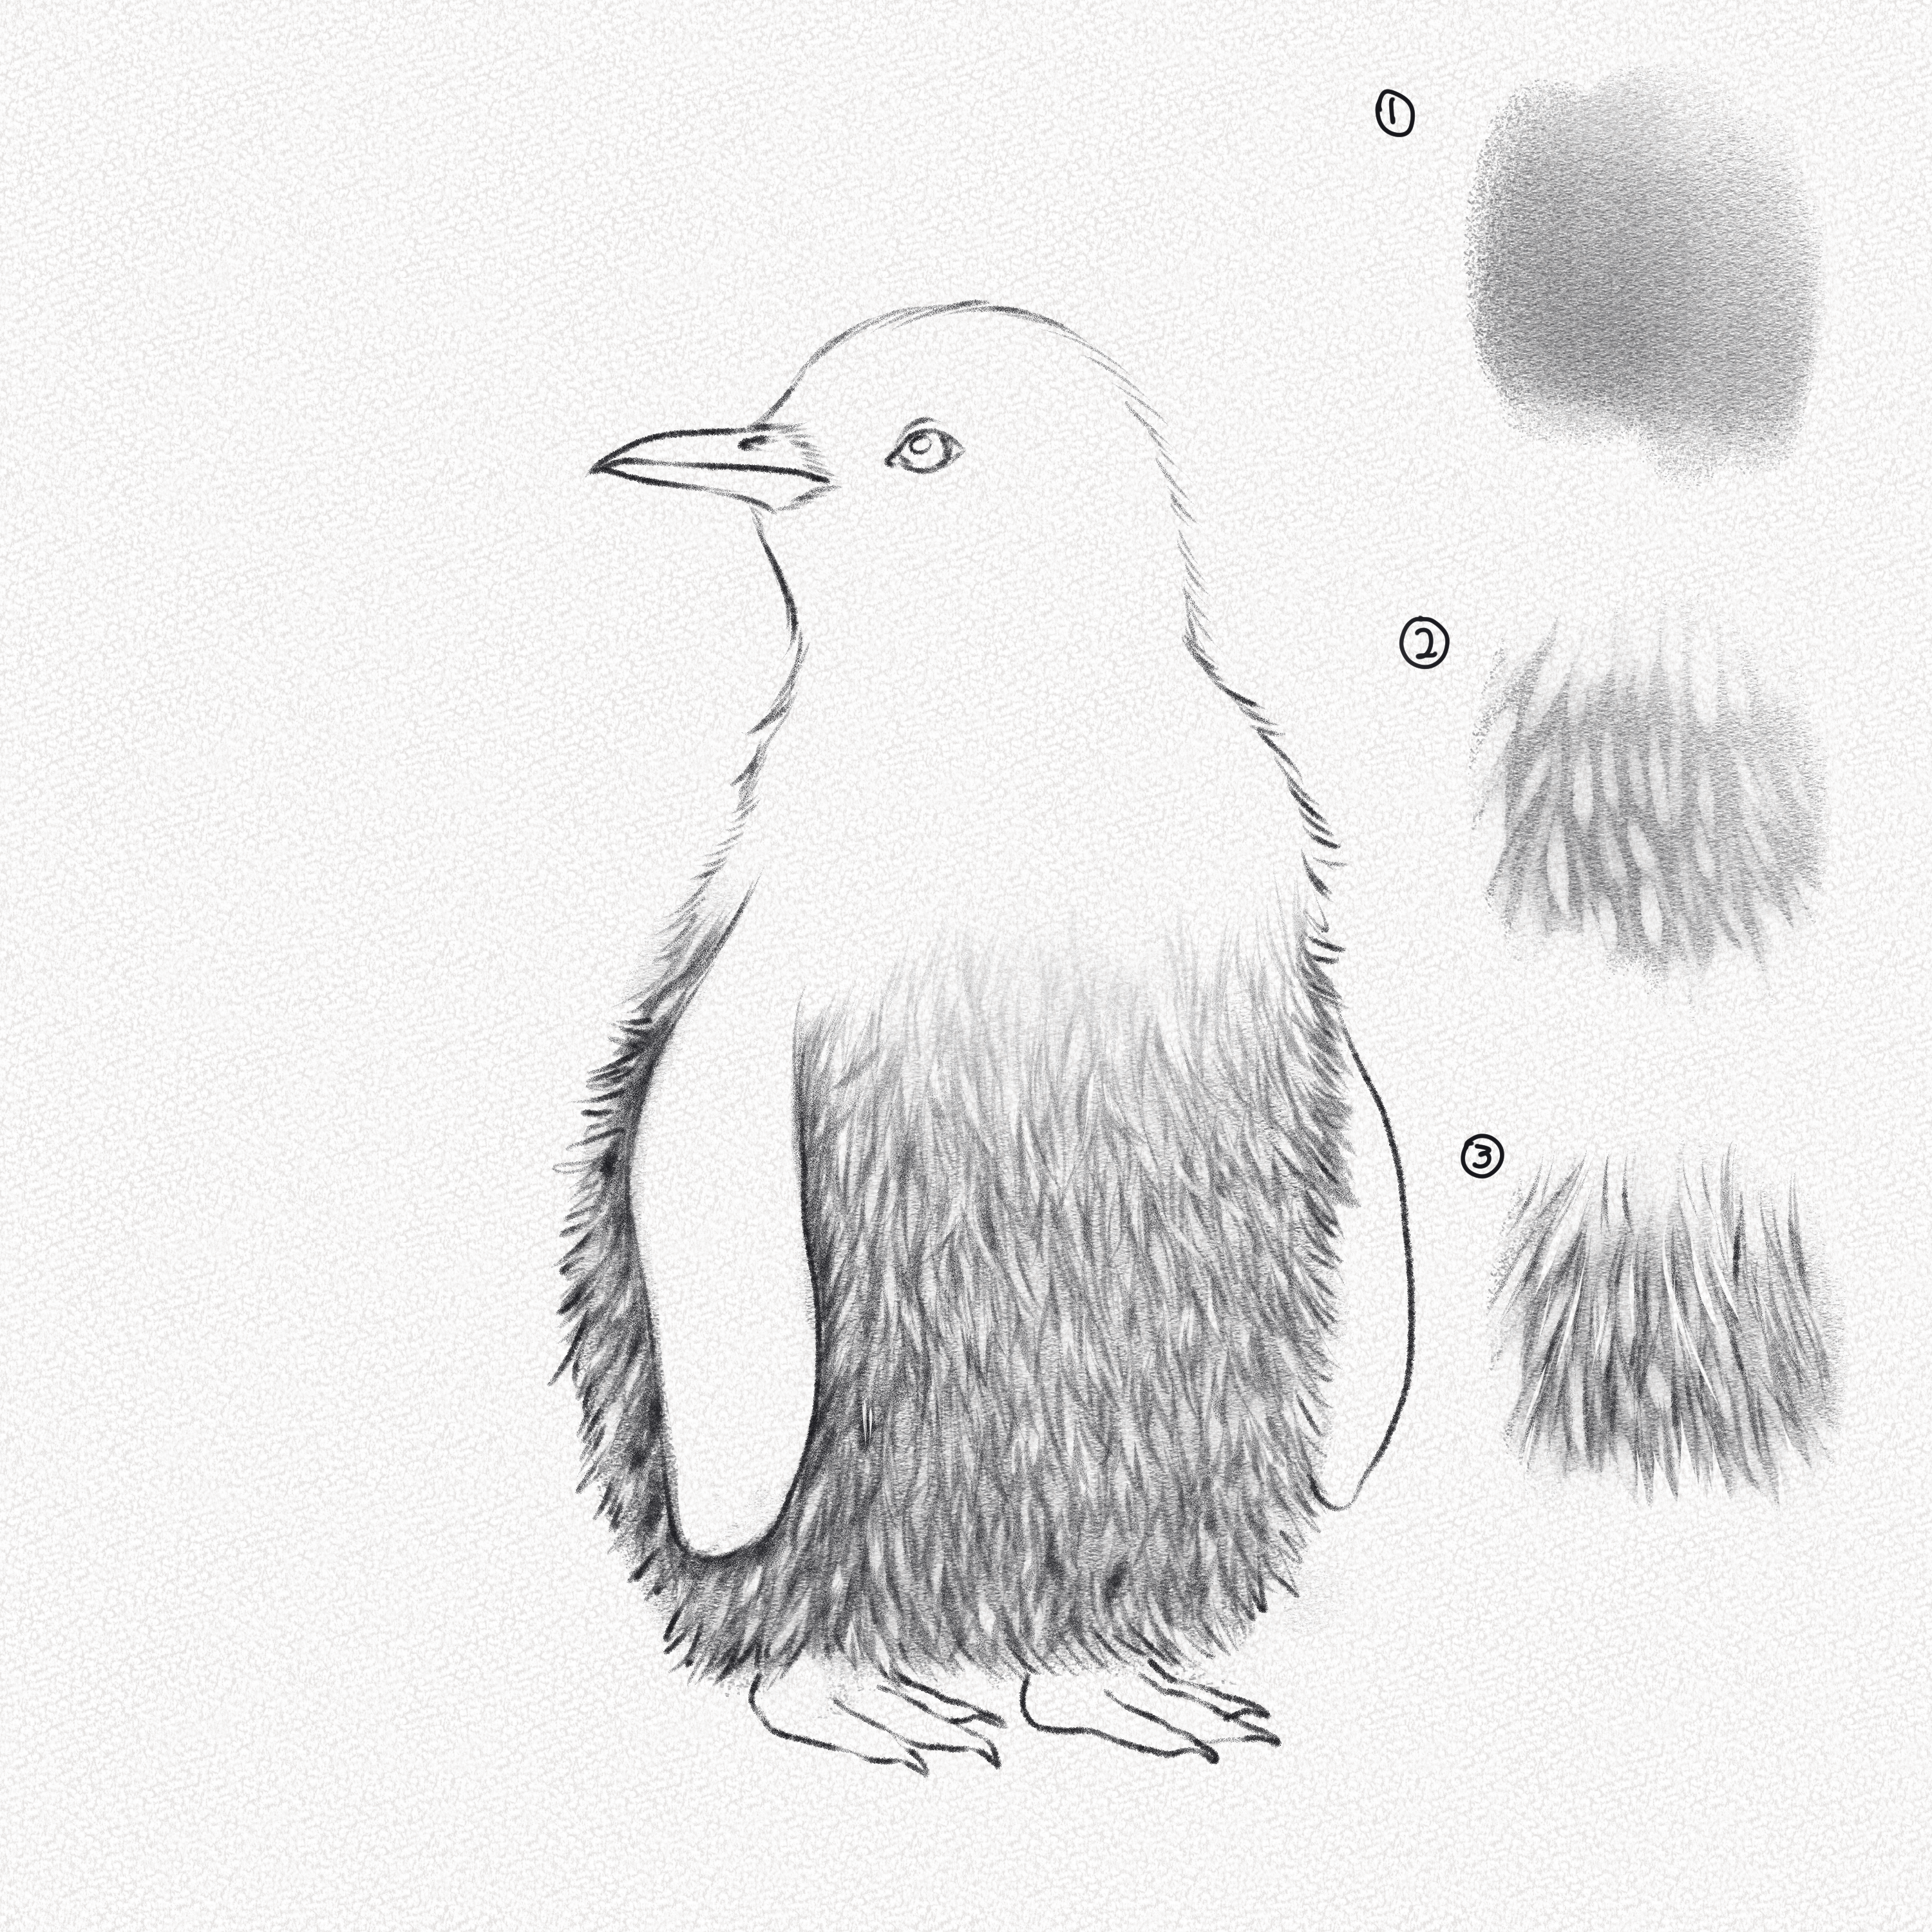
Step 3: Shade the penguin’s body
Using your graphite powder and a soft brush, apply the graphite evenly to the penguin’s body following the diagram shown in the previous step. Try to create a vertical gradient by adding more graphite to the base of the body, as shown below.
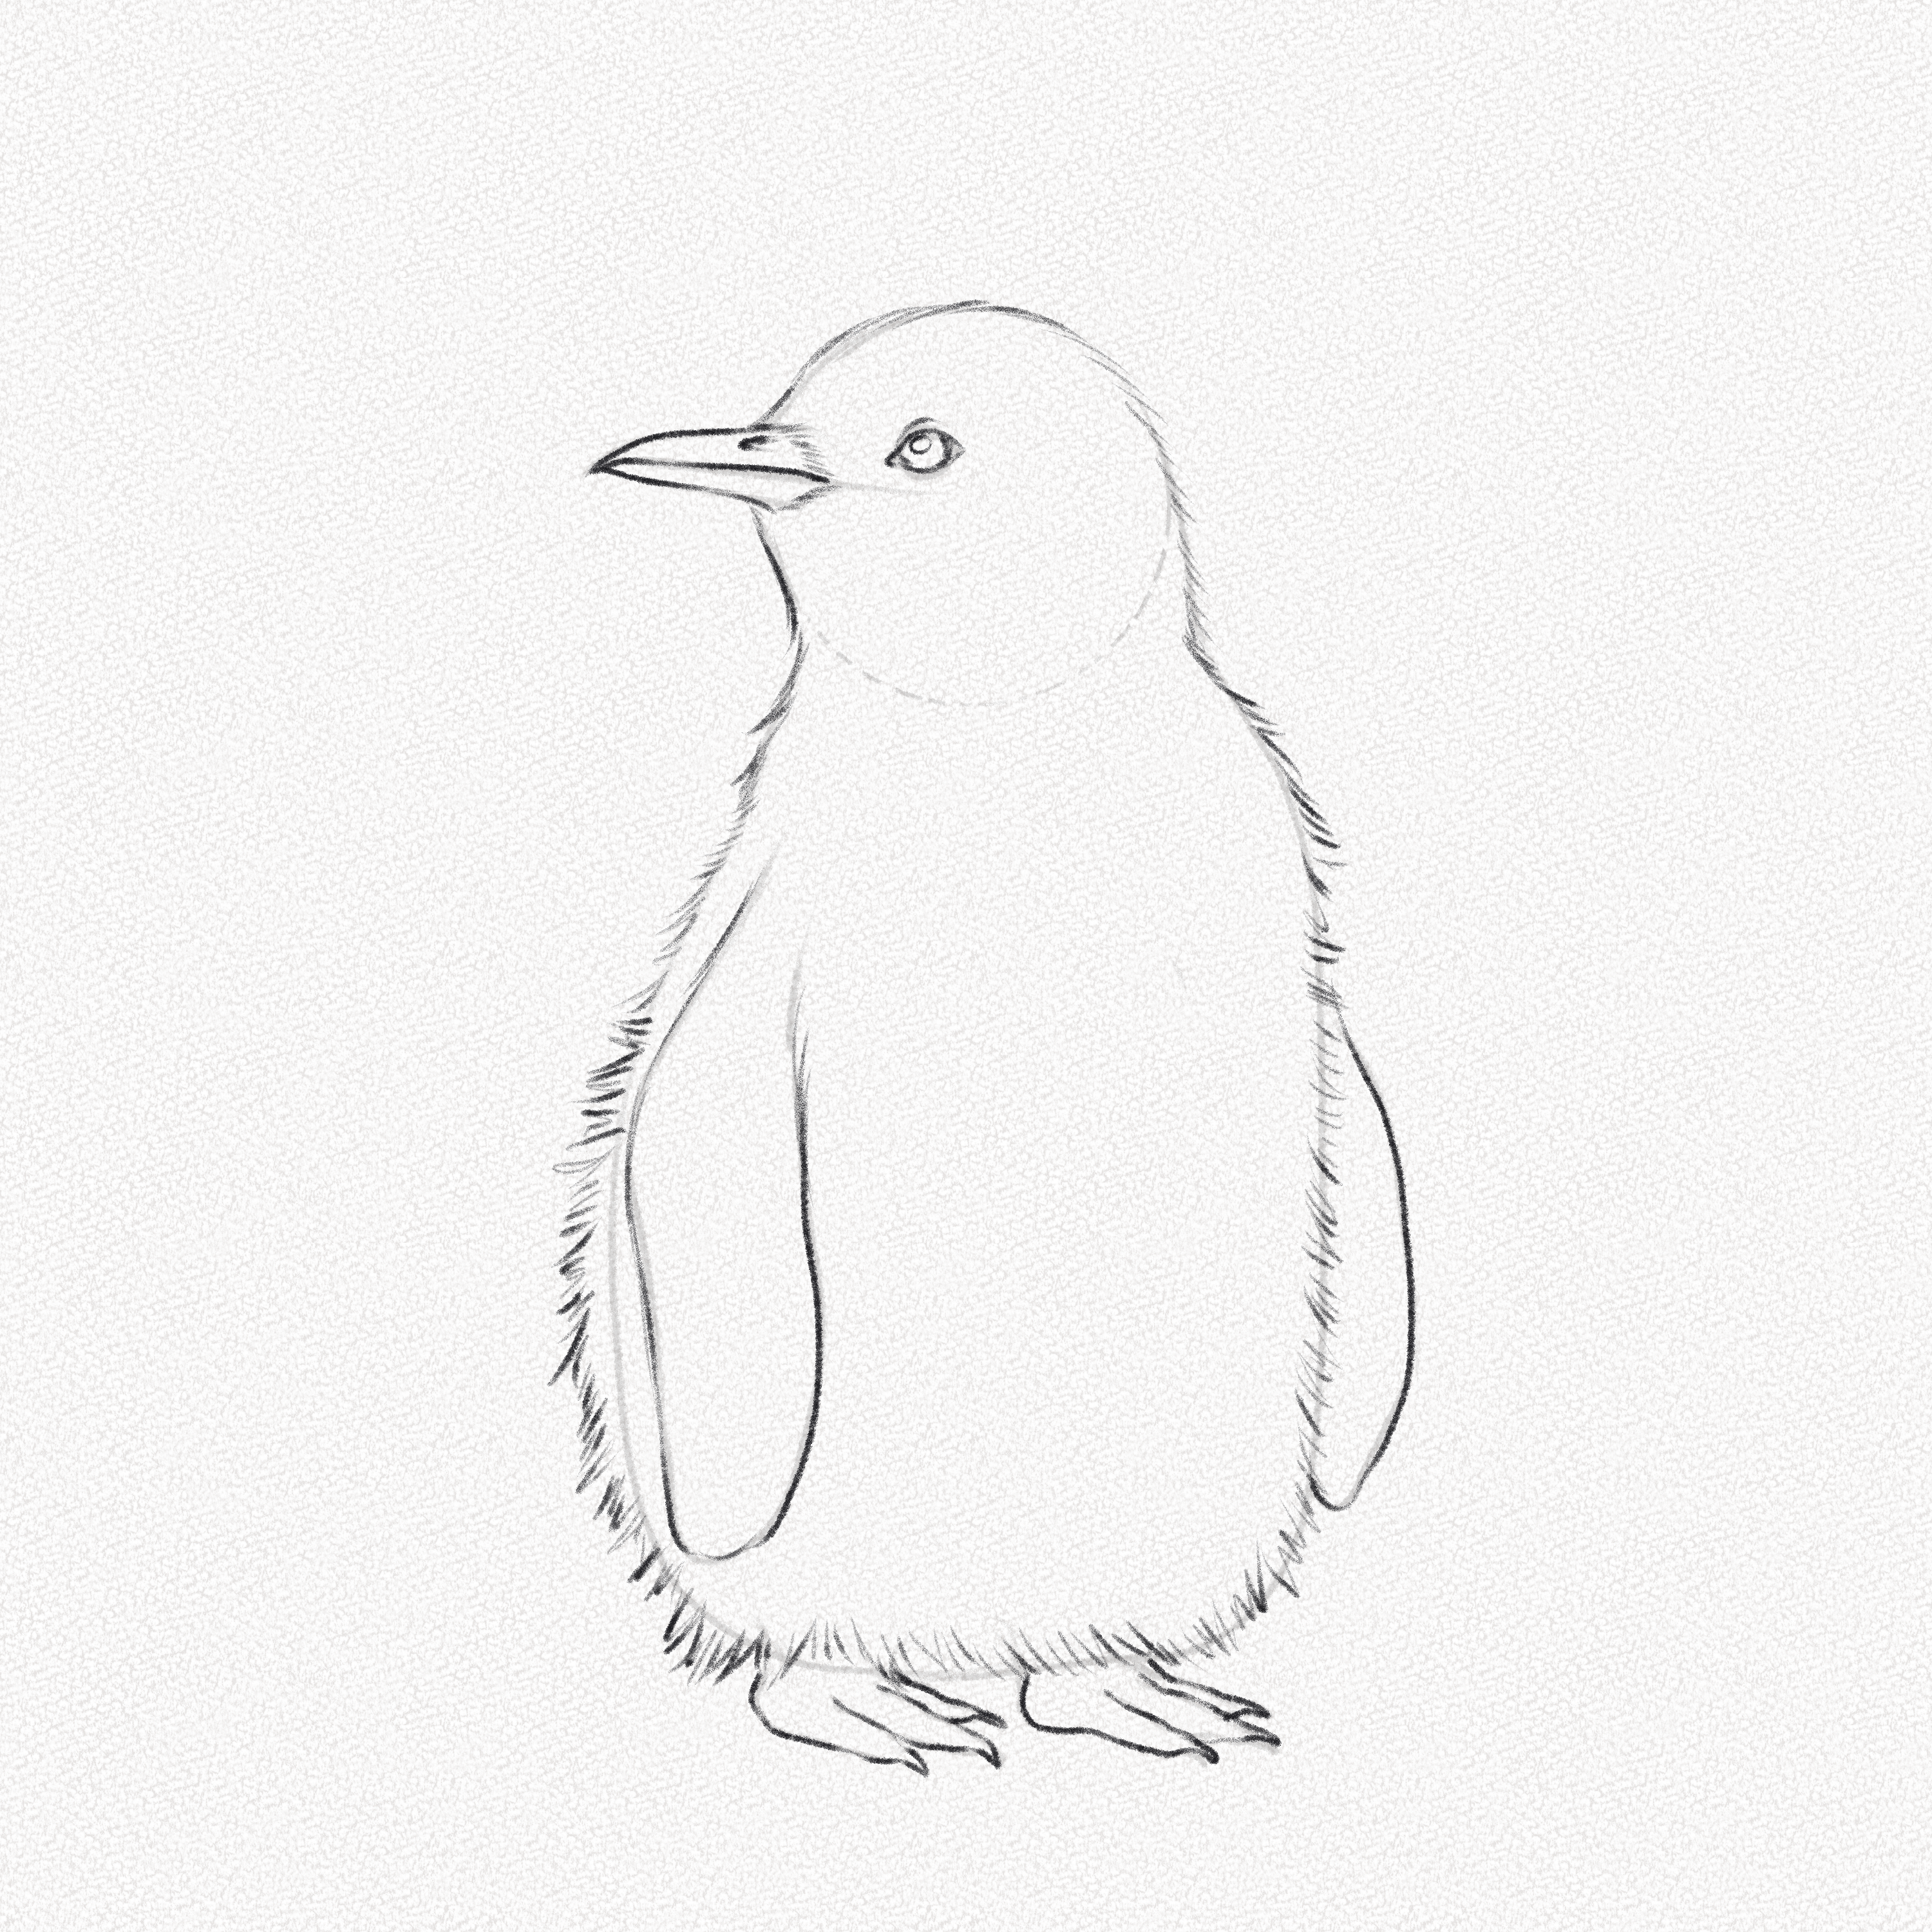
Step 4: Add texture to the feathers
Using your kneaded eraser, create fine edges and gradually remove graphite from the penguin’s body to create the illusion of soft feathers.
Step 5: Define the Penguin’s Plumage
Using your mechanical pencil, add contrast and shading to the plumage, defining its shape more clearly and making sure to darken the bottom part.
Step 6: Shade the Head
The feathers on the head are darker, shorter, and denser. Use your 4B pencil and short, continuous strokes to fill in the area of the head.
Step 7: Shade the Eye
Using your 4B pencil, apply pressure to shade the penguin’s eye so that it has one of the darkest values, remembering to leave a space for the eye’s highlight.
Step 8: Shade the Wings
Using your 4B pencil, fill in the wings with diagonal lines and apply very little pressure.
Step 9: Add contrast to the wings and shade the feet
By applying more pressure, use your 4B pencil to fill in the darker spaces, as shown in Step 3. This will give volume to the wings and a realistic effect on the plumage. Shade the feet and beak following the volume and shape.
Step 10: Add the Ground
Adding the ground is important to prevent the penguin from appearing to float. Use graphite powder and your 4B pencil to create the ground beneath the penguin’s feet, intensifying it from the inside out to create the effect of shadow.
And there you have it – you’ve successfully drawn a penguin!
Learning to draw a penguin is a great exercise in observation and technique for us art lovers. By following the steps outlined in this guide, you’ve captured the most representative features of penguins, such as their short plumage, unique beak, and interesting body shape.
Remember, drawing is a skill that takes time and practice to master, so don’t be discouraged if your first attempts don’t turn out as you hoped. Keep experimenting, and you’ll soon find your own unique style.
Thank you for joining us on this artistic journey, and we hope you’ve enjoyed learning how to draw a penguin as much as we’ve enjoyed showing you how.
So, keep practicing, keep learning, and most importantly, keep having fun!
Happy drawing!