Fire is energy, it doesn’t have a defined shape and it changes constantly according to the environment it has around, which makes it tricky to draw, especially using a monochrome medium like graphite.
Fire is not a solid object, so it’s not completely opaque, that’s why we need to consider the values of the environment to properly shade fire, we also need to consider the light, since fire is almost invisible in a well-illuminated setting and very bright and notorious in the dark.
In this tutorial, we are going to learn how to draw fire in two light settings using some of the most common forms which are a candle flame and a campfire.
So grab your supplies and get ready to learn!
What you will learn:
- How to Draw a Candle Flame
- How to Draw a Campfire
Materials needed:
- A piece of paper
- A 2H and 6B graphite pencil
- A blending stump
- A Tombow Mono Zero 2.3mm eraser
- A kneaded eraser
- Graphite powder
- A piece of cotton
- A soft brush
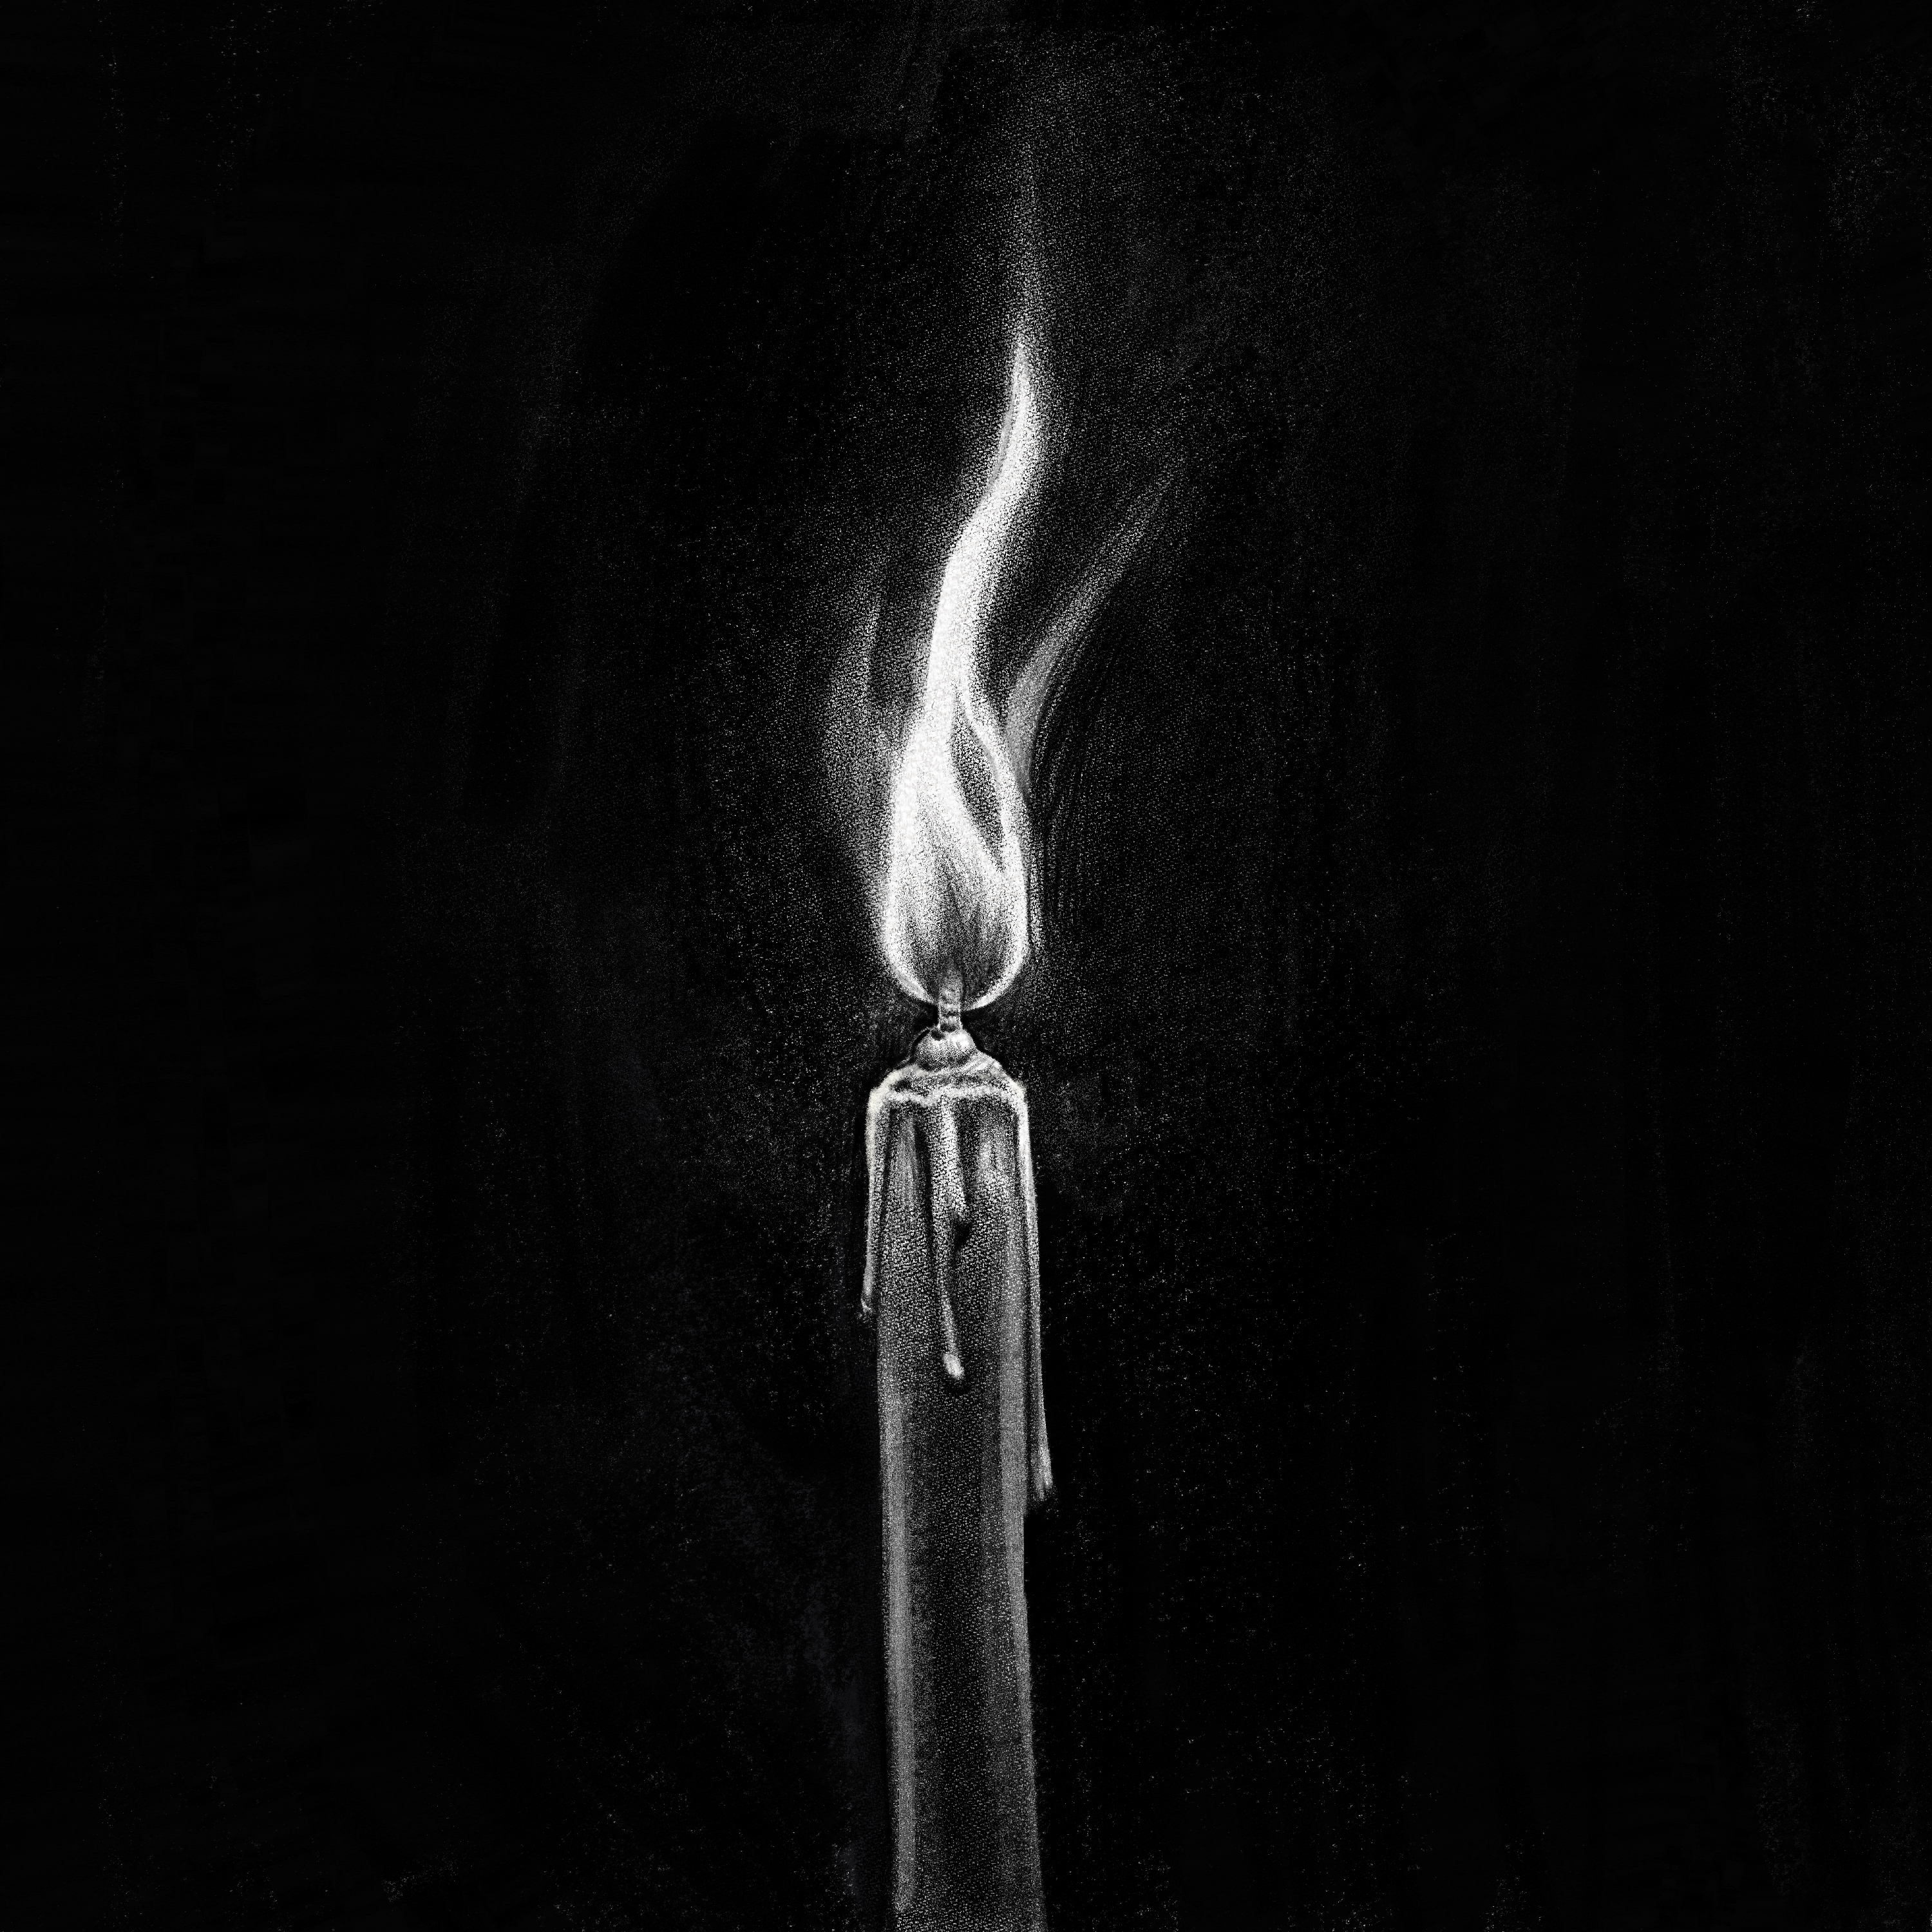
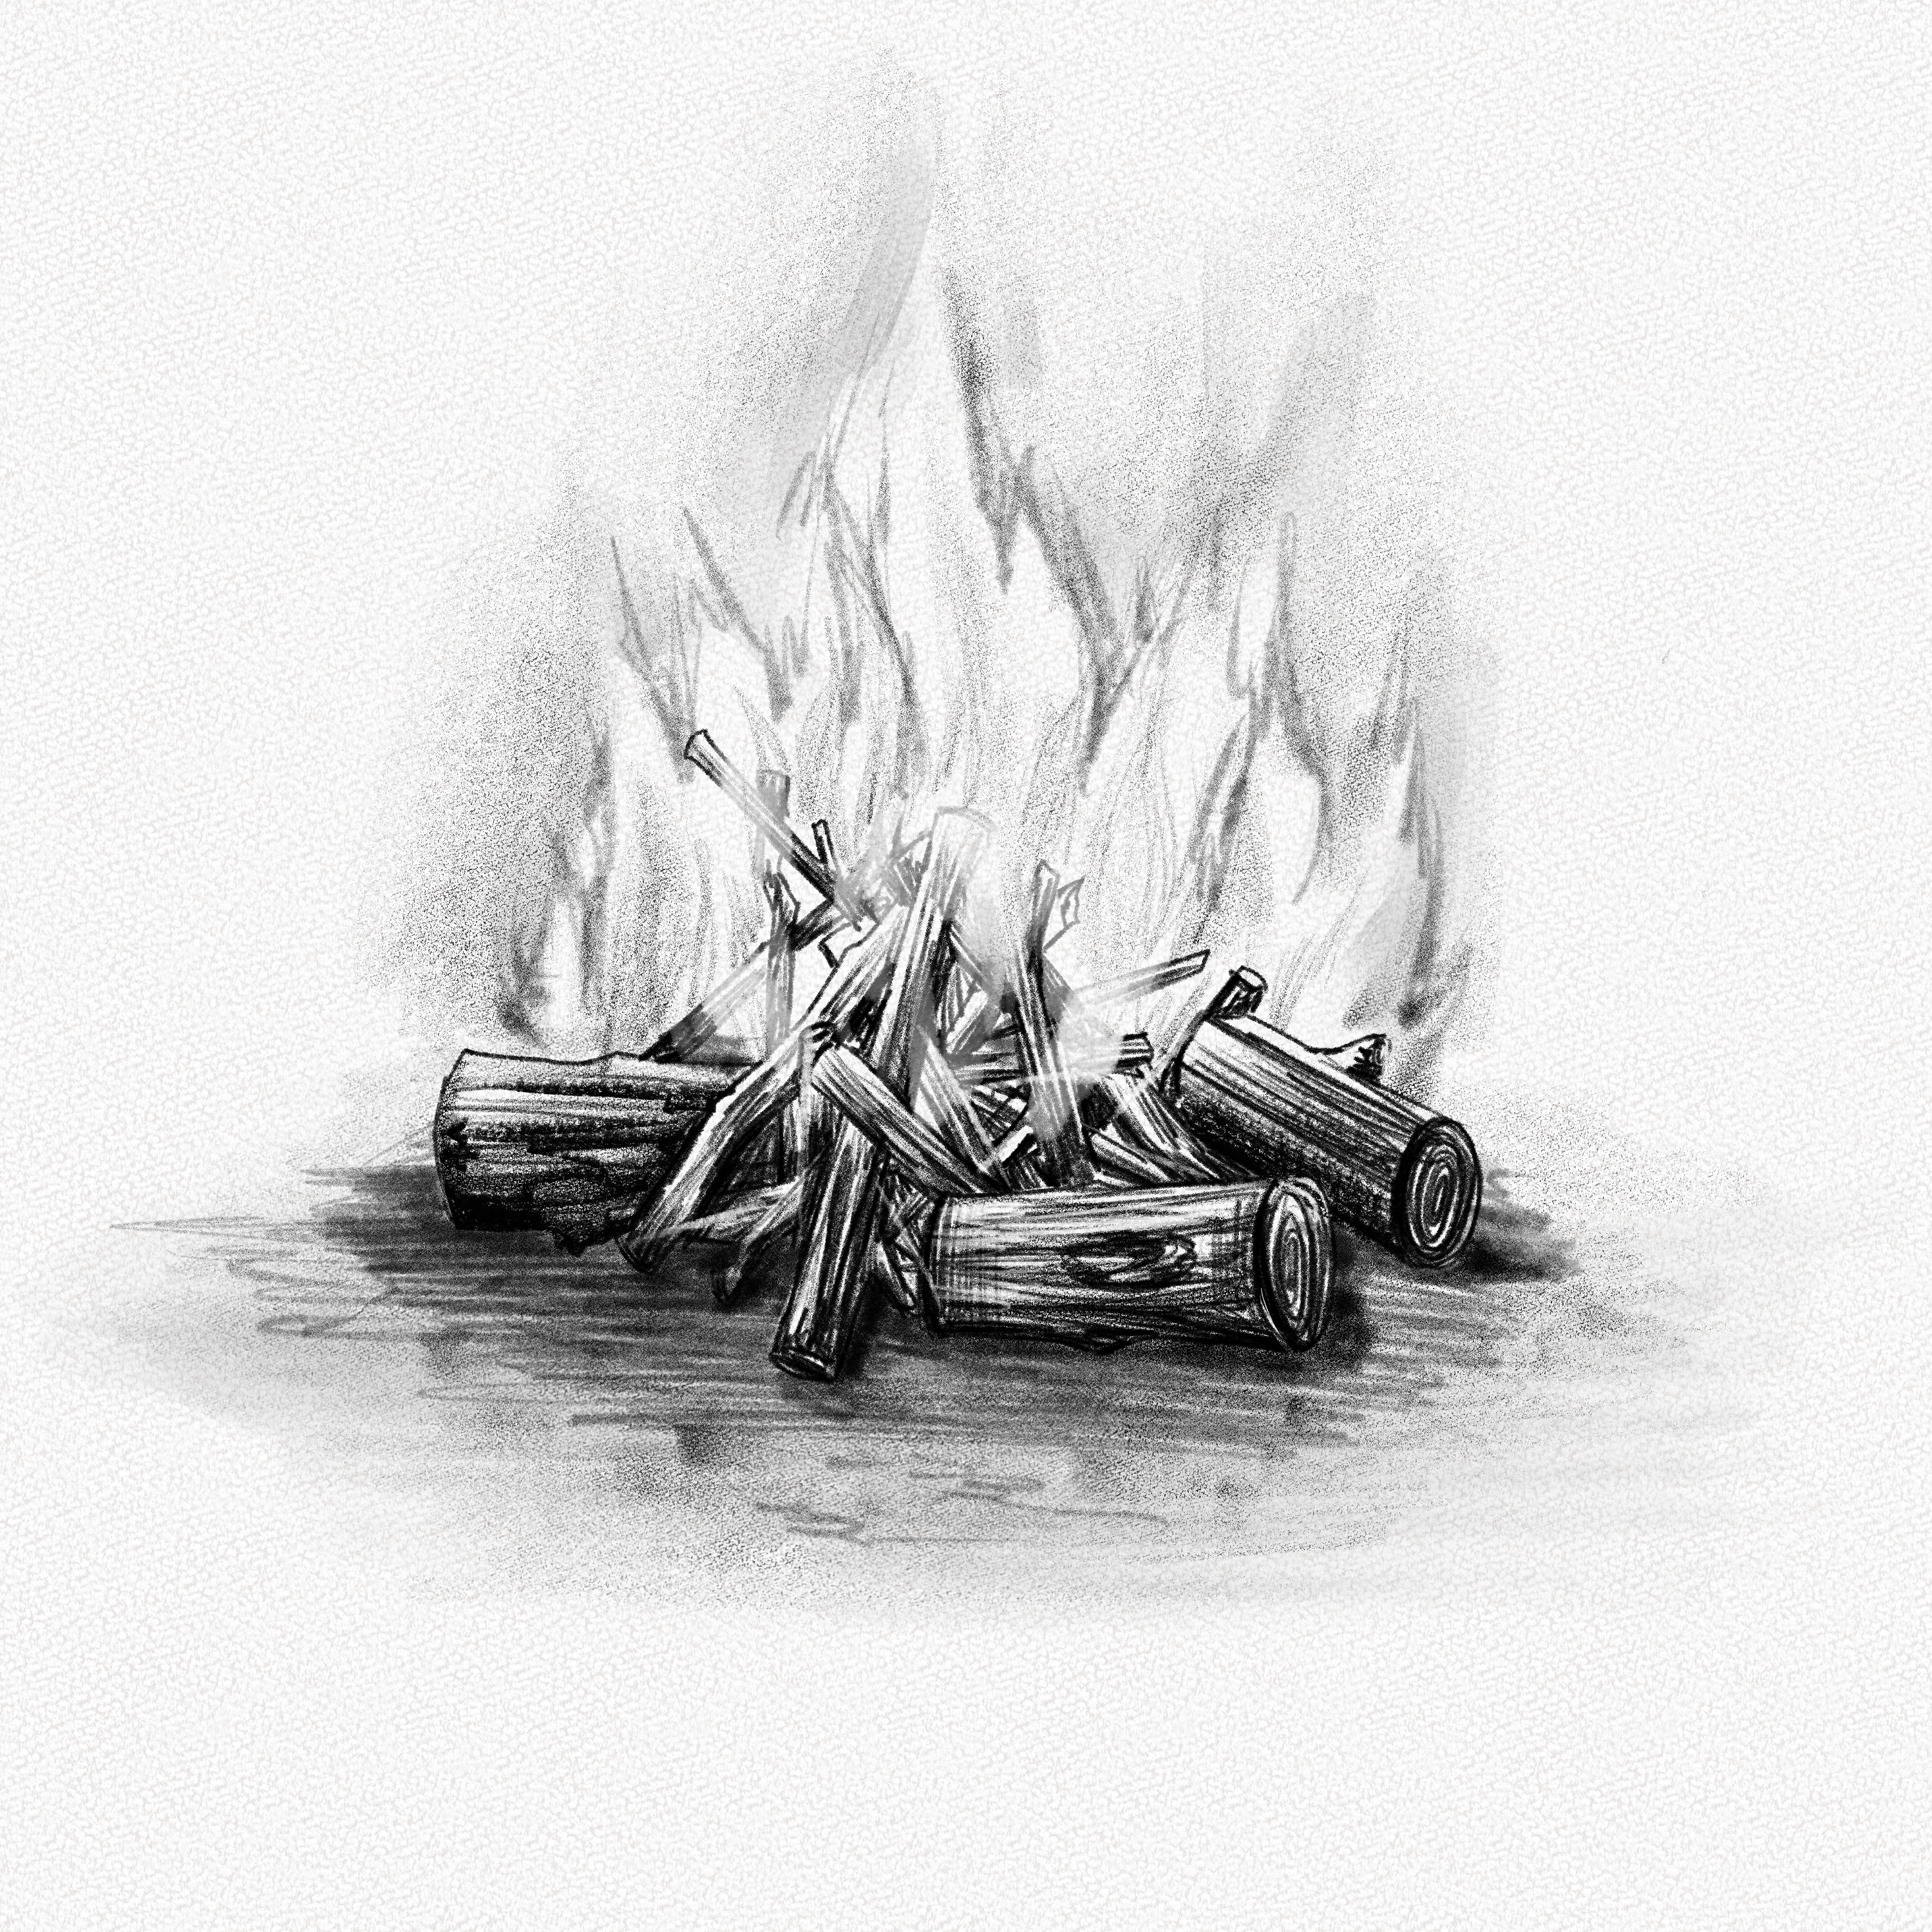
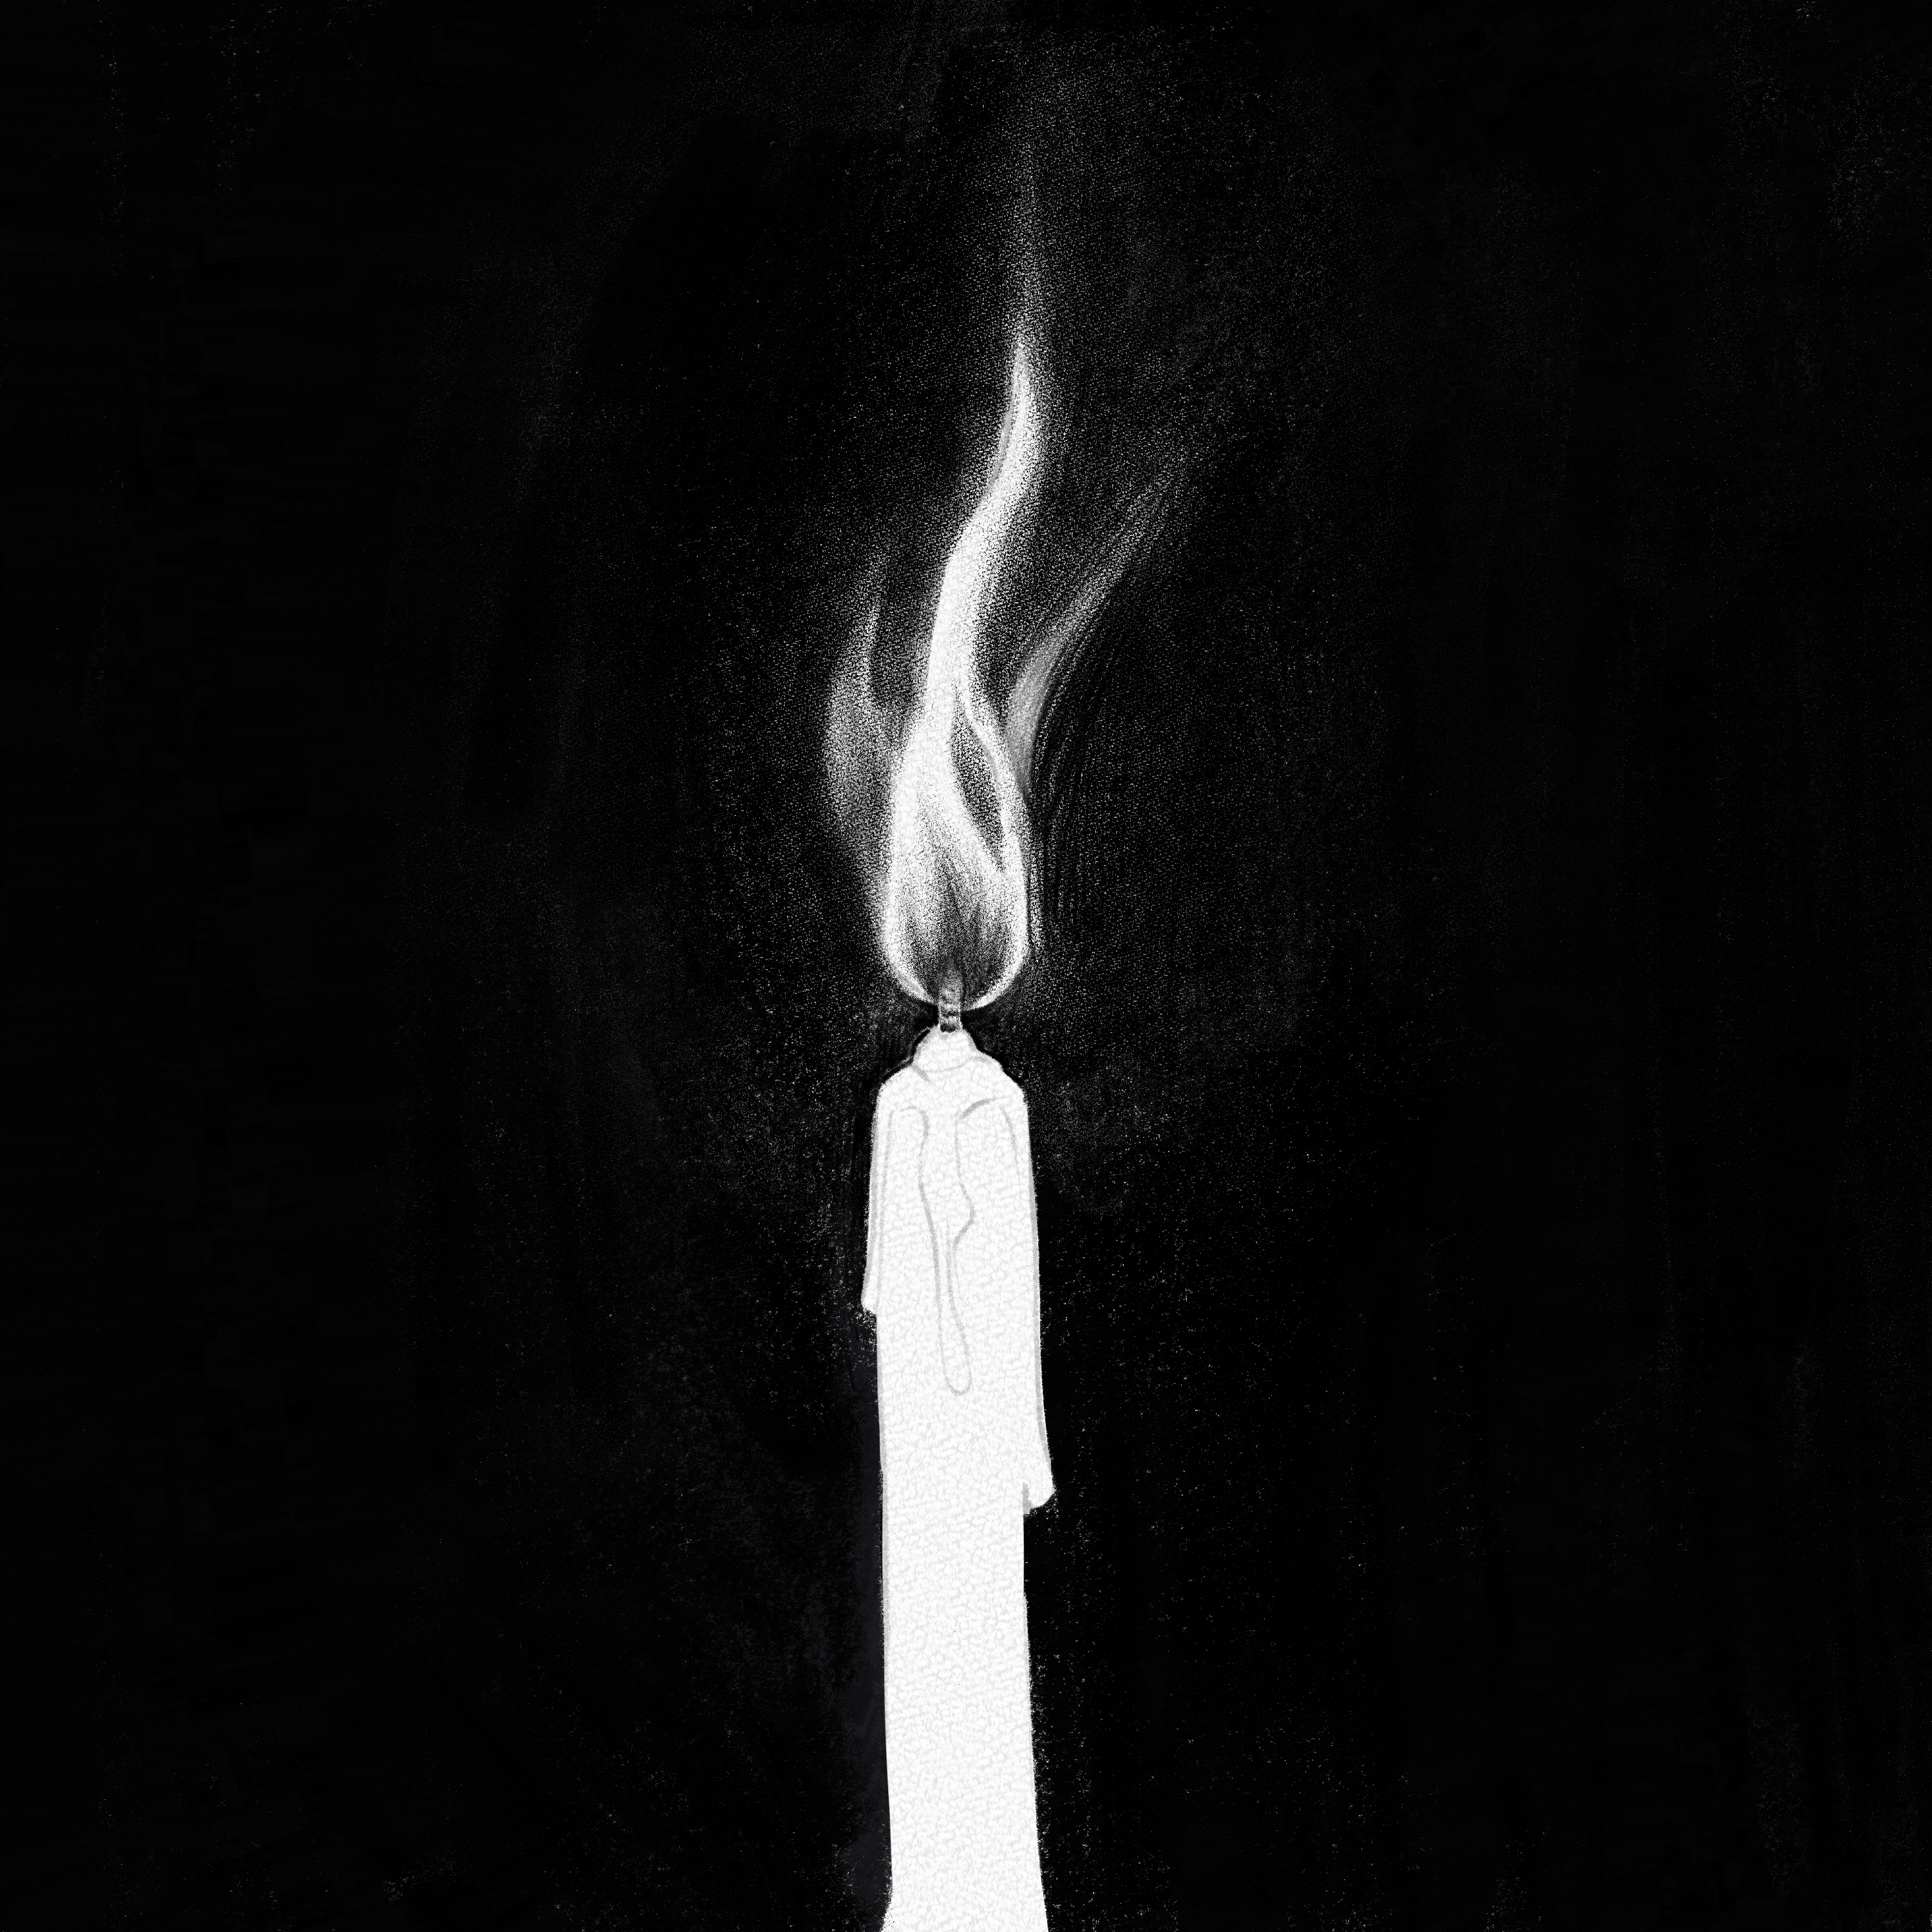
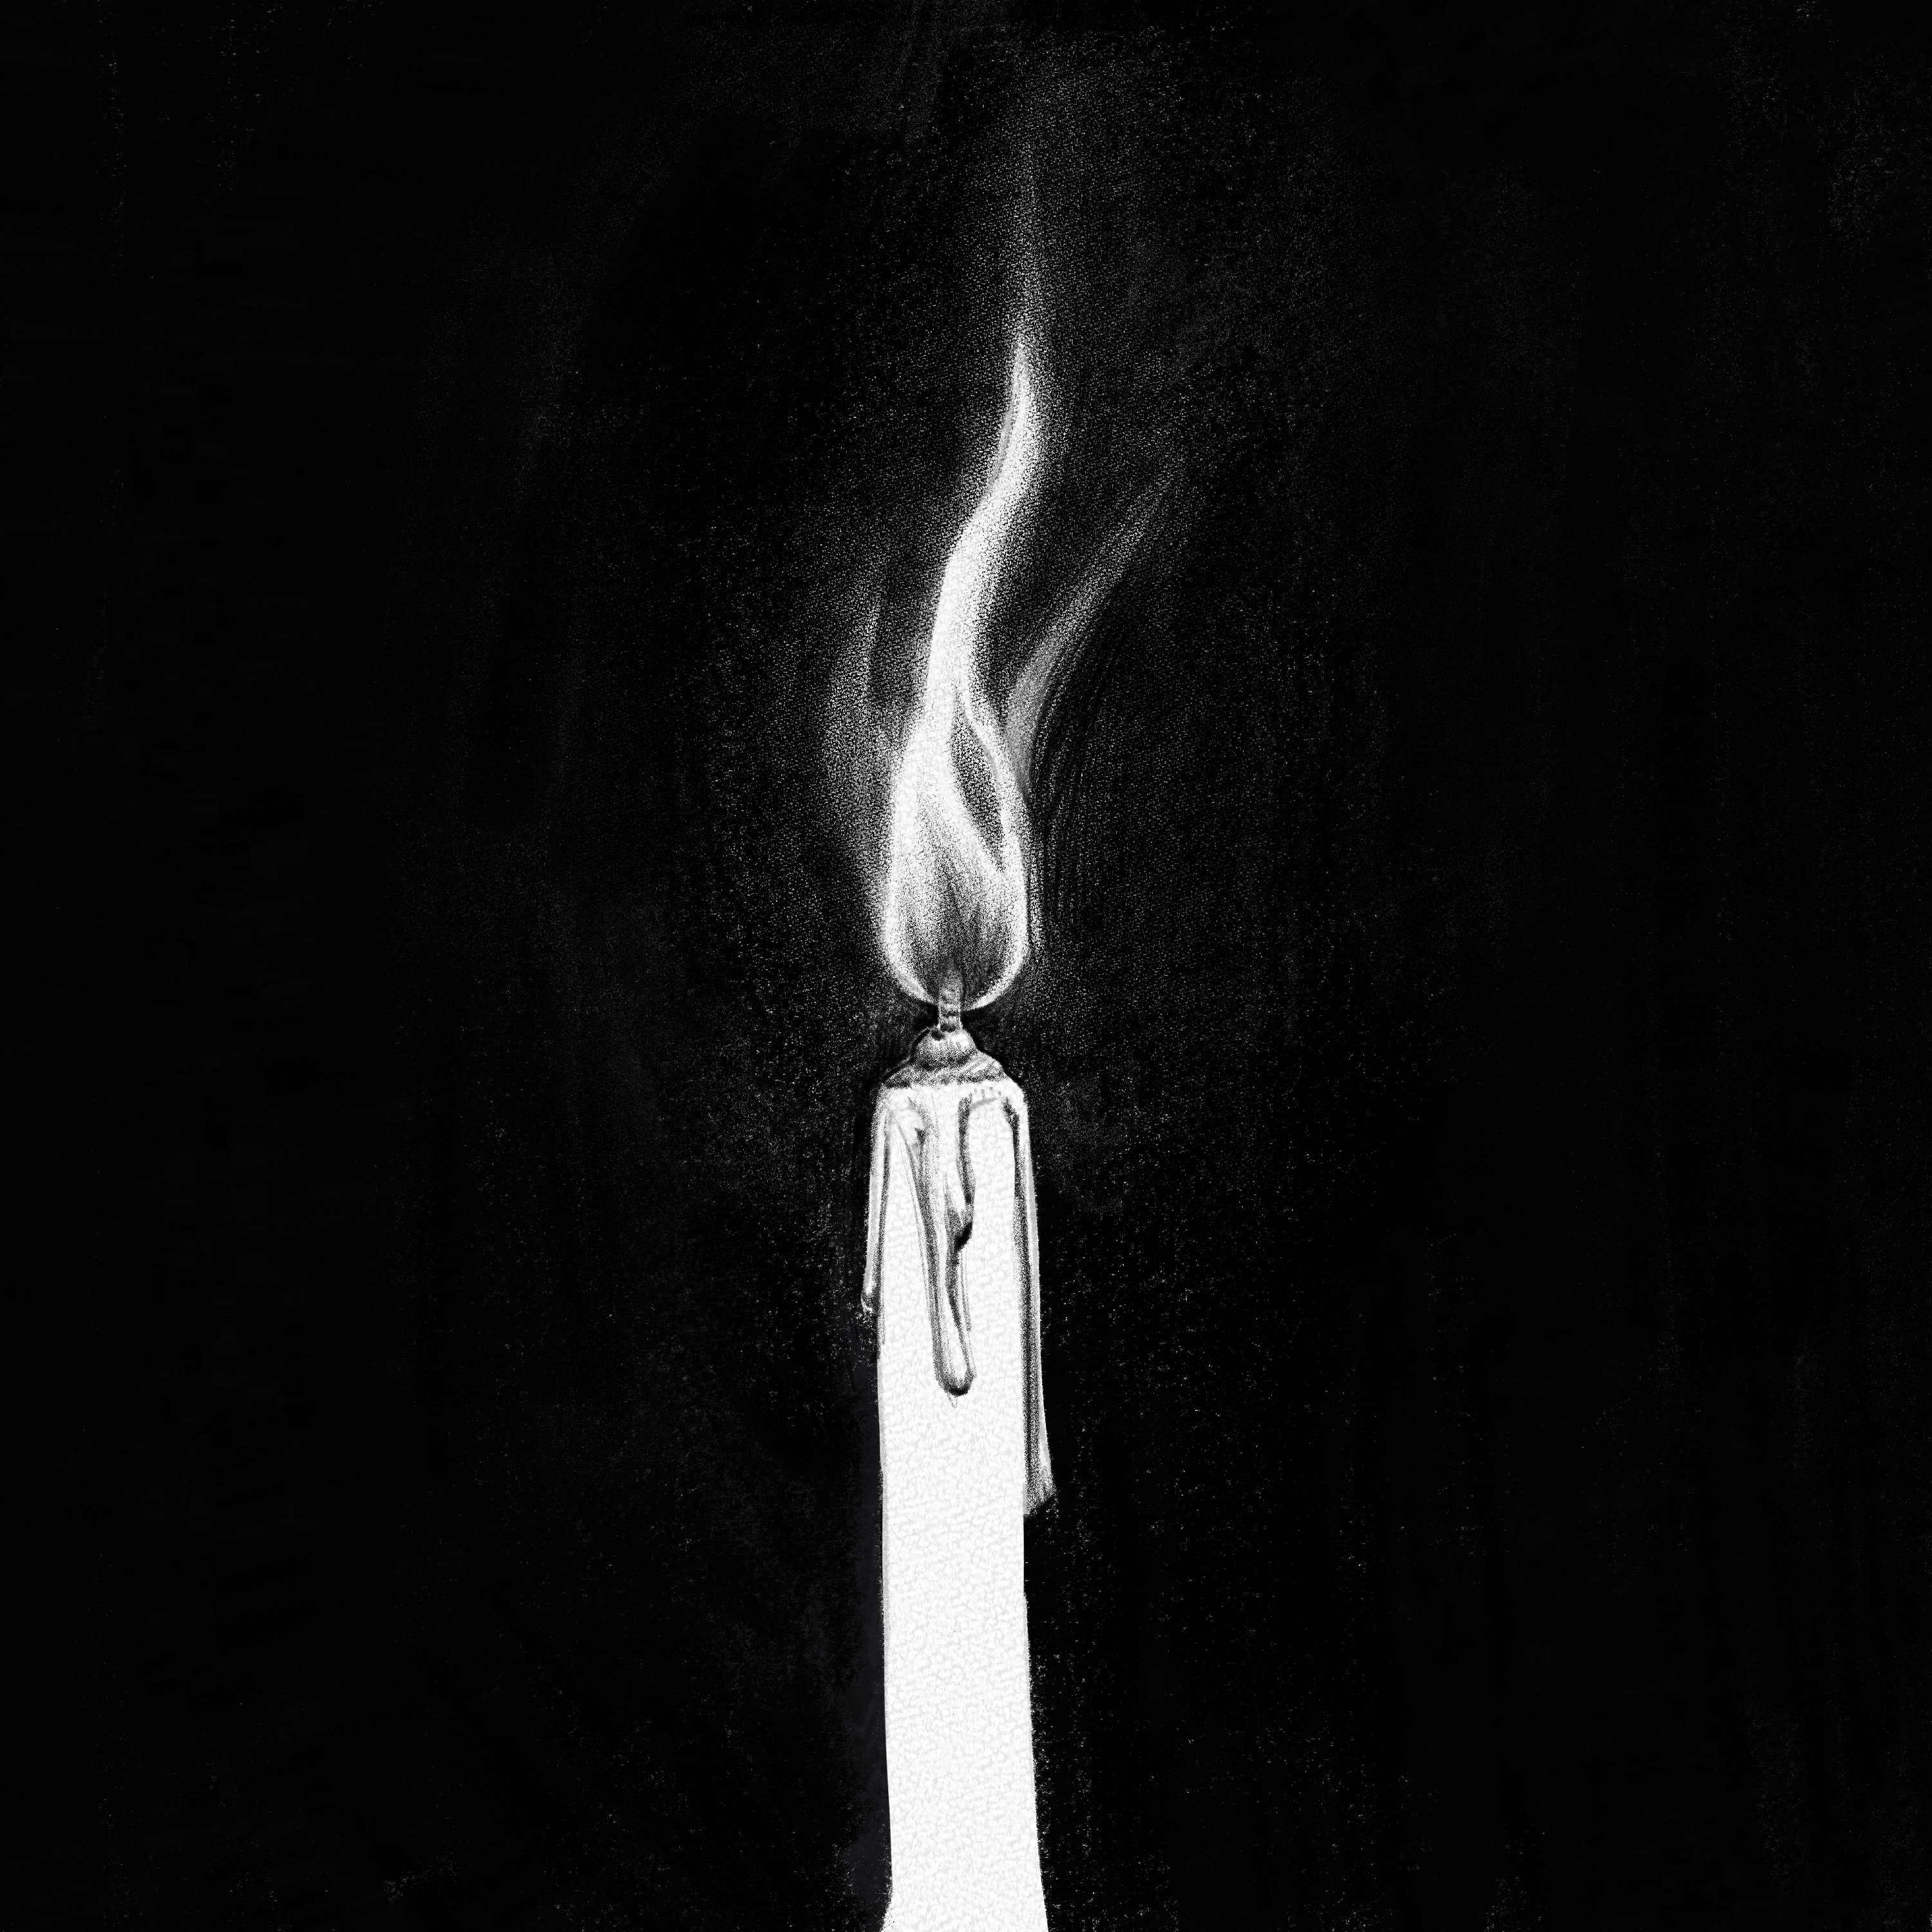
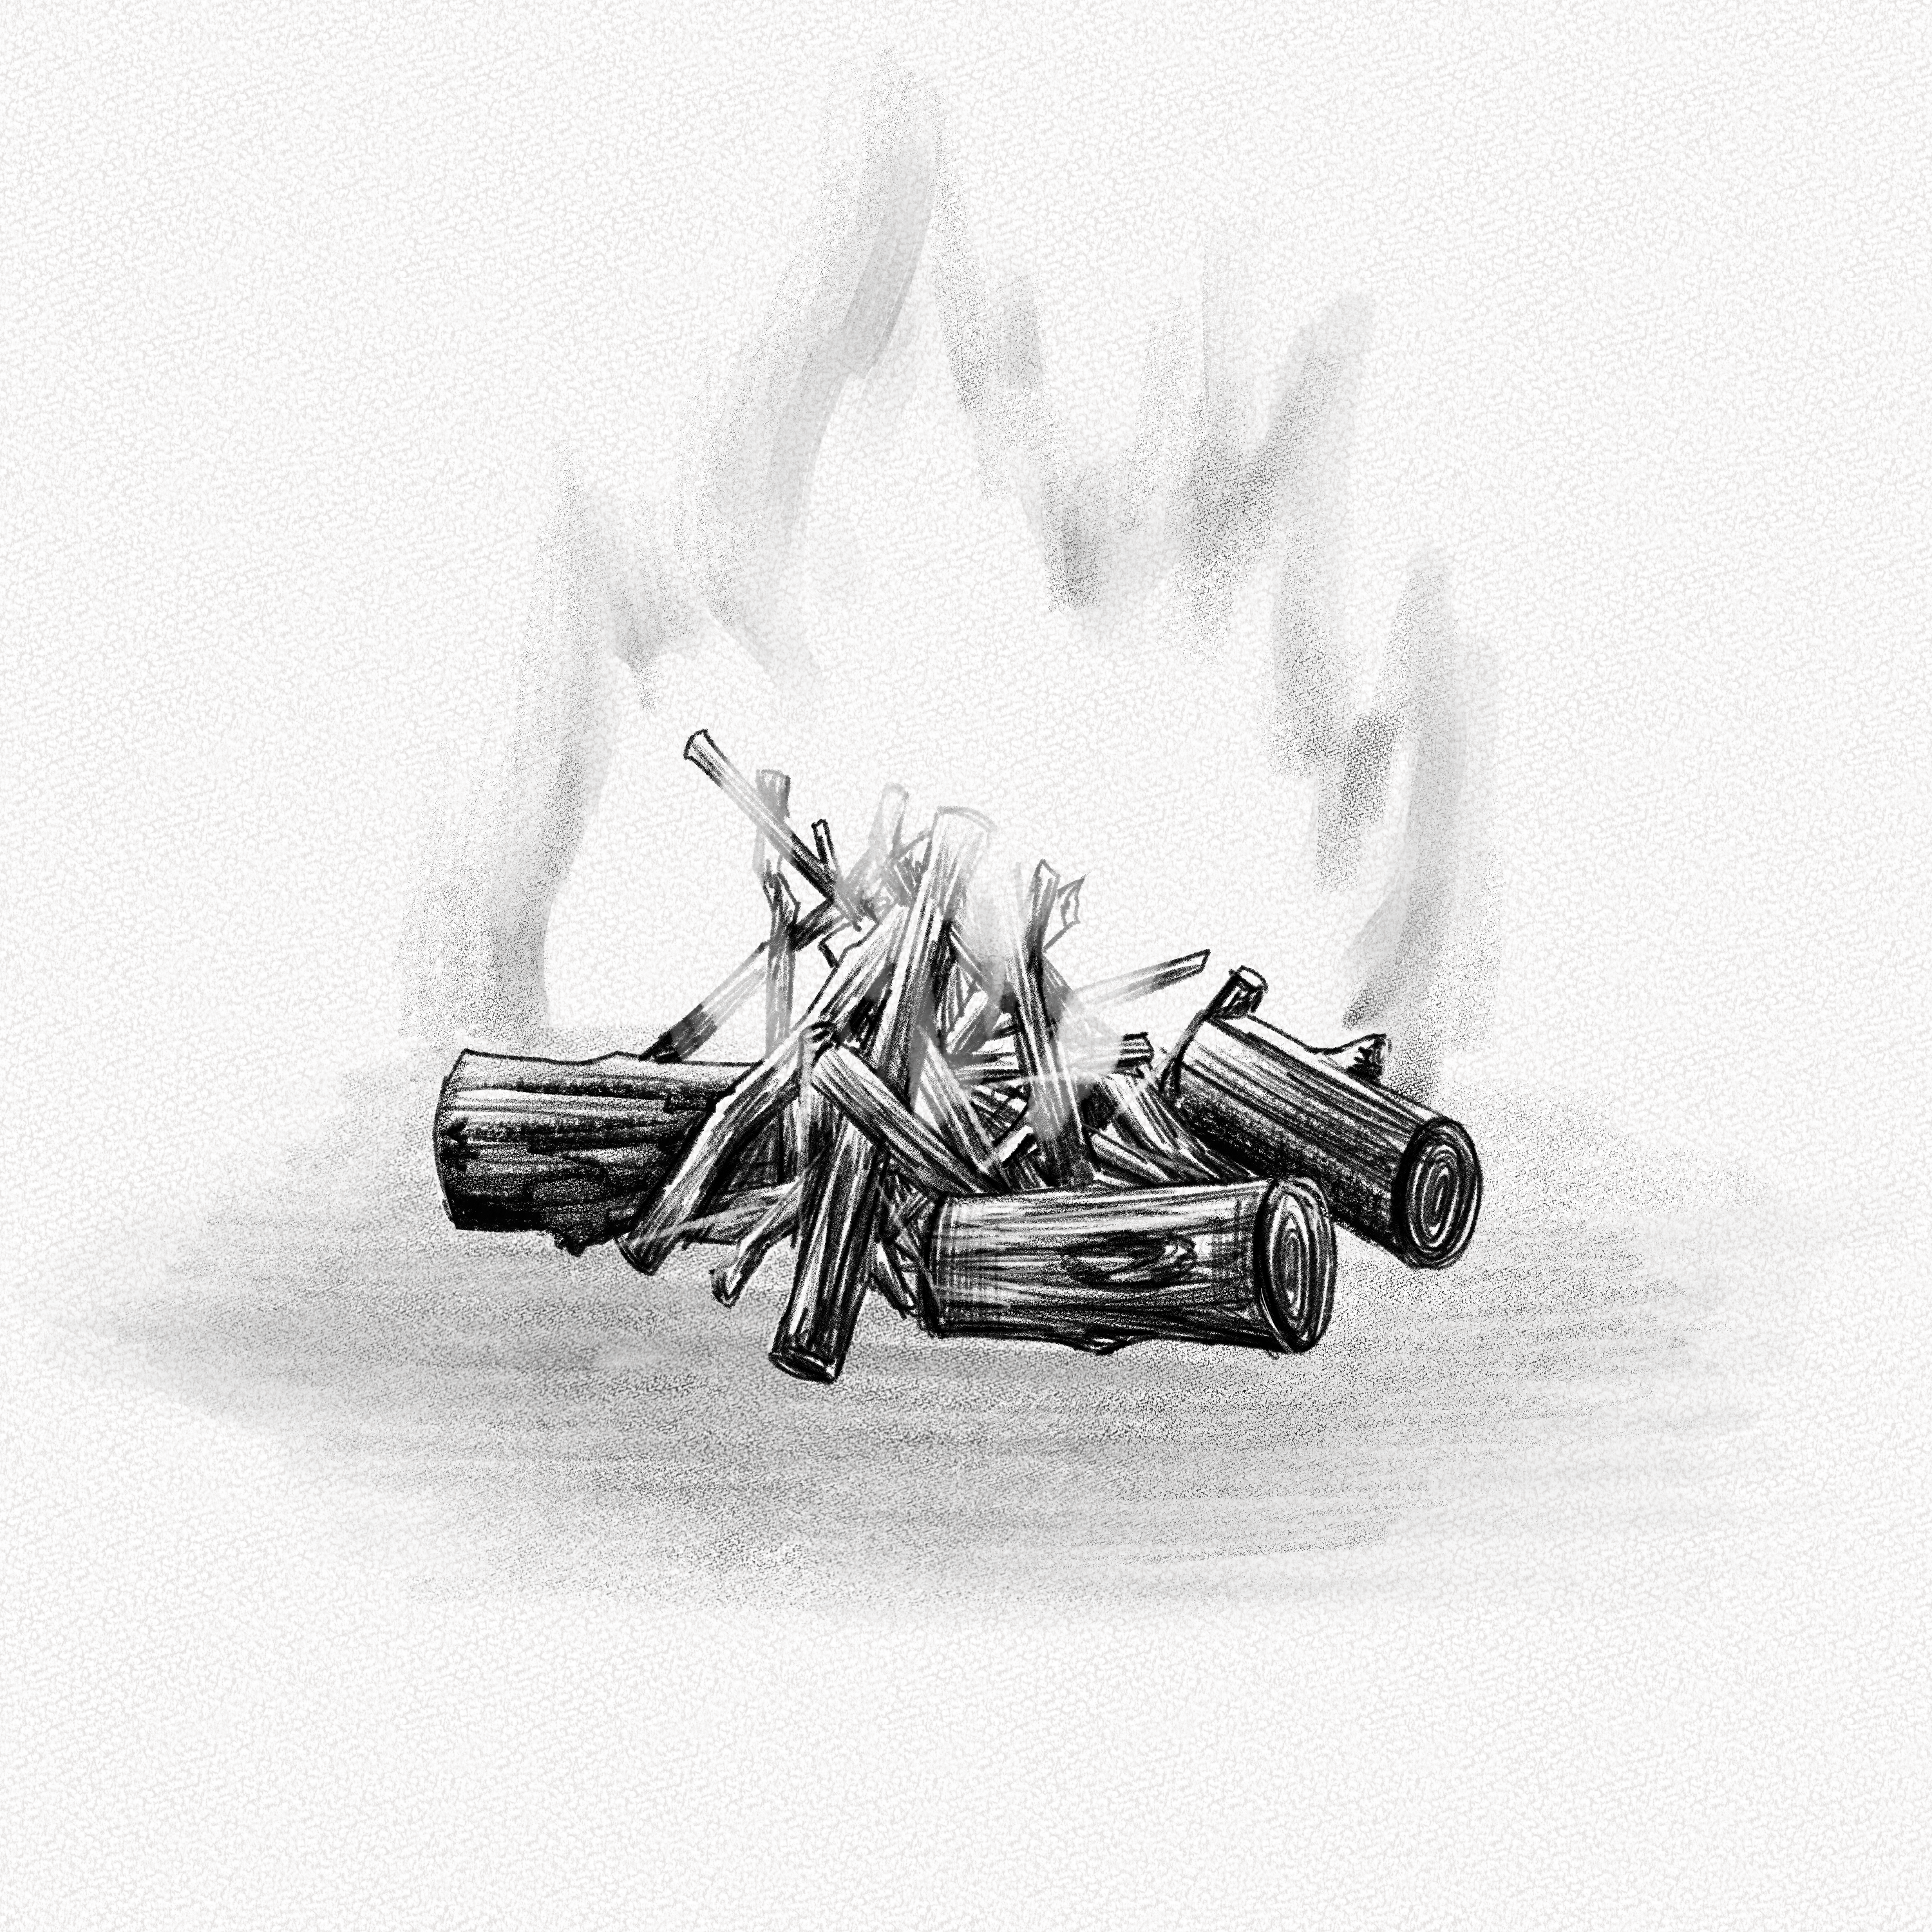
These are the candle flame and campfire you will be drawing:
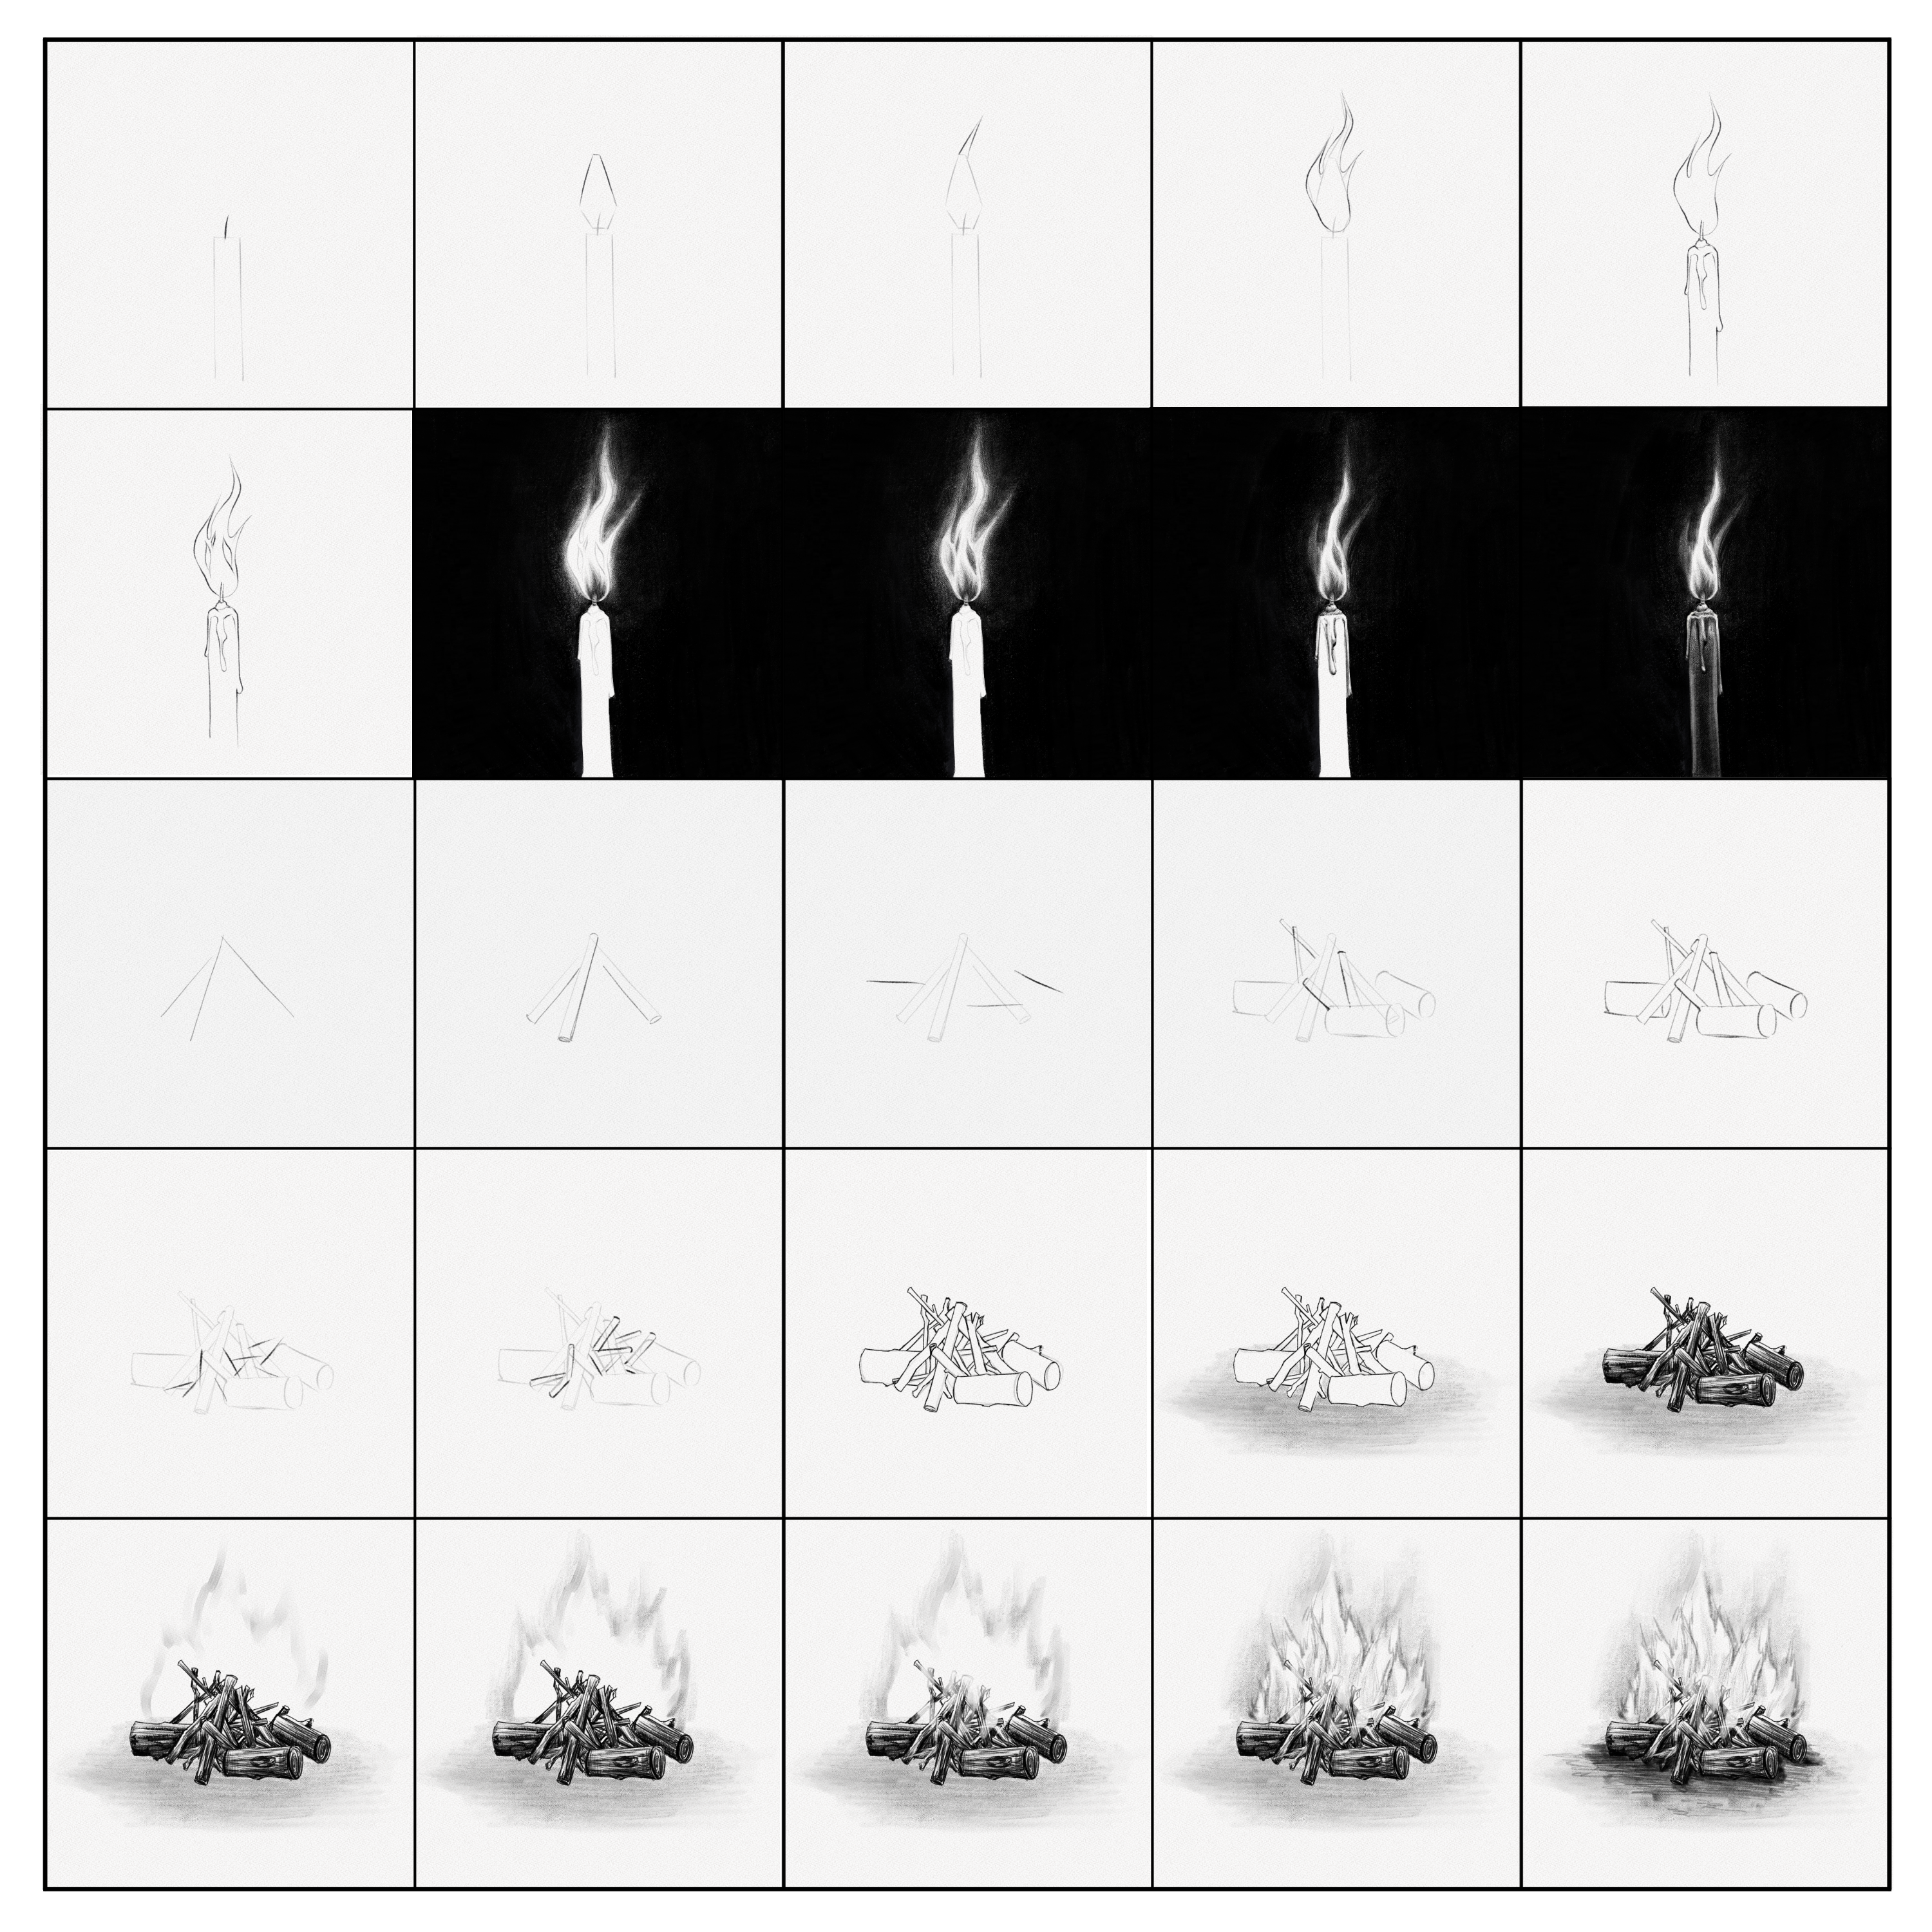
And these are all the steps we’ll guide you through:
Section 1.- How to Draw a Candle Flame
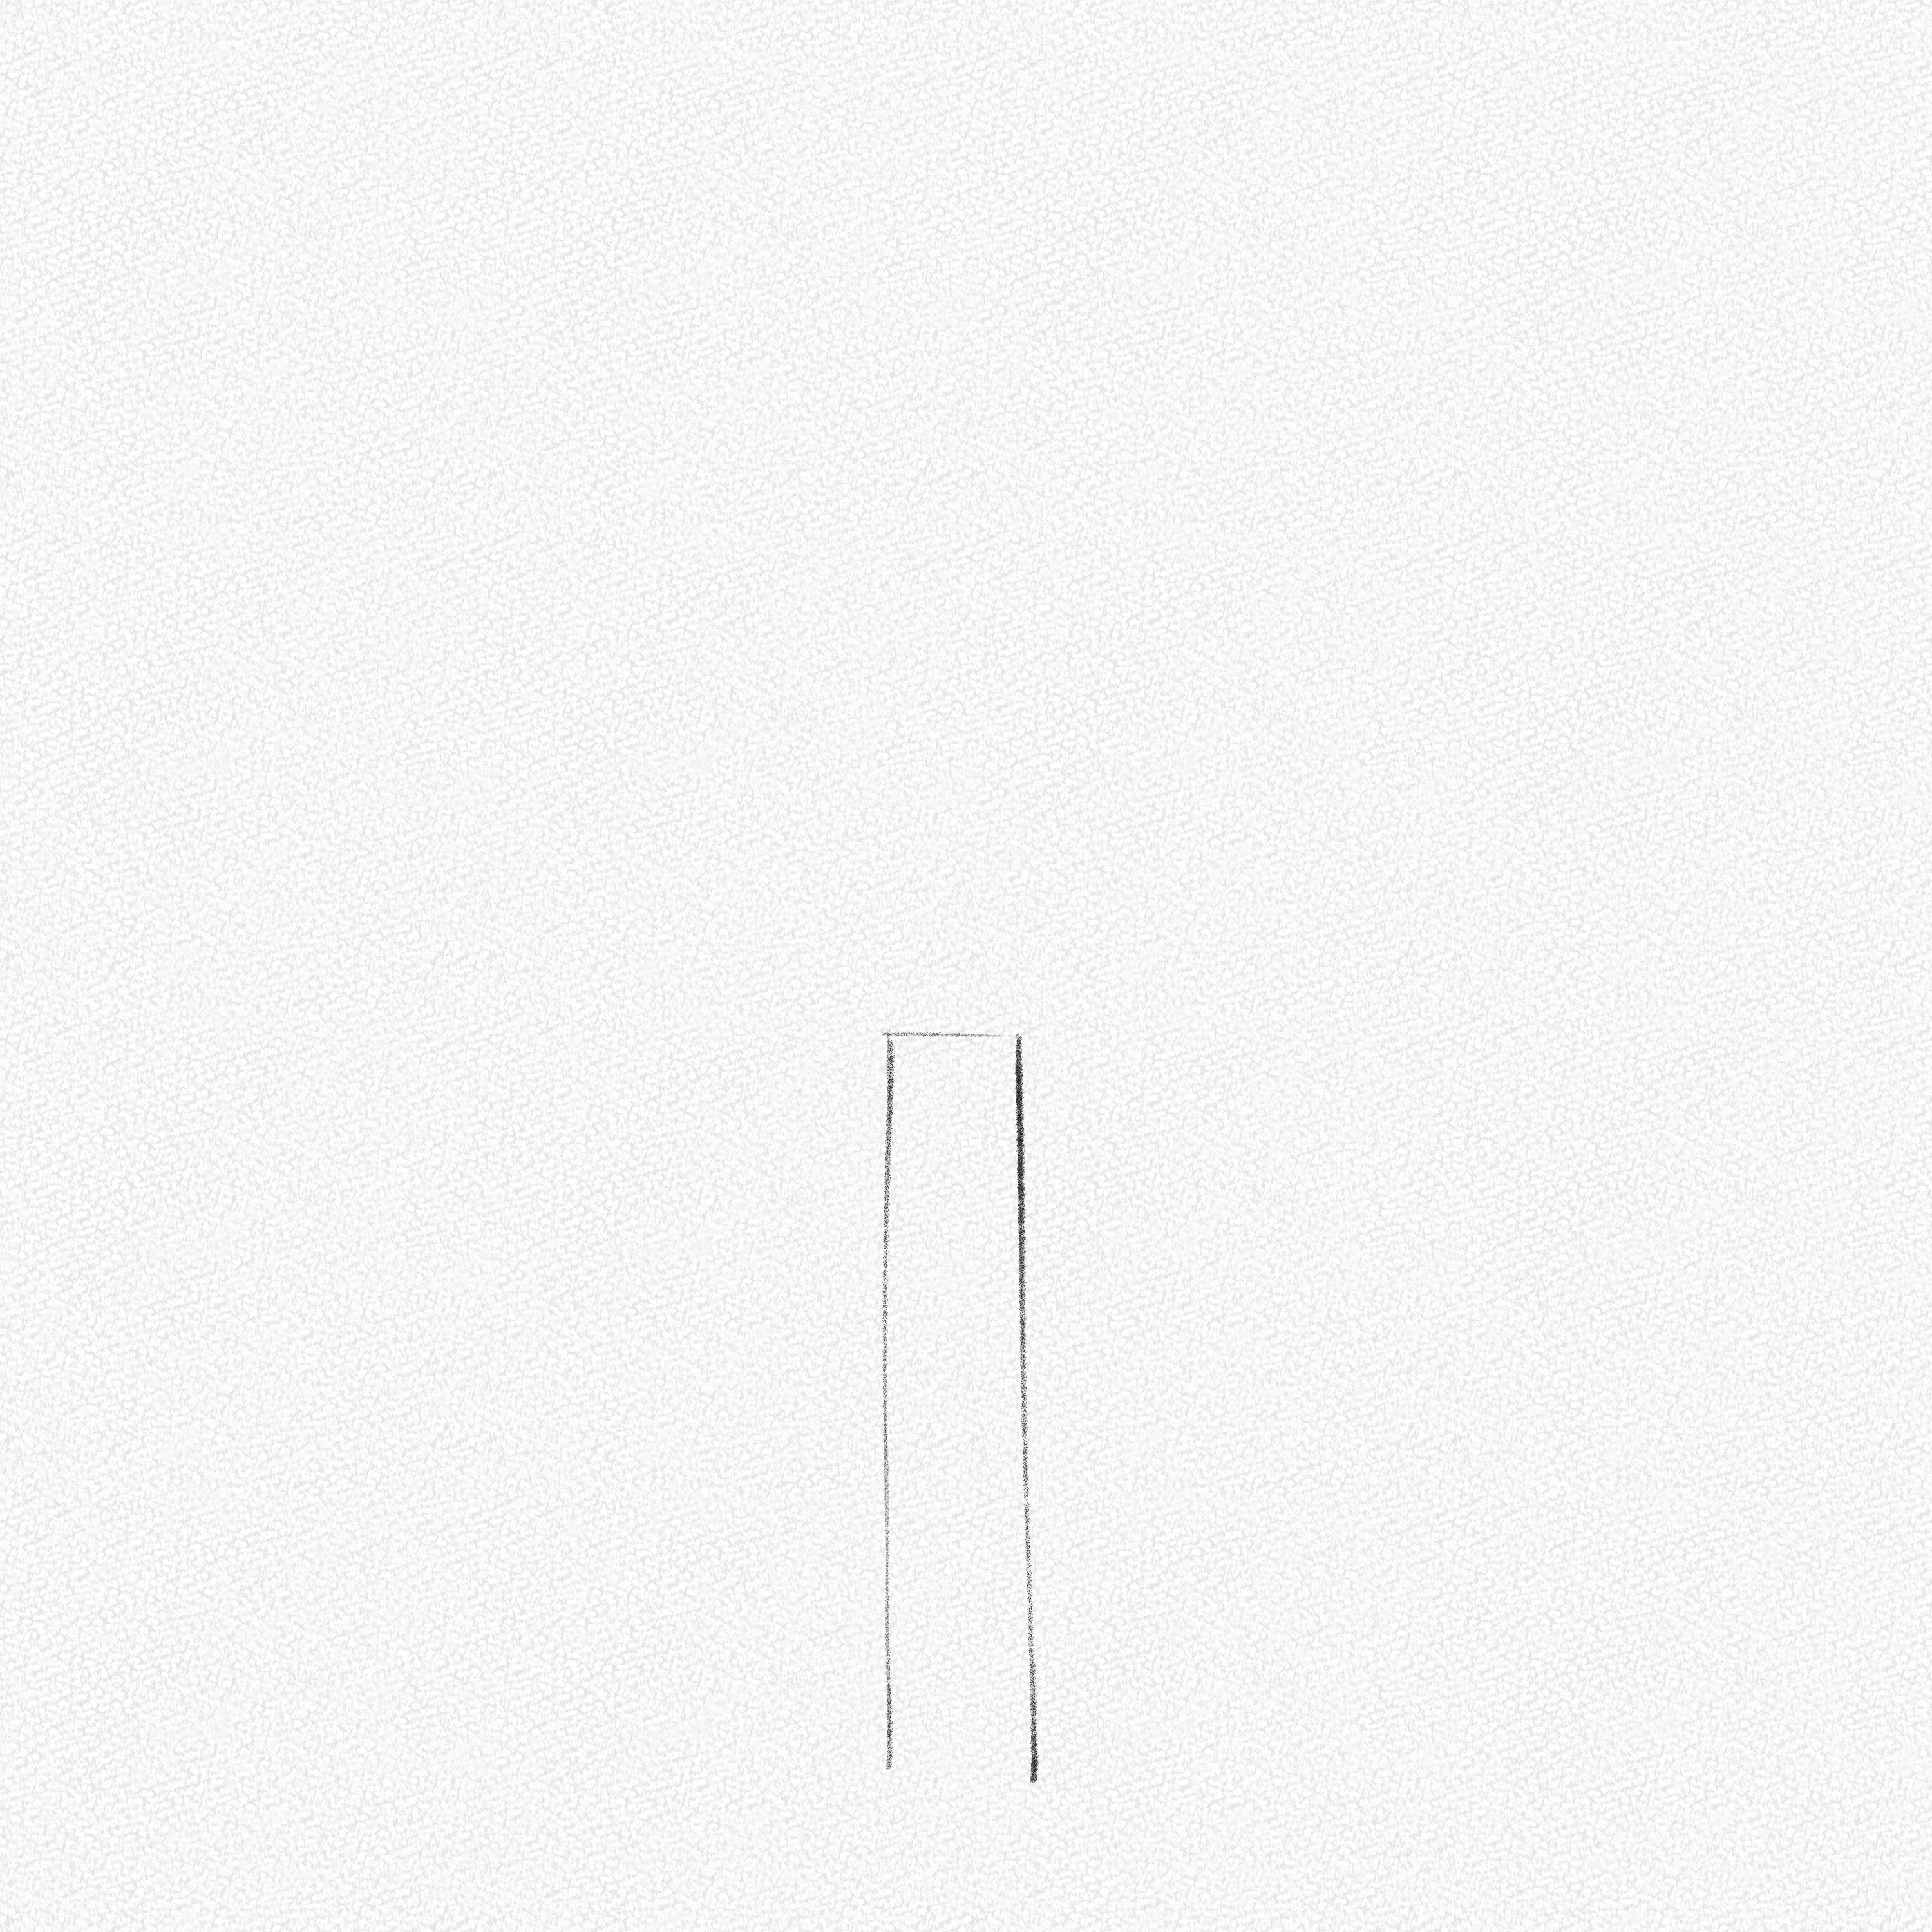
Step 1: Draw a rectangle
Draw a small rectangle with one side open. This will be the candle that will hold our flame.
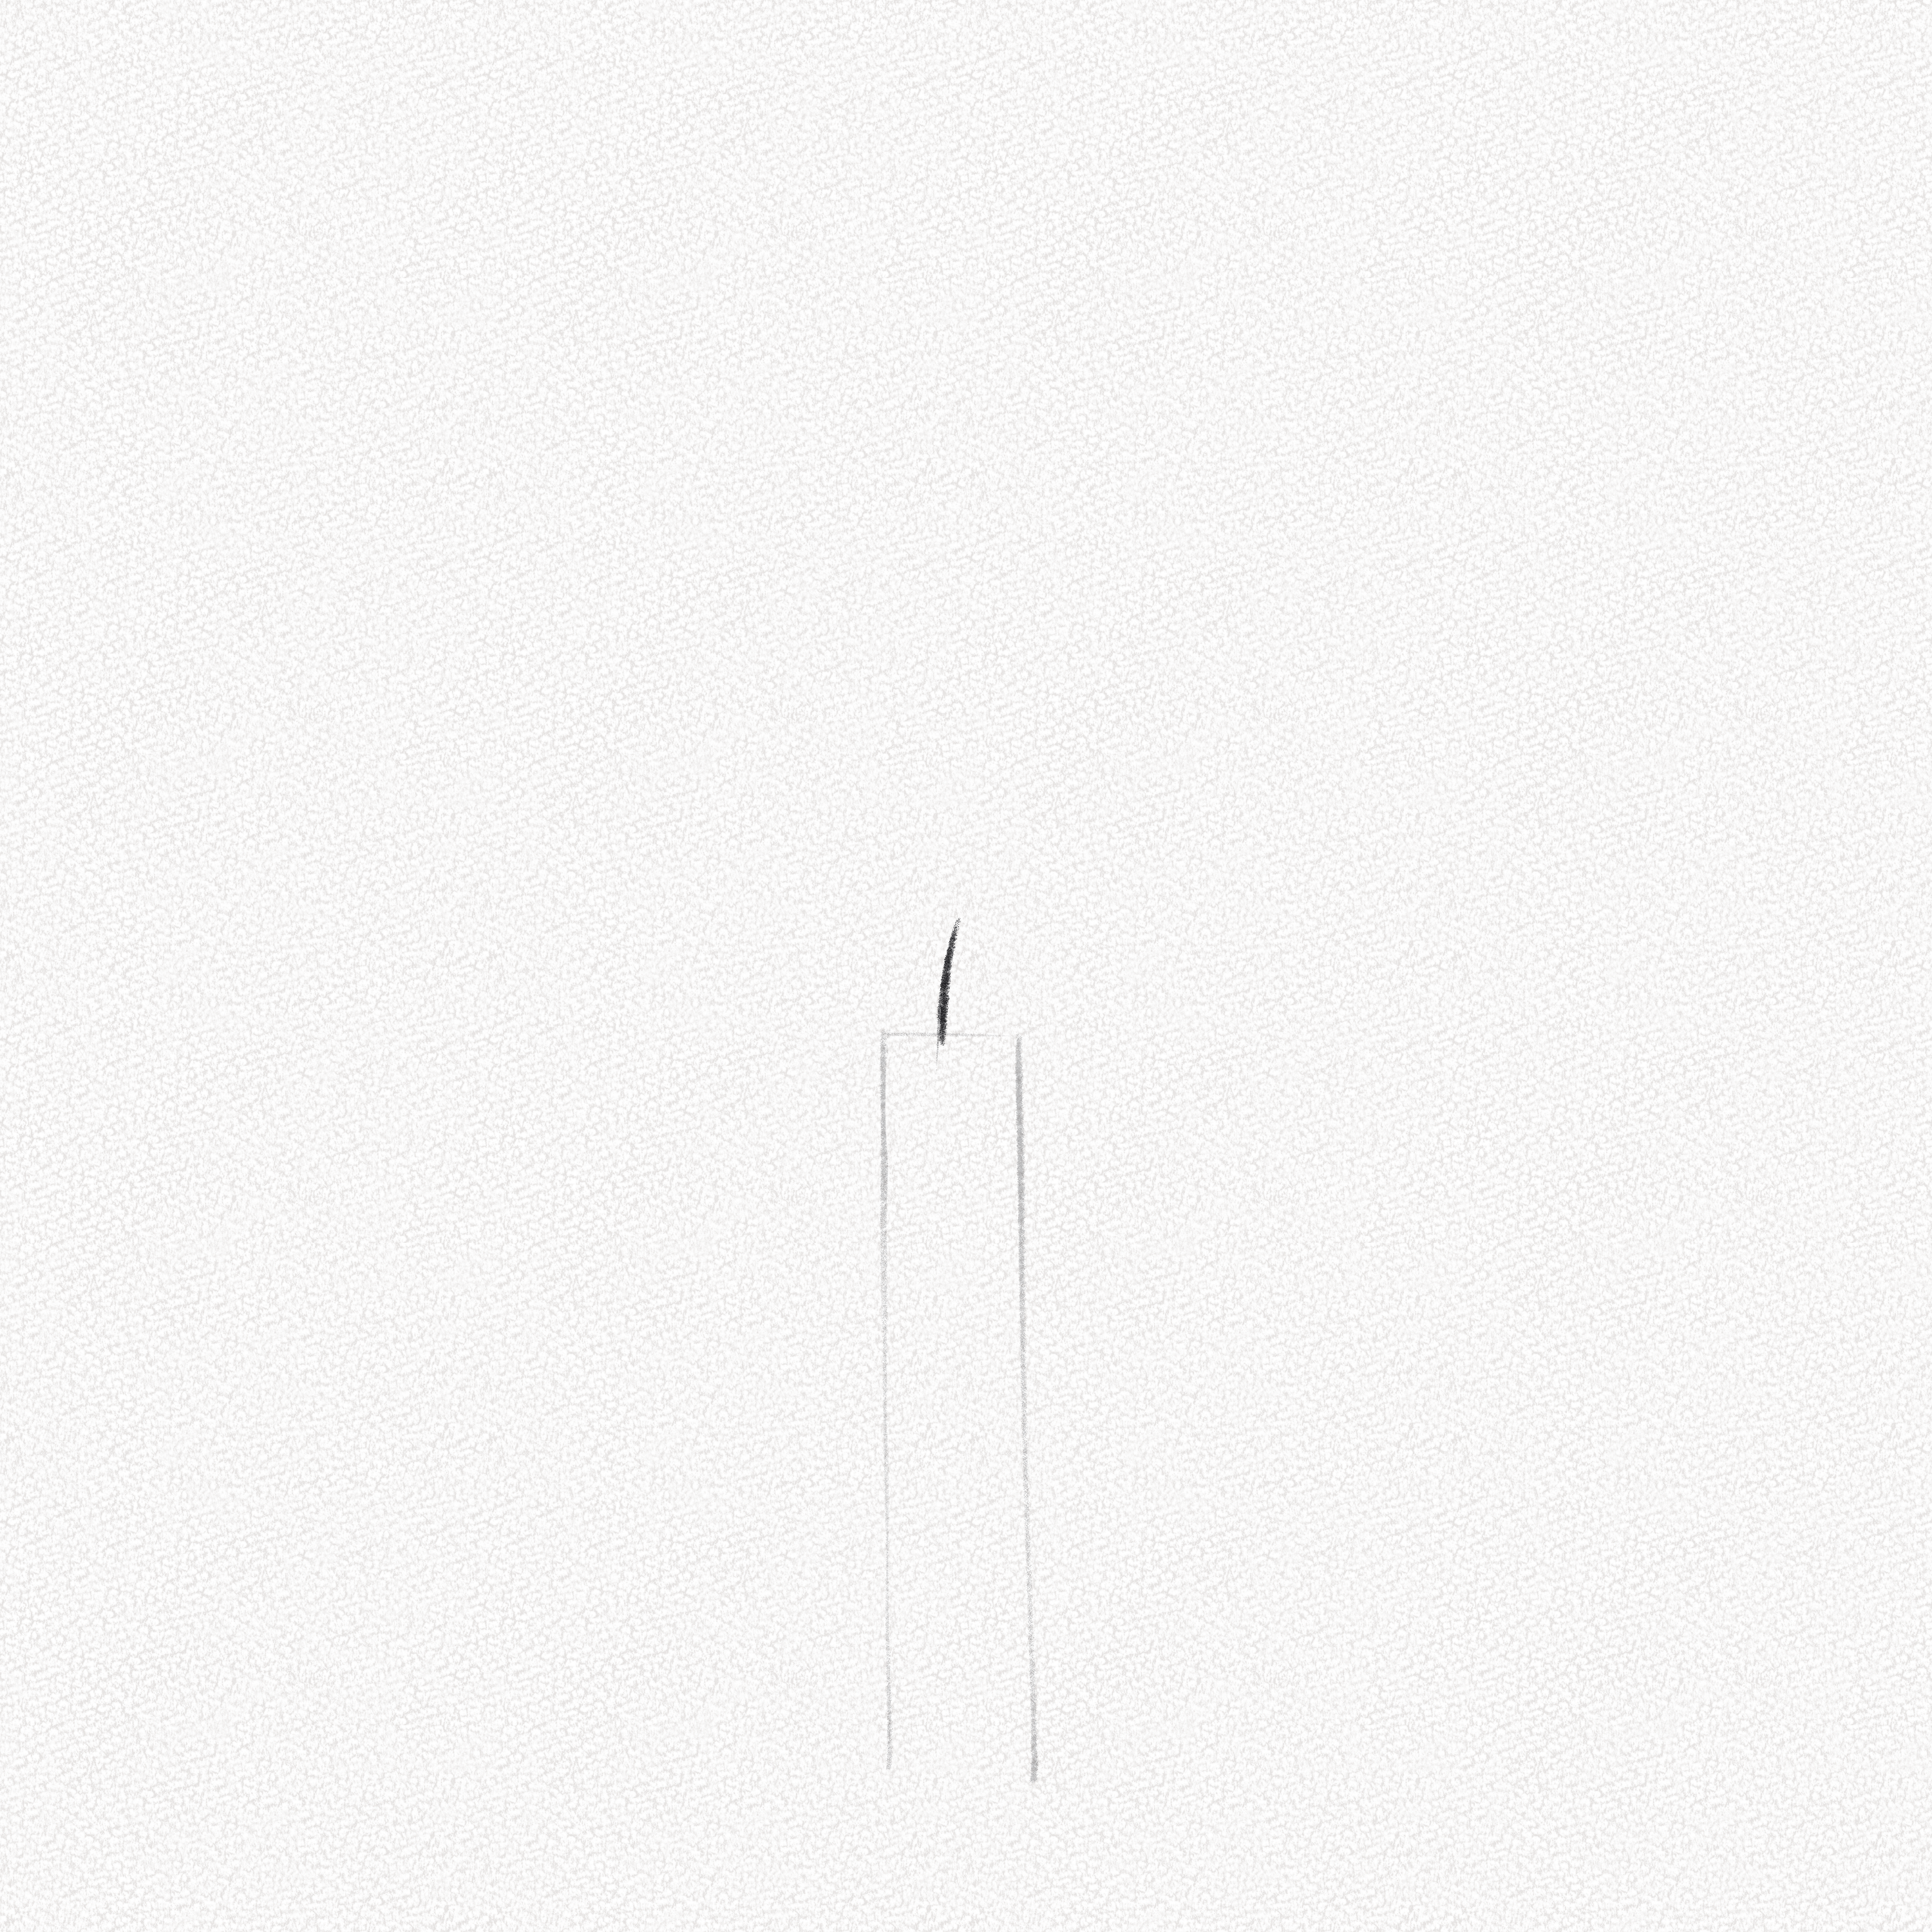
Step 2: Draw a line
Draw a small line in the direction you want the flame to go. This will be the candlewick.
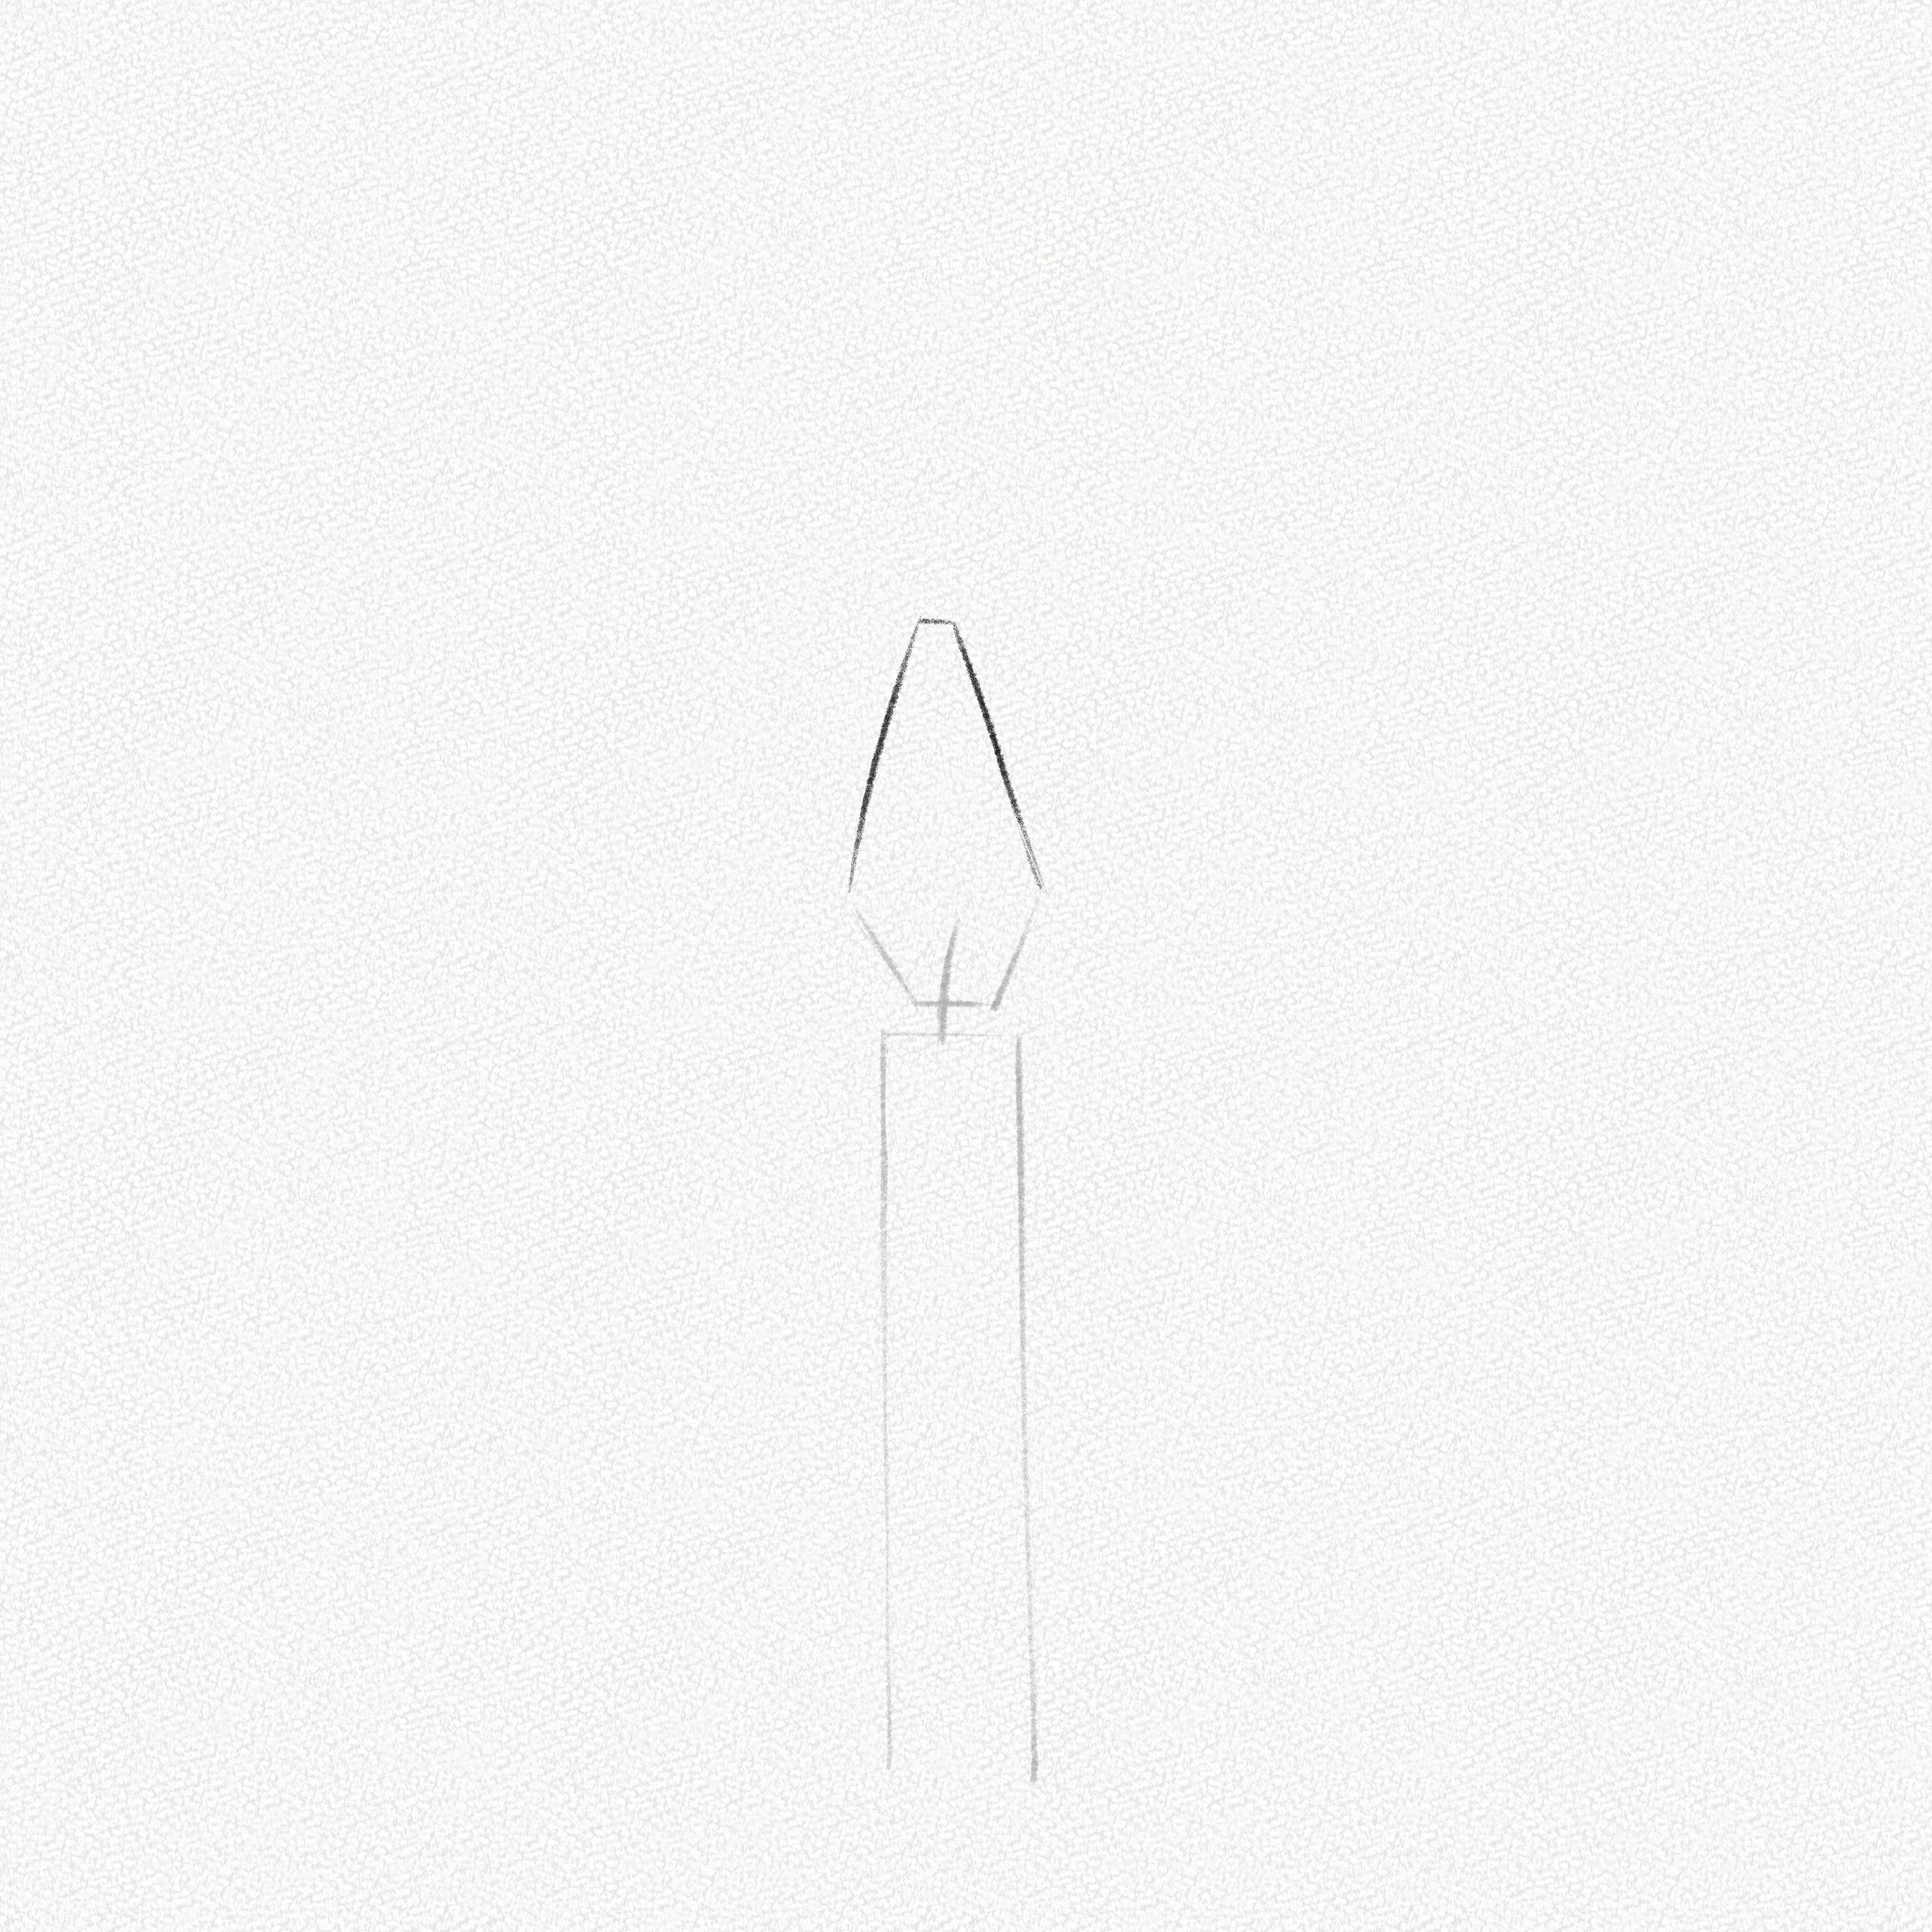
Step 3: Draw the shape of the flame
For the candle flame, we are going to draw a drop-like structure, made of an irregular hexagon with an elongated shape.
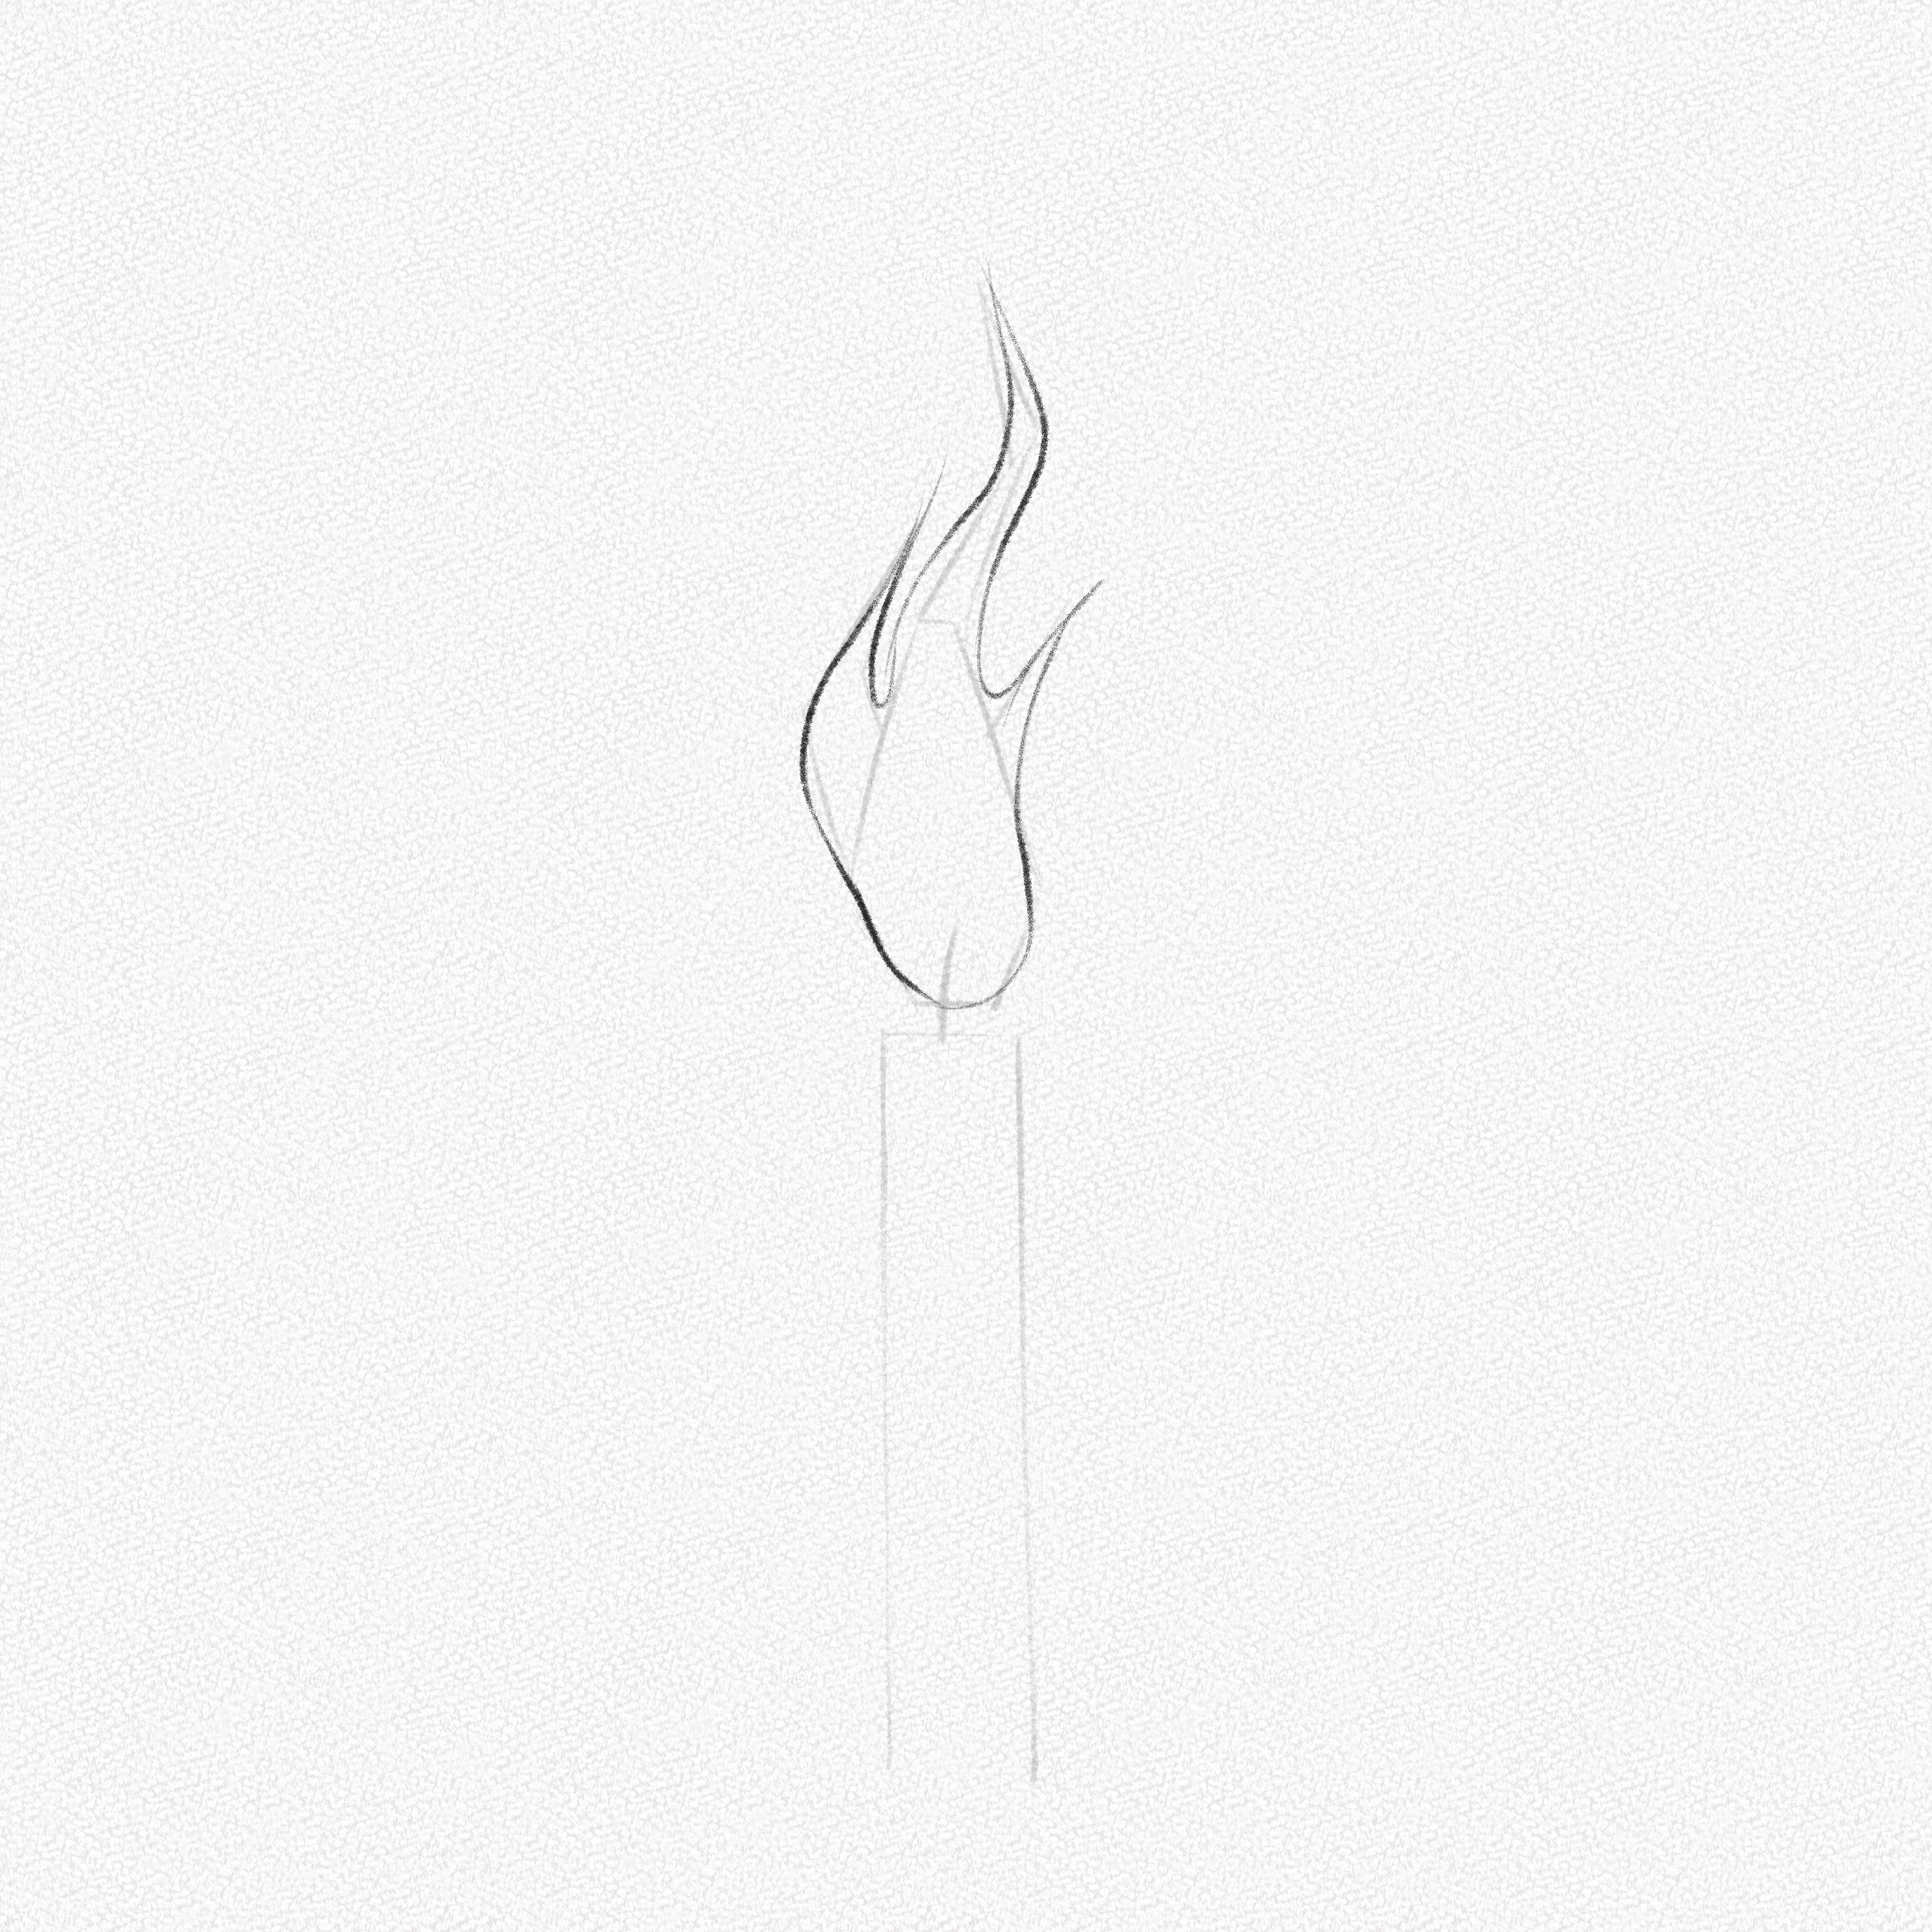
Step 4: Add details
Fire doesn’t have a defined form, so we’re going to add some spiky details to make our flame more interesting.
You can make your flame very simple or flowier if you like

Step 5: Outline your candle
Outline your candle flame using curvy shapes and instead of the sharp vertex use flowy “U” shapes.
Outline your candle as well and add some wax drops on the sides.
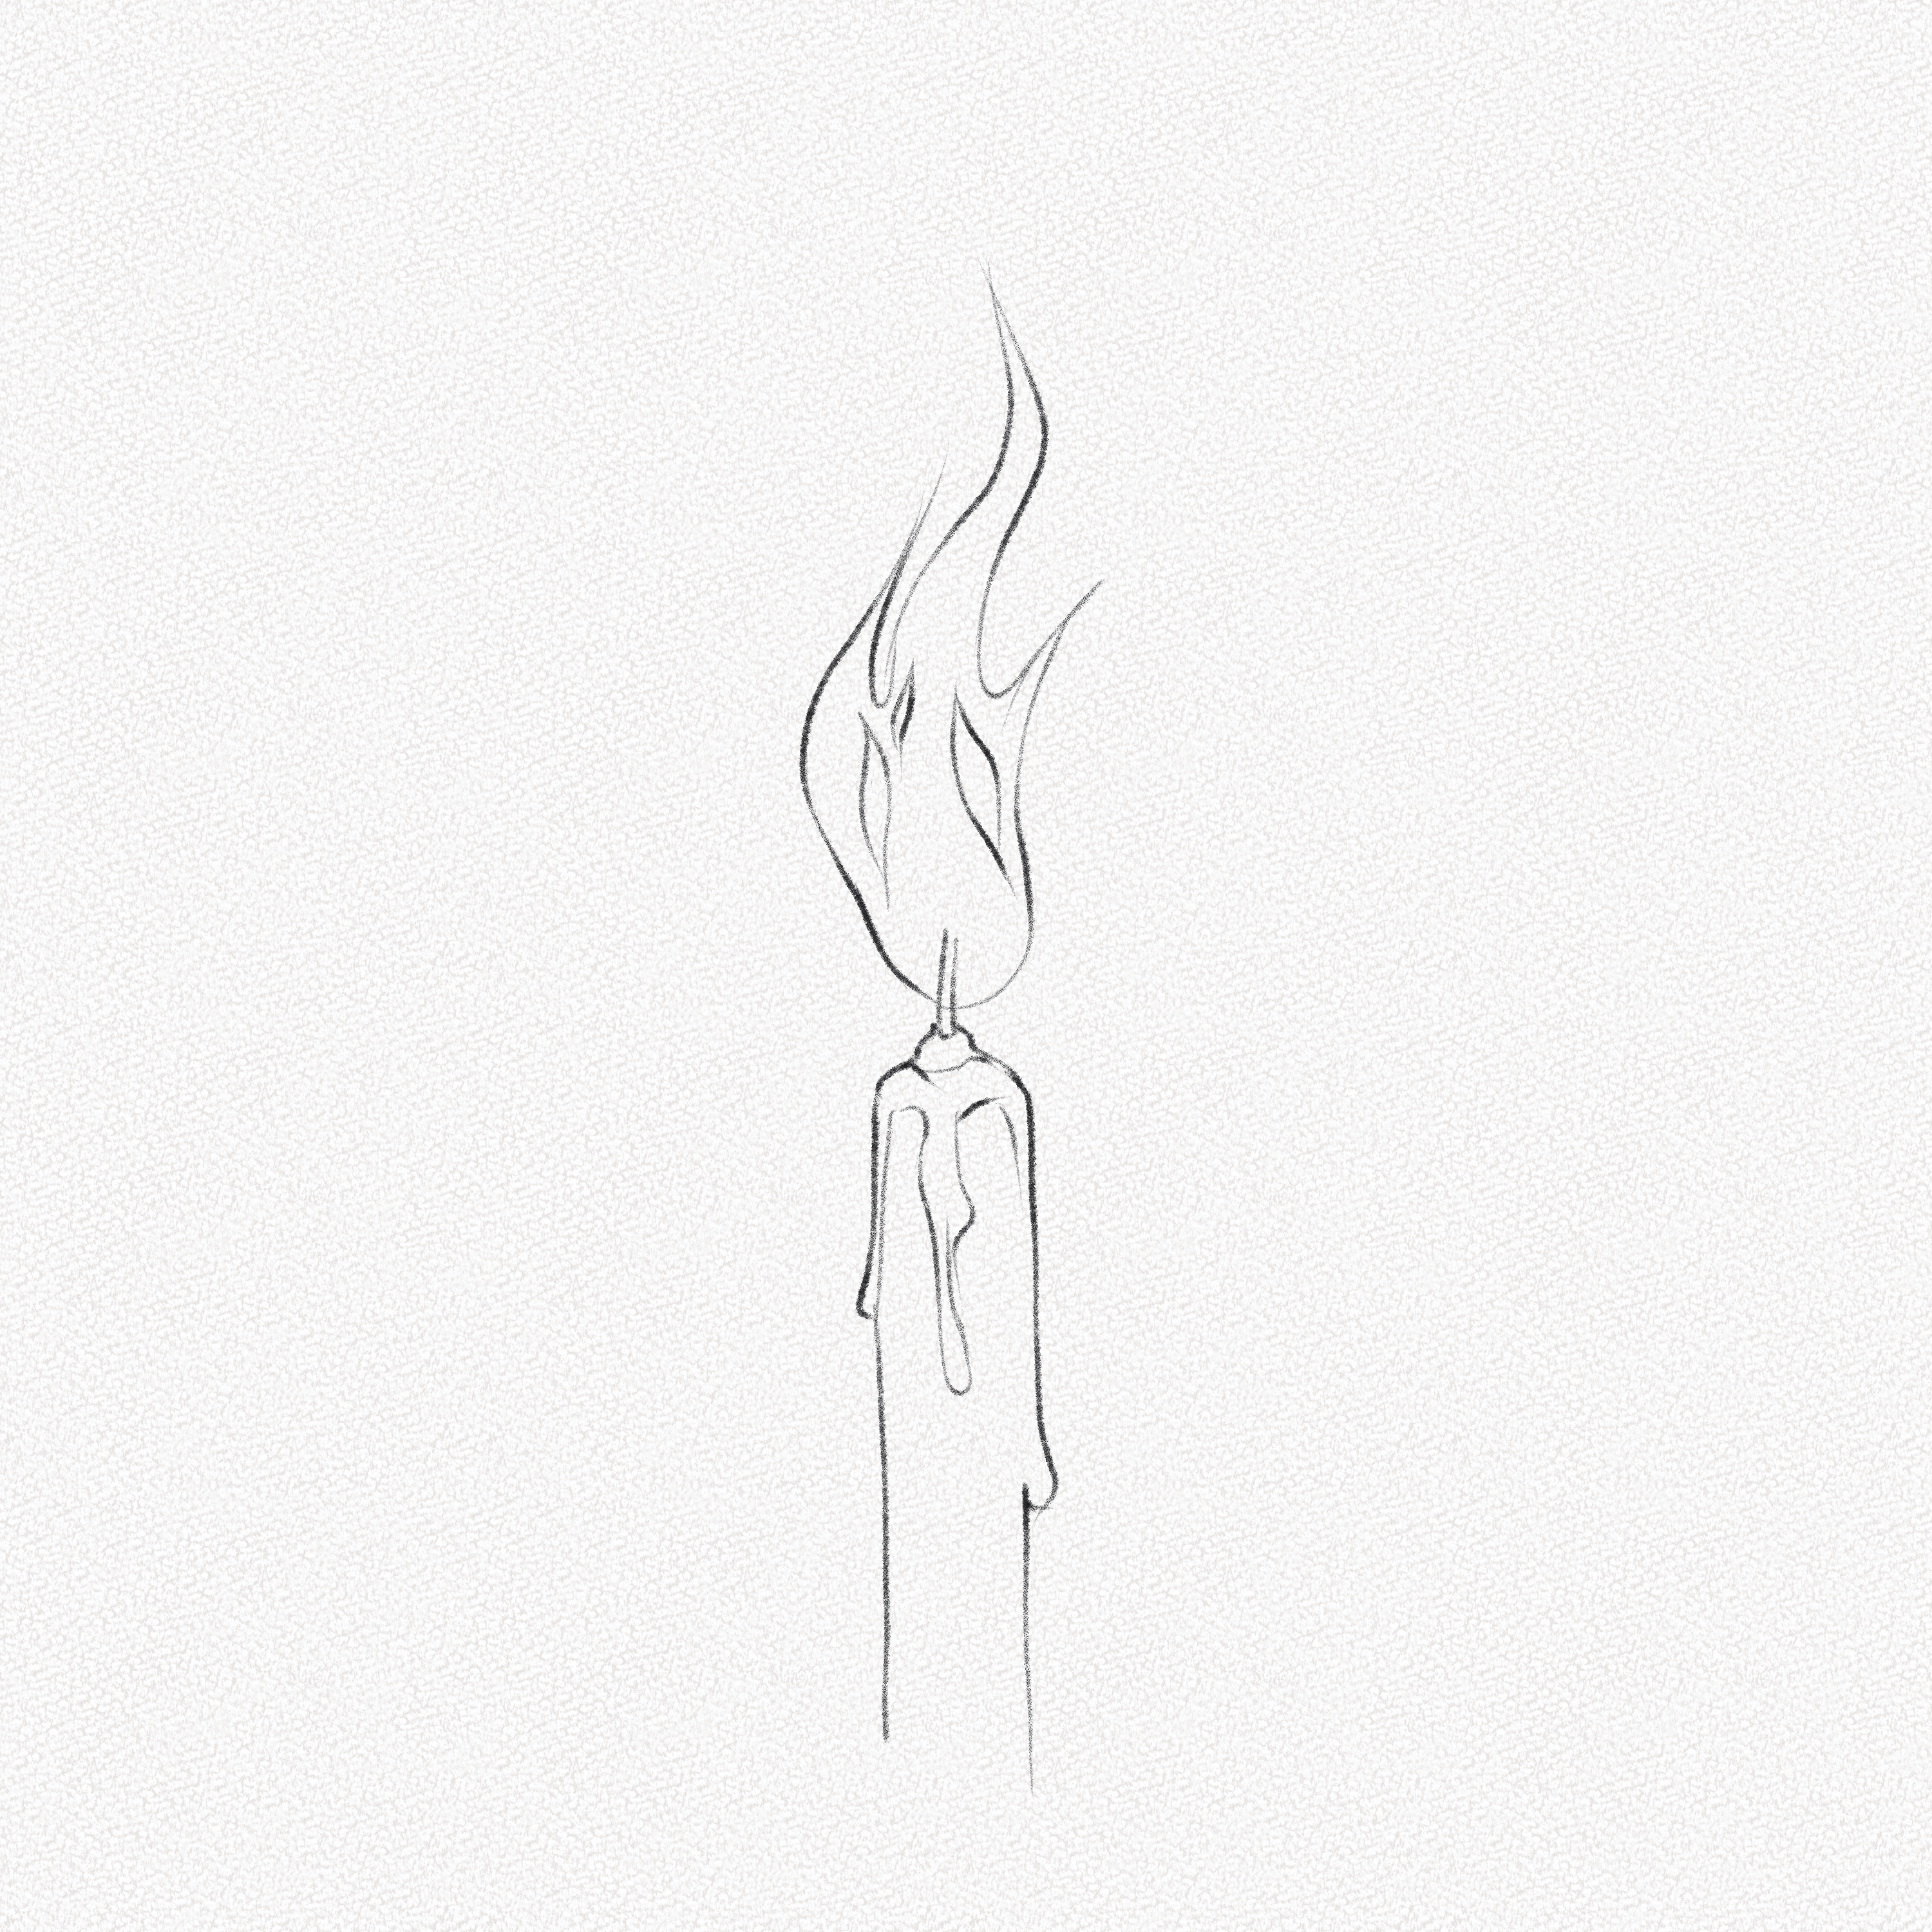
Step 6: Add details
This is an optional step that will give your candle an additional level of depth and dimension. Add some leaf-like shapes to indicate the areas where the fire is more transparent.
Step 7: Shade the background
Using your graphite powder and your cotton piece, start filling the surroundings of the candle. Use your pencil for the areas near the candle’s body and create a soft, non-defined gradient for the area around the flame.
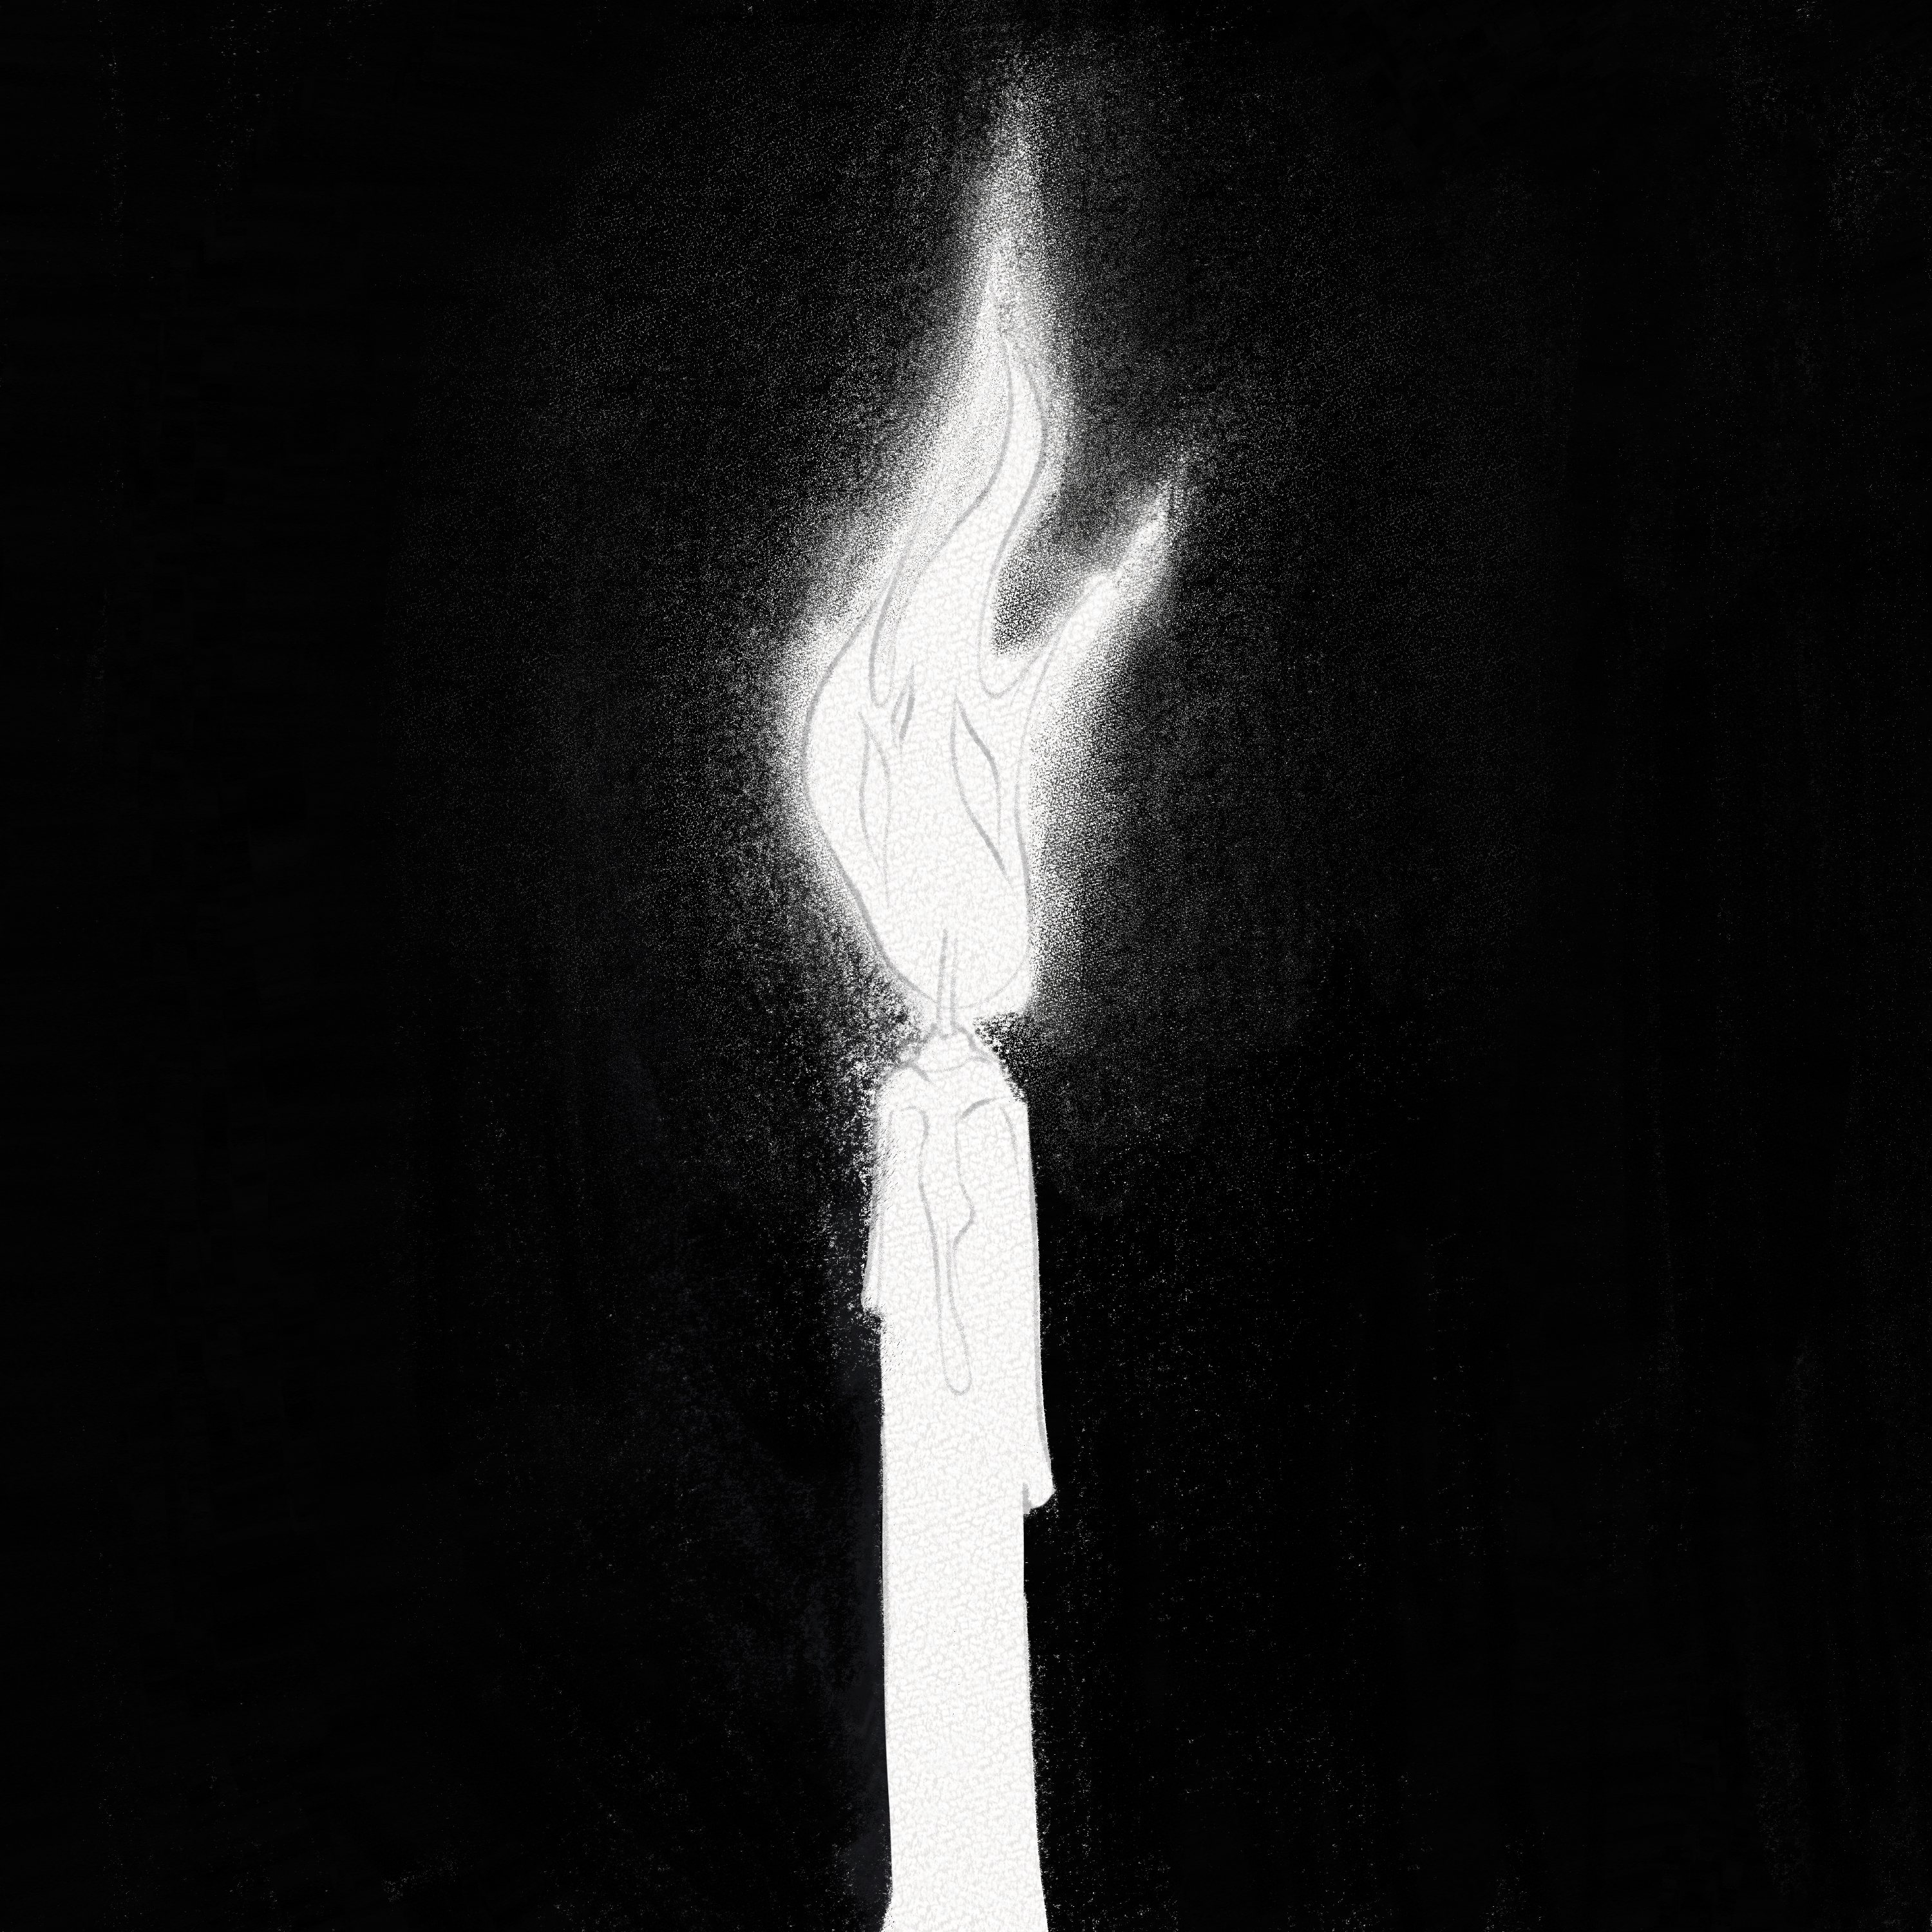
Use the technique we learned in the “How to Draw the Moon Tutorial” to fill the rest of the background with powdered graphite.
Step 8: Define the flame shape
Define the candle and flame shape with your pencil and narrow the shading to define the top of the flame.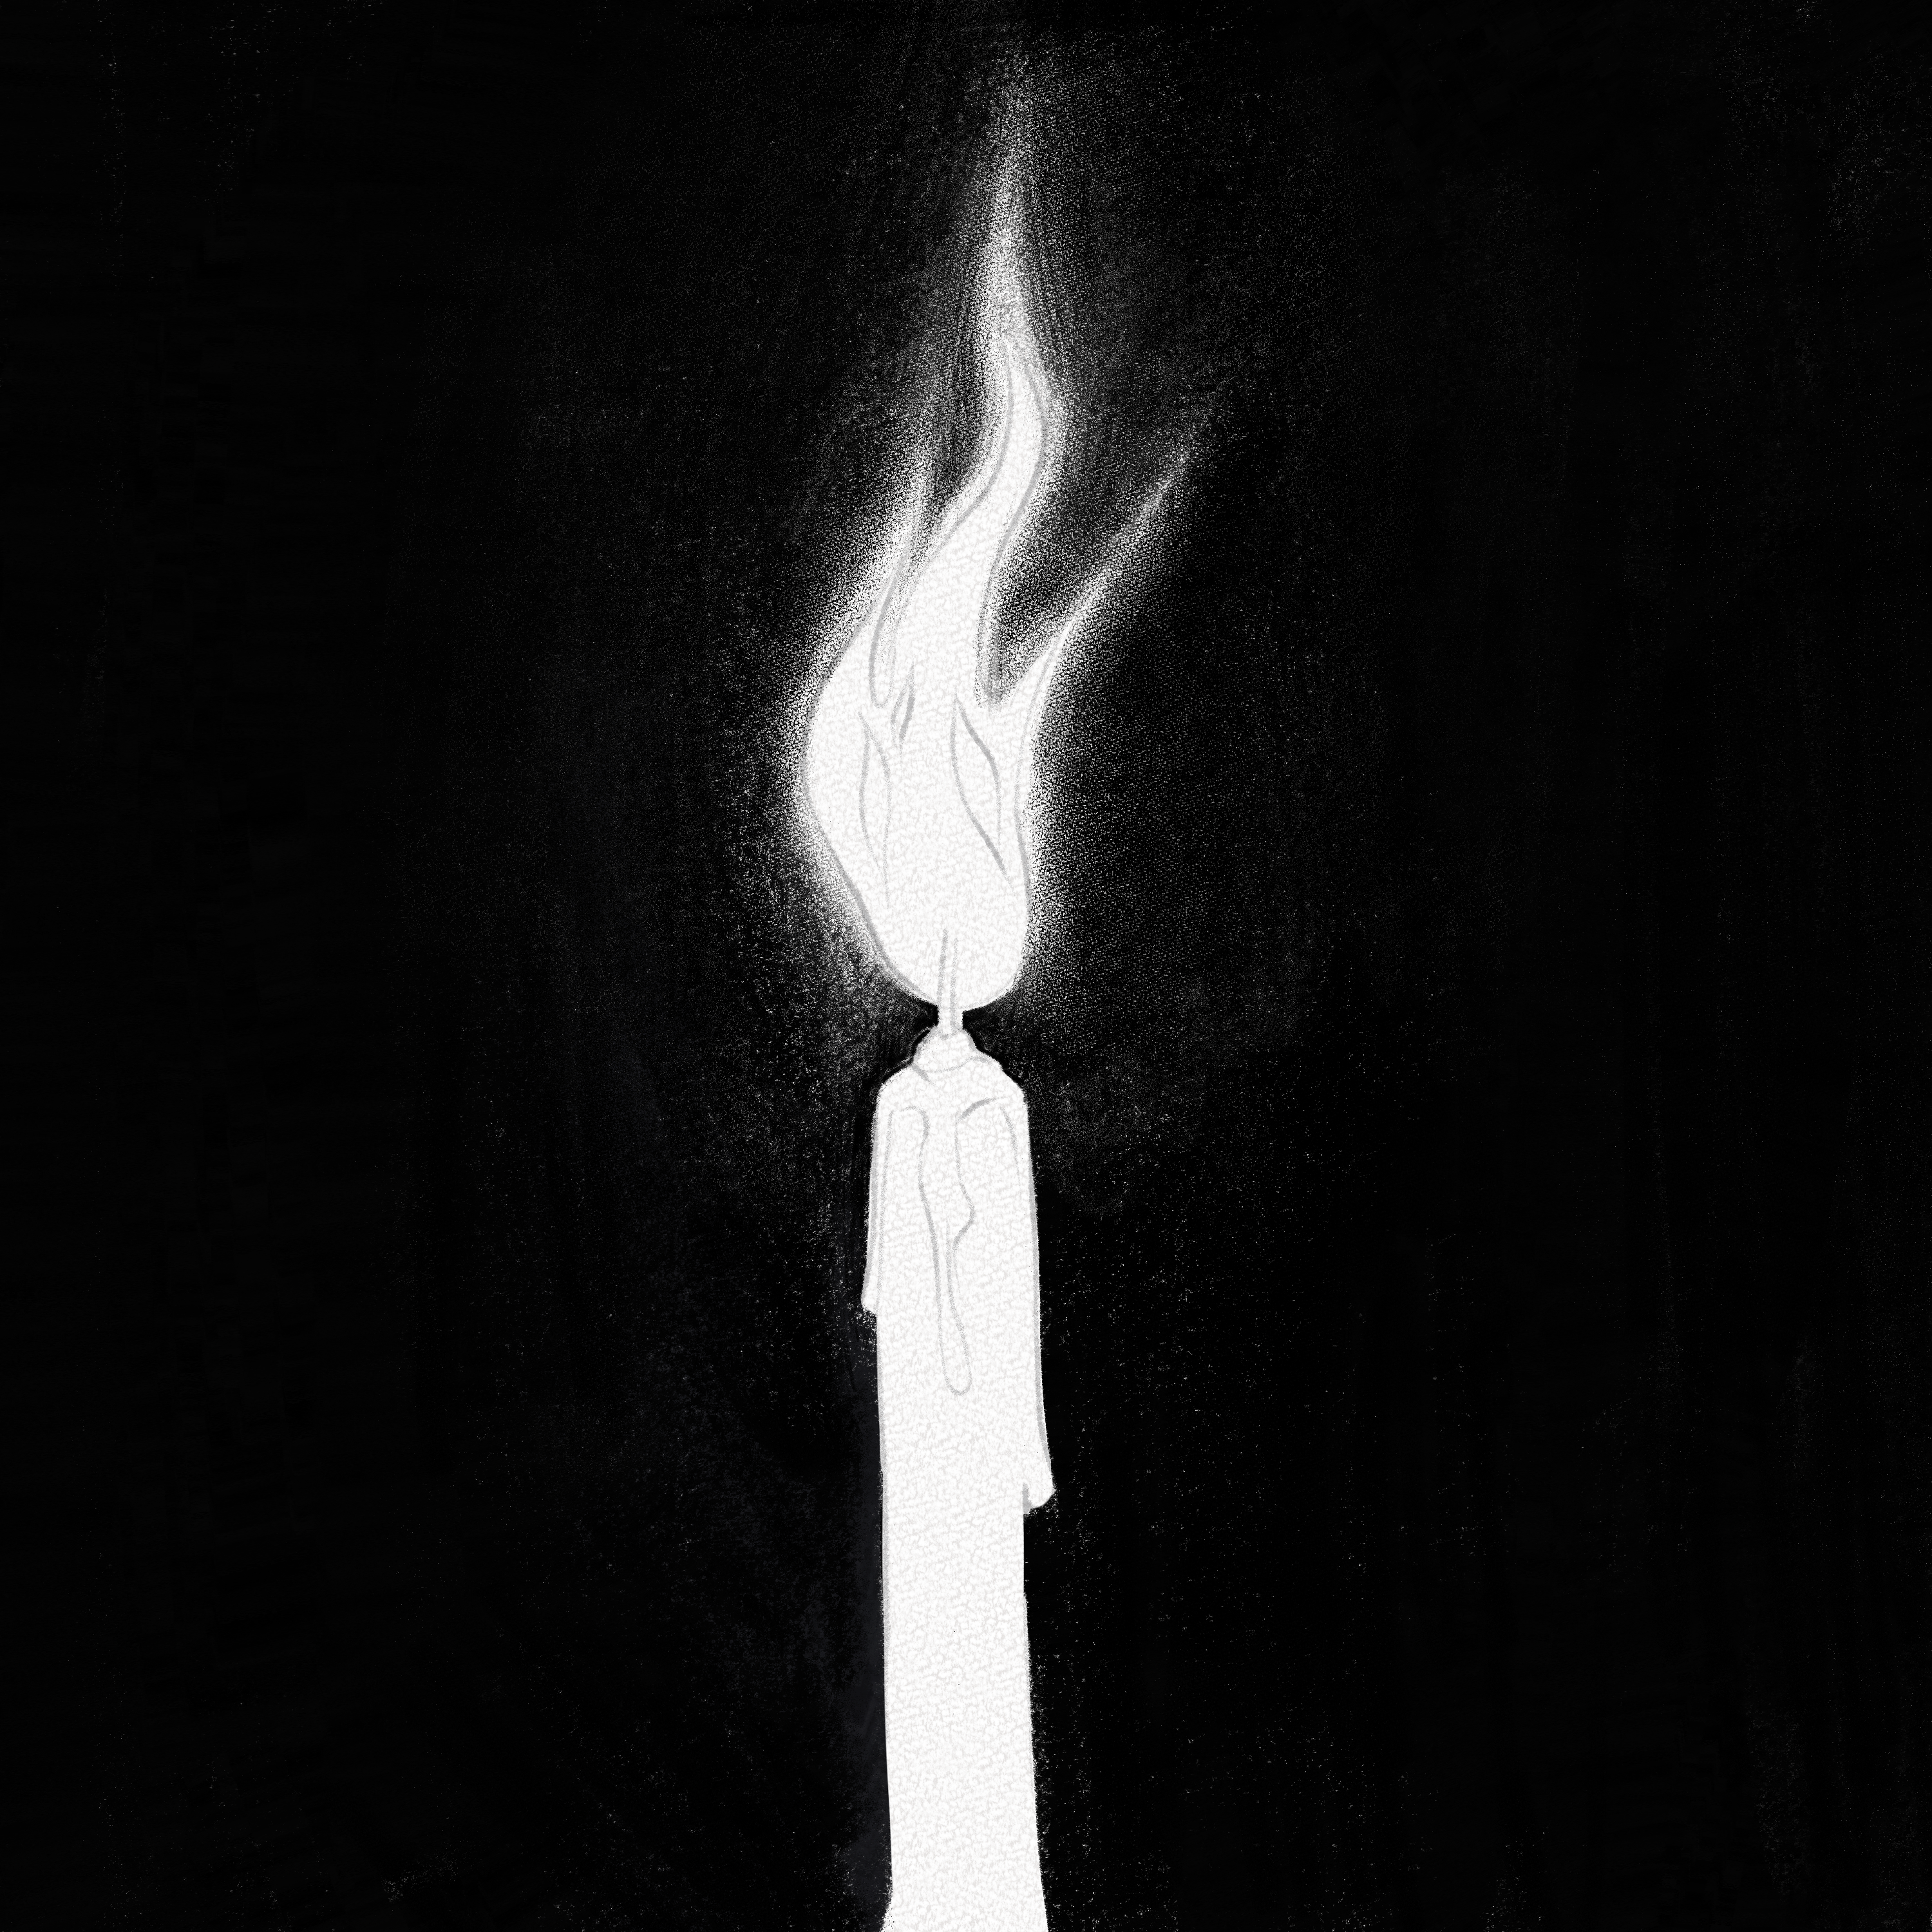
Step 9: Shade the flame
When looking at candle flames the lower-middle part is always the darkest area which fades softly into the light of the flame.

Step 10: Shade the borders
In order to define our values, we’re going to softly shade the “body” of the flame and with our Tombow mono Zero define the truly light areas.

We’re also going to shade the “leaf-like” shapes creating a soft gradient that darkens as it gets closer to the middle.

Step 11: Shade the borders
Now, we are going to give protagonism to the main shape, making the side shapes more transparent by softly shading them and making them blend with the background.
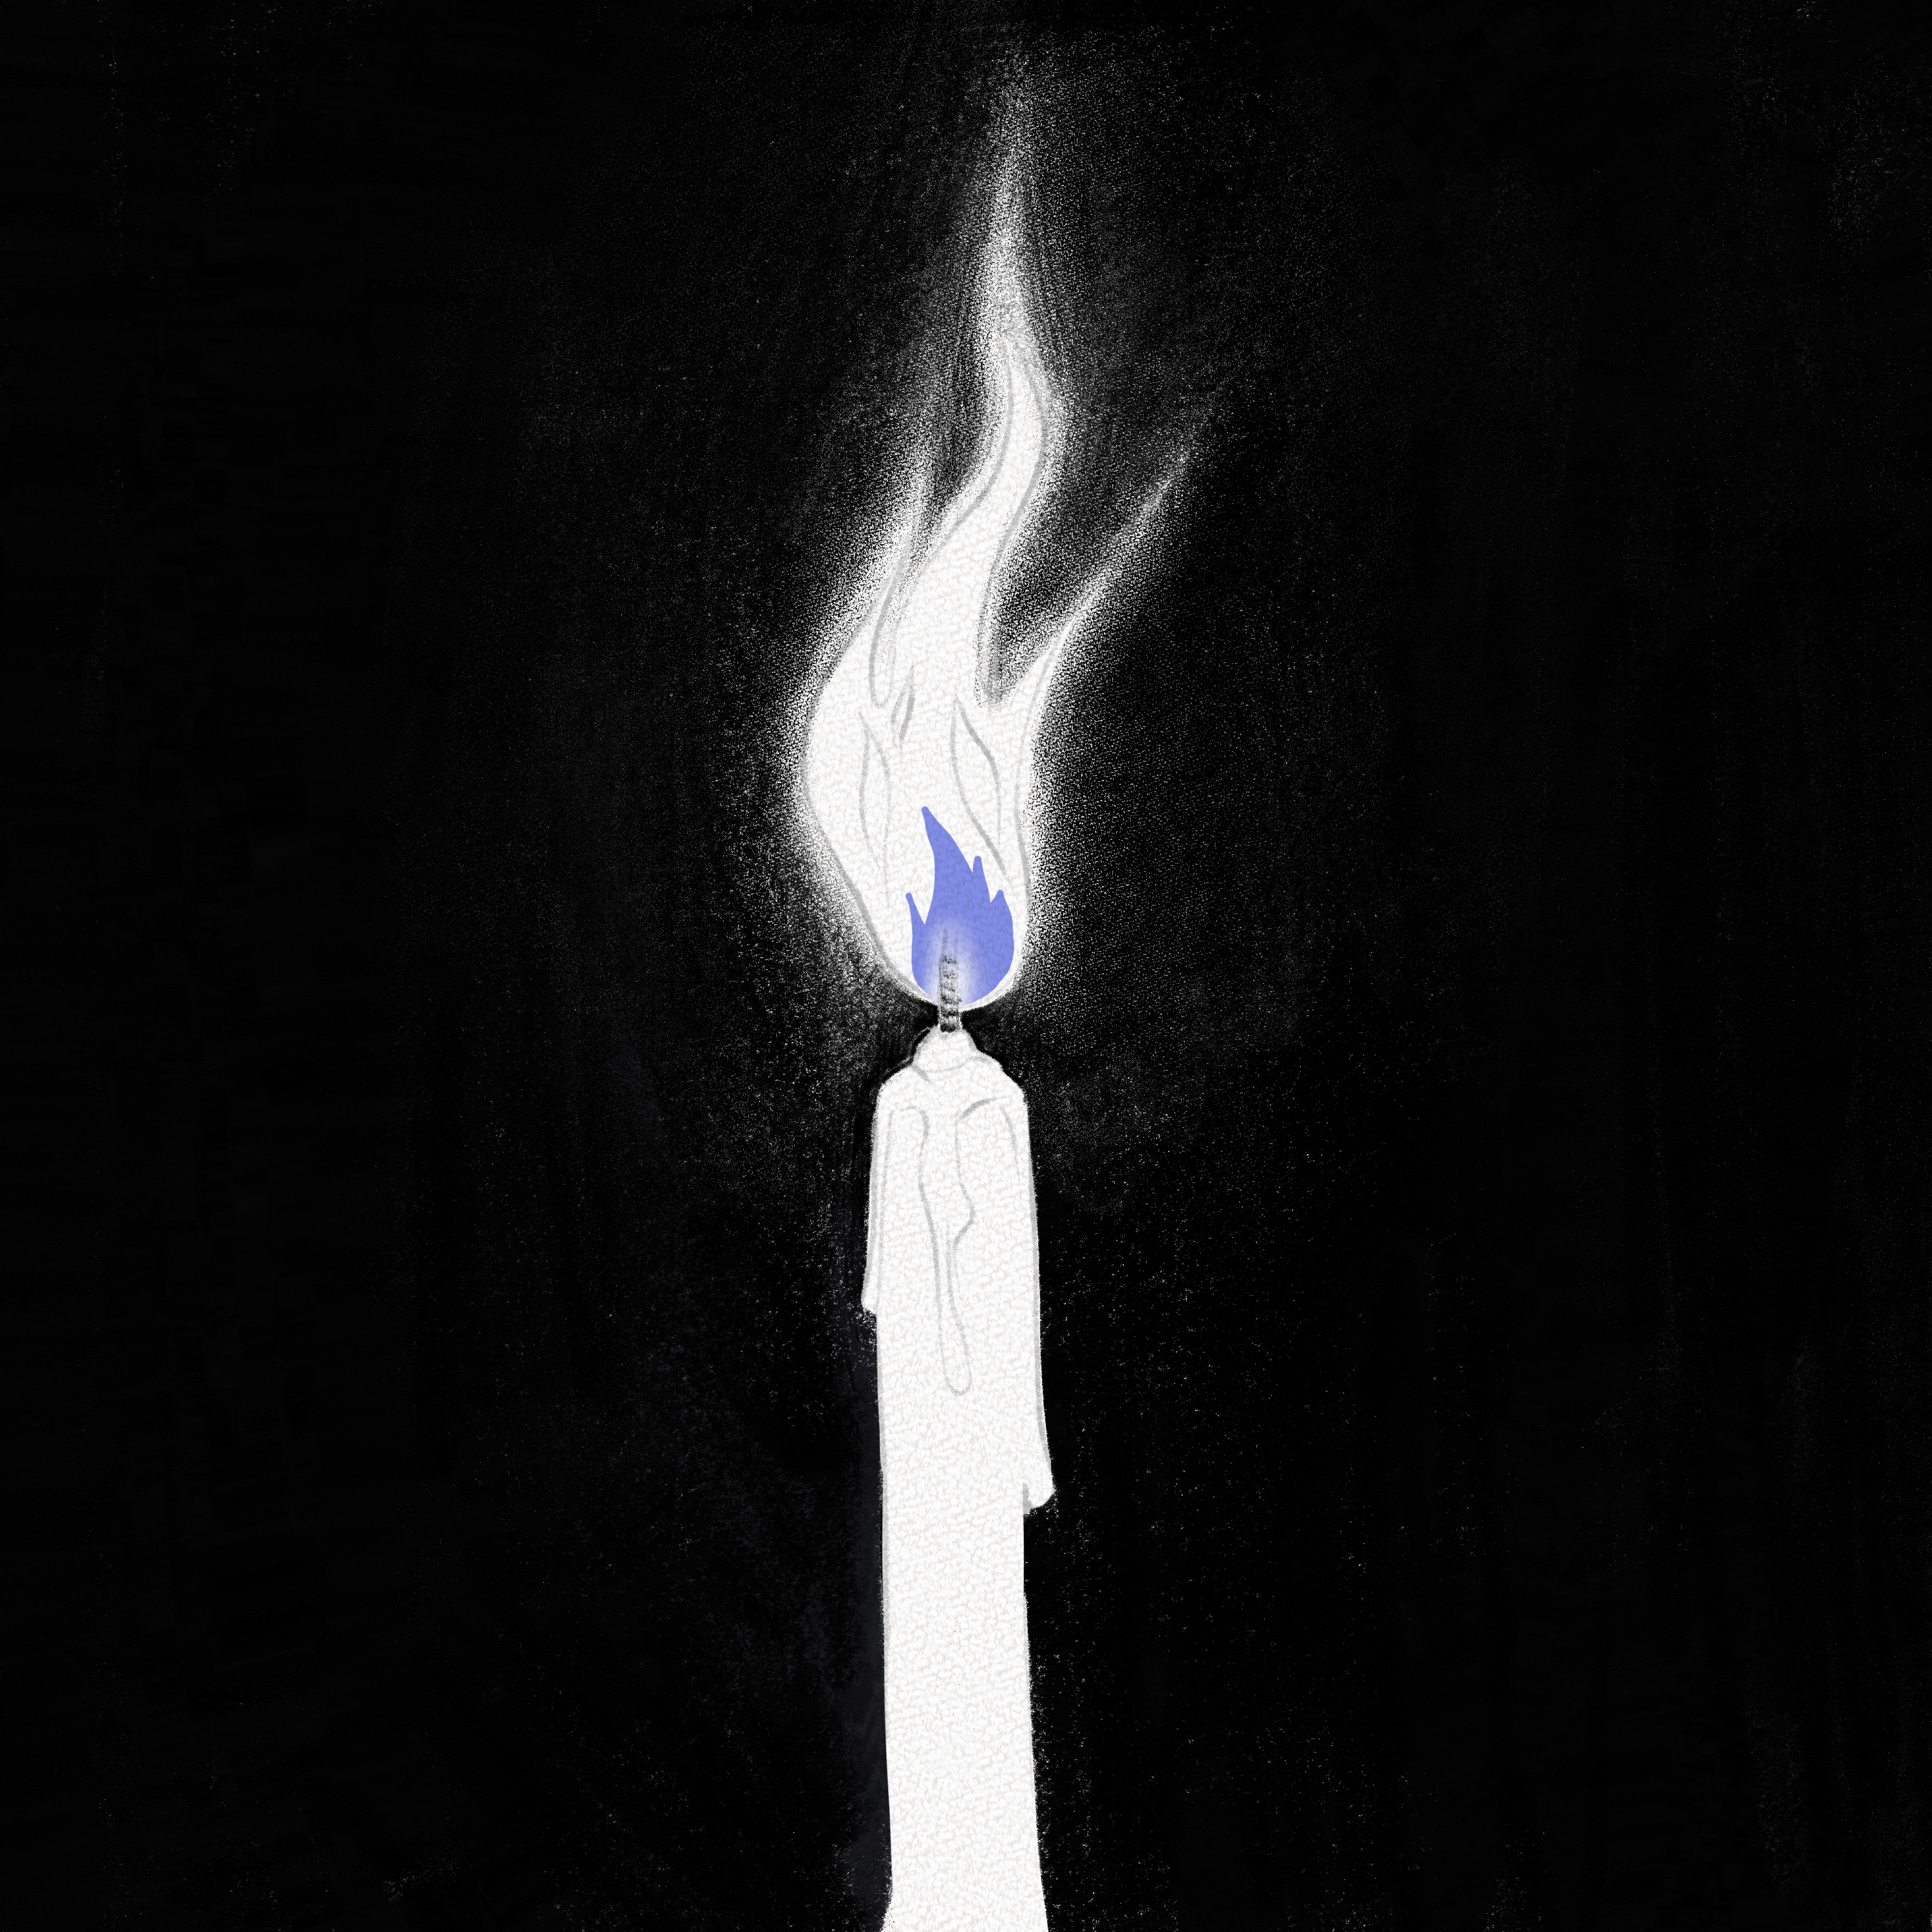
Step 13: Add volume to the wax
For the wax drops that slide by the candle’s sides, we are going to shade the bases and sides a bit to give them volume. the darkest shadows should be at the bottom since that’s the part where the light doesn’t reach.
Step 14: Shade the candle
Fill the candle with a soft layer of graphite, then create a gradient from the bottom to the top, leaving the sides as well.
Use your Tombow mono eraser to capture the details of the light in the candle’s wax and to better shape your flame.
And that’s it! Now you know how to draw fire with a dark background.
Let’s learn how to draw fire with a light background now. For this part of the tutorial, we are going to use one of the most common forms of fire, a campfire.
Section 2.- How to Draw a Campfire
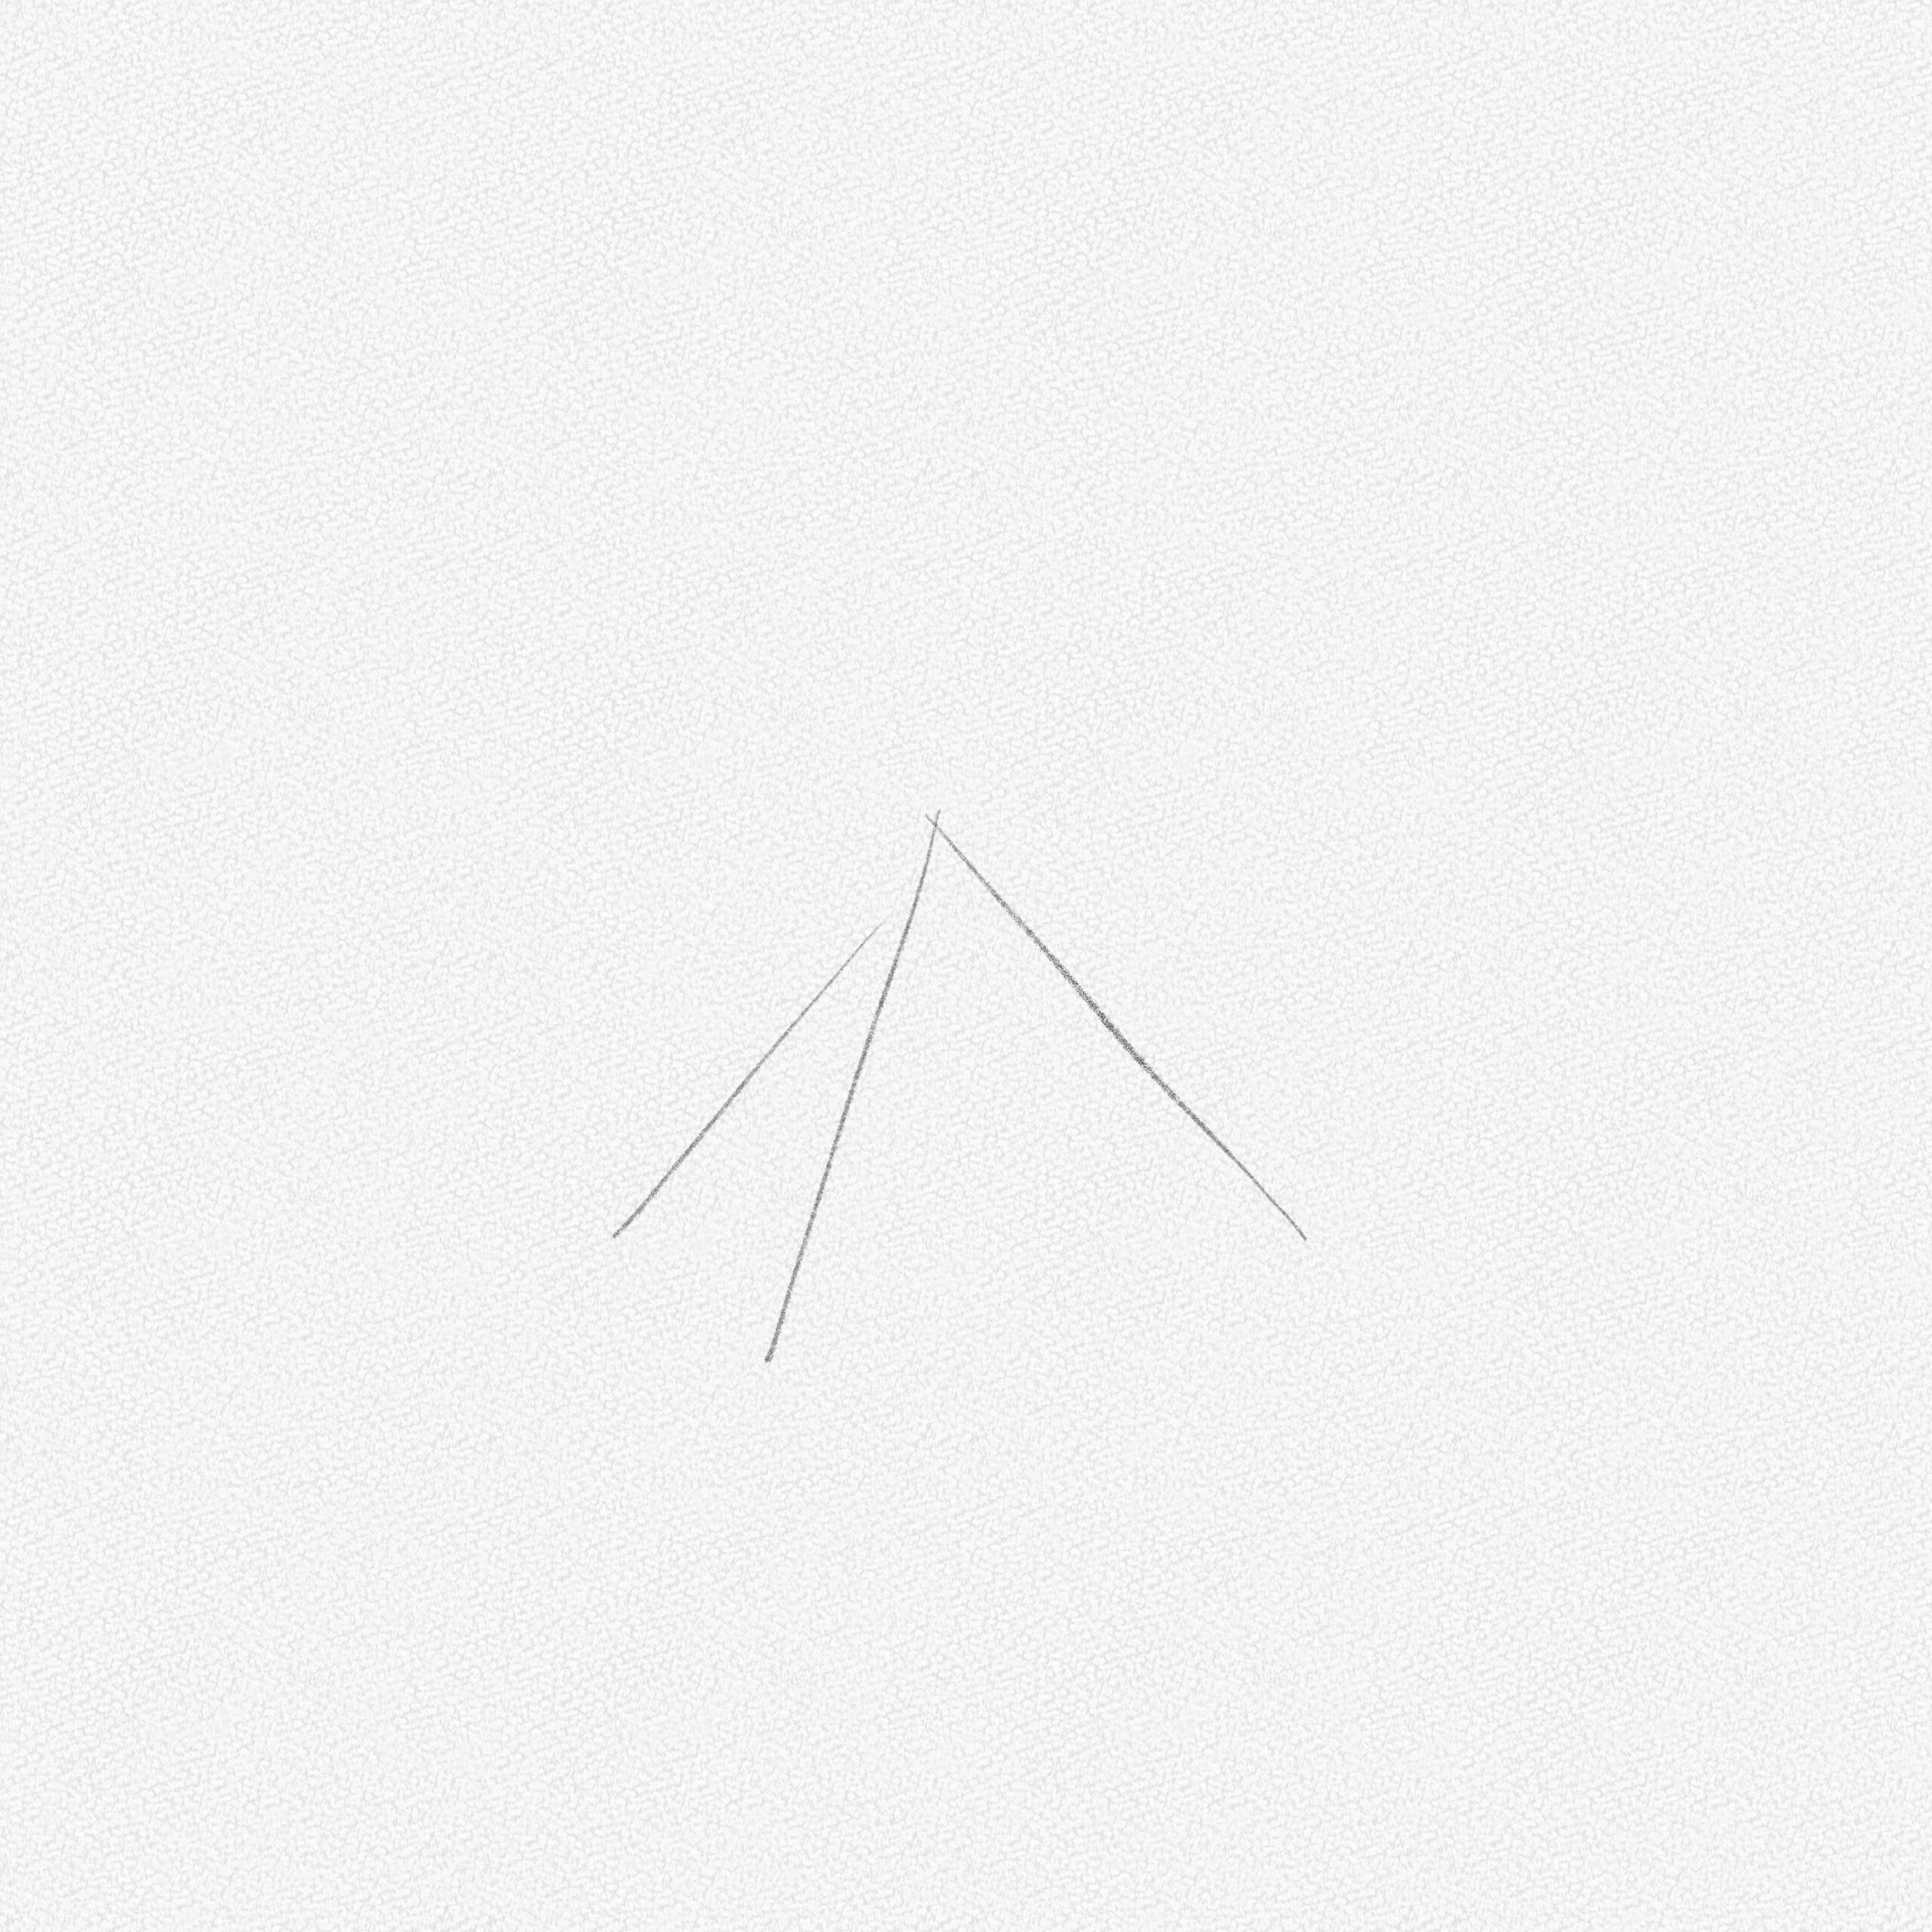
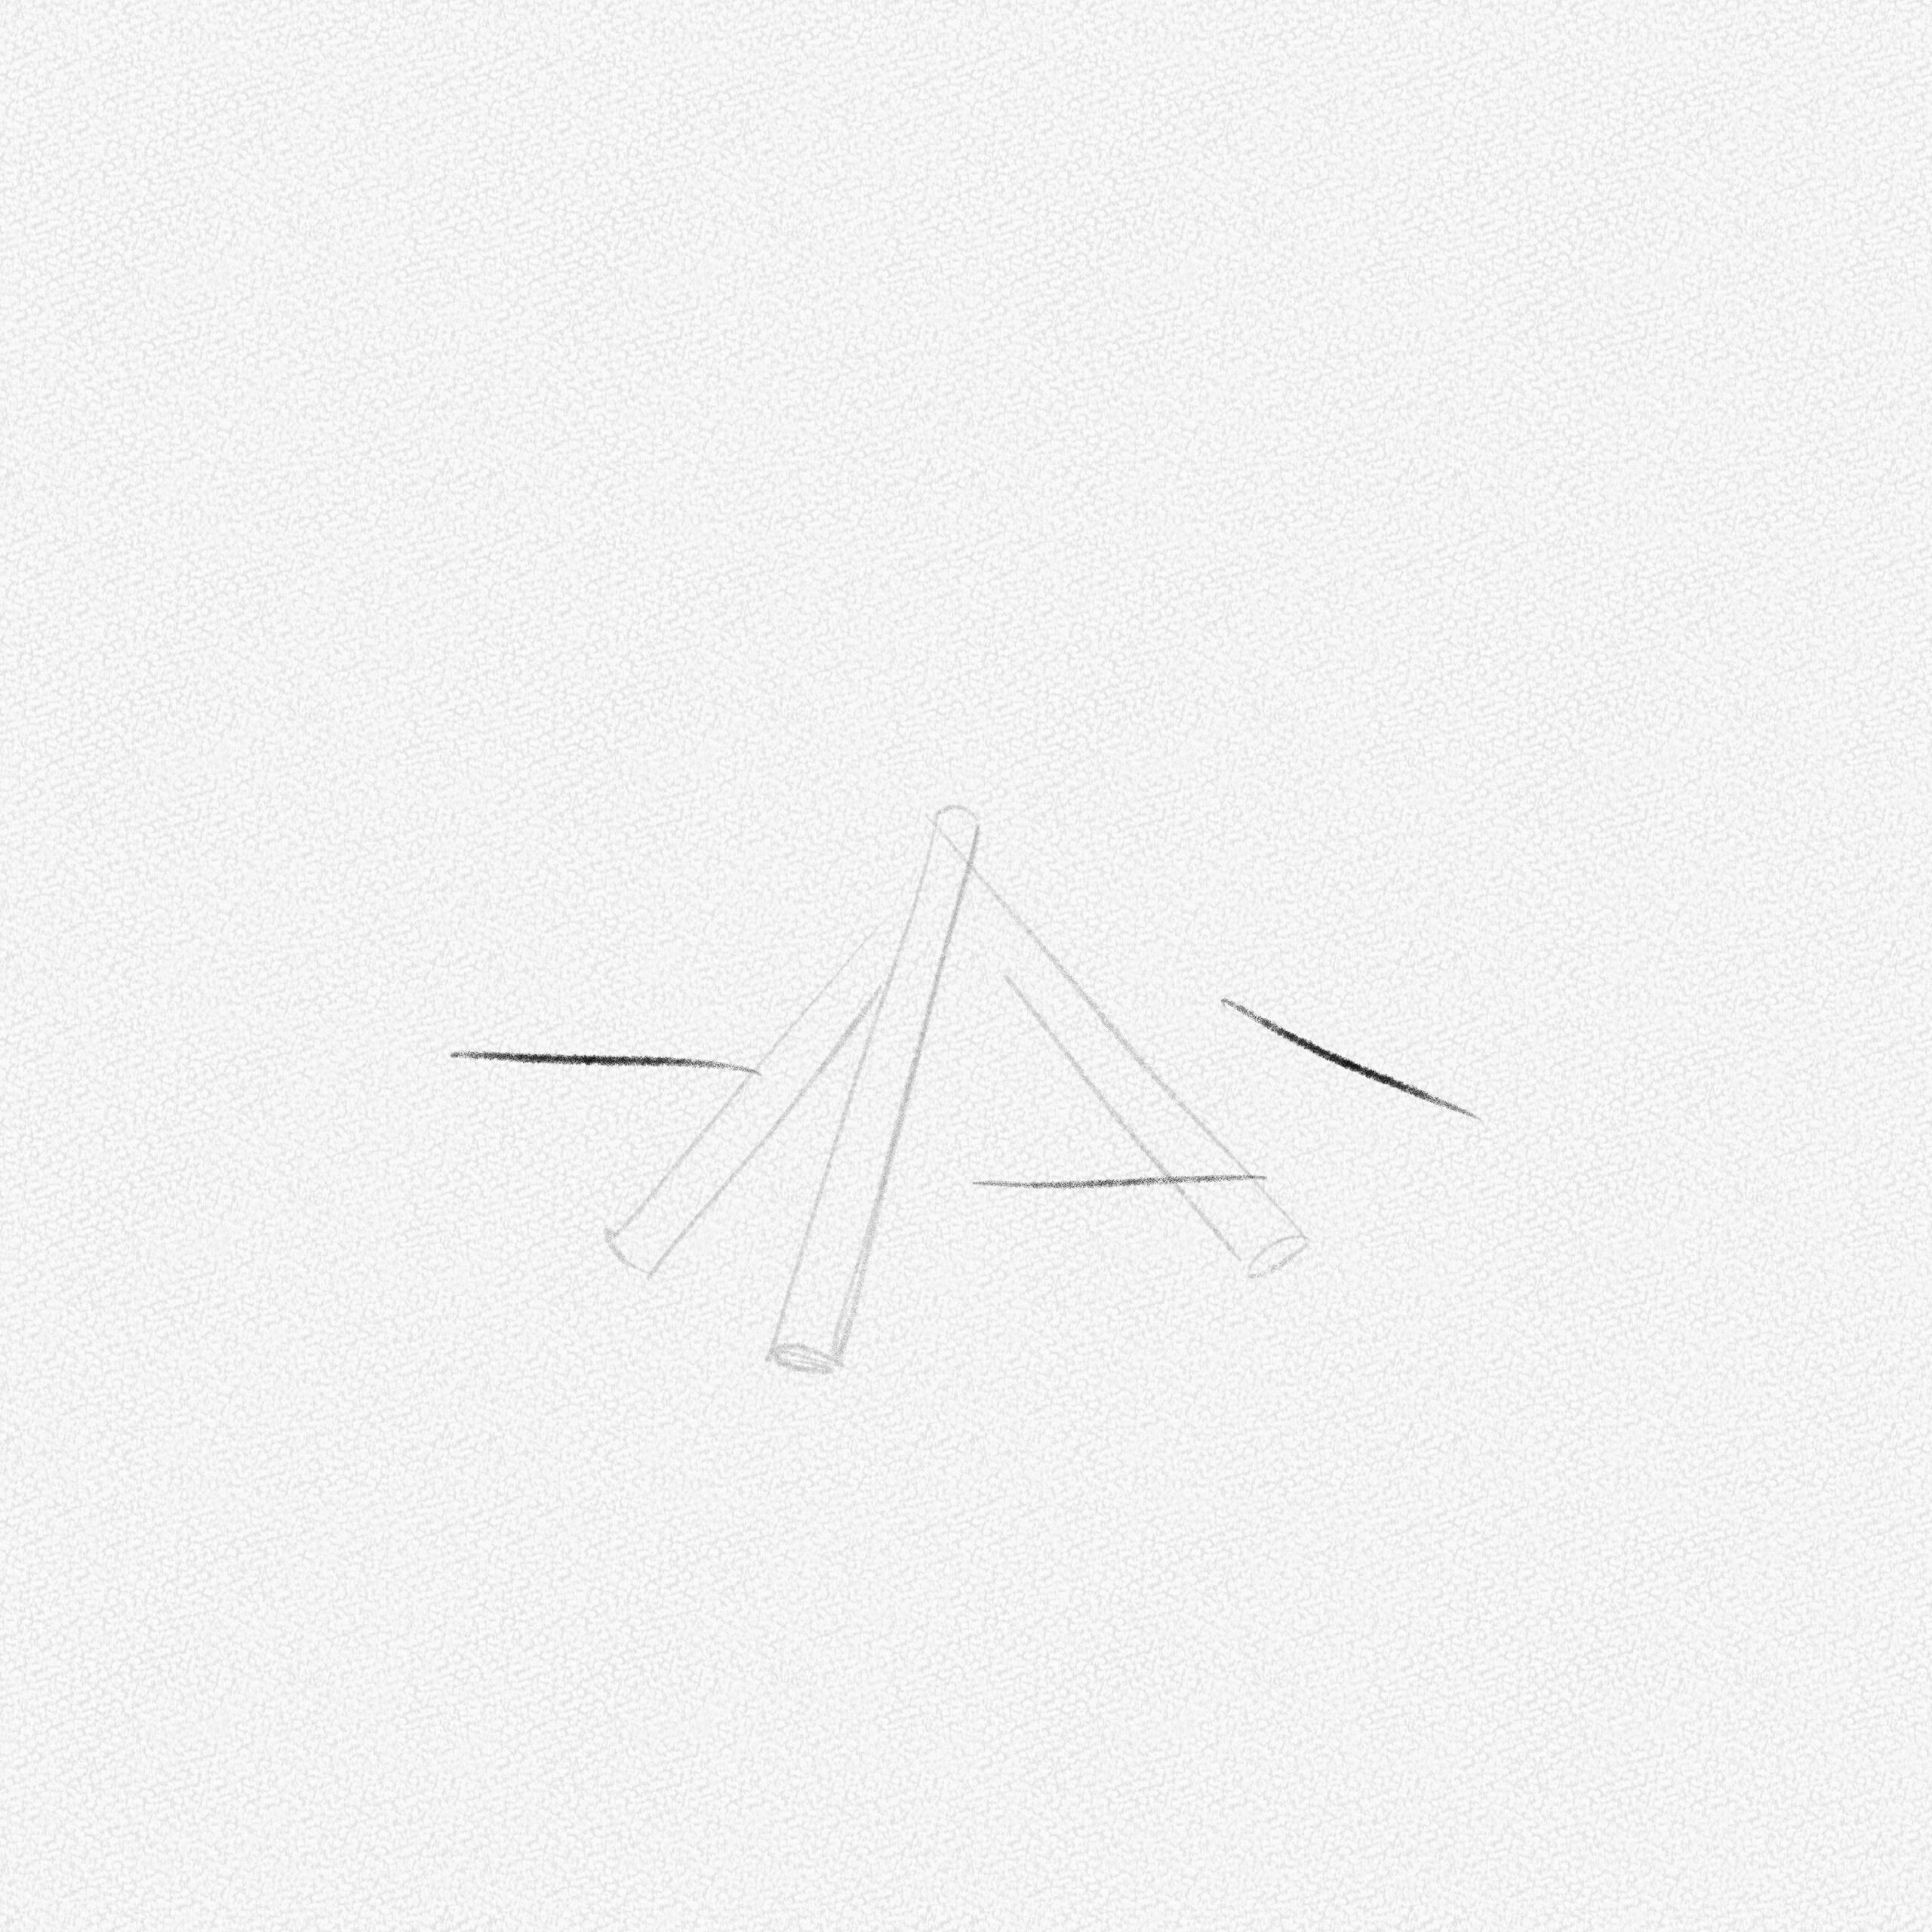
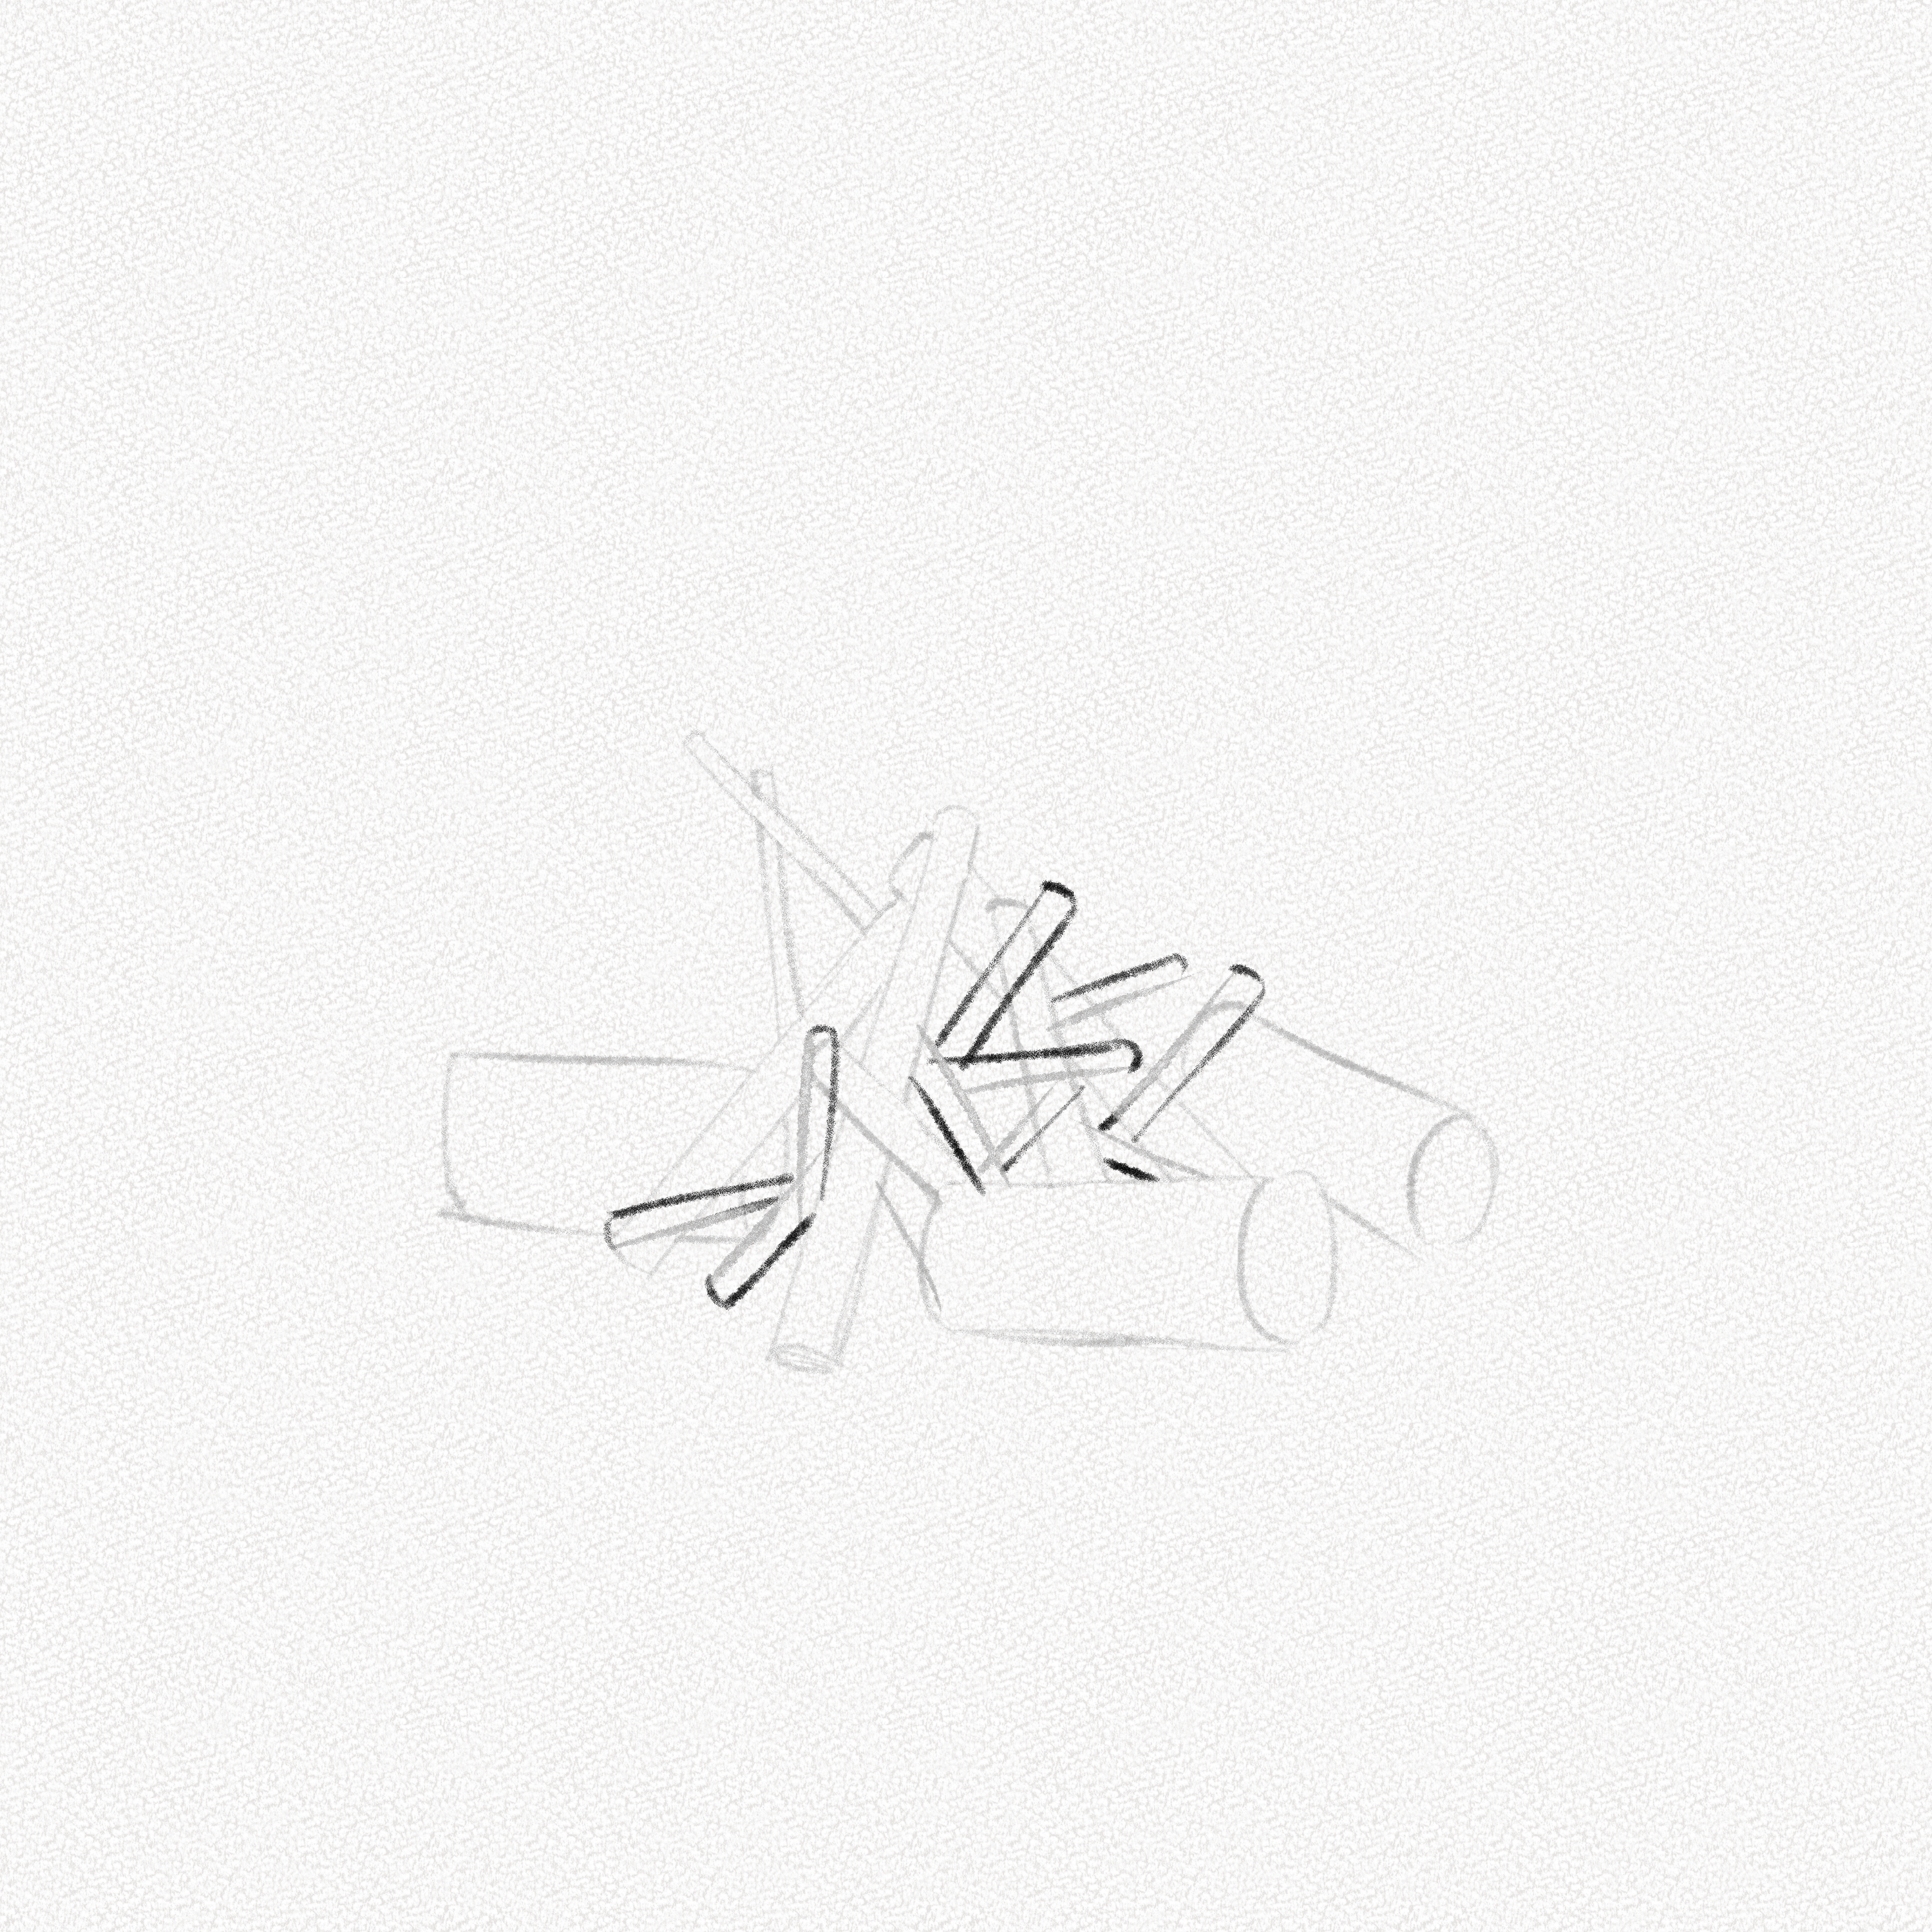
Step 1: Sketch the wood formation
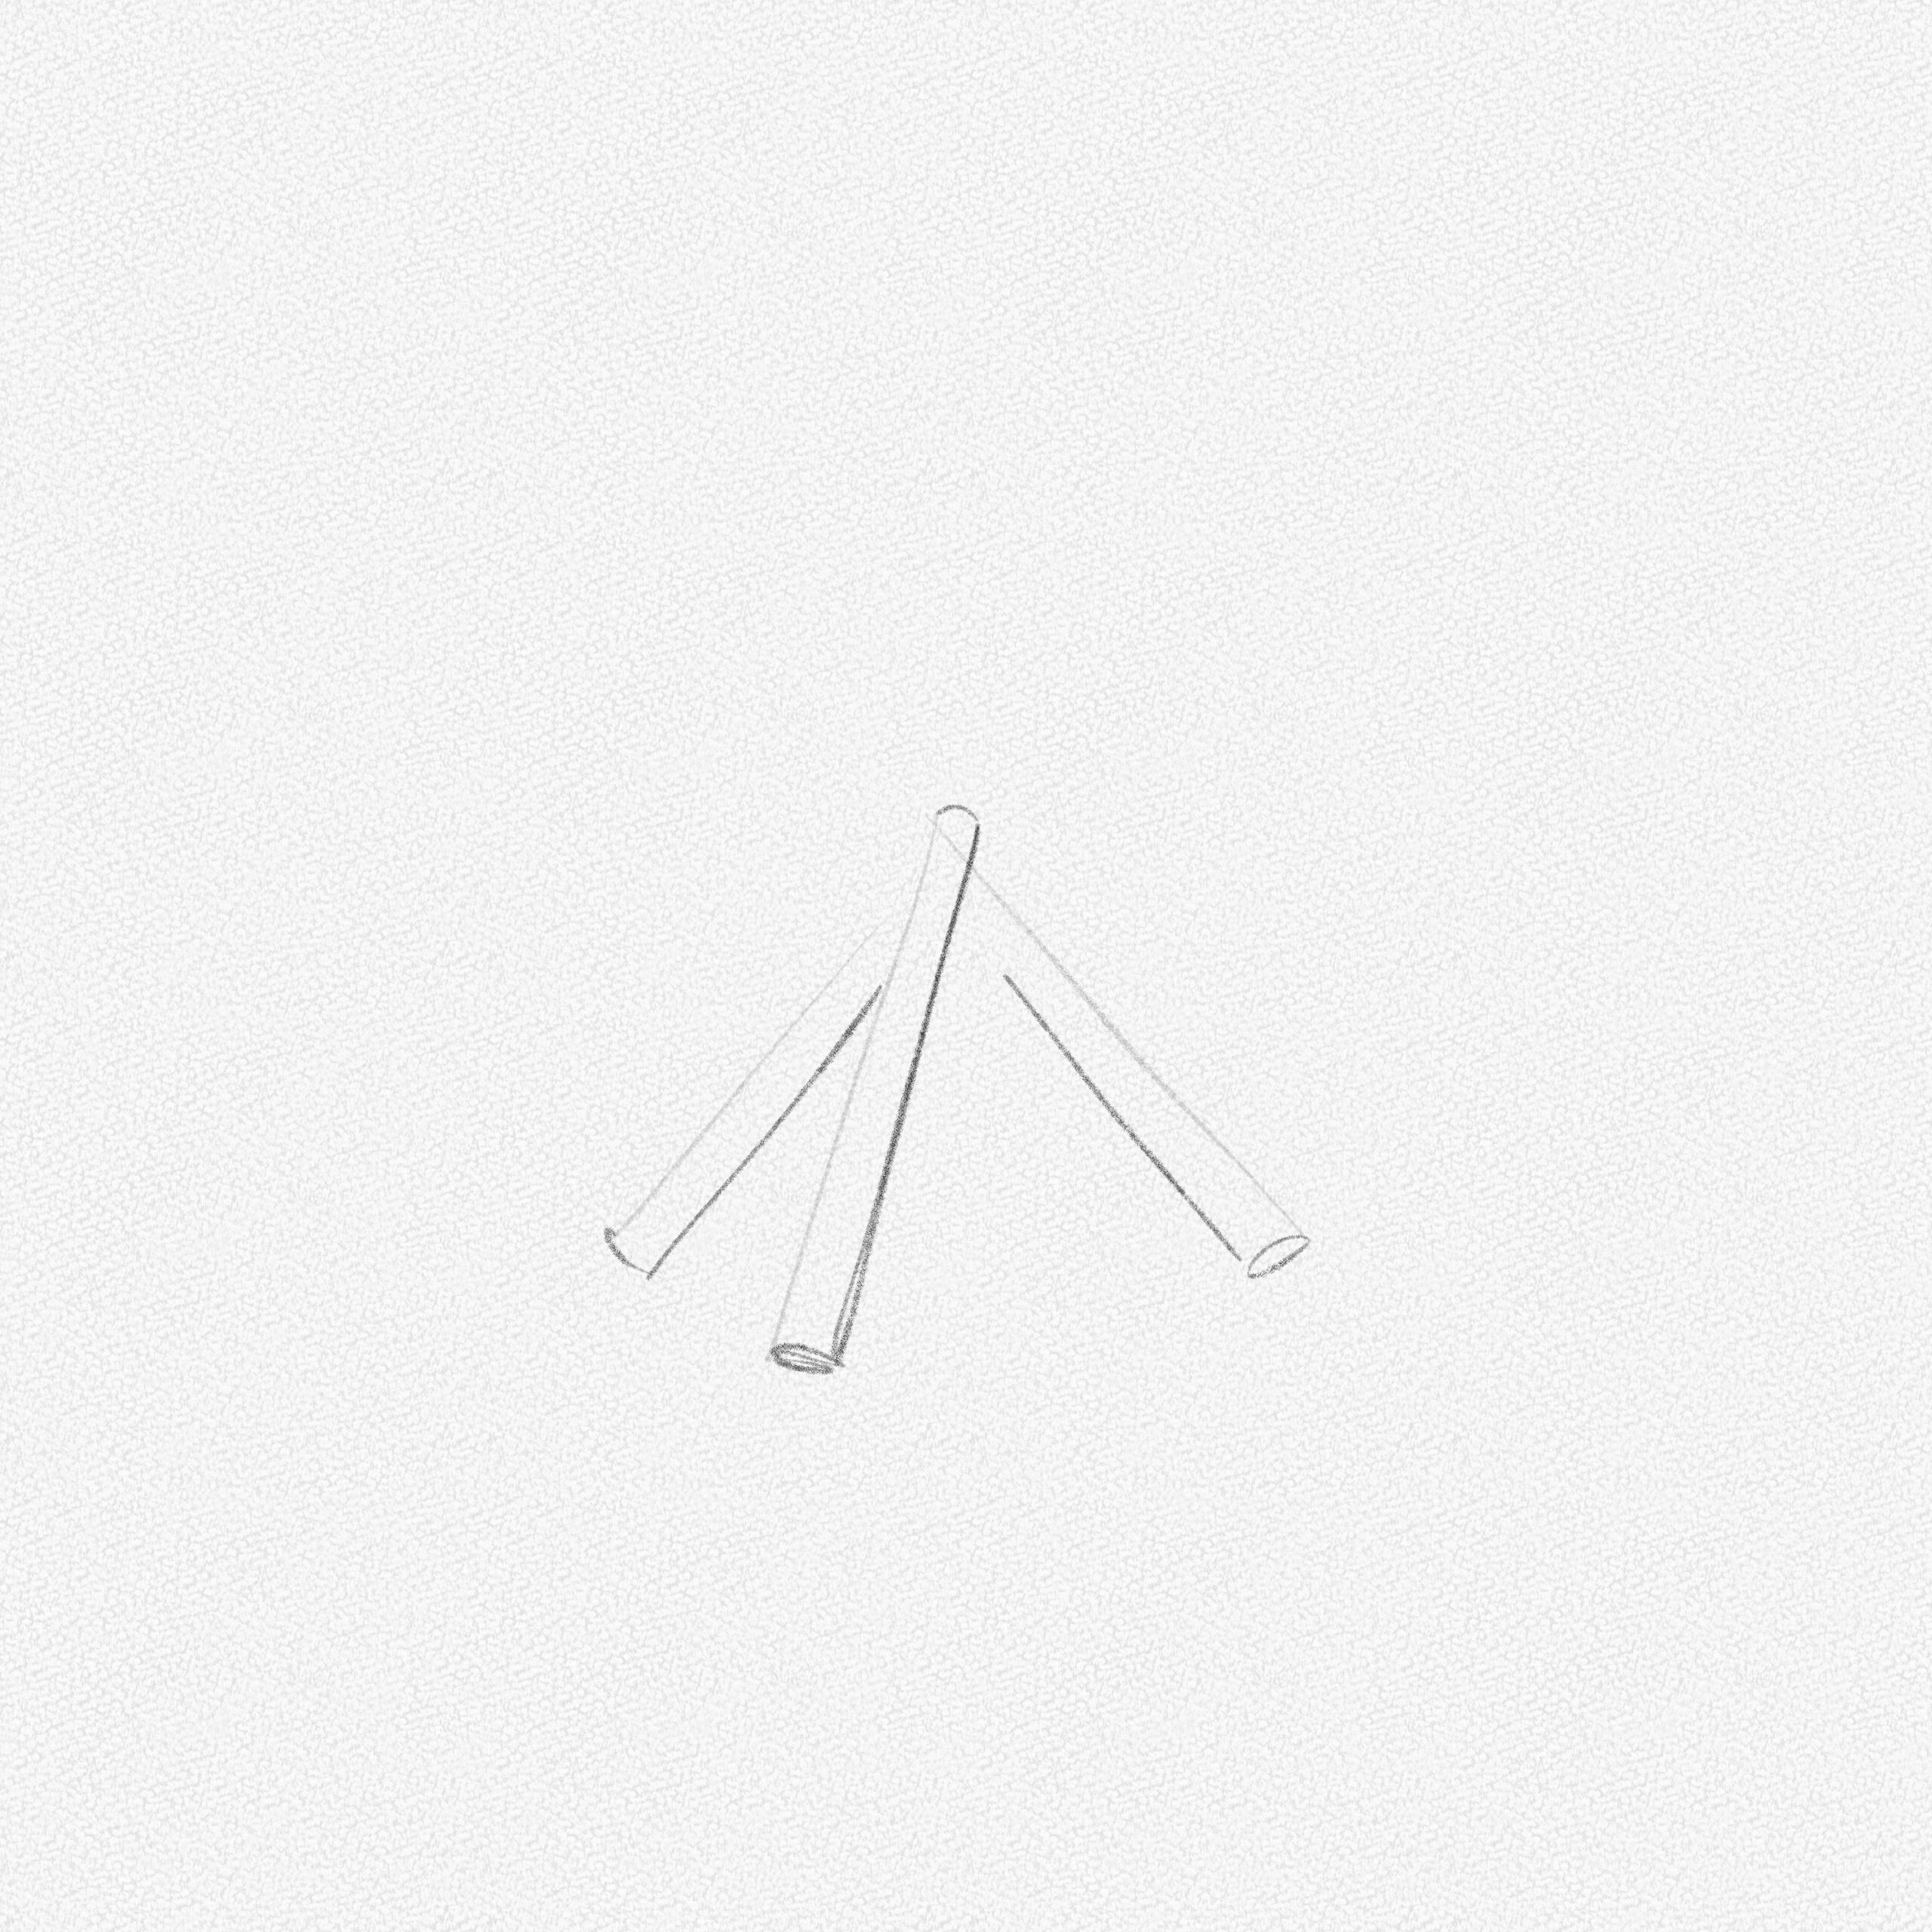
Wood is a must when starting a campfire, however, drawing the sticks can be confusing since they pile randomly on top of each other. to simplify this process, we are going to draw three lines forming a pyramid-like formation.
Then we’re going to build cylindrical shapes around them, making the one that’s near to you, the predominant one (no overlapping)
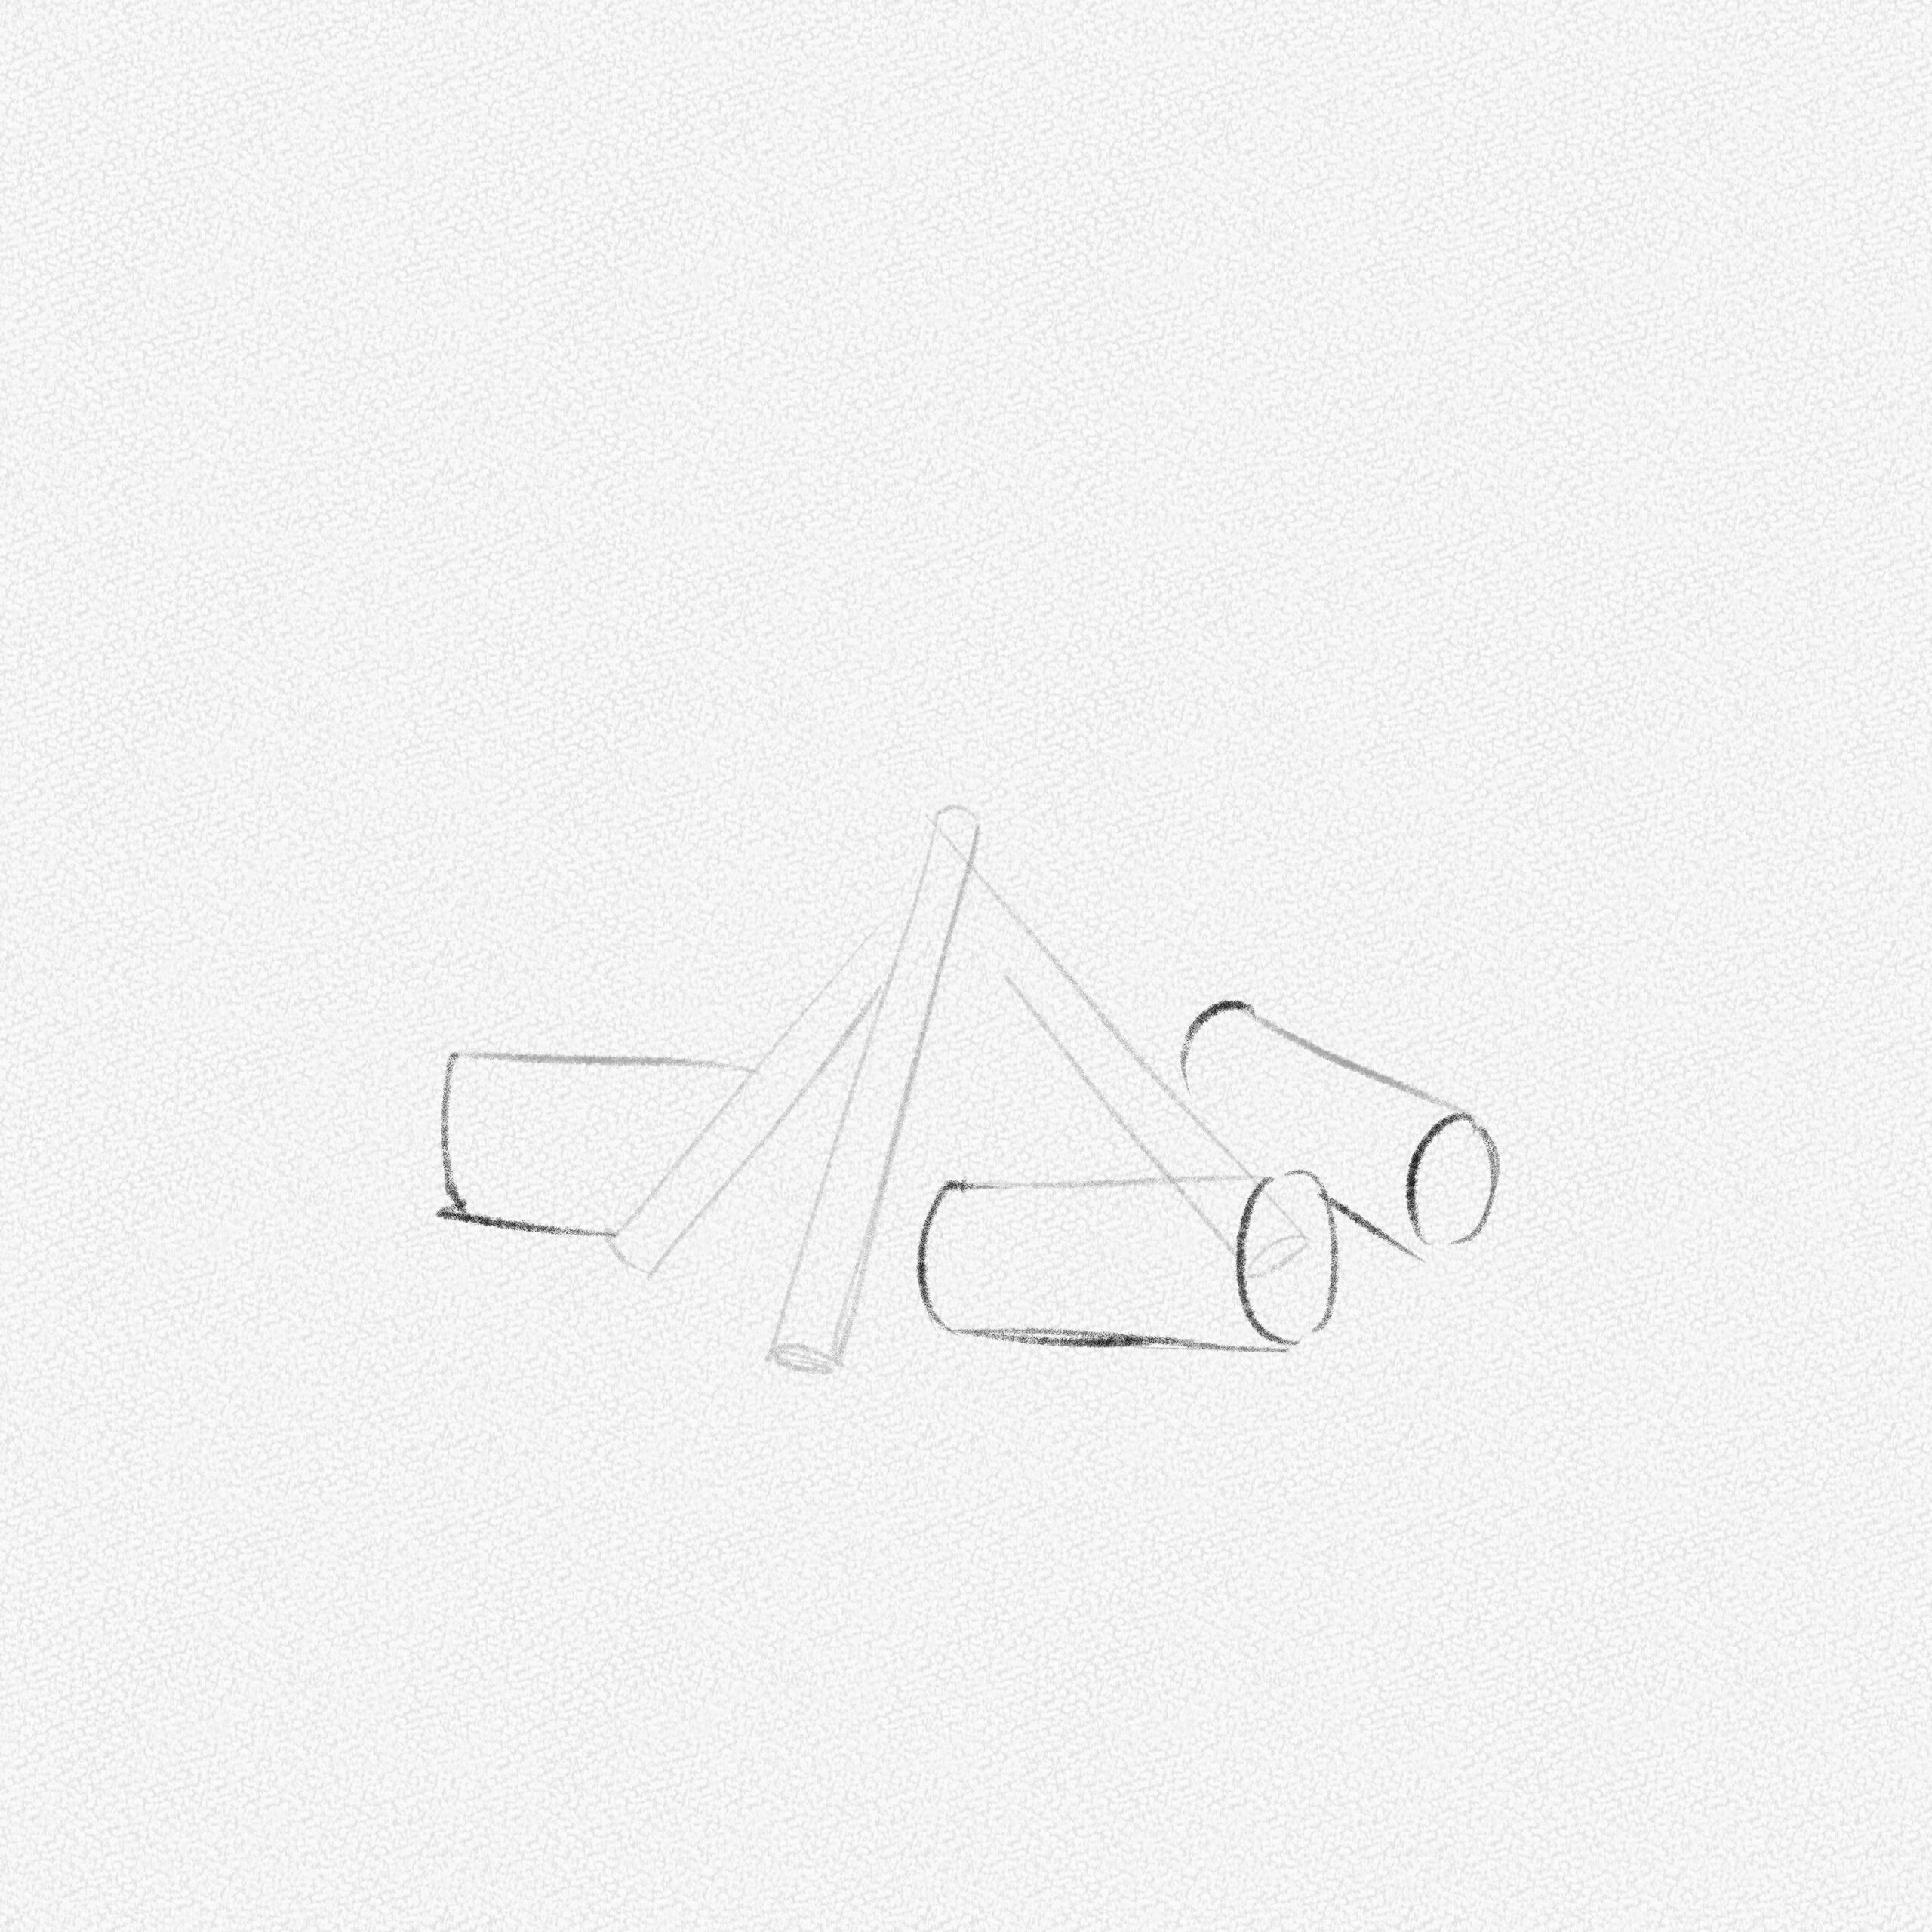
Step 2: Draw some logs
Add interest to your drawing by adding three thick wooden lodges. Simply draw three shorter lines in different places and directions.
Then complete the shapes by adding the bodies to the lodges.
Step 3: Add more sticks
It’s looking kind of empty, so add more lines to the structure and complete the shapes. Vary the thickness by making some thin and some thick.
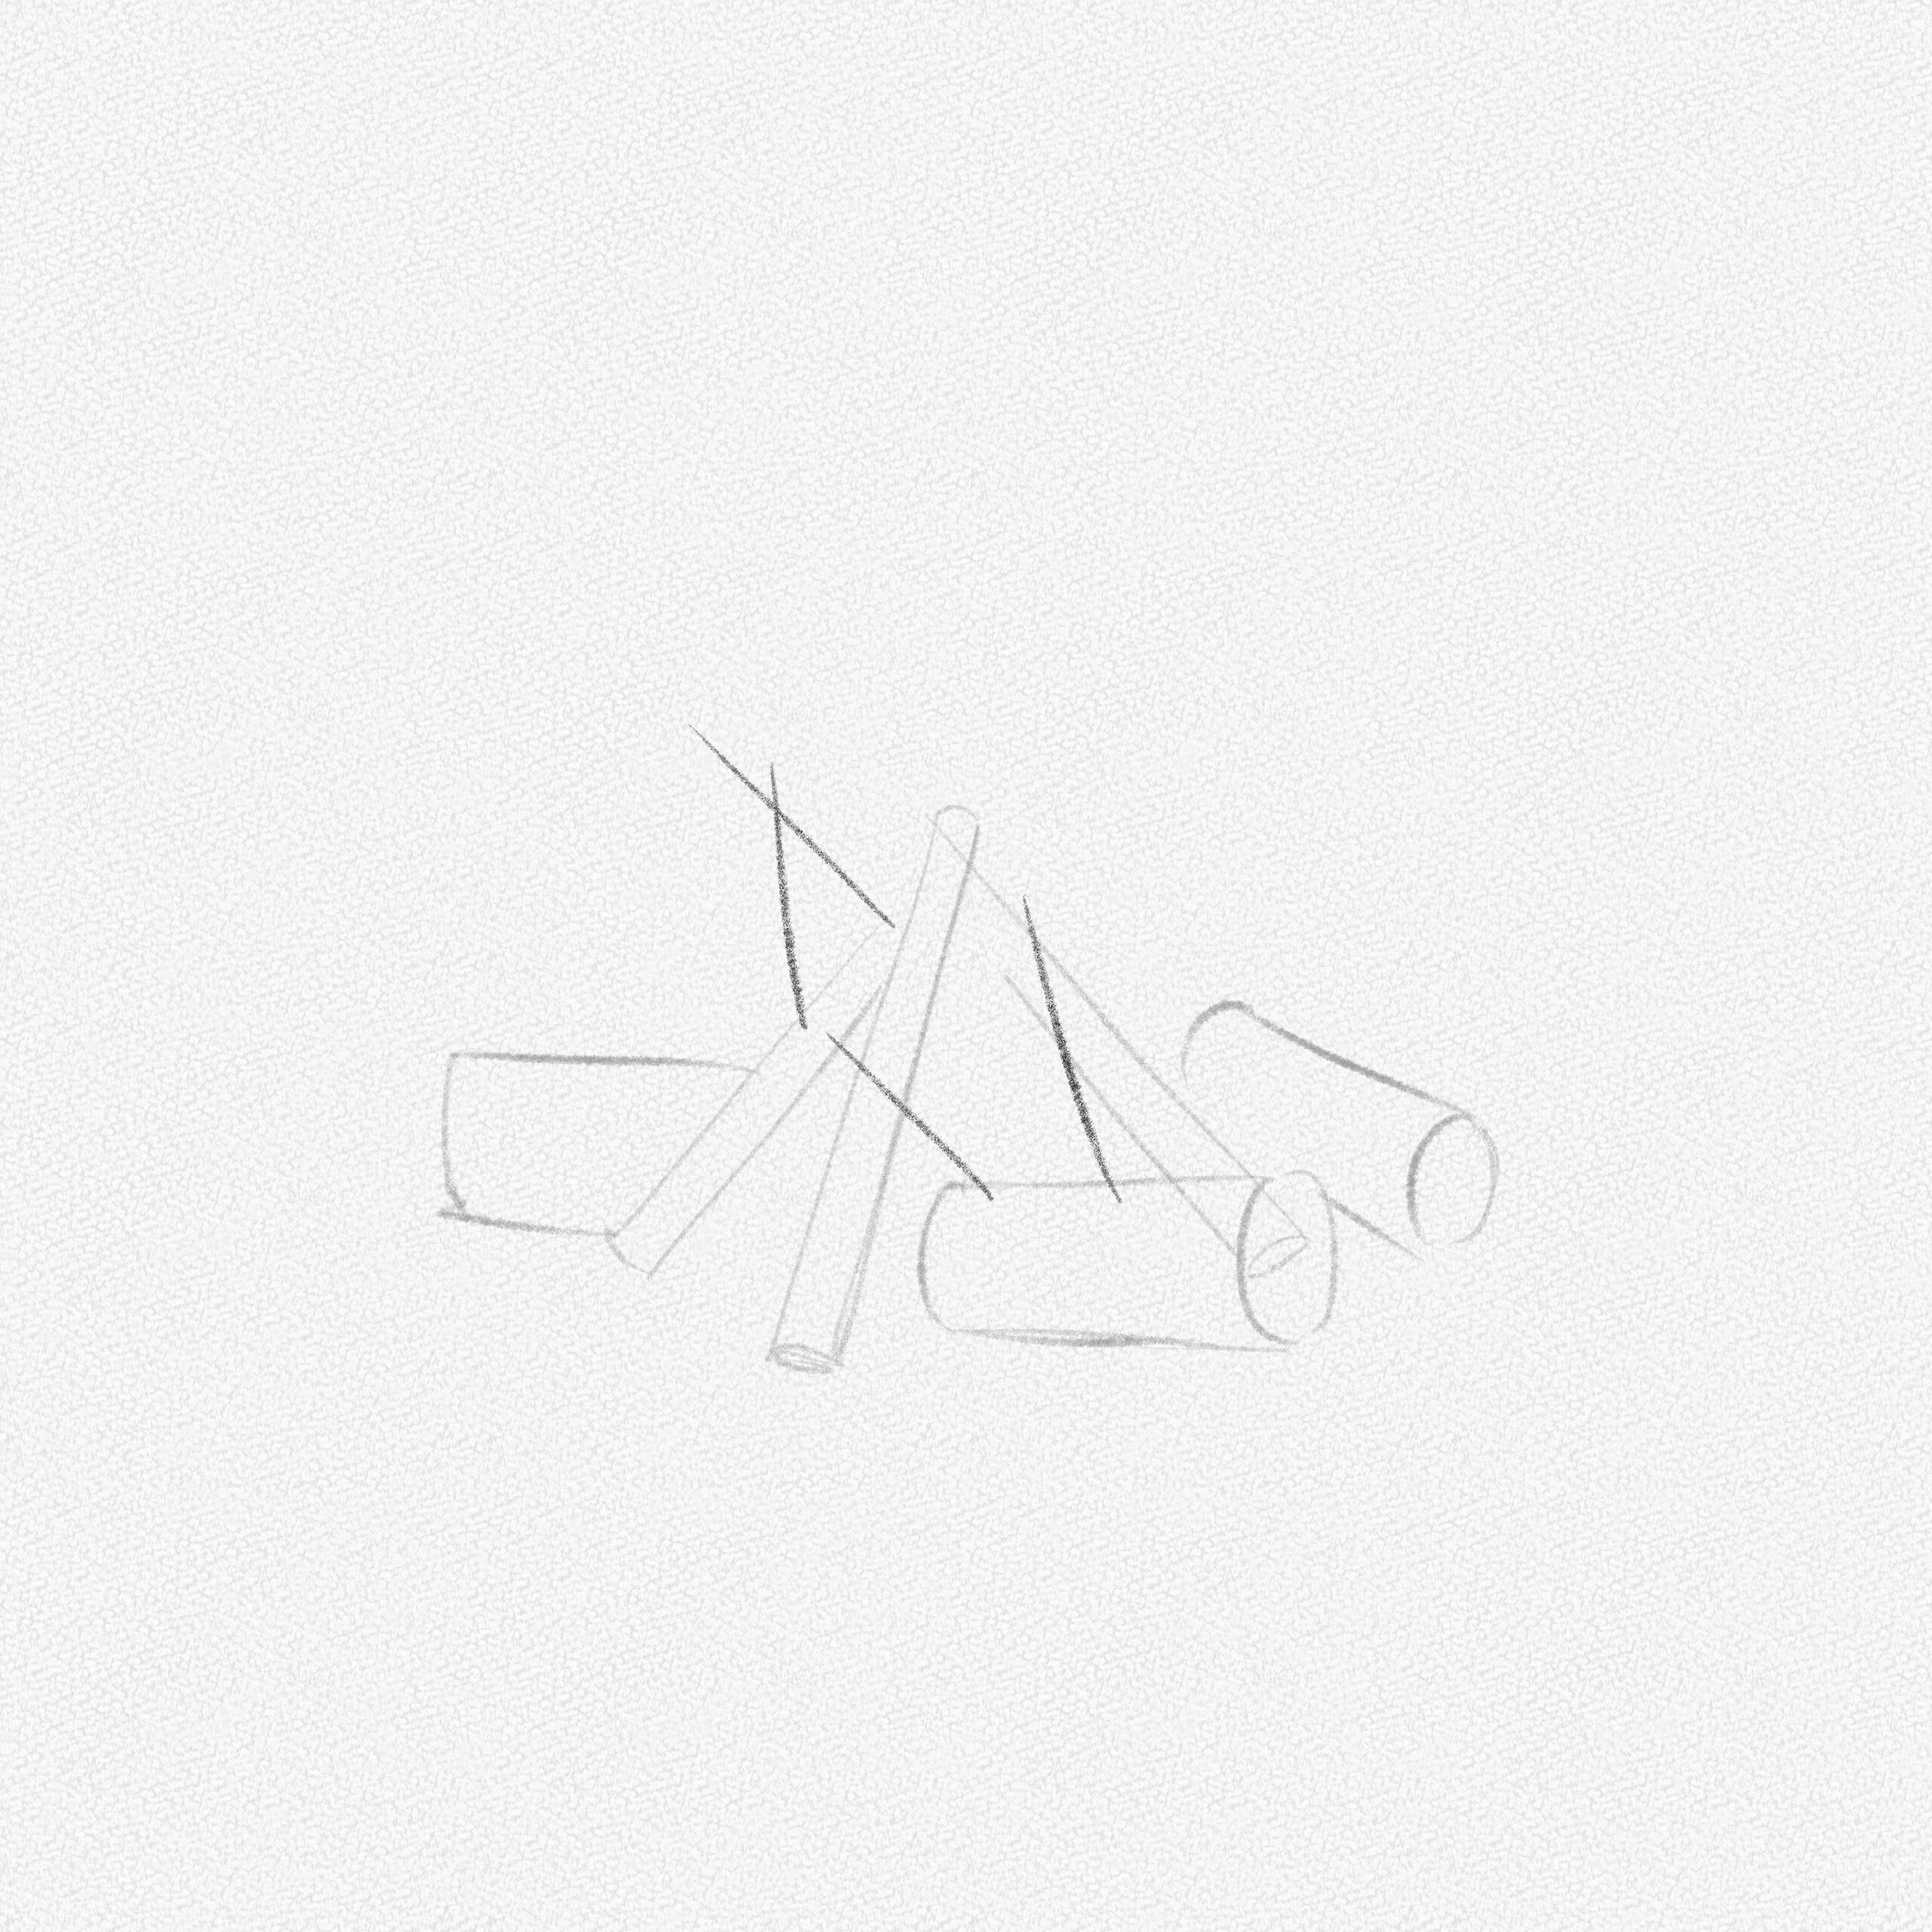
Clean your sketch by erasing the overlapping lines according to your preferences.
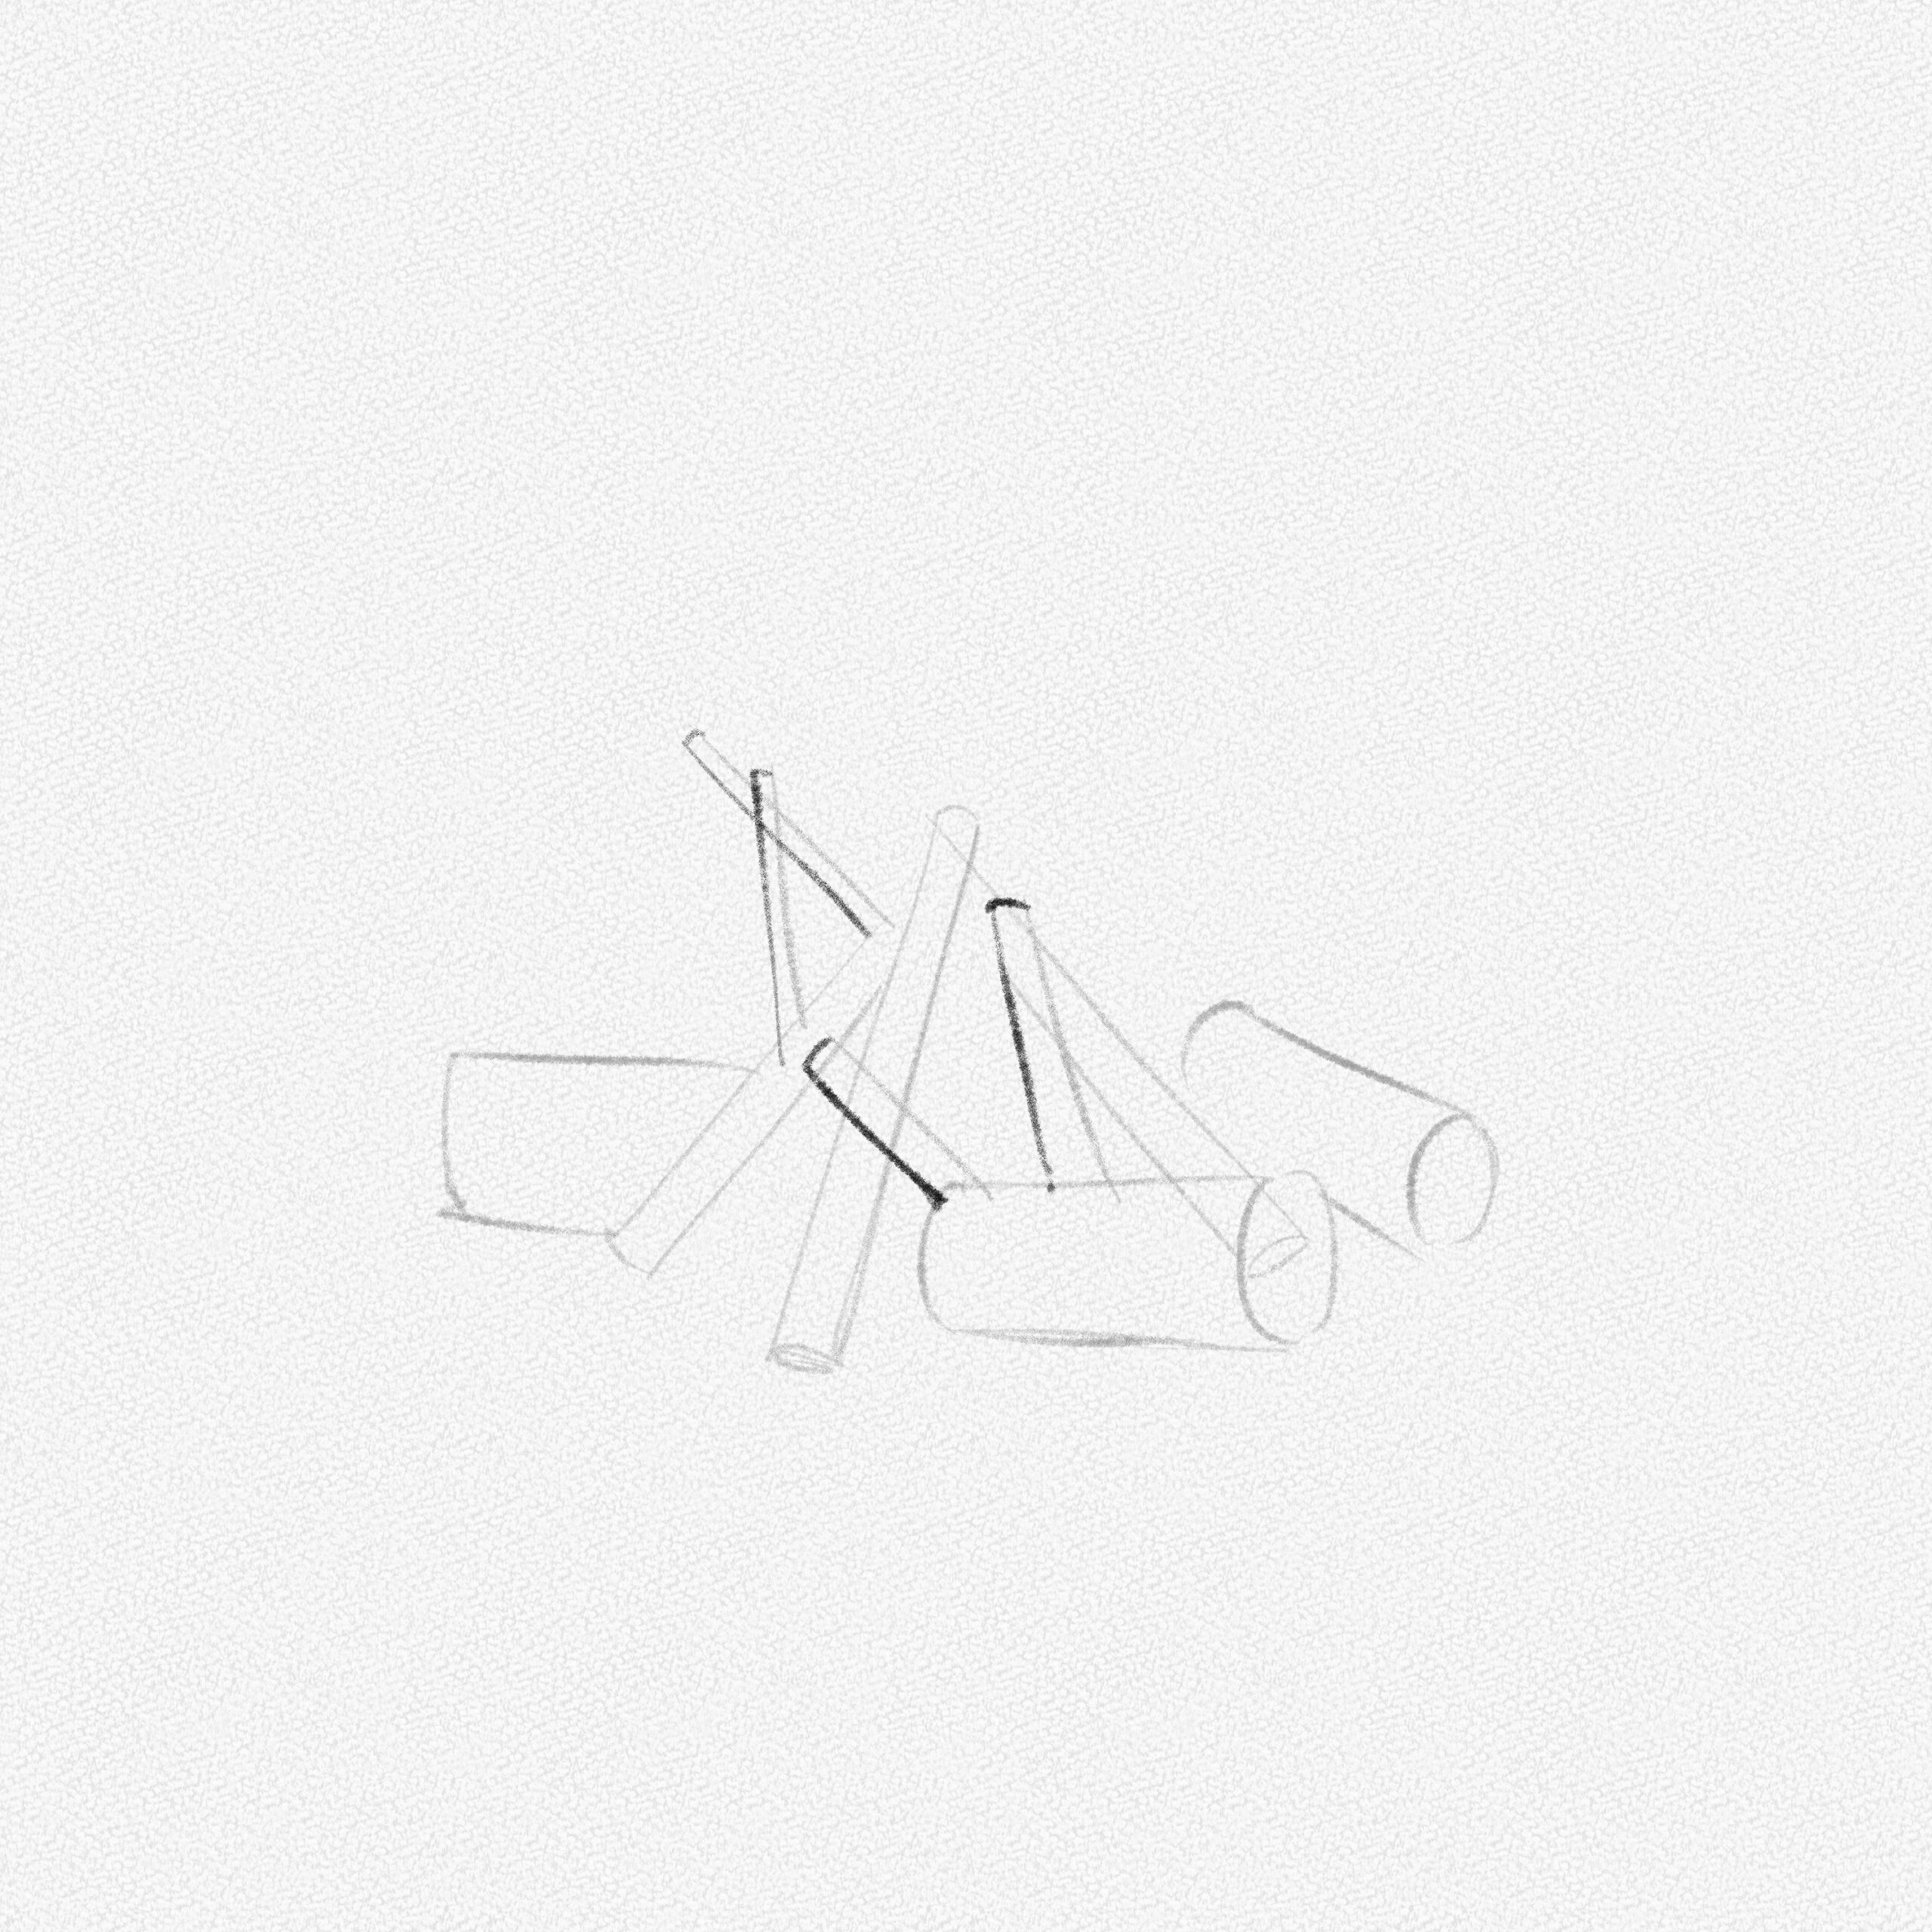
Step 4: Repeat
Repeat the steps above with smaller lines to add more sticks.

Build their shapes and erase the overlapping lines.
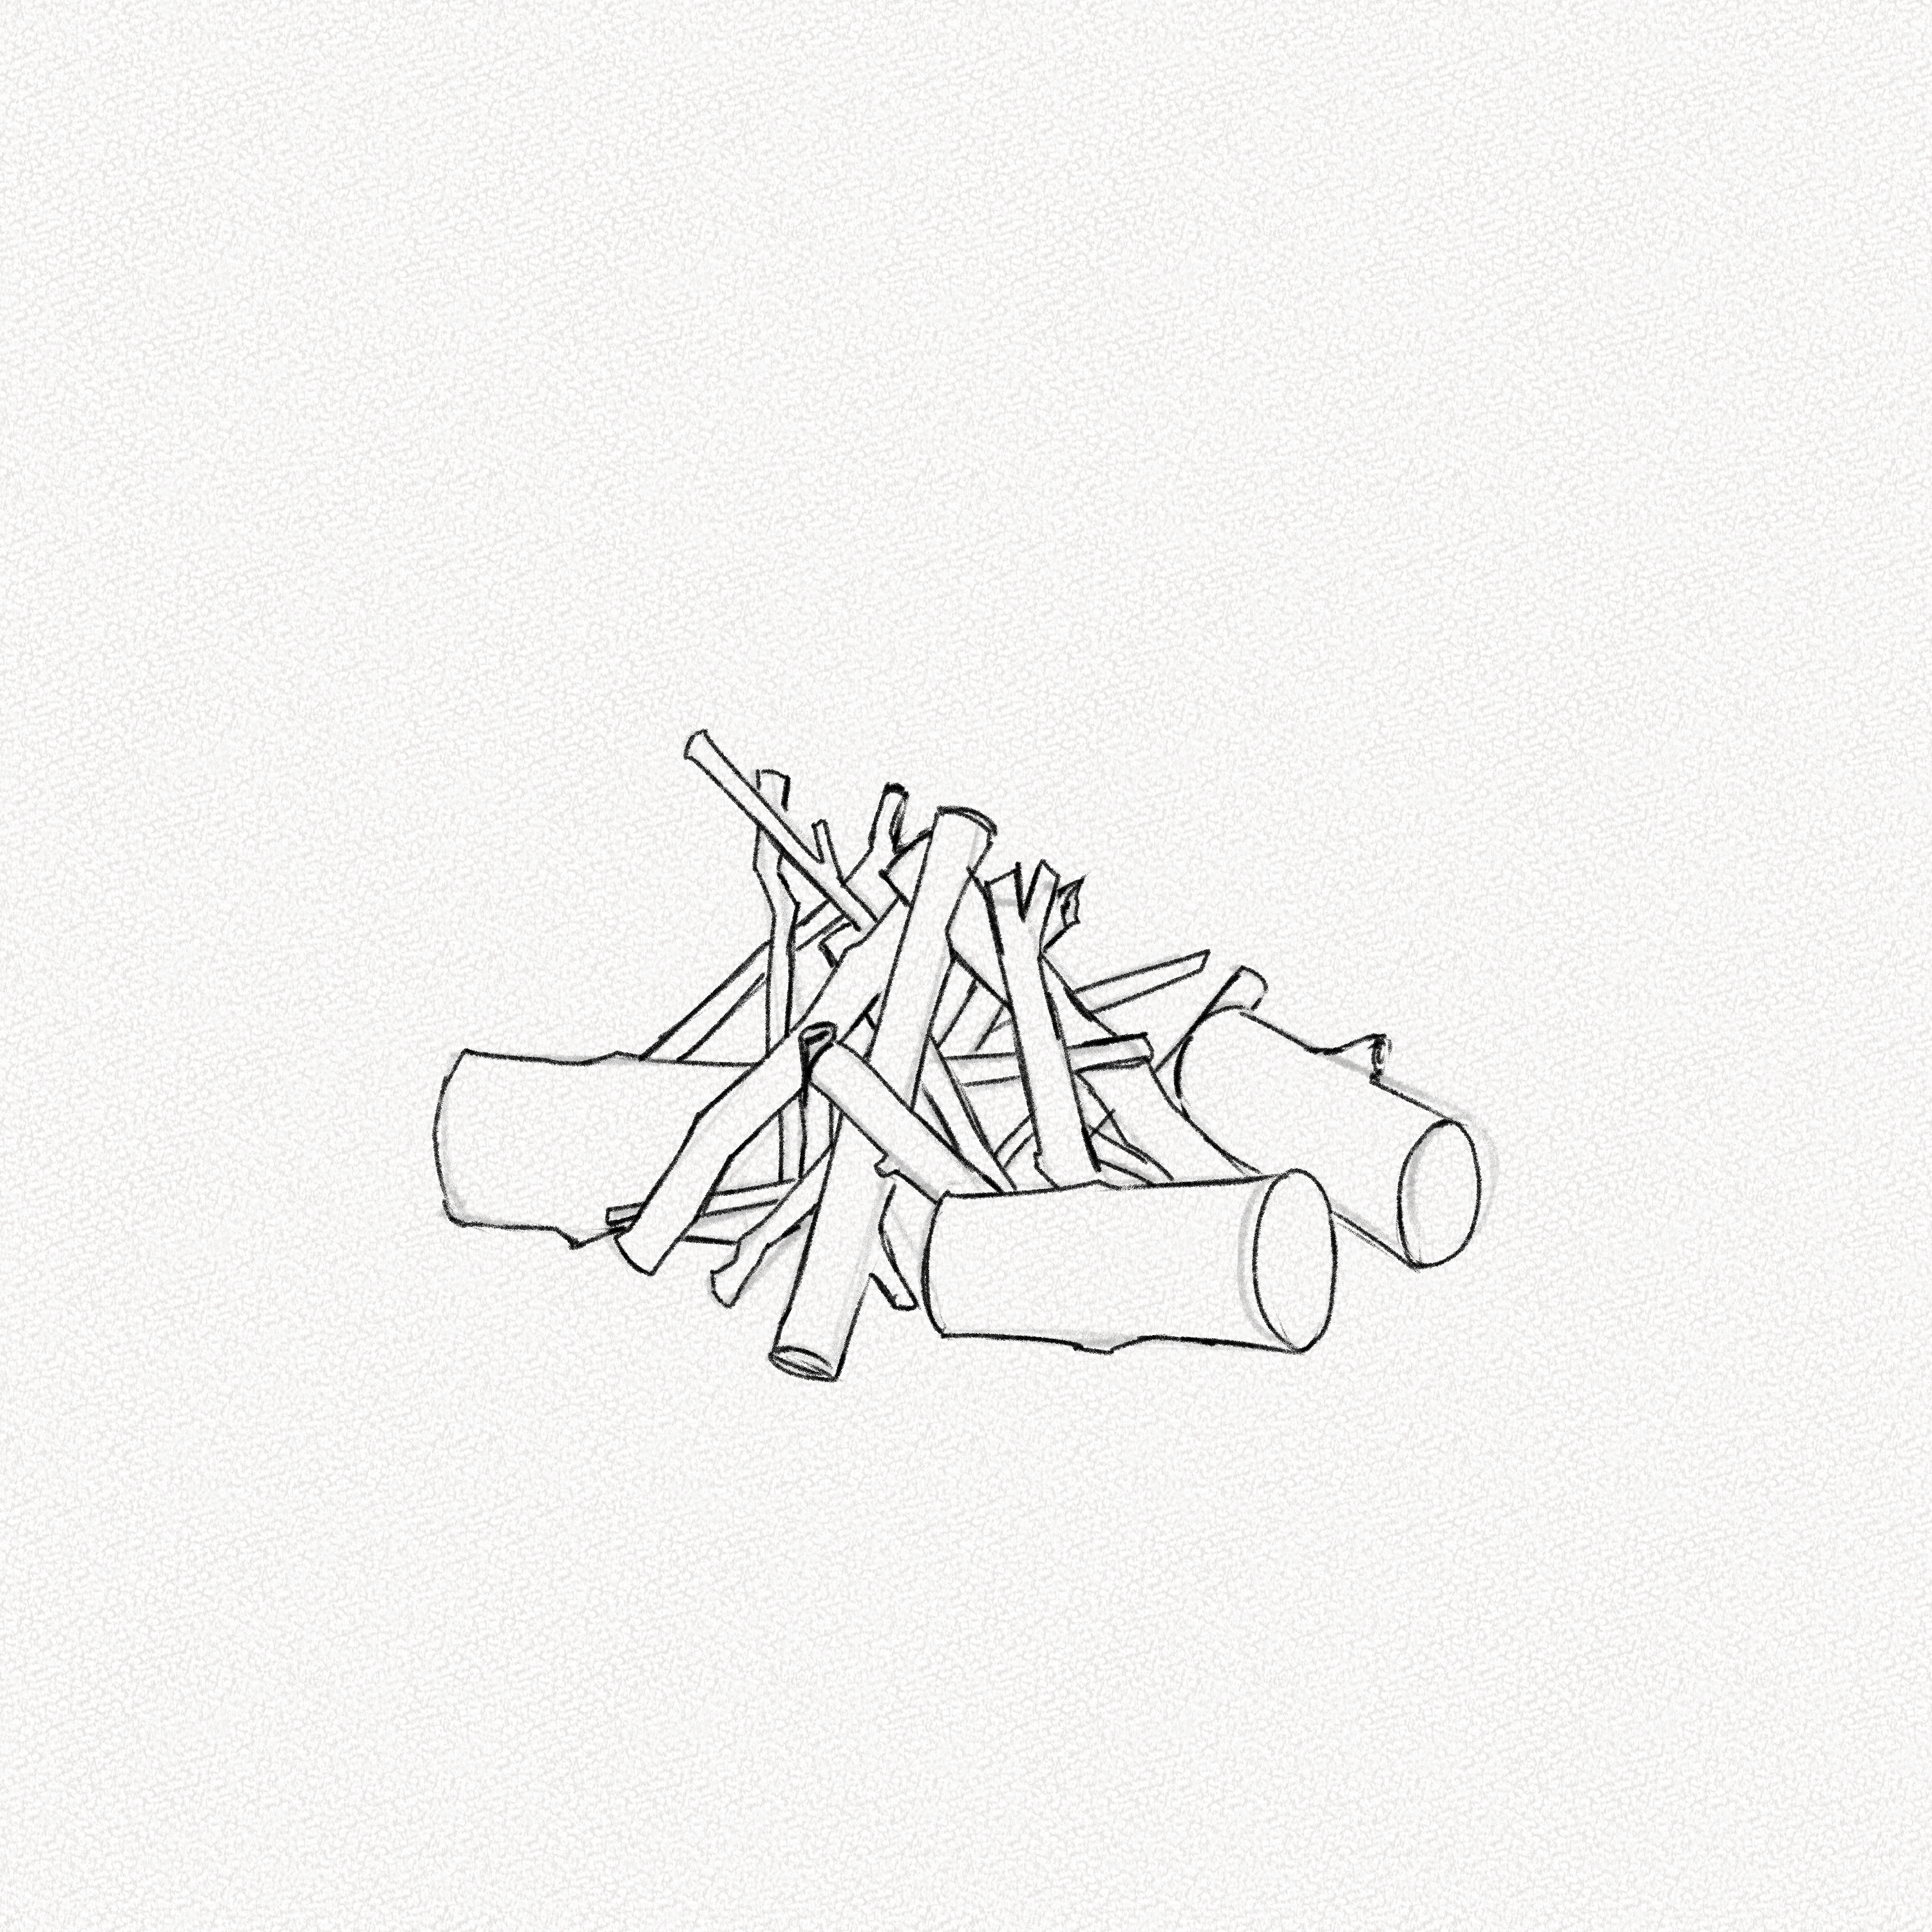
Step 5: Outline
Erase your sketch with a kneaded eraser and outline your wood sticks and branches using organic lines and shapes.
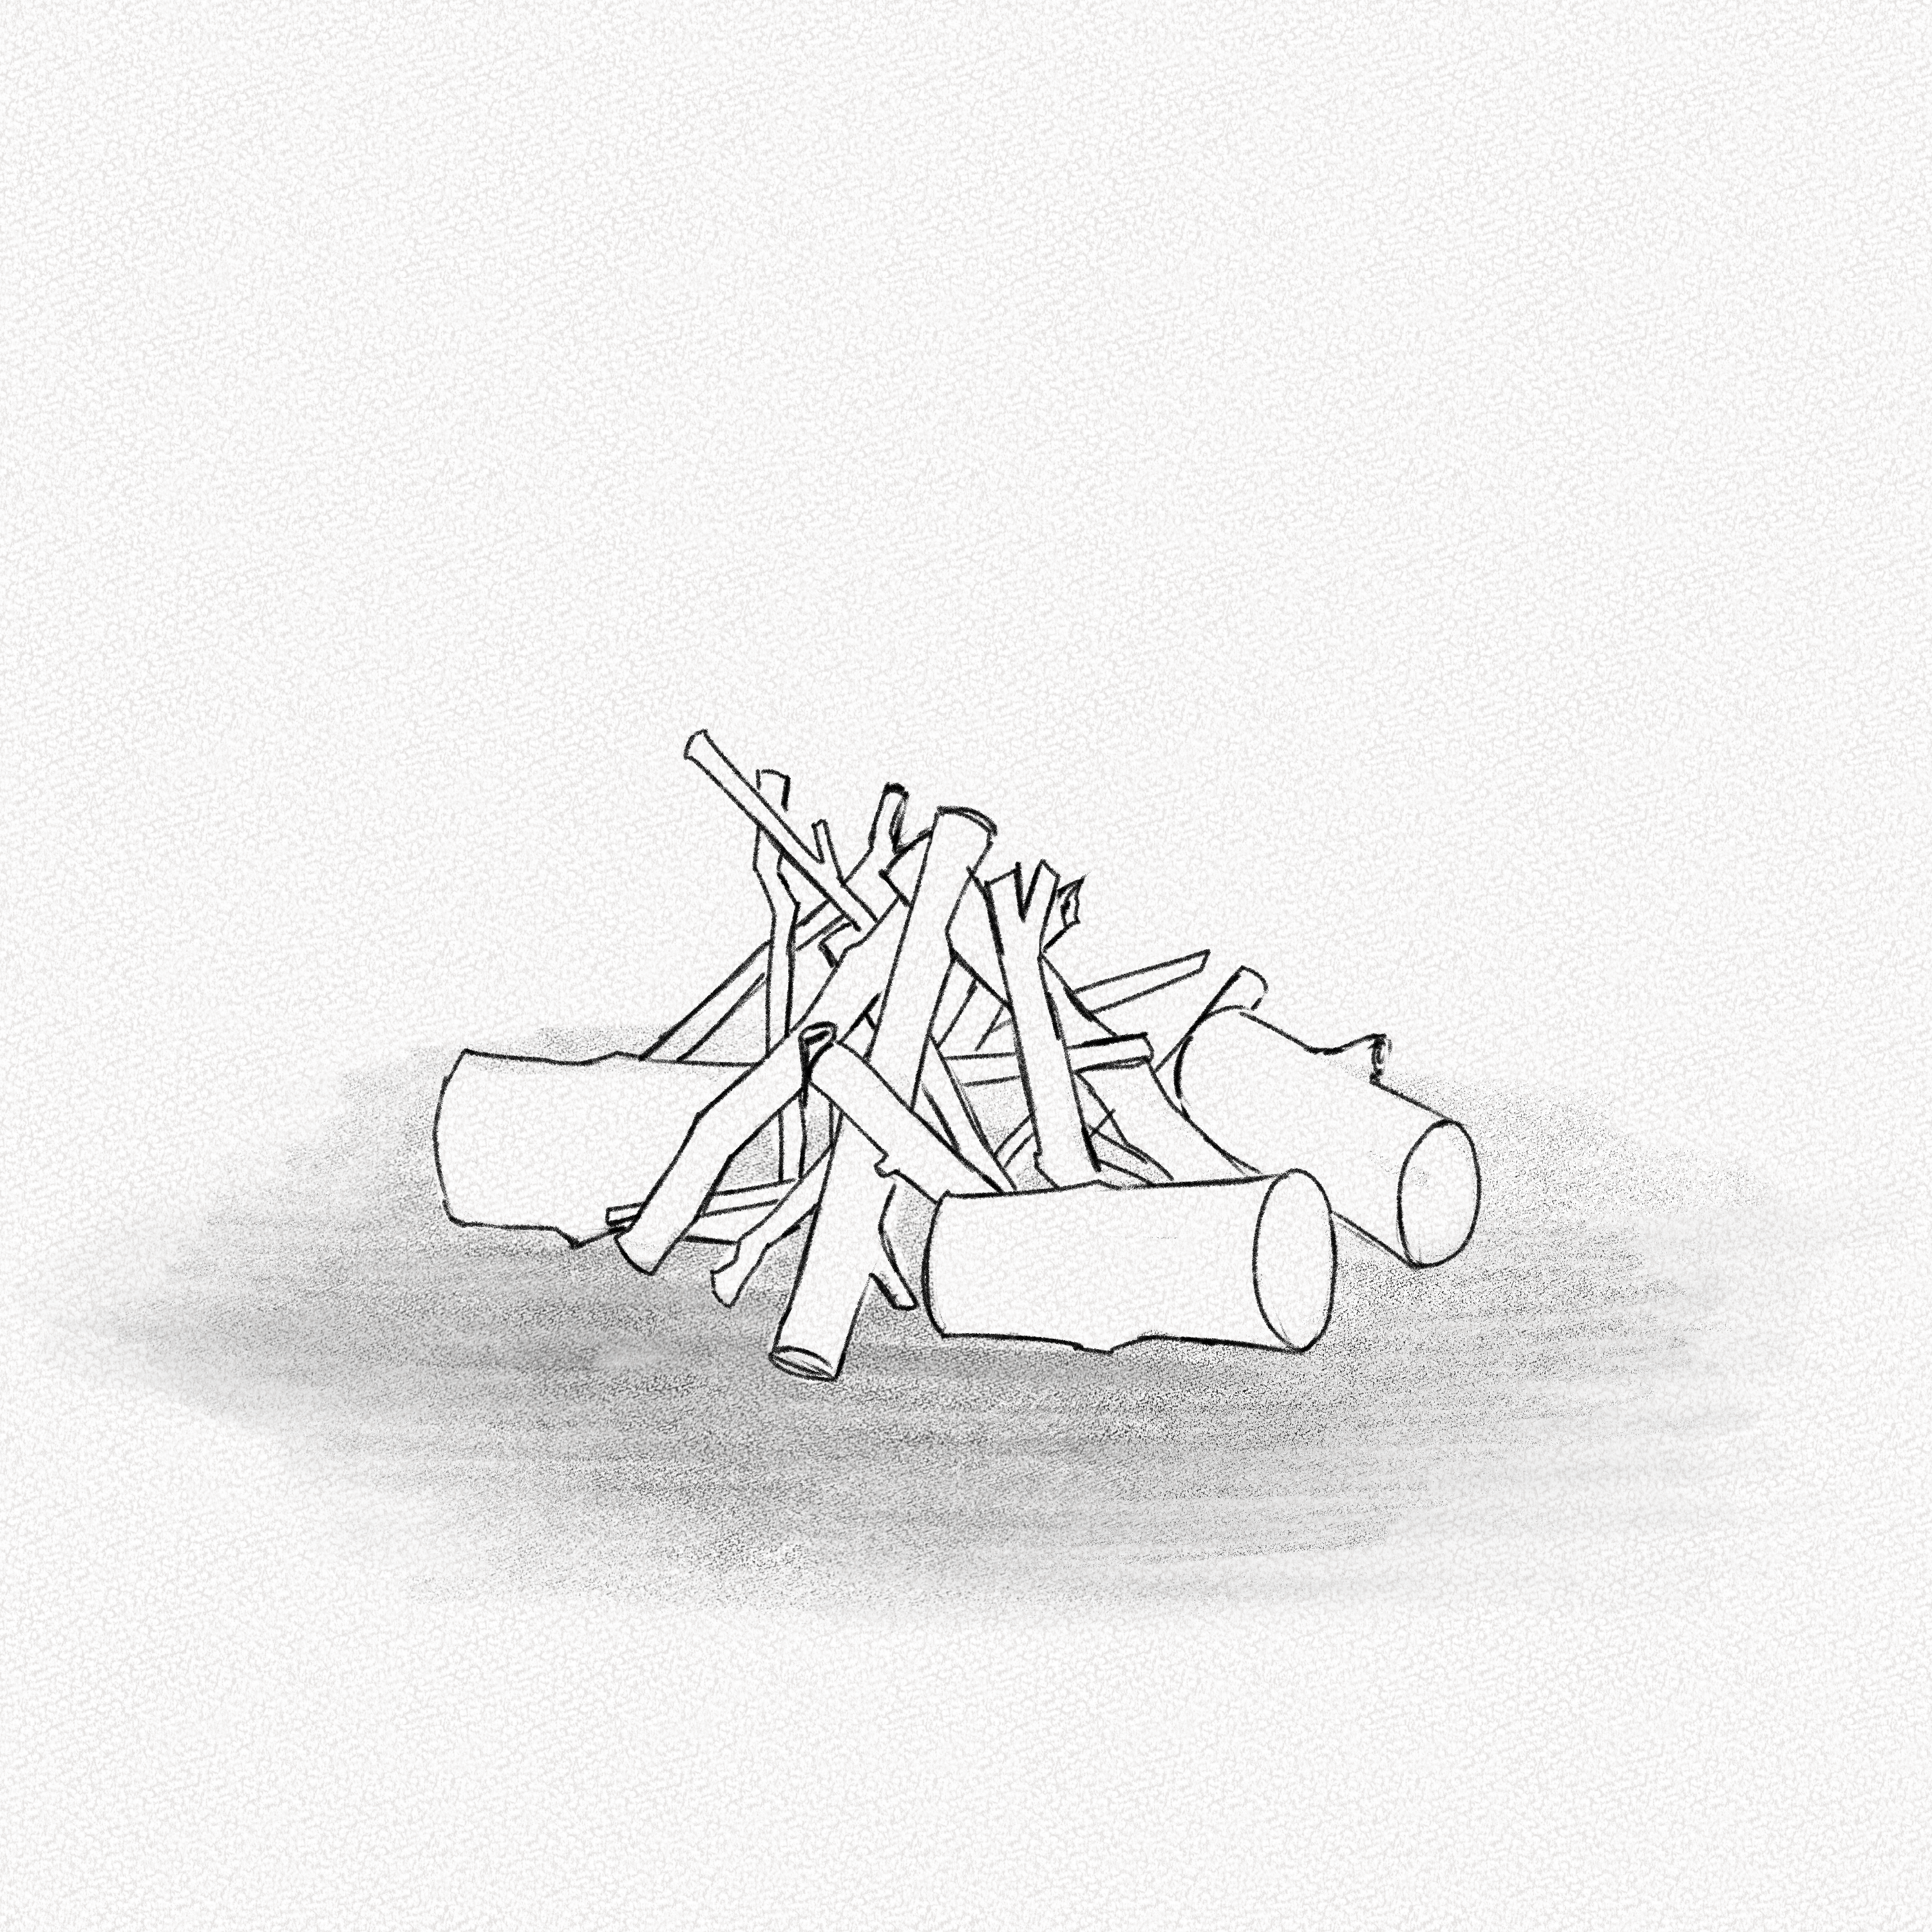
Step 6: Add the ground
Shade around your branches creating the ground for your firecamp.
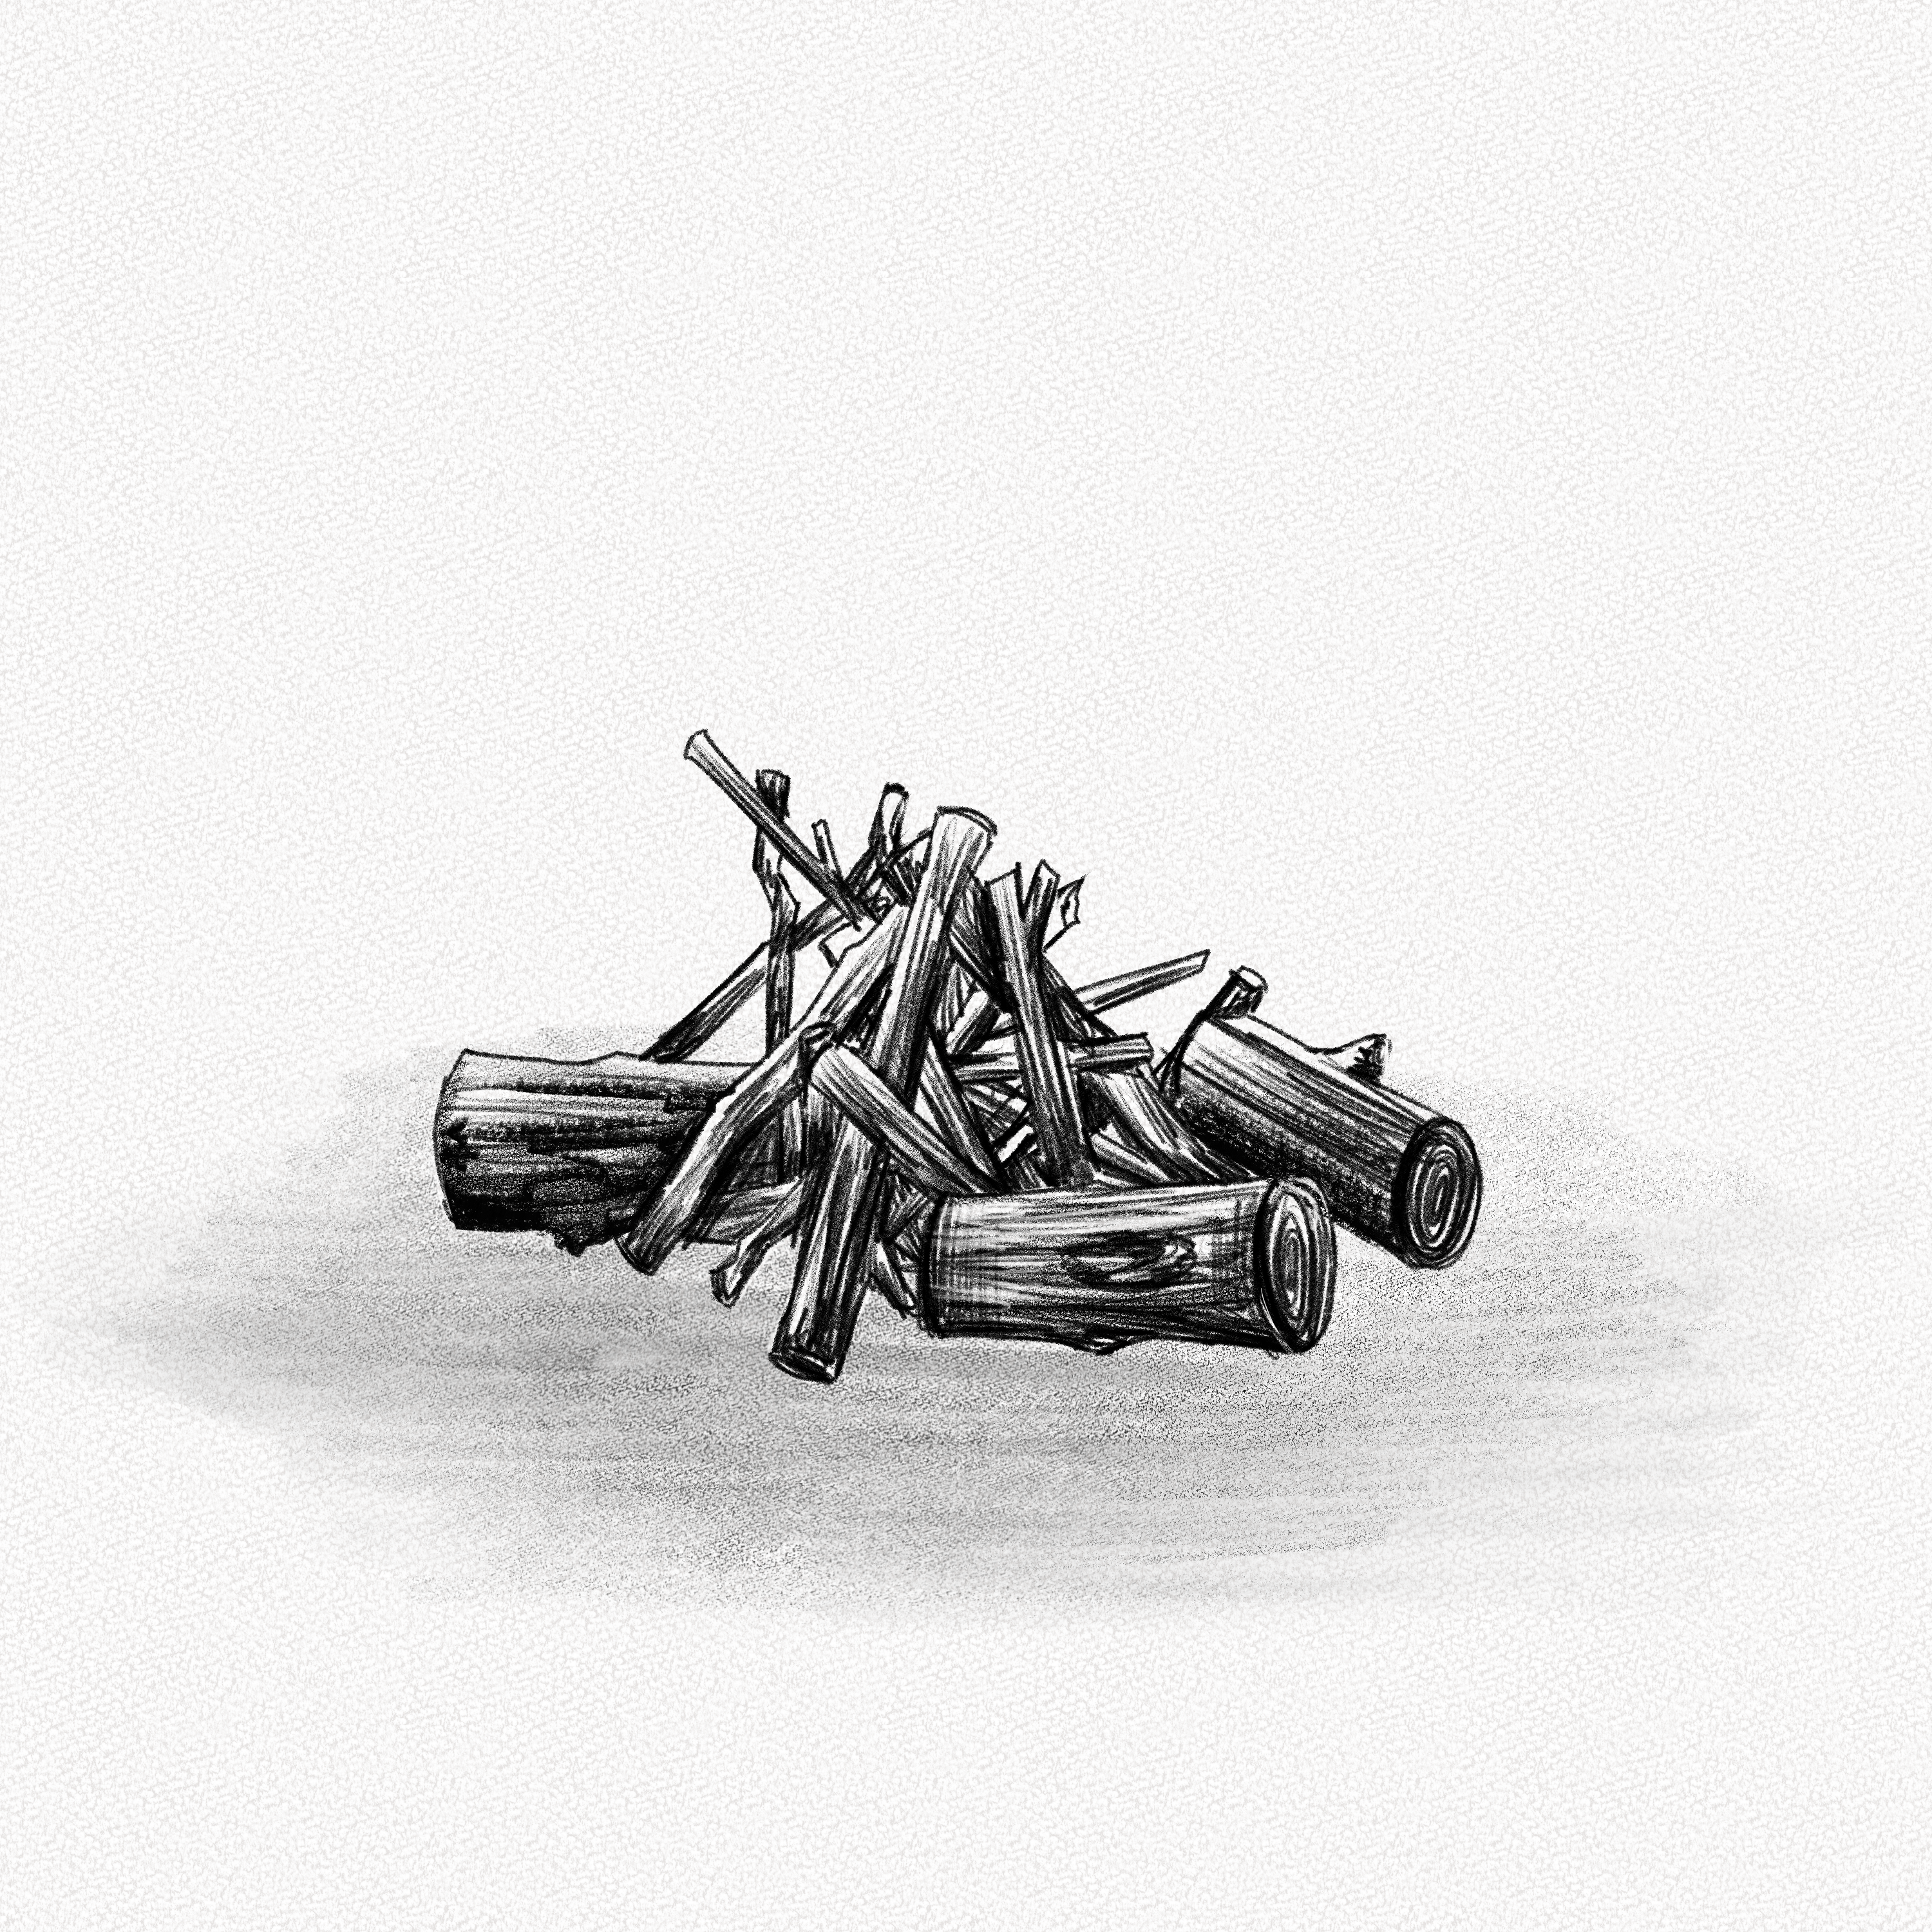
Step 7: Shade the branches
Shade the branches very roughly since we’ll be focusing on the fire. Make sure to shade it by adding dark shadows to the base of the branches.
Step 8: Shape the fire
Using your blending stump and a bit of powdered graphite, add a rough outline for the fire use irregular shapes, and blend around them creating an area of light between the wood and the smoke.

Step 9: Erase the wood
Erase some areas of the wood (the ones near the top the most) using your kneaded eraser and your Tombow Mono zero eraser too.
Step 10: Shade the fire
Shade the inside of the fire using the same technique as in step 8. Use smaller irregular shapes as shown in the diagram and blend inside in some of them more than others.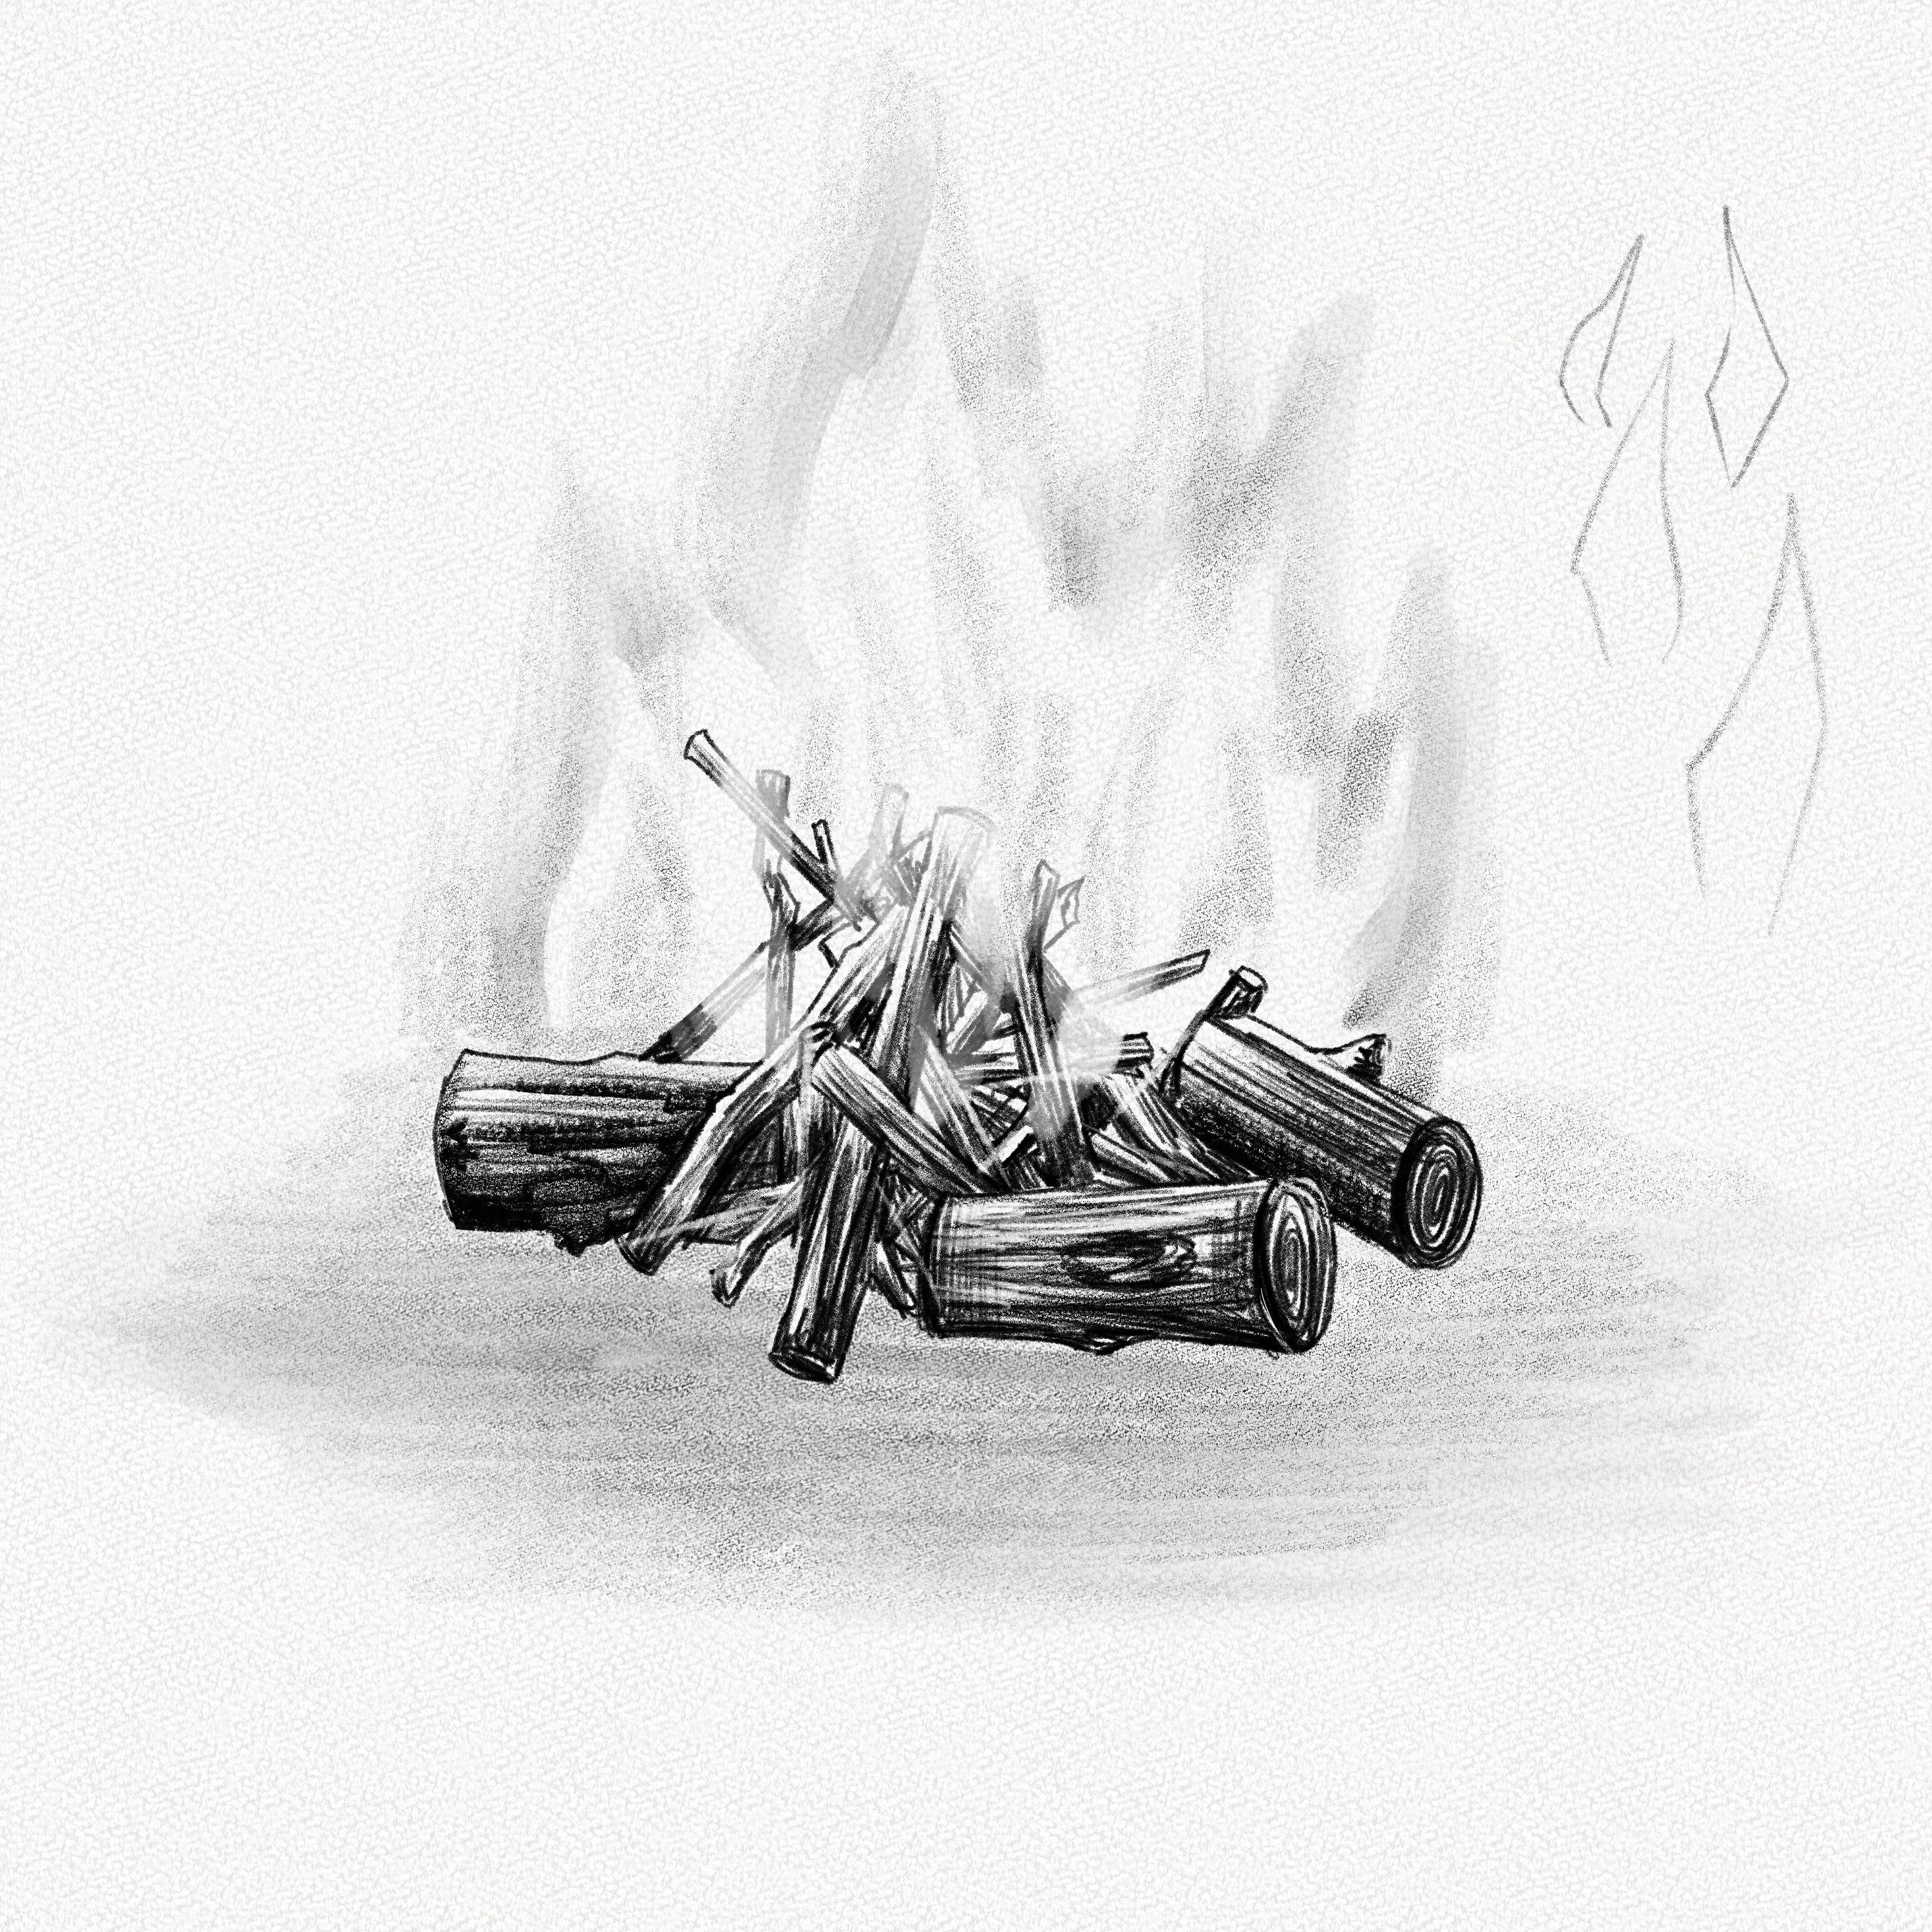
Step 11: Add some smoke
Define the fire borders with your pencil and blend them around to create a denser smoke illusion.
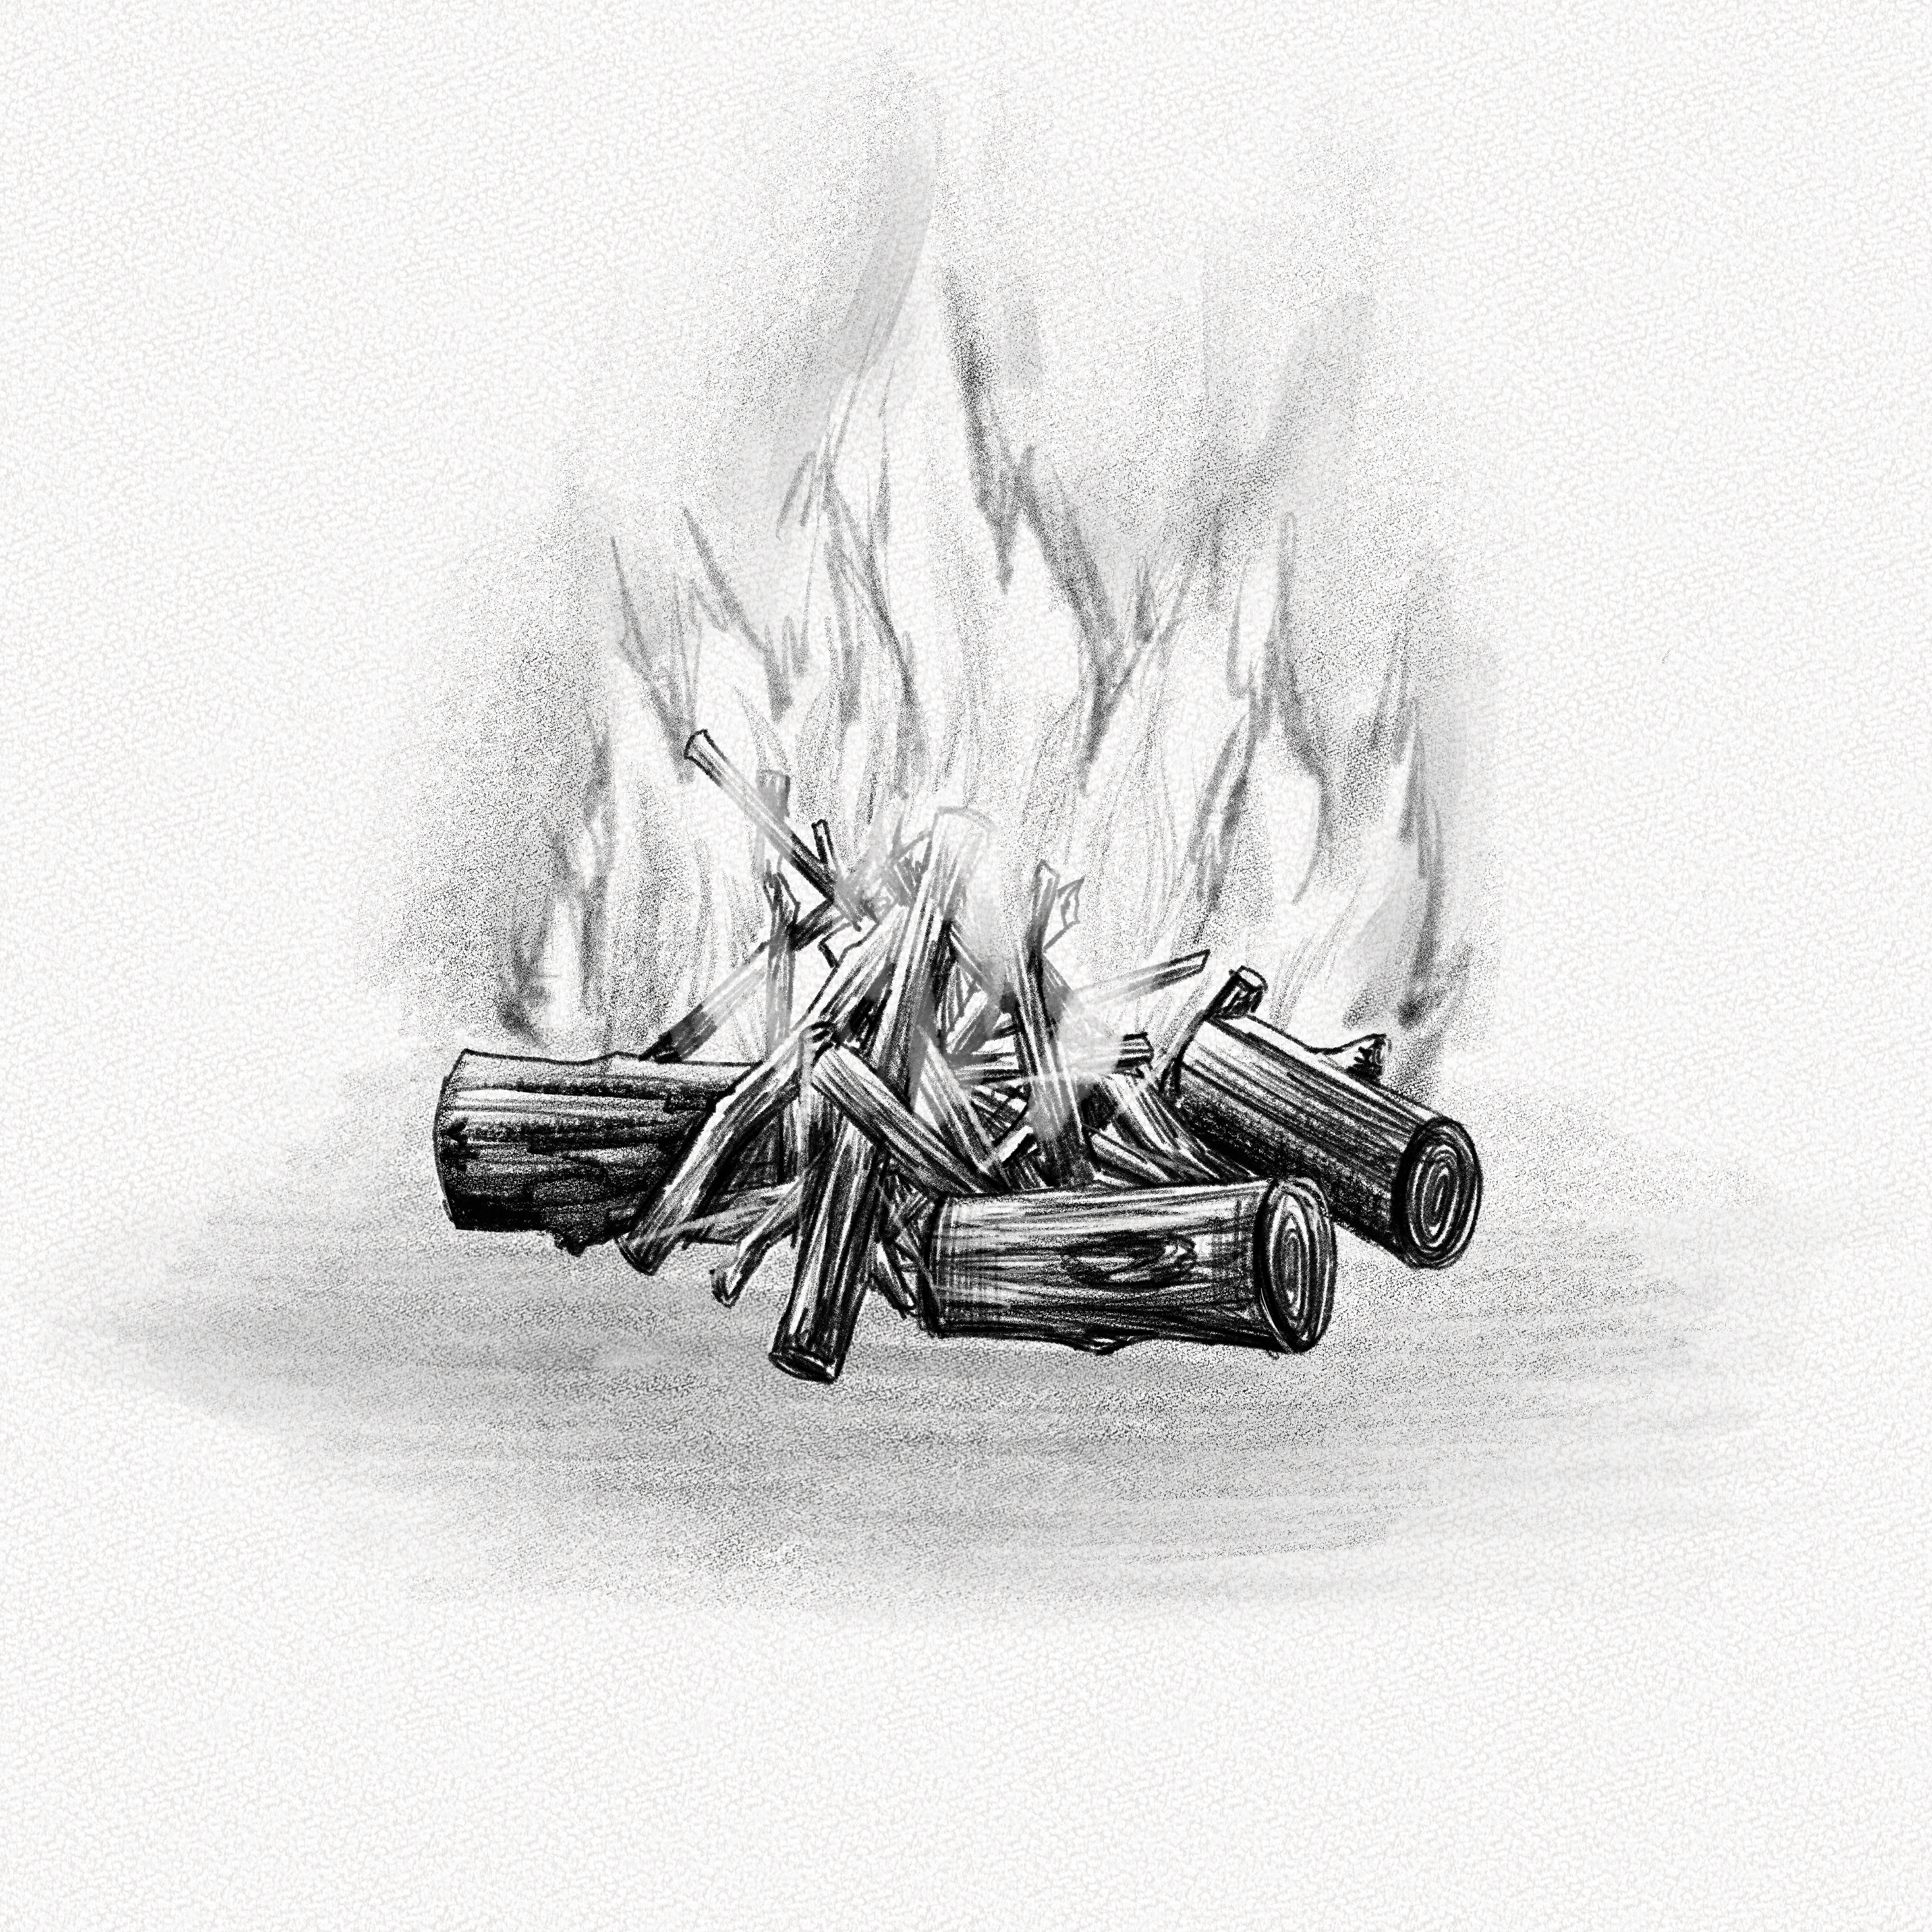
Step 12: Shade the ground
Shade the ground and around the wood sticks and lodges base to enhance the shadows cast by the fire’s light and use your Tombow eraser to add some highlights to the wood and to define the shape of the fire and smoke.
And that’s it. You’re done!
Thank you for following this tutorial and congrats! Now you know how to draw fire in different light conditions! We hope you had fun and learned something useful from this article.
And remember, you don’t have to do perfectly from the beginning, so keep practicing and never give up.
Happy Drawing!, until next time.