The Moon is one of the most beautiful and mesmerizing things in the night sky, and it’s a great subject to draw. Whether you’re an artist looking to improve your skills or a beginner wanting to try something new, this tutorial is for you.
In this step-by-step guide, we’ll take you through the process of drawing the Moon in a realistic and detailed way. And don’t worry if you’re not an experienced artist since we’ll use simple techniques that anyone can learn.
So grab your materials because we’re about to embark on a journey to create a stunning piece of art.
What you’ll learn:
- How to draw the Moon
- How to shade the Moon
- How to draw clouds with graphite
Materials needed:
– A piece of paper
– A 2H graphite pencil
– A 9B graphite pencil or graphite bar
– A blending stump
– A ball of cotton
– A sandpaper block
– A pencil eraser
– A Tombow Mono Zero 2.3mm
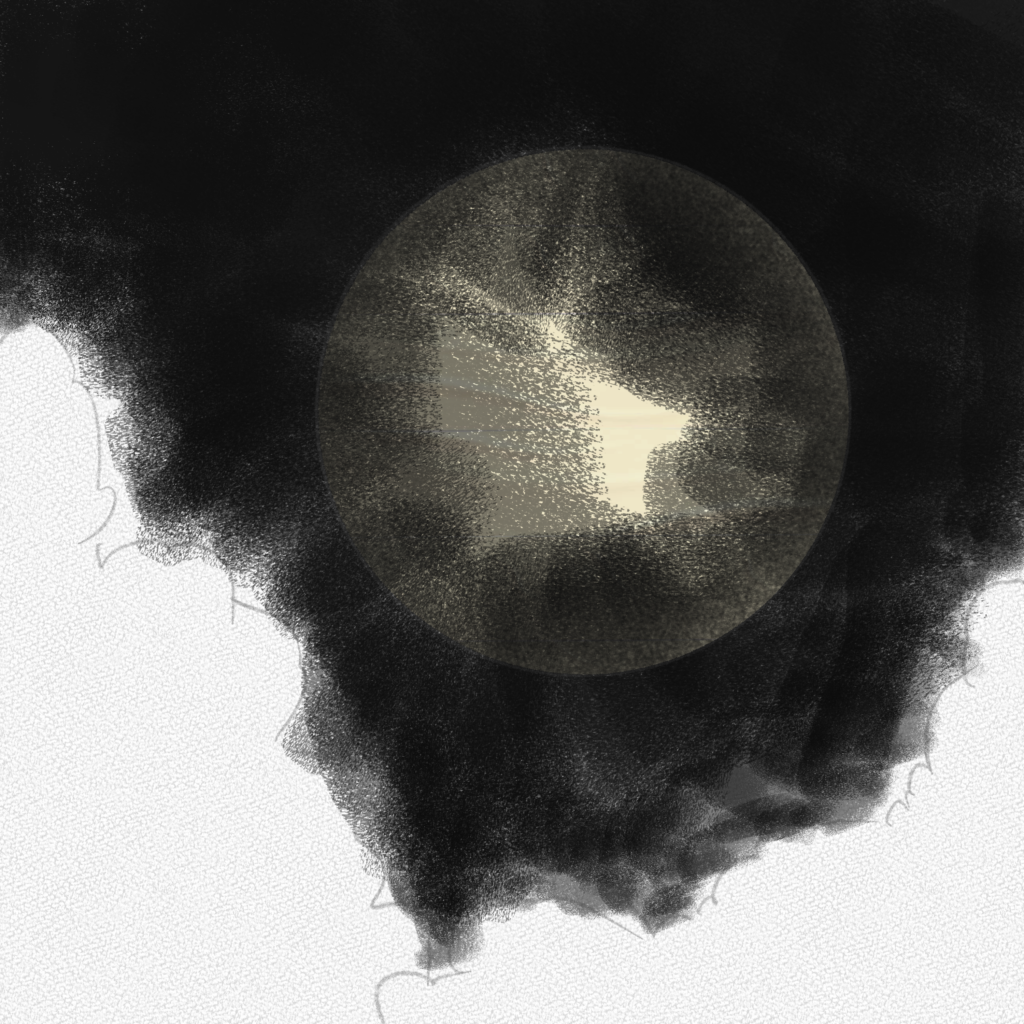
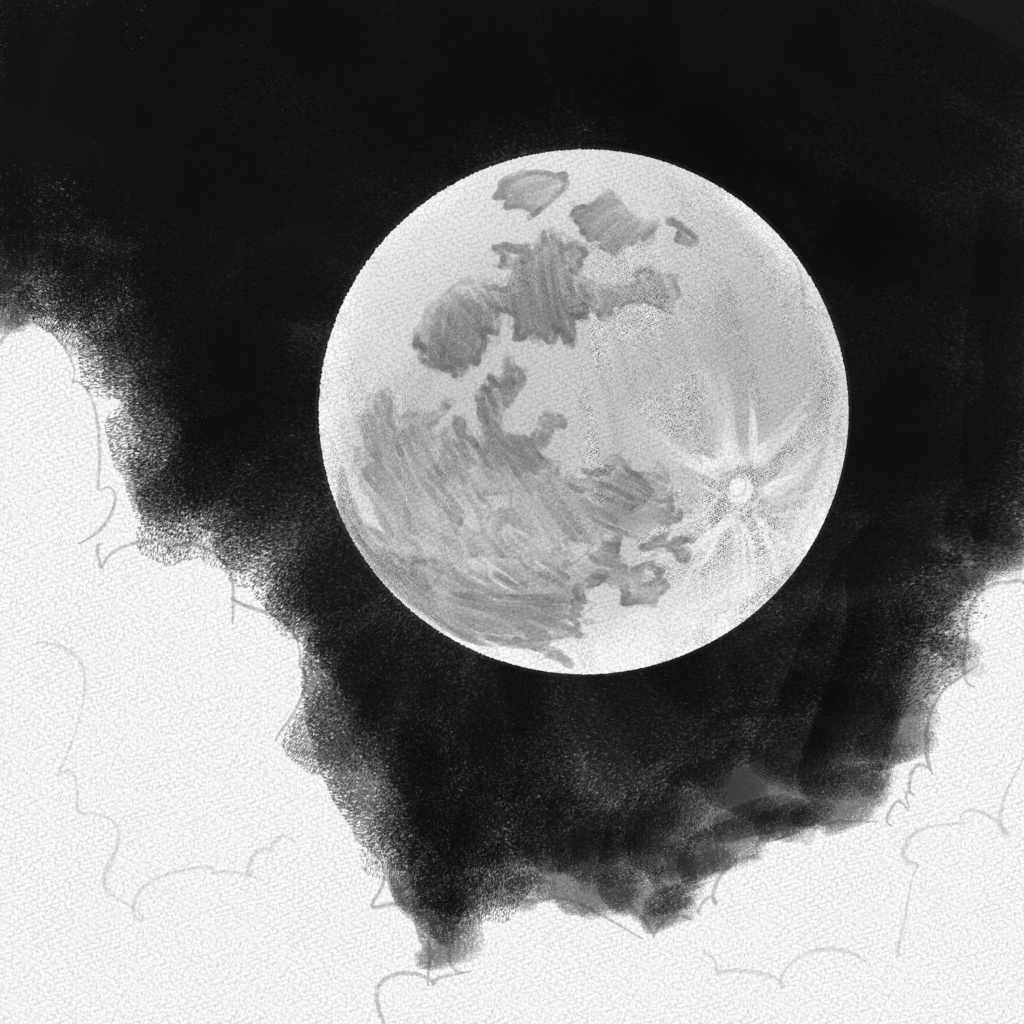
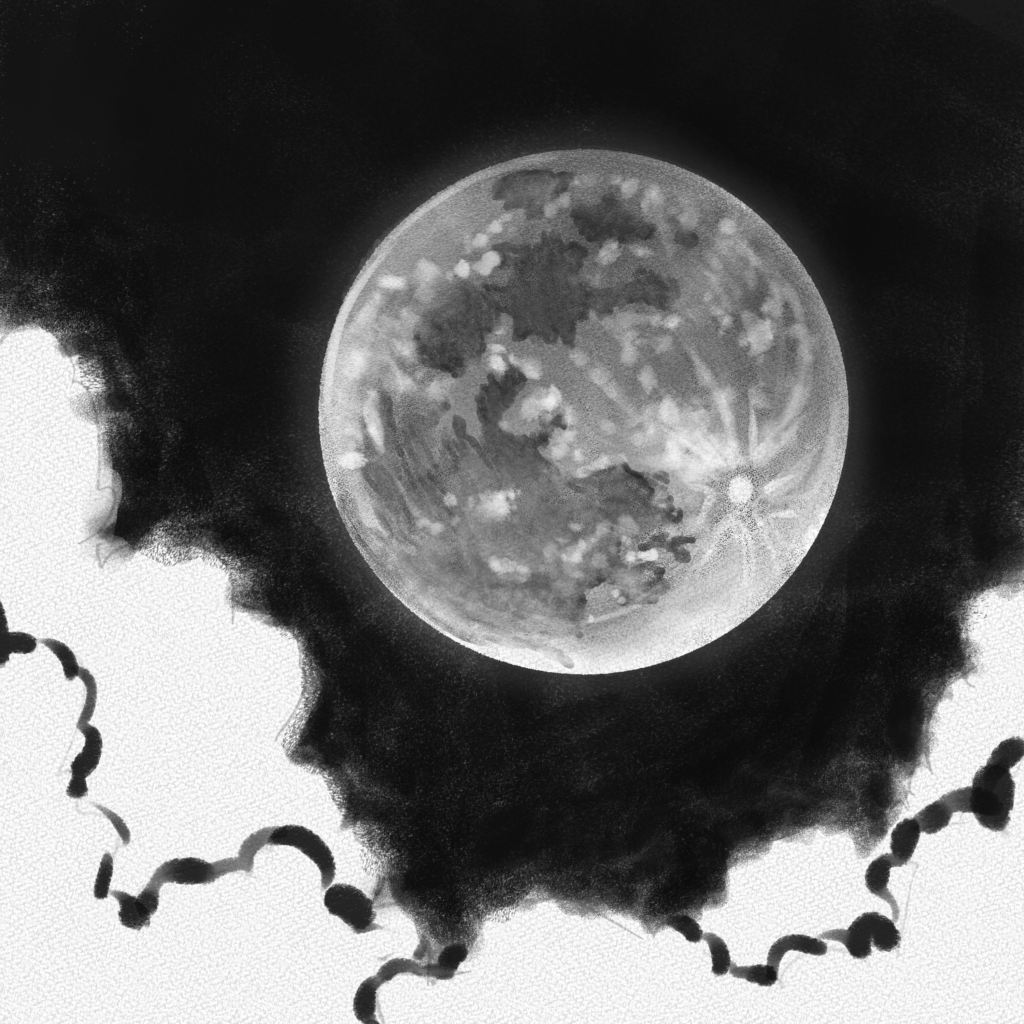
This is the Moon you’re going to draw:

And these are all the steps we’ll walk you through:
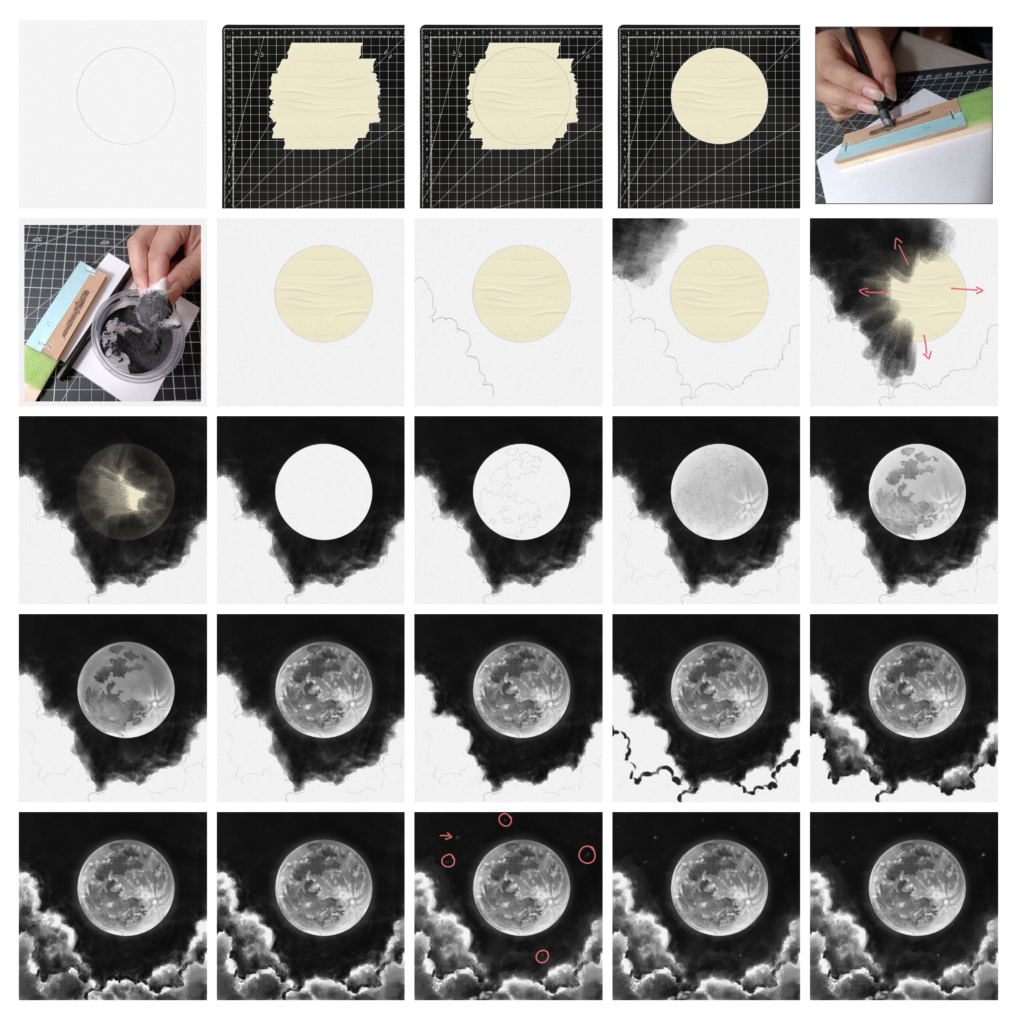
Section 1.- How to Draw the Moon
For this section, we’ll do some preparation for a new technique whew we’ll be able to achieve the darkest values with graphite and cotton.
Step 1: Draw a circle
Using your 2H pencil and a circular tool or a compass, draw a circle where you plan to draw your Moon. Leave some space below for the clouds and stars.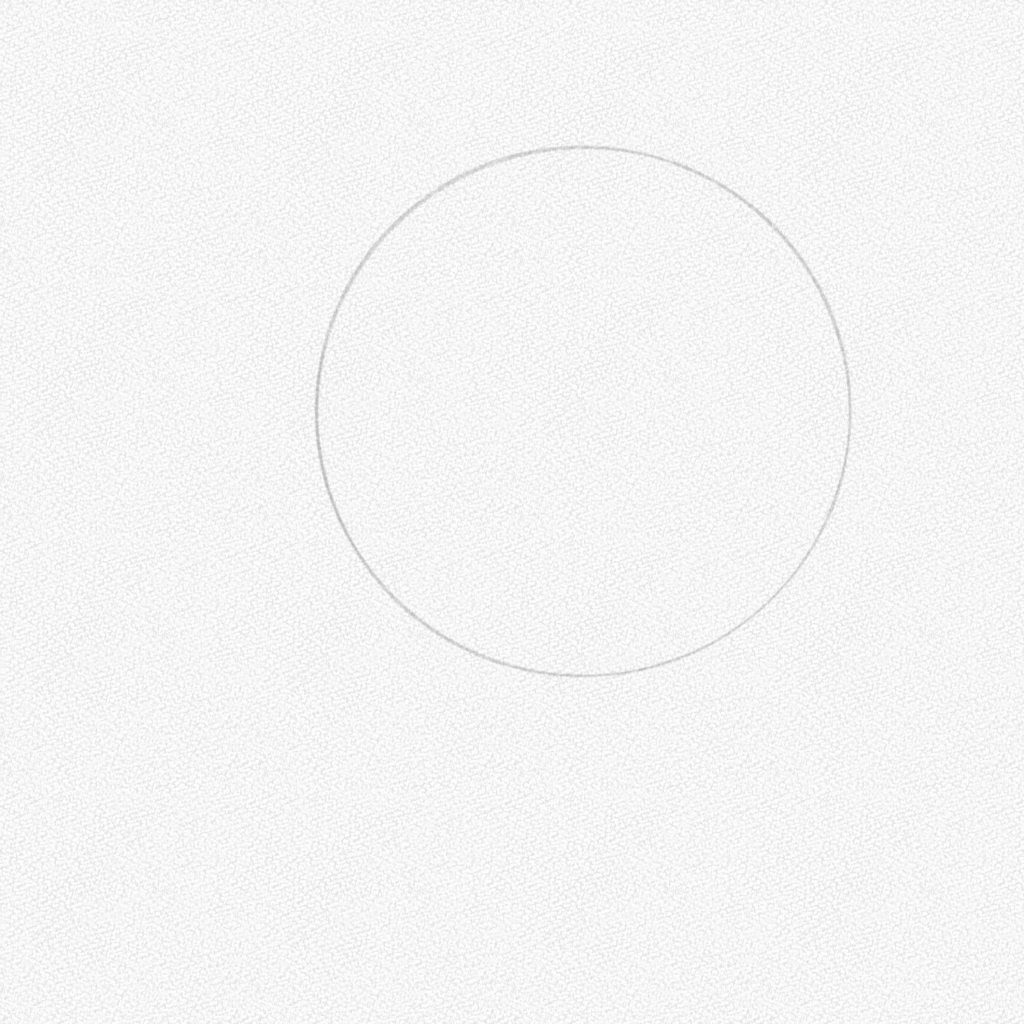
Step 2: Layer some masking tape
On top of a surface, you can cut (cutting mat), layer some masking tape, and make it as big as your Moon.
Step 3: Draw another circle
Draw the same circle on the tape using the same circular tool or compass. 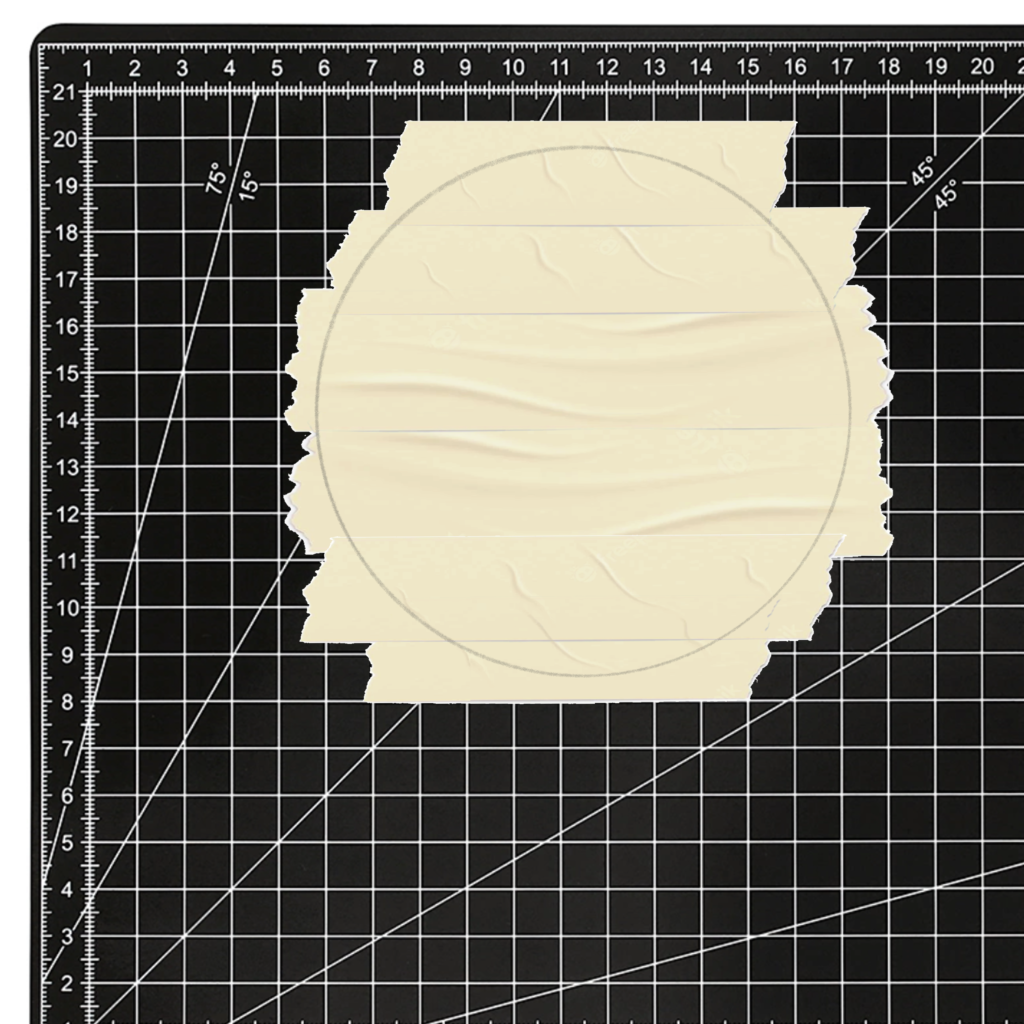
Step 4: Cut the moon silhouette
Using an Exacto knife (or a pair of scissors), carefully cut the shape of your Moon.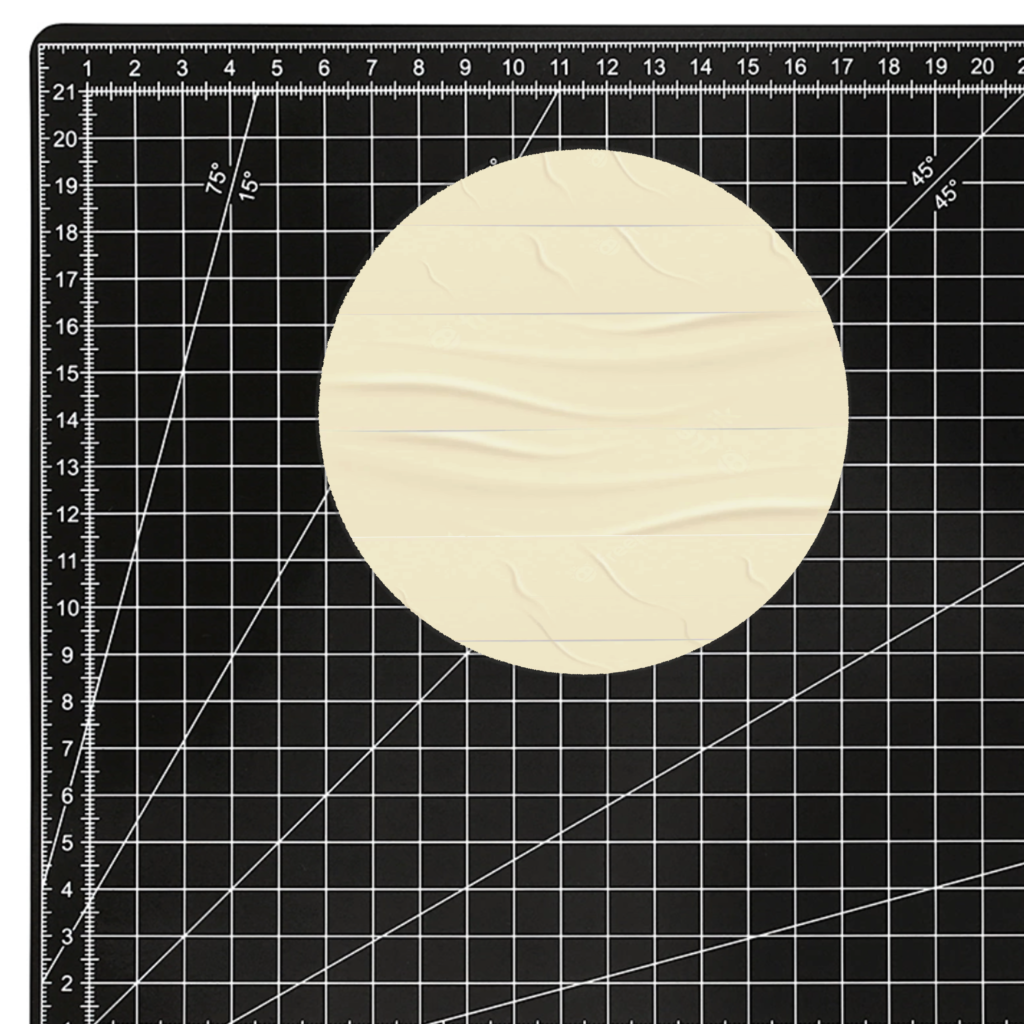
Step 5: Sand your 9B pencil
Now, we are going to prepare for the new step. Take your 9B graphite pencil and sand it. You can use Faber Castell sanding block or any soft sanding paper you have (even a nail file will do)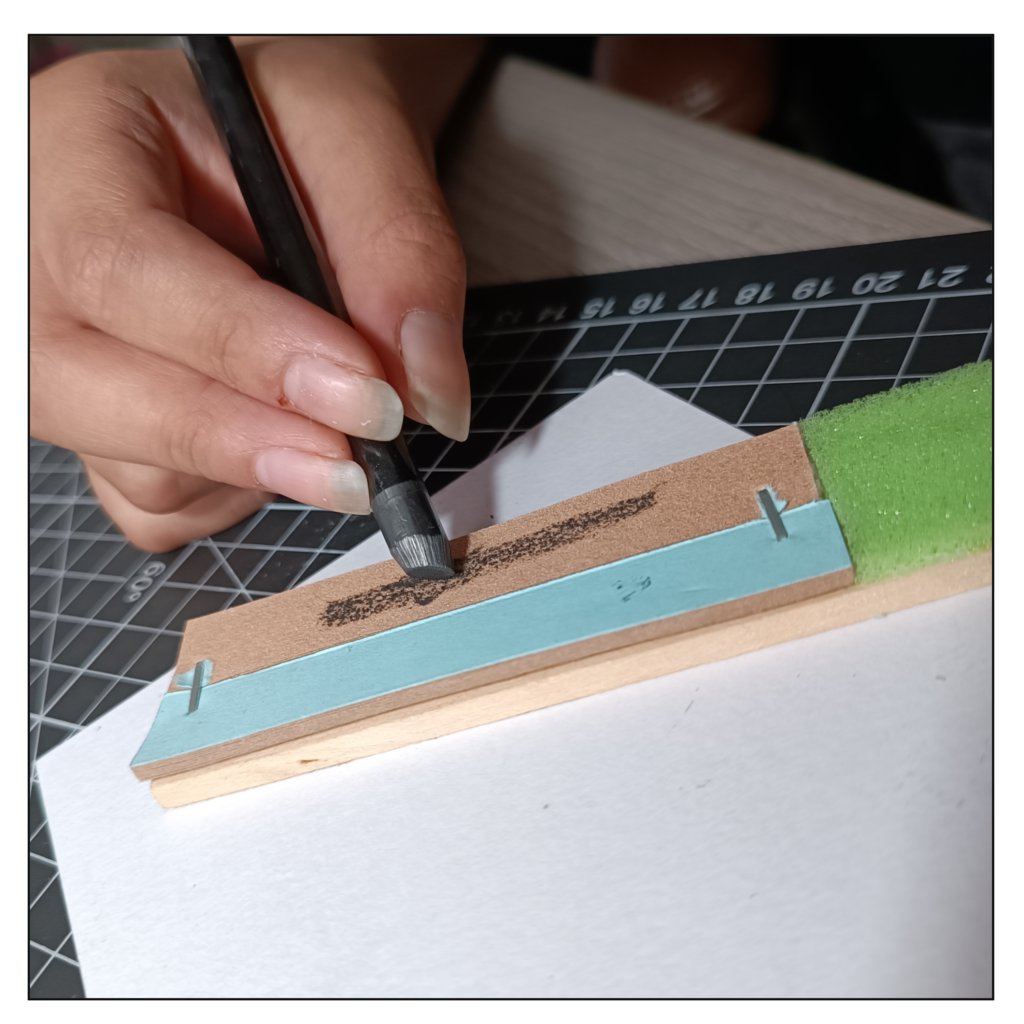
Step 6: Gather the graphite powder.
Gather the graphite powder on a small recipient or on top of a piece of paper you can recycle. Get ready a ball of cotton and set it aside.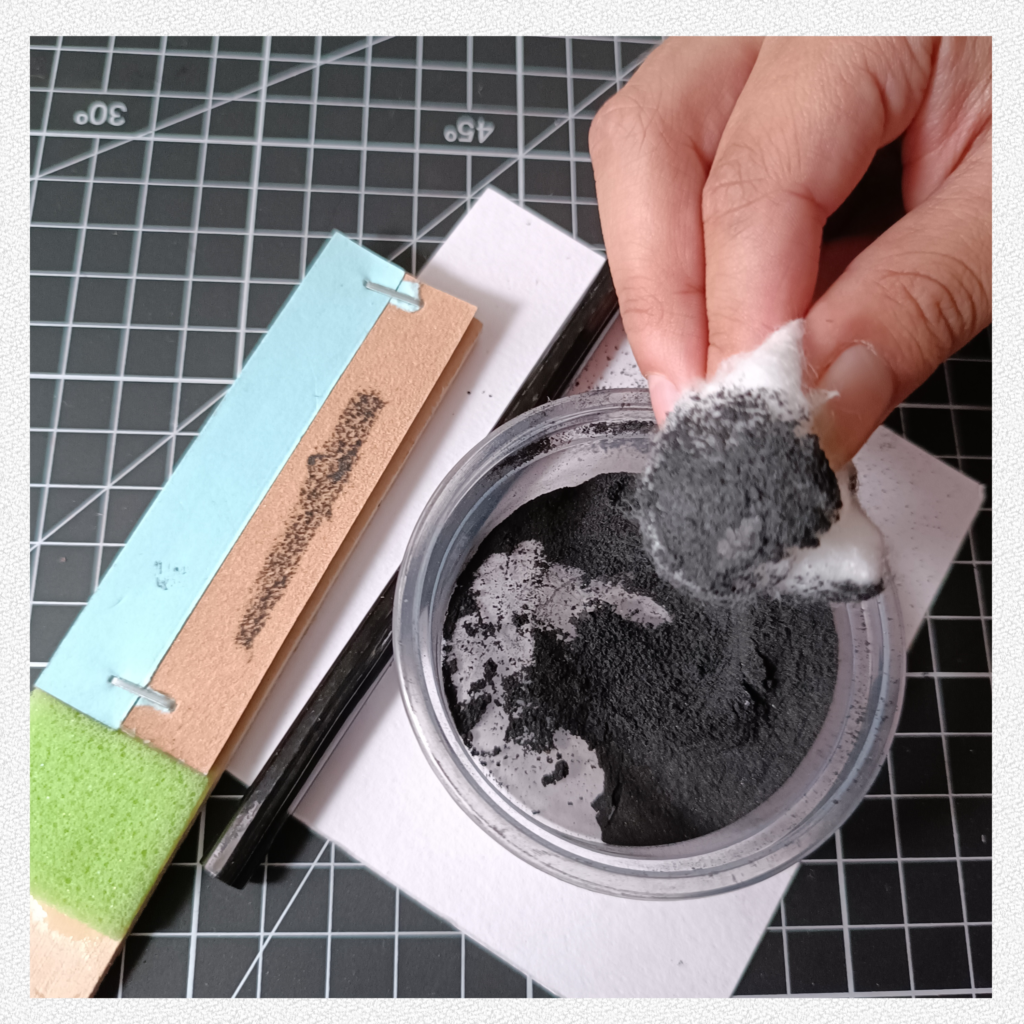
Step 7: Tape your canvas
Stick the circle of masking tape on the canvas. 
Step 8: Sketch clouds
With your 2H pencil, lightly sketch the shape of a cloud on the left side.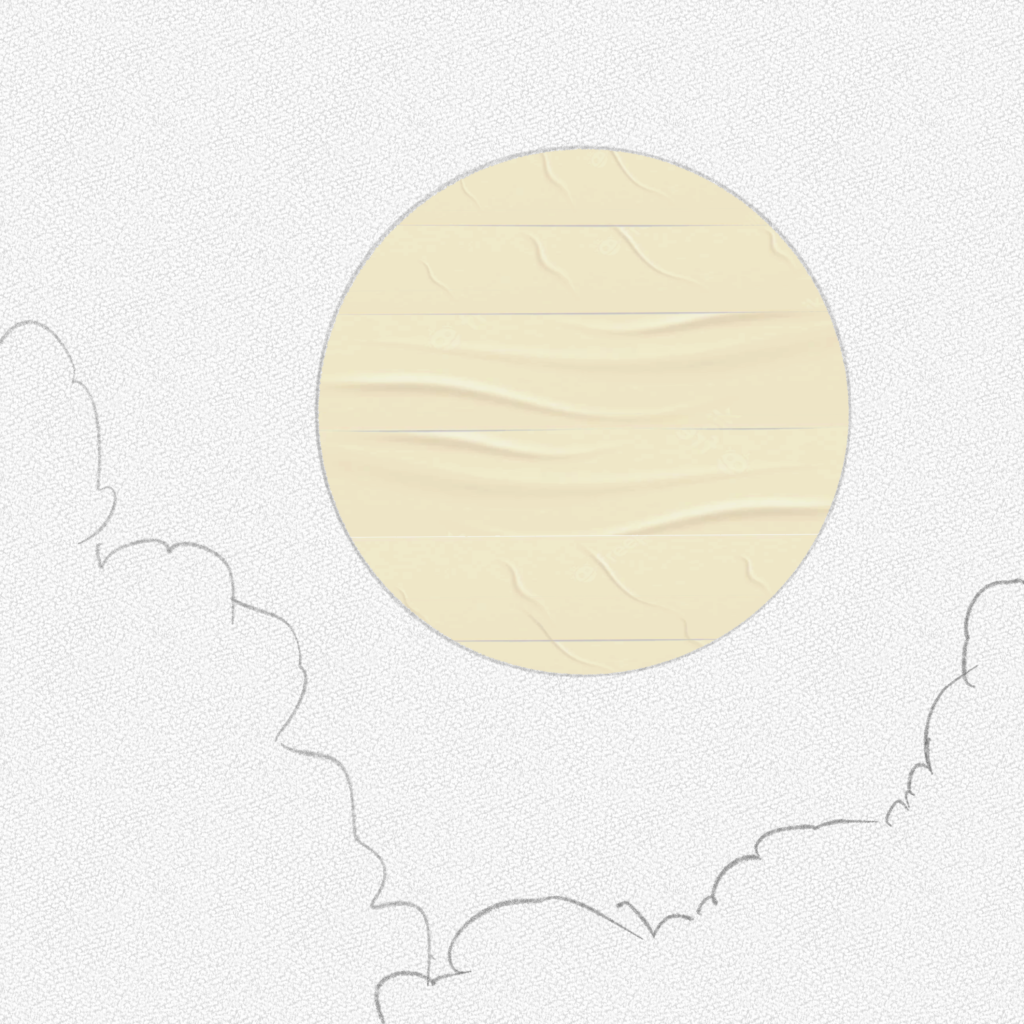
Step 9: Repeat
Please do it again on the right side, making sure to keep the shapes irregular and not cover the Moon.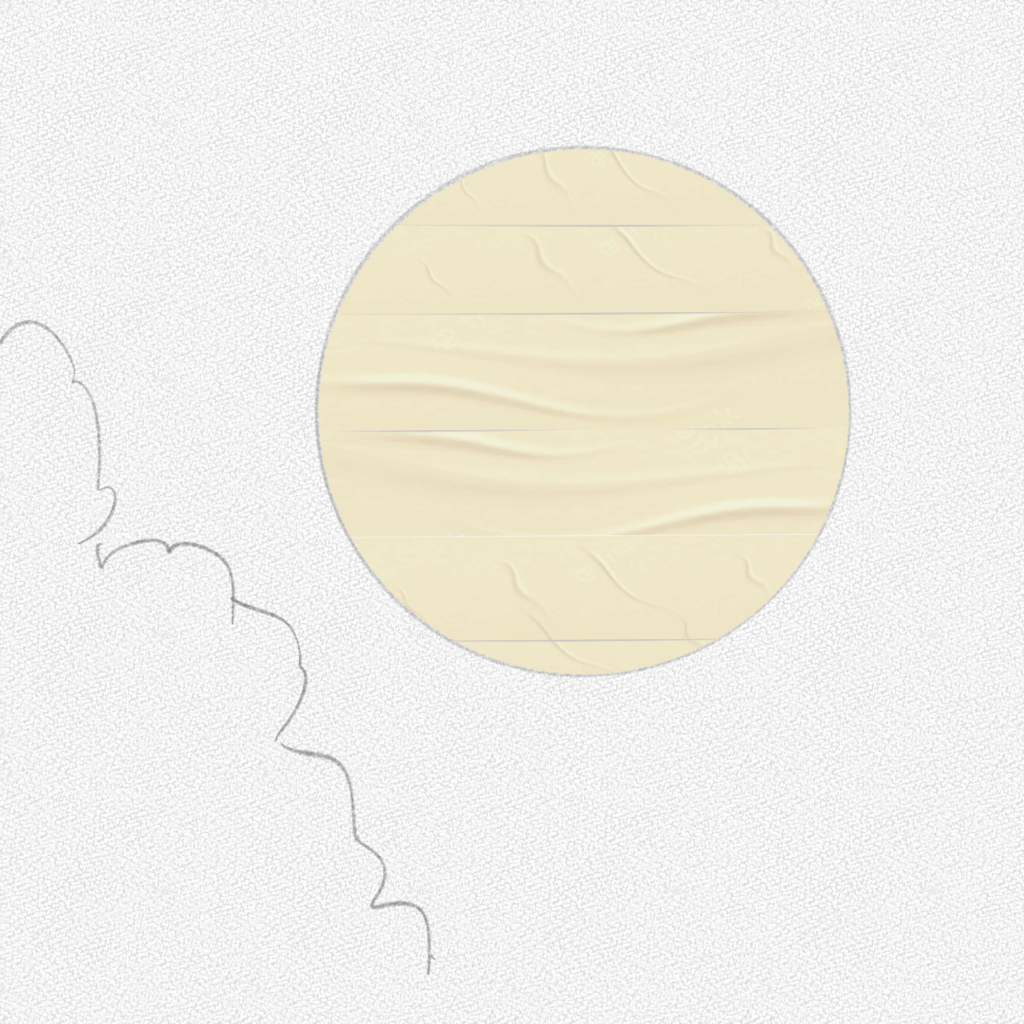
Step 10: Start applying the graphite.
With your cotton ball, start applying the graphite onto the canvas. You’ll get a lighter shade at the beginning, but don’t worry since you can build up value with more graphite.
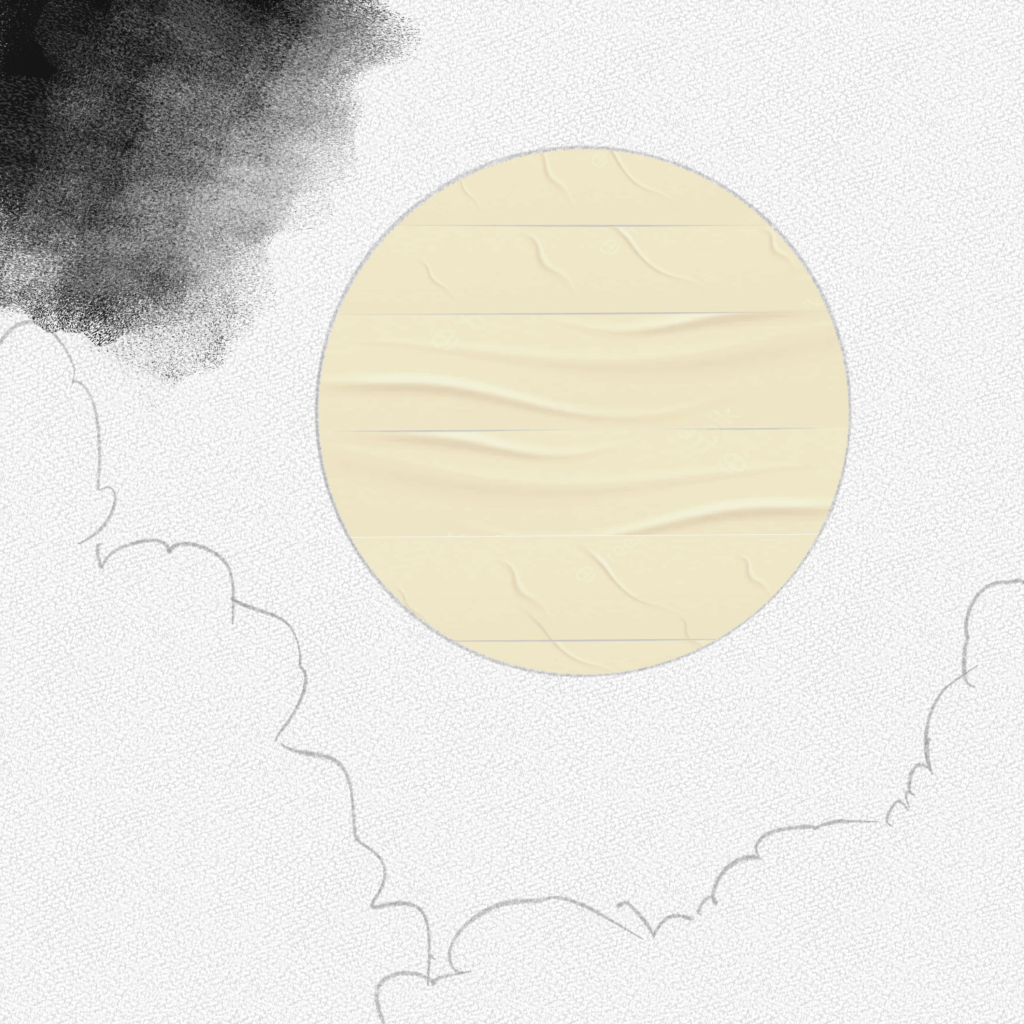
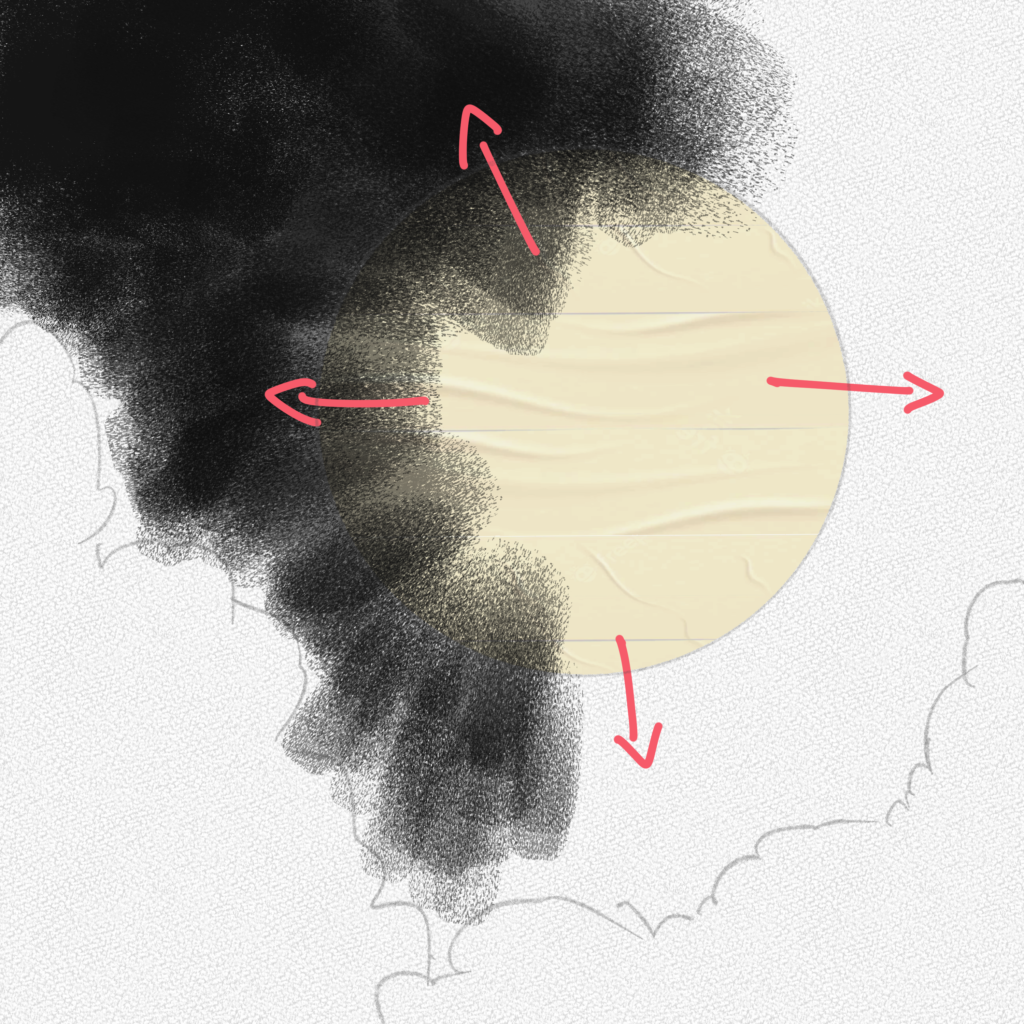
Step 11: Fill your canvas with graphite
With the technique shown above, fill the rest of the sky, leaving the clouds white. Be careful since powdered graphite can be a bit hard to control. When you get to the Moon, apply the graphite from the inside since that way, the tape won’t accidentally peel.
Step 12: Peel the tape
Now, very carefully peel the tape. Use a toothpick or something pointy to start peeling since that way, your fingers won’t collect that much graphite.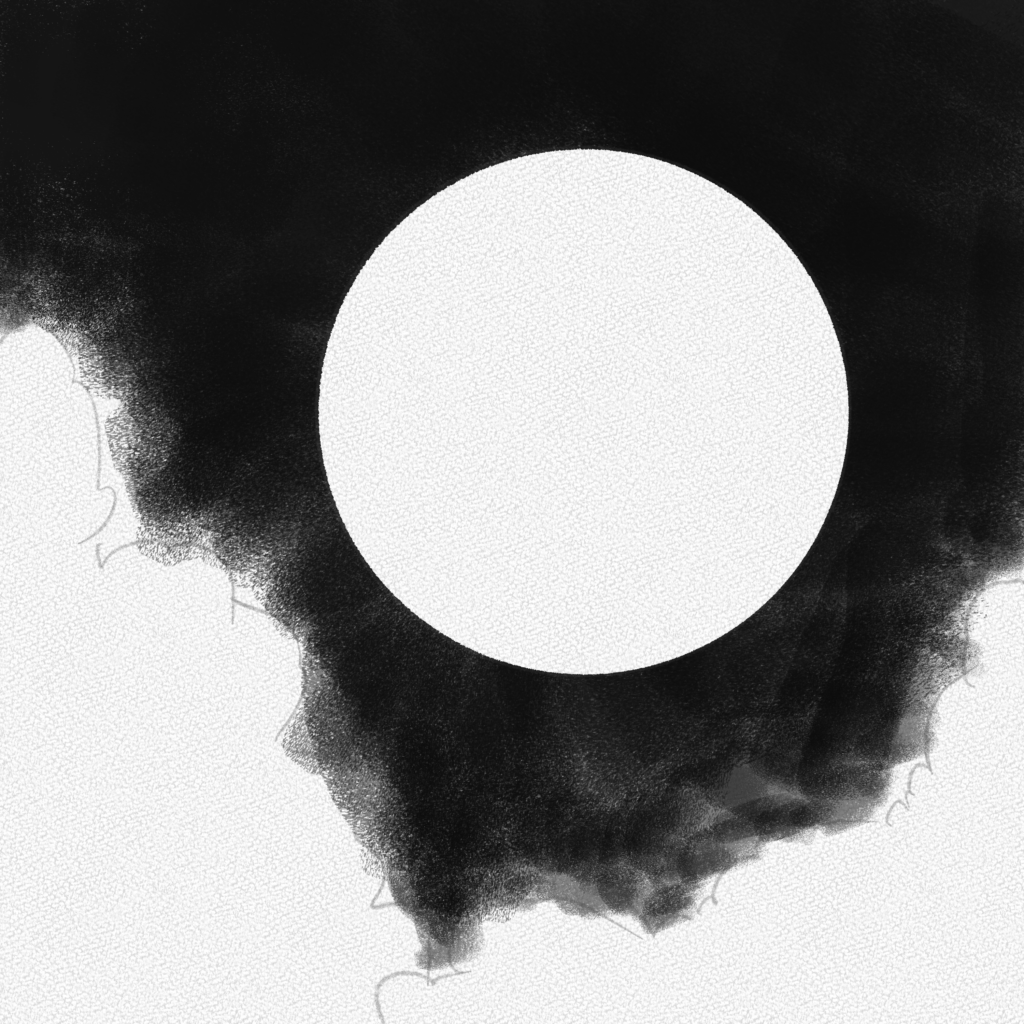
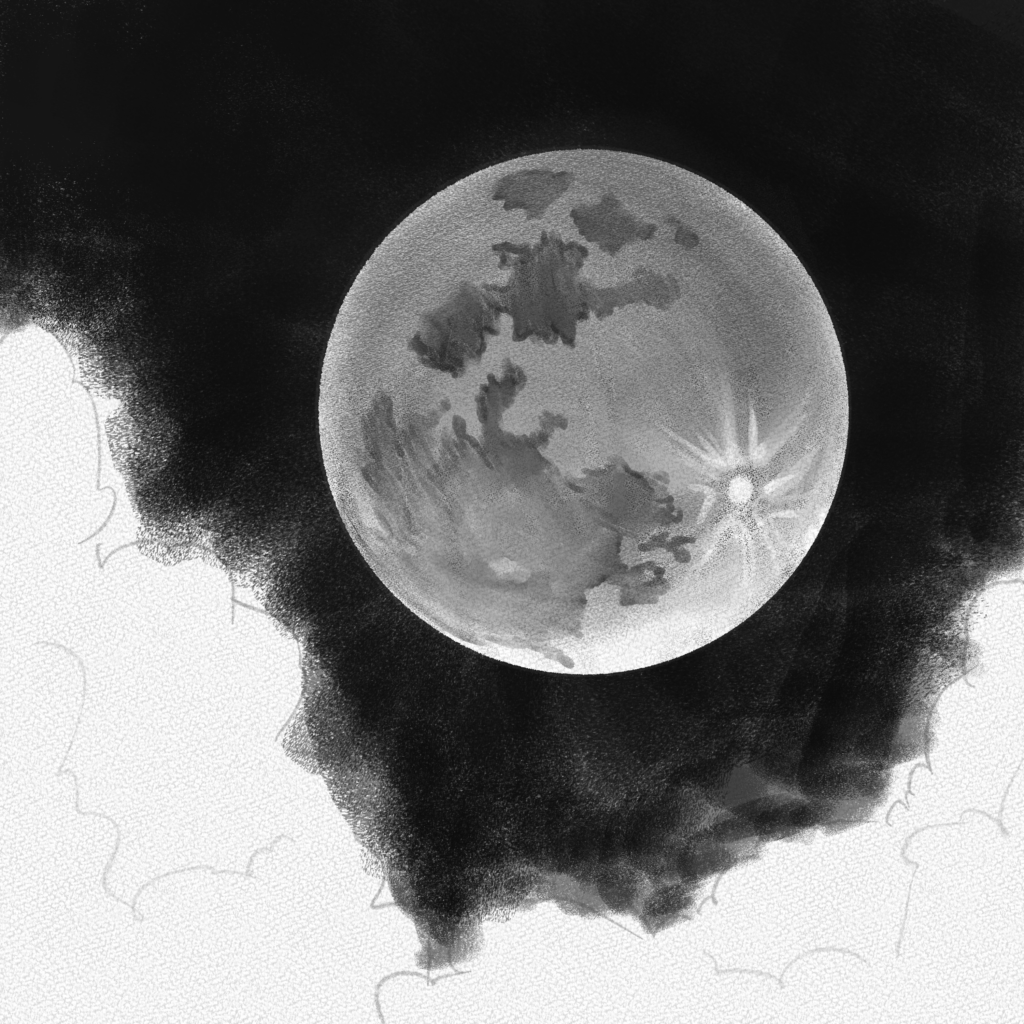
Step 13: Start drawing the shapes on the Moon.
With your 2H pencil and some reference photos, draw the shapes on the surface of the Moon. 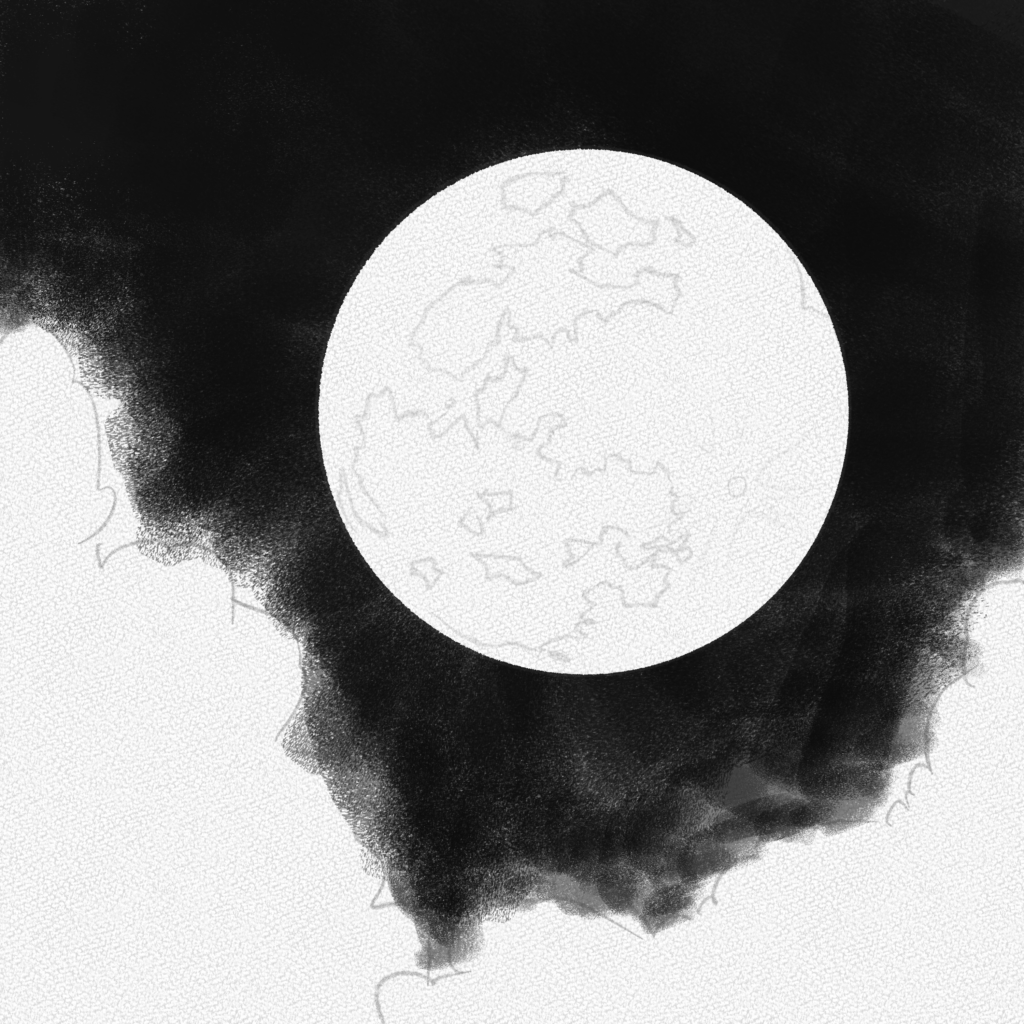
Section 2.- How to Shade the Moon
Step 14: Add a base of shading
Add a soft base of graphite to the Moon, leaving the crater white. You can use a light pencil to shade and then your blending stump to uniformize the surface.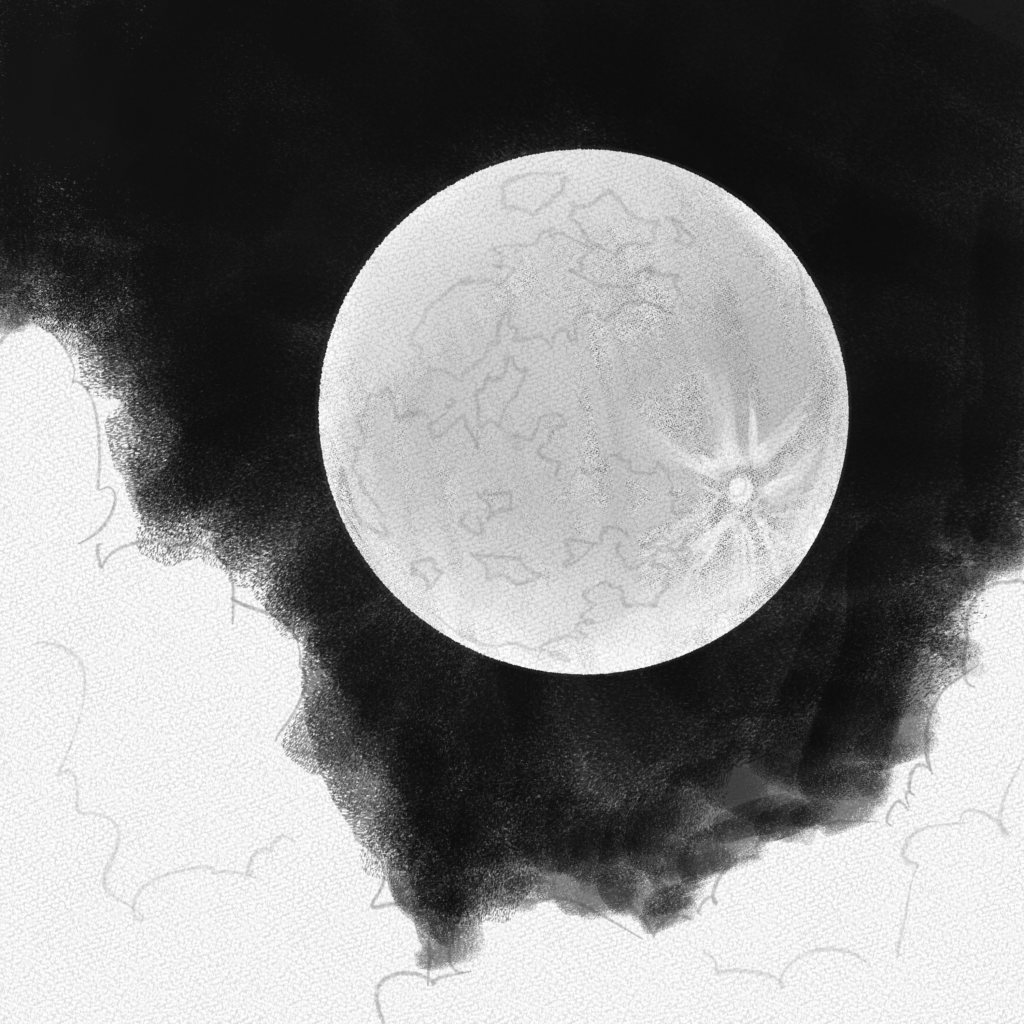
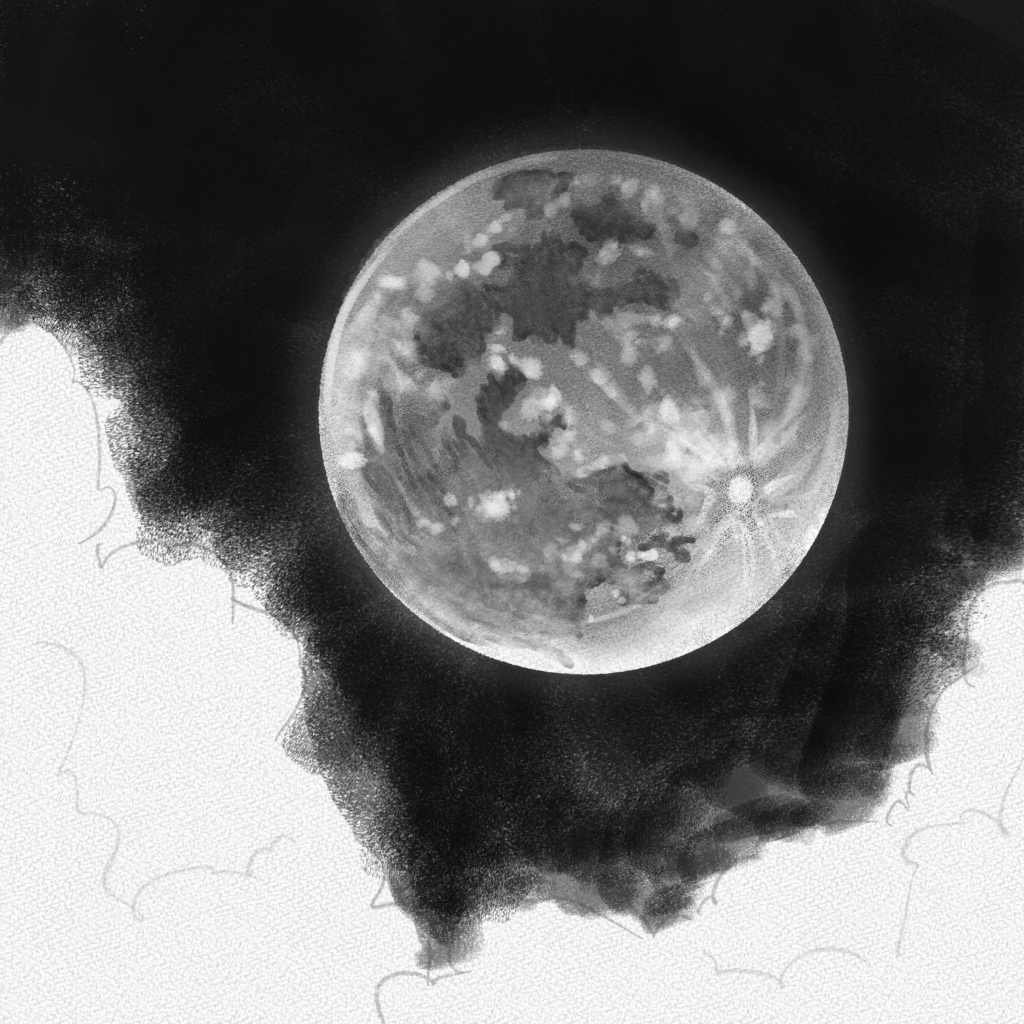
Step 15: Shade the darkest areas
Once you’re done with that, shade the areas we outlined with your 9B pencil but try to apply very little pressure. Try to give the bottom part of the Moon a lighter value since that will be the lightest part of this drawing.
Step 16: Blend
Blend the darkest area we shaded in the last step and darken the rest of the Moon, leaving a small white area around the Moon to give the illusion of volume. You can also use your kneaded eraser to take some graphite away and then blend.
Step 17: Take graphite away from the lightest areas
Using your kneaded eraser or precision erases and blending stump, erase some irregular shapes all around the Moon. They blend them so they won’t look irregular.
Section 3.- How to Shade the Moon
Step 18: Mark the borders of the clouds
Grab some graphite with your blending stump and start applying it carefully to the borders of the clouds.
You can also use a q-tip or a toothpick with cotton on the tip for the smaller areas.
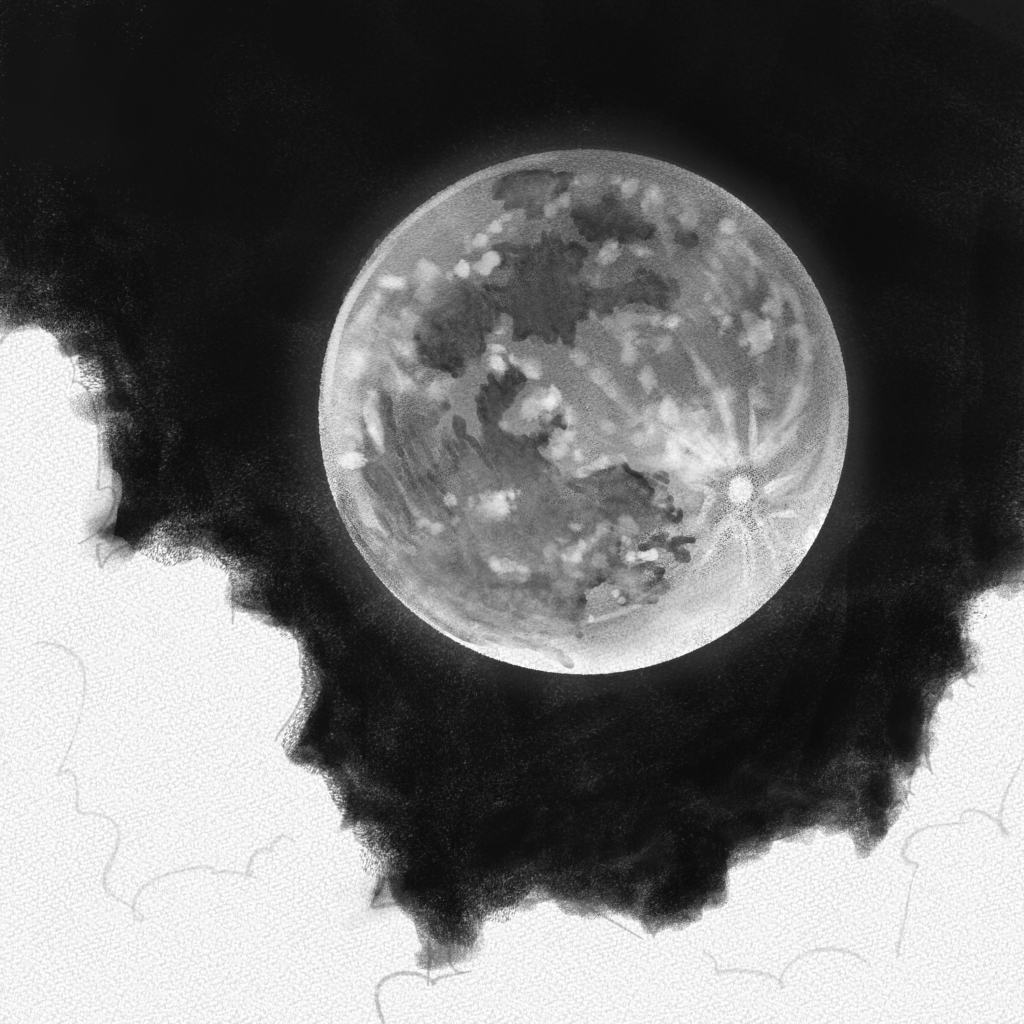
Step 19: Repeat
Now, mark the outlines inside the clouds with graphite as well. Try to apply enough graphite to blend and fill the clouds.
Step 20: Blend
With your cotton ball, start applying the graphite and blending the first layer of the clouds. Try to keep the clouds irregular, leaving the border white.
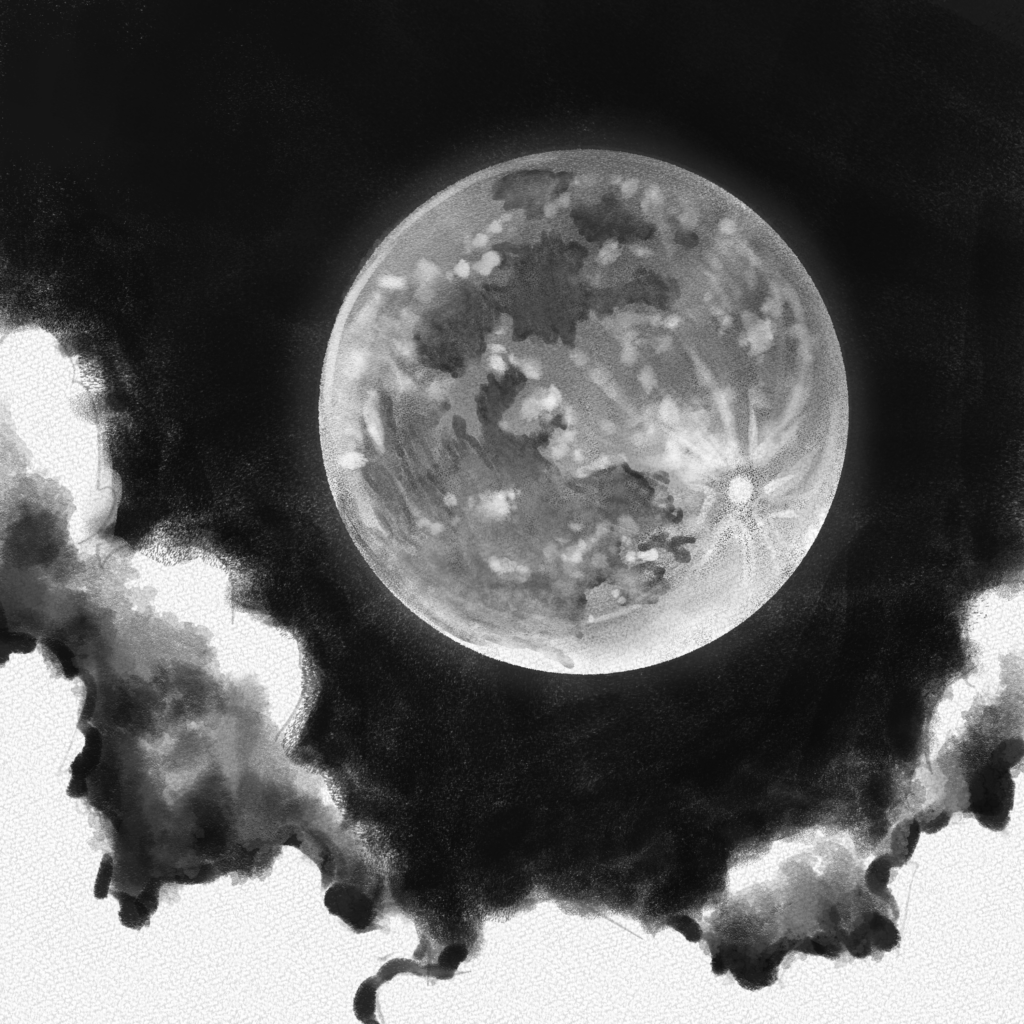
Step 21: Repeat
Repeat the step above for the second layer of clouds, and fix the first layer as well. Use your precision eraser to add definition to the borders, and use your 9B pencil as well.
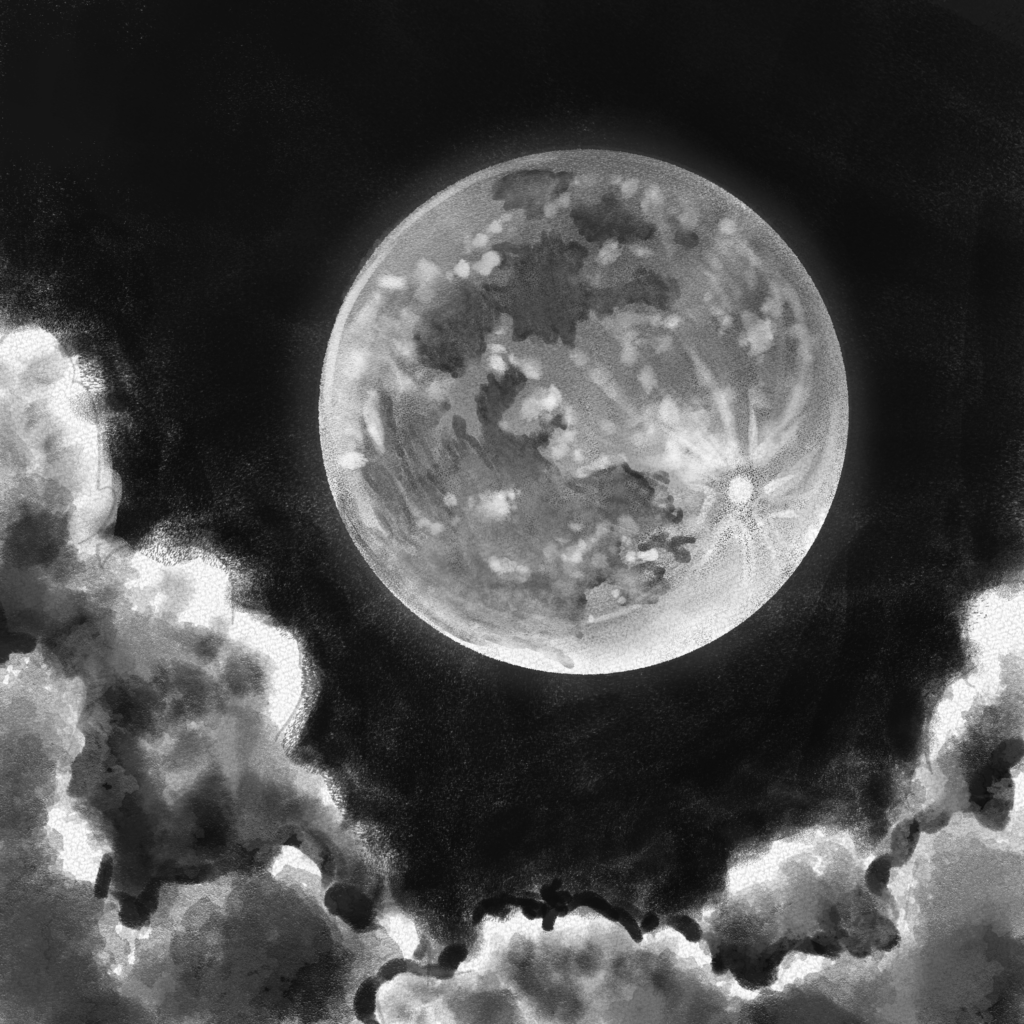
Step 22: Fill and correct
Fill any blank space with more graphite and use a clean cotton ball to take the smallest amount of graphite from the area around the clouds to create a foggy illusion.

Step 23: Mark the position of the stars
With your kneaded eraser or your precision eraser, tap softly in the places you want the stars to go. This will give an illusion of glow to the stars.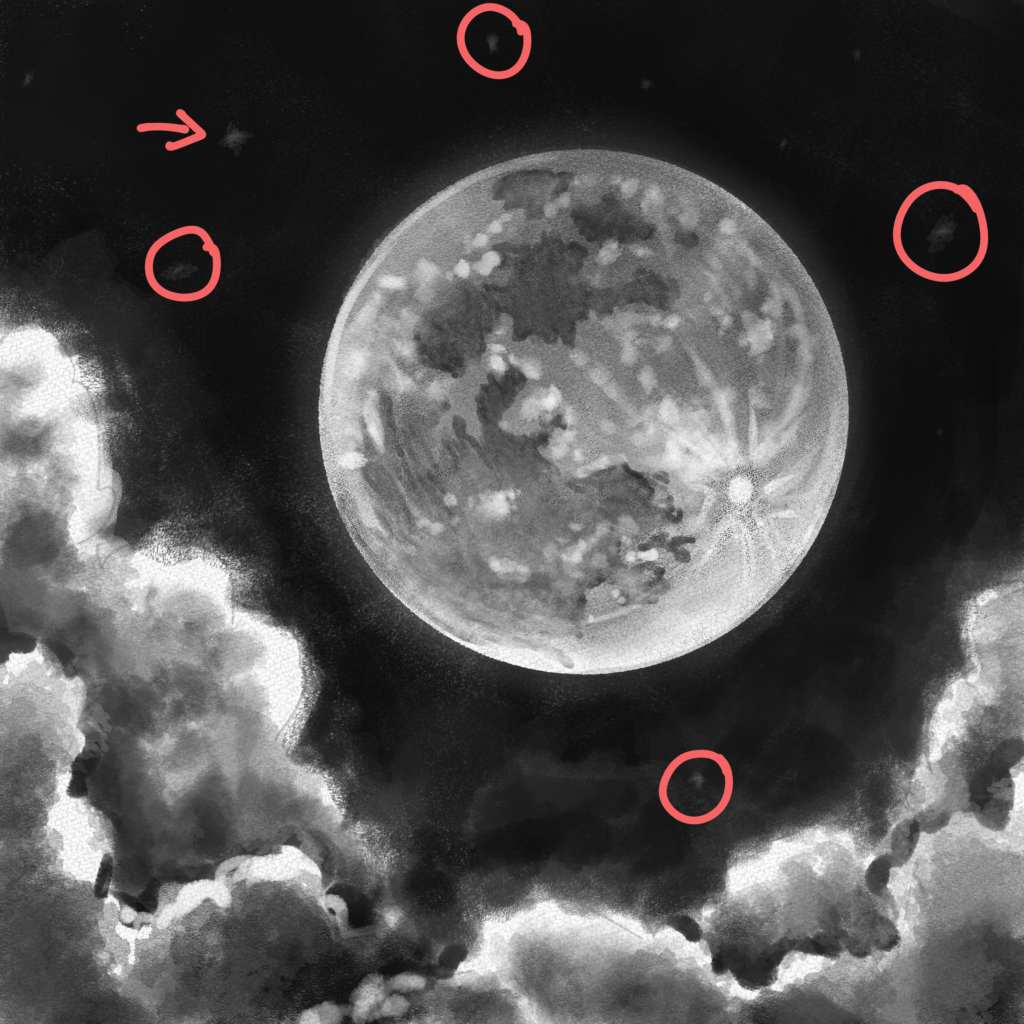
Step 24: Add the stars
Finally, with your white gel pen, add the stars in the positions you marked before.

And that’s it. You’re done!
Congratulations! You have completed our 24-step drawing tutorial for the Moon. We hope you had a good time and enjoyed the process!
If you followed the steps outlined in this tutorial, you should now understand how to draw the Moon and clouds and add depth to your drawings with darker values.
Remember that drawing is a skill that requires time and practice to perfect. So, if your first attempt turns out differently, keep practicing and experimenting!
Thank you for joining us on this adventure, and good drawing!