As artists, we are naturally drawn to flowers, the most colorful part of nature has always been a source of inspiration for many artists around the world, the well-known flower language has also been the protagonist of romance literature and poetry many times and there is not a single soul that hasn’t been captivated by its beauty at least once.
Every flower is different, and though in this tutorial we are going to learn how to draw the Liverleaf species, we have included some tips that will for sure help you draw any flower you want.
What you’ll learn in this tutorial:
- How to break down flowers into basic shapes.
- How to translate guidelines into organic shapes.
- How to shade flower petals.
- How to apply highlights to enhance your drawing.
Materials needed for this guide
- A piece of paper
- A graphite pencil from the number 3H to 2H
- A graphite pencil from the number 4B to 6B
- A soft blending tool (brush/ towel paper)
- A normal eraser and an eraser for details (Tombow Zero Mono)
- A white gel pen or thin white marker.
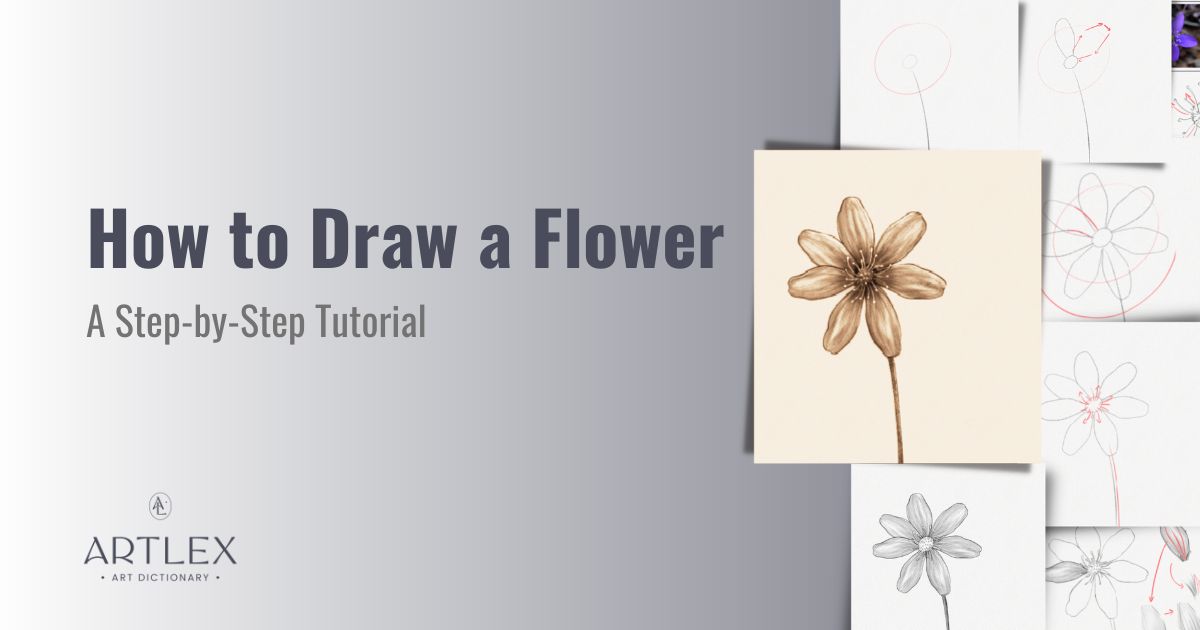
Video Tutorial
Here are all the steps in one image:
Let’s begin!
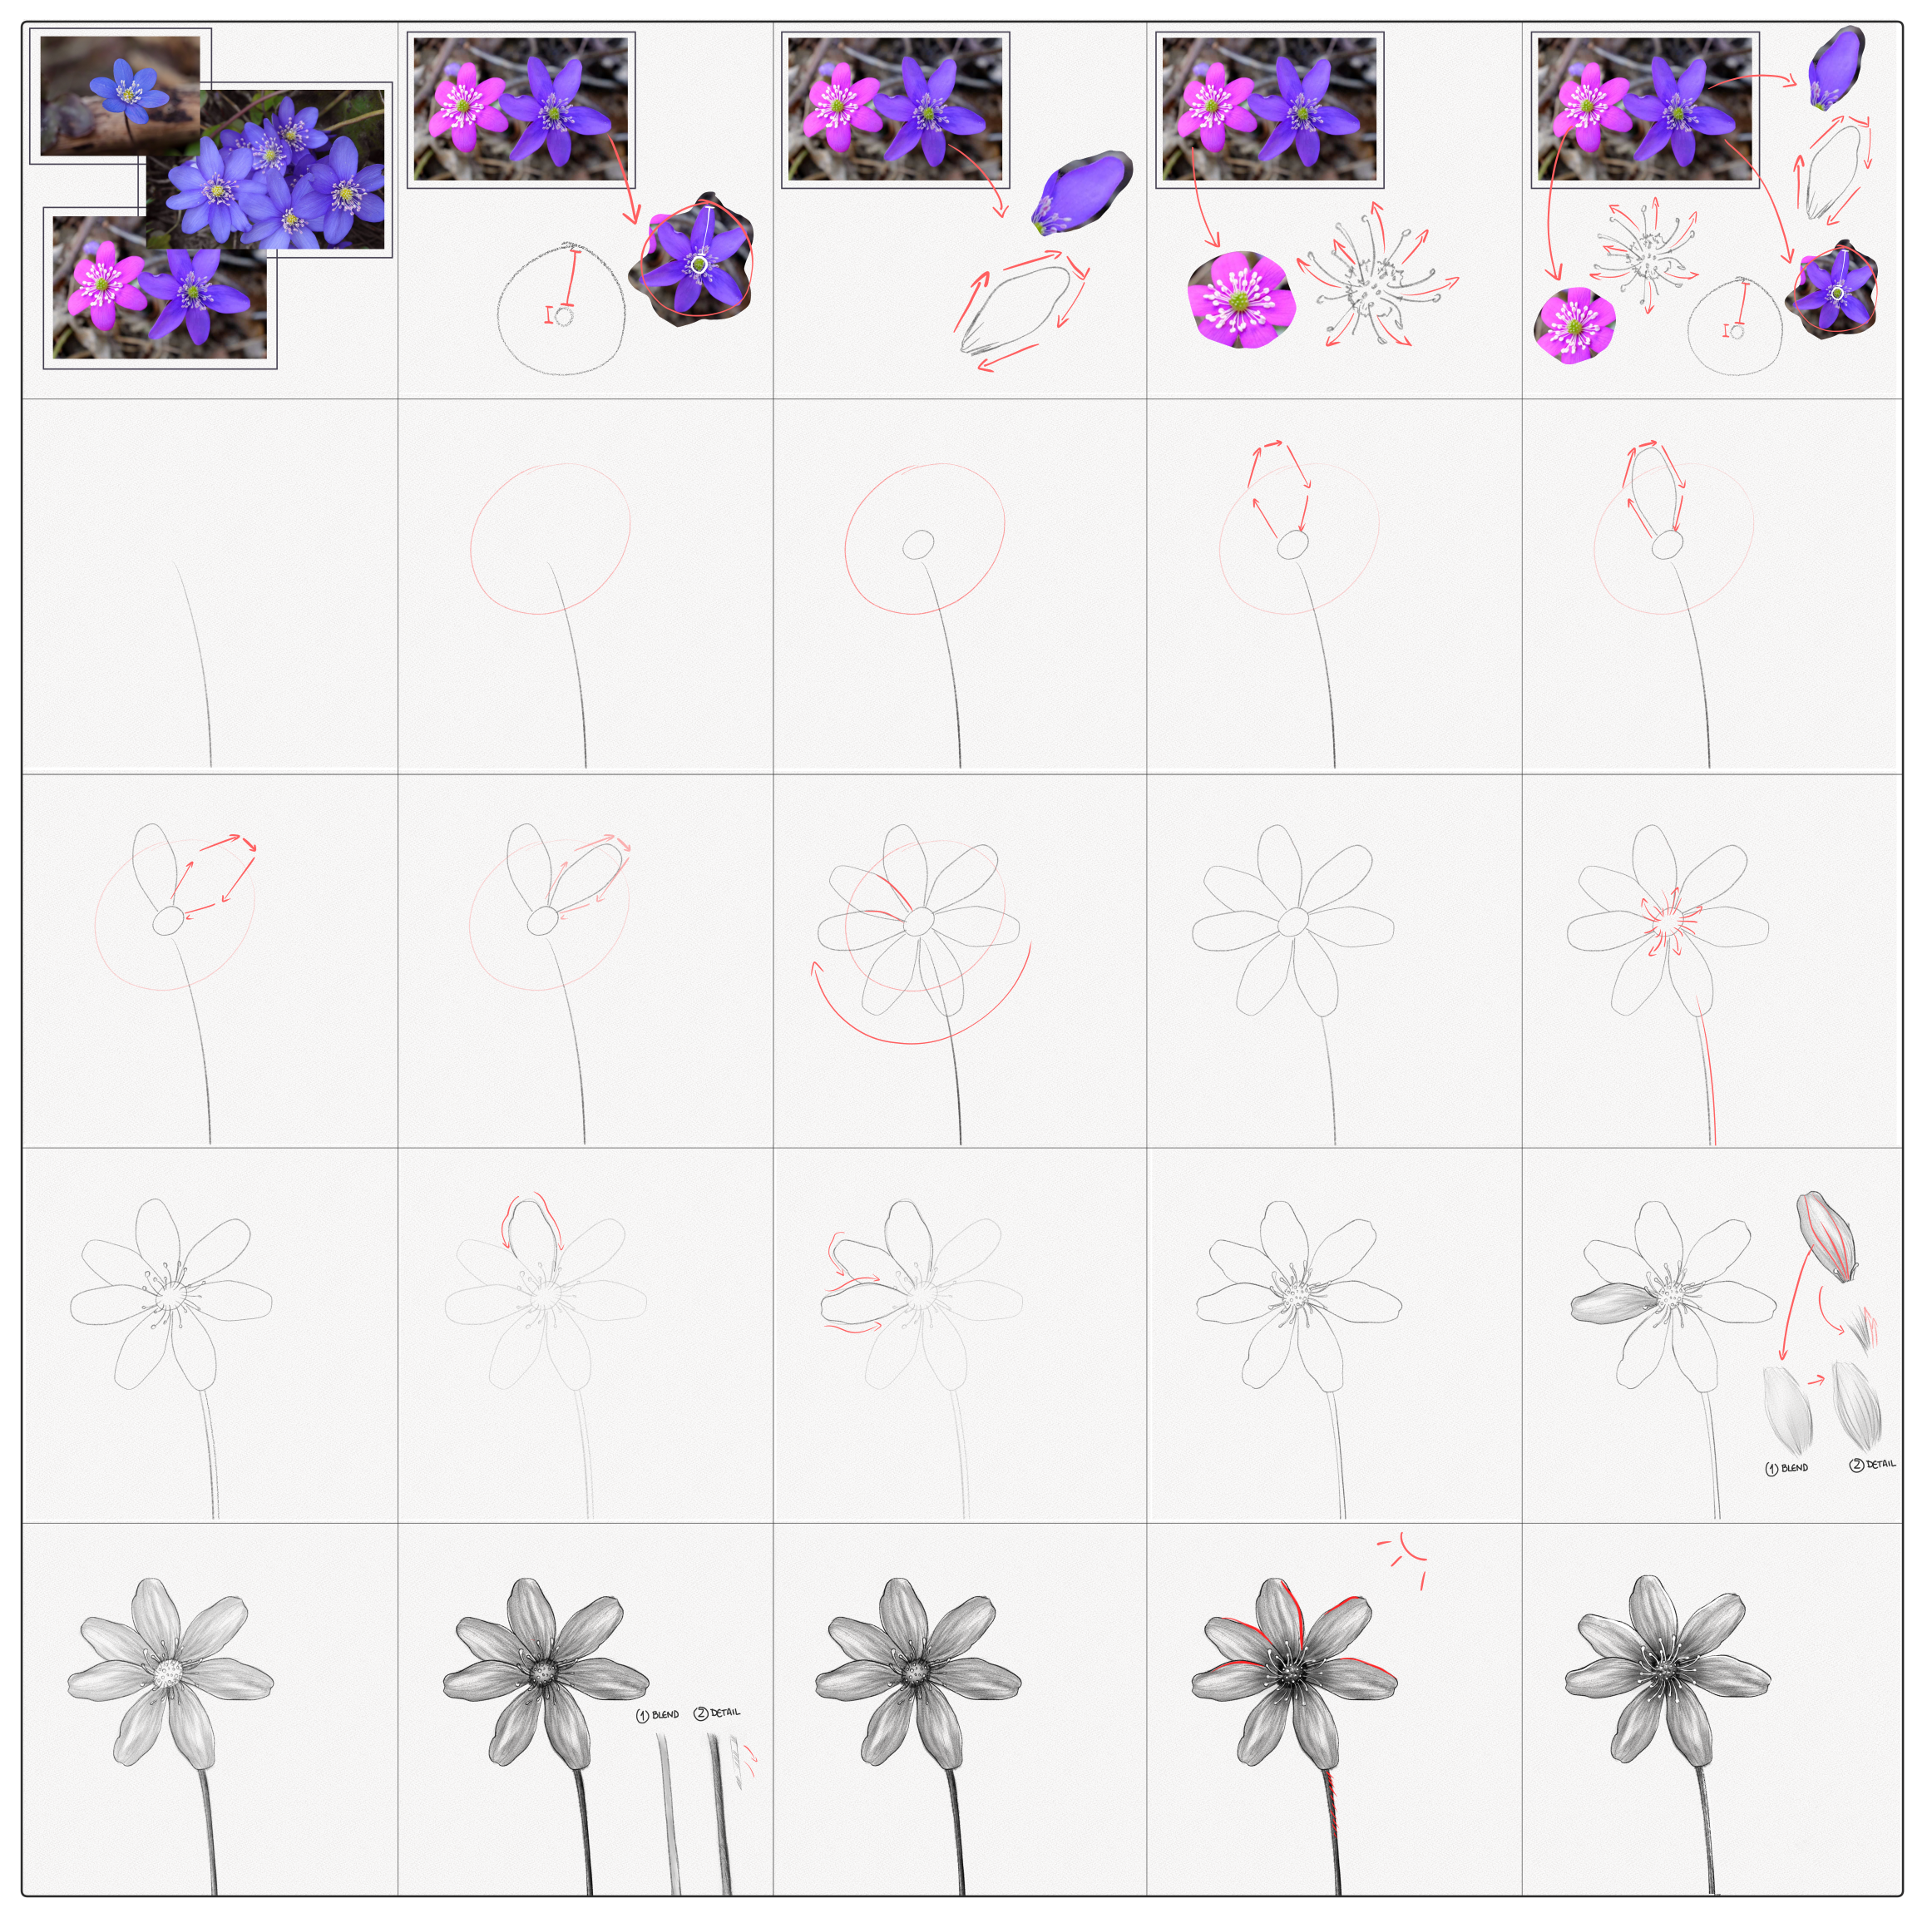
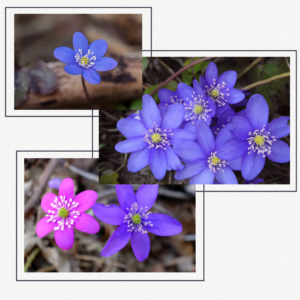
Step 1: Gather references
This is a very important step since flowers (even from the same species) have many different shapes and colors, it is very important to gather many references we can use when drawing our flower.
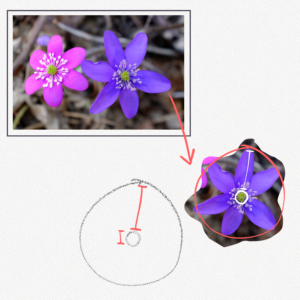
Step 2: Determine proportions
Once we have our references, it is very important to determine the proportions of the flower, especially the difference between the center (pistil) and the petals (corolla)
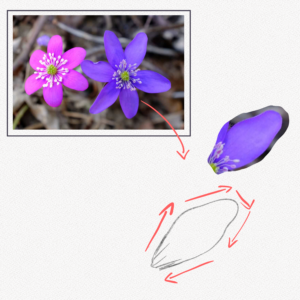
Step 3: Study the shapes
Everything can be broken down into basic shapes, and since the center (pistil) tends to be a circle most of the time, the shapes we need to determine are the petals and leaves. In this case, the leaves are closer to the ground and tend to not be visible, however, the petals have a distinctive e hexagonal basic shape that we can use as a guide when drawing.
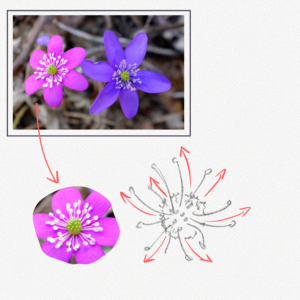
Step 4: Pay attention to the details
The center (pistil) is usually full of small elements that include seeds, filaments, anthers, etc and we need to pay special attention since those details are the ones that give life to our drawings.
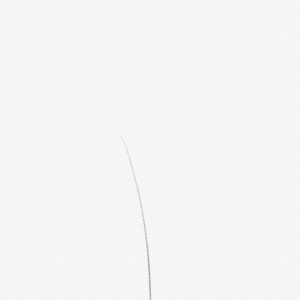
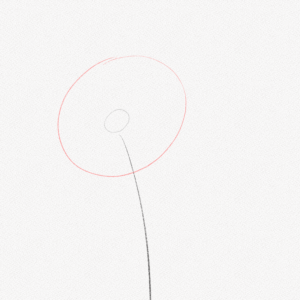
Step 5: Draw the stem
With your 2H pencil, draw a soft line where you want your stem to be. I’m drawing it slightly to the left since I’ll make some notes on the side, but you can place it wherever you want.
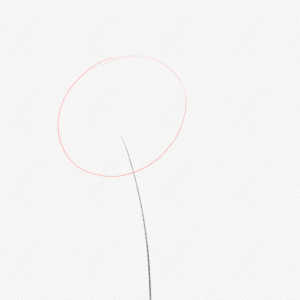
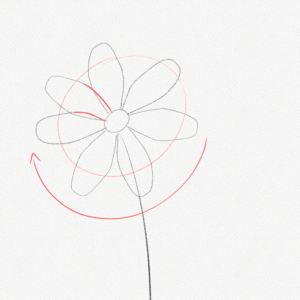
Step 6: Draw an ellipse
This will be the guideline for the corolla, it doesn’t have to be perfectly centered but it needs to be proportional to the size of the corolla.
Step 7: Locate the center
Draw a small circle in the top of our stem guideline to be the center of the flower (pistil)
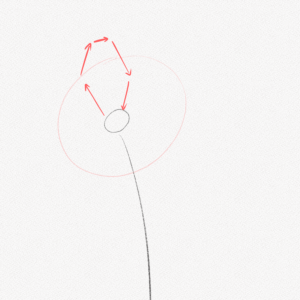
Step 8: Hint the shape of the petals
Since we know the shape of our petals (check Step 3) we can use the same guides to hint at the shape of our petals, they don’t have to be perfect since we’re going to fix them later but need to be accurate enough to work as a guideline.

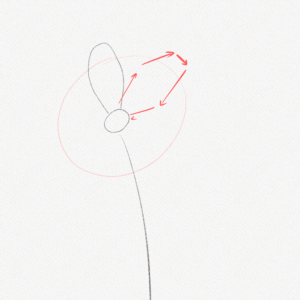
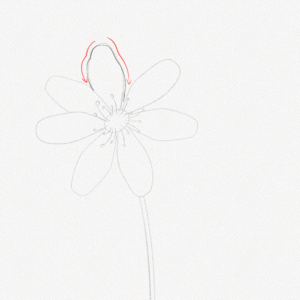
Step 9: Draw the first petals
Using this same method we are going to draw the first and second petals, always erasing our guides after we’ve finished drawing.
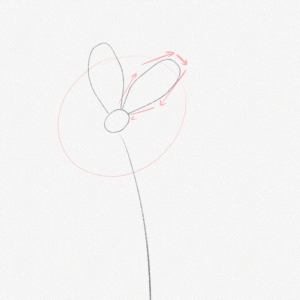
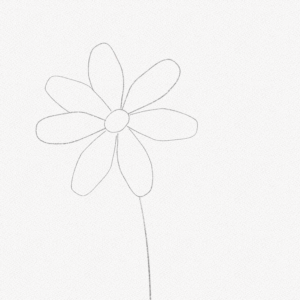
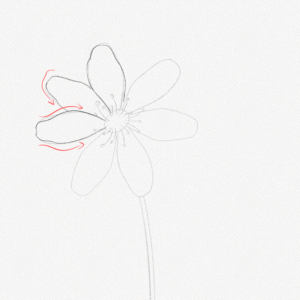
Step 10: Draw the rest
We’re now going to fill our flower corolla, always remembering that flowers are not perfectly symmetrical and that some petals are going to be separated while some others might overlap each other.
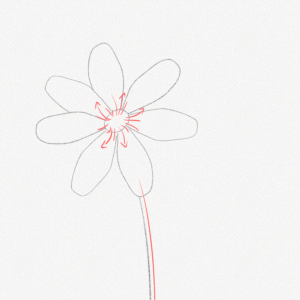
Step 11: The pistil
Now we are going to draw the pistil, in this case, our flower’s pistil has anthers and filaments that grow vertically and curve a little, so with small curved lines we’re going to hint at the anthers’ shape and the stem.
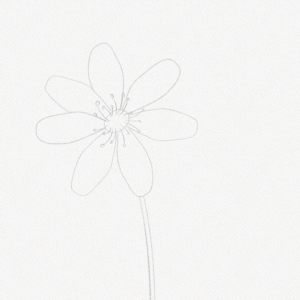
Step 12: Erase the guidelines
Now that we have our flower “ready” we are going to take our soft eraser and erase it, not as to make it disappear but enough that we can still see the lines.
Step 13: Organic shapes
Once we’ve done that, we are going to start drawing the petal shapes as they are.
With our 4B pencil, we are going to softly draw the petals on top of our guidelines (if you have troubles in this step, look at your references once more)
Step 14: Define the pistil shapes
We are now going to define the pistil shapes with our 2H pencil, so they remain clear for our next step.

Step 15: Shading the petals
Now we are going to shade our petals, with our soft blending tool we are going to apply graphite in the petals, shading the darkest regions near the center and the borders of the petals, after that with our 2B pencil we are going to mark som veins and details with soft short vertical movements.

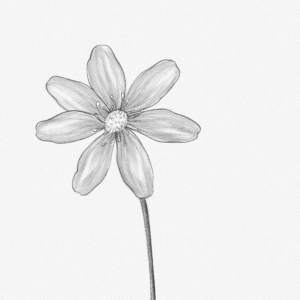
Step 14: Pistil details
Since the pistil anthers are white, we are going to softly shade the circle, giving the borders the darkest values and keeping the center light. With our mono eraser, we are going to take away some graphite from the anthers so it won’t be too hard when we apply the highlights.
Step 15: The stem
We are going to repeat the previous step but this time for the stem of our flower. Shading and filling the long stem with graphite and then sanding some texture details, keeping one border darker than the other.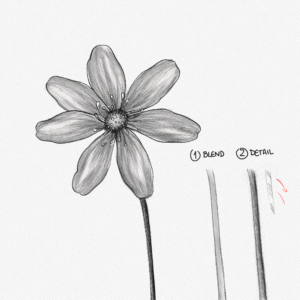
Step 16: Preparation for highlights
Now that we have our flower ready, we are going to use our erasers to take away all the excess graphite, especially in the middle of our flower.
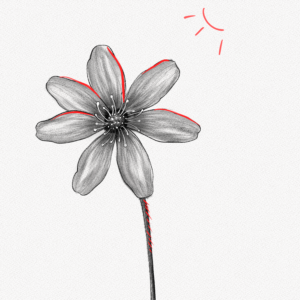
Step 17: Highlights
As our final step, we are going to apply our highlights, first, we are going to recognize our light source and the possible areas that might be affected by it, in this case, my light source is behind and on top of the flower, so the left side of some petals as well as the stem will be illuminated, with the eraser and the gel pen we are going to mark these areas as indicated.
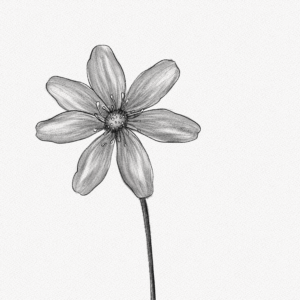
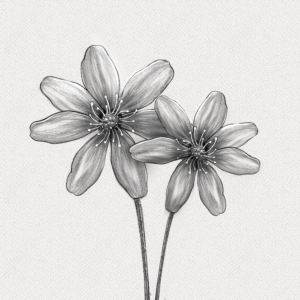
You can add more flowers, vary the sizes and shapes according to your liking, just like this:
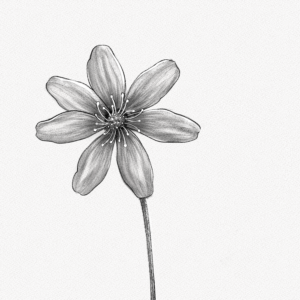
And you’re done! Thank you for following this tutorial, I hope this article helped you learn how to draw a flower!
Until next time!