Every artist has this moment when we realize that using our room or shared home space to work in our art just doesn’t cut it. Multiple interruptions and distractions can be very upsetting and in some cases even take our inspiration away.
Also, sometimes it’s hard to keep materials and our previous work properly stored without a designated space, and to be honest it is kind of a hassle (at least it was for me) to deal with stingy eyes if we don’t take everything out and put it away at the end of the day.
The idea of making your art studio is thrilling, but can also be intimidating and overwhelming since most of the time we don’t know where to begin, or how to begin, so let’s take a minute and reflect on what is what we want out of this studio.
Sometimes we want to have a spacious place to get lost in our art, sometimes we just wish for a quiet place to work or we dream of having an aesthetically pleasing place to relax and enjoy working on our art, however, our conditions (and more important) our budget might not allow our dream art studio to become an immediate reality. But we all start somewhere, don’t we?
What is really important when talking about an art studio is having the proper working conditions for our art and the mediums we use, having proper storage for our materials and artworks, and most importantly, feeling comfortable and happy in our space.
How to make an art studio: The Essentials
Every studio will be different because just like our art, we are unique. Some of us will prefer to have a functionality-oriented studio, some will go for the aesthetic way, some might want a studio and a business room. We all have our differences so this article won’t be a step-by-step must-follow guide but more like a reference that will help you in the journey of making your own art studio.
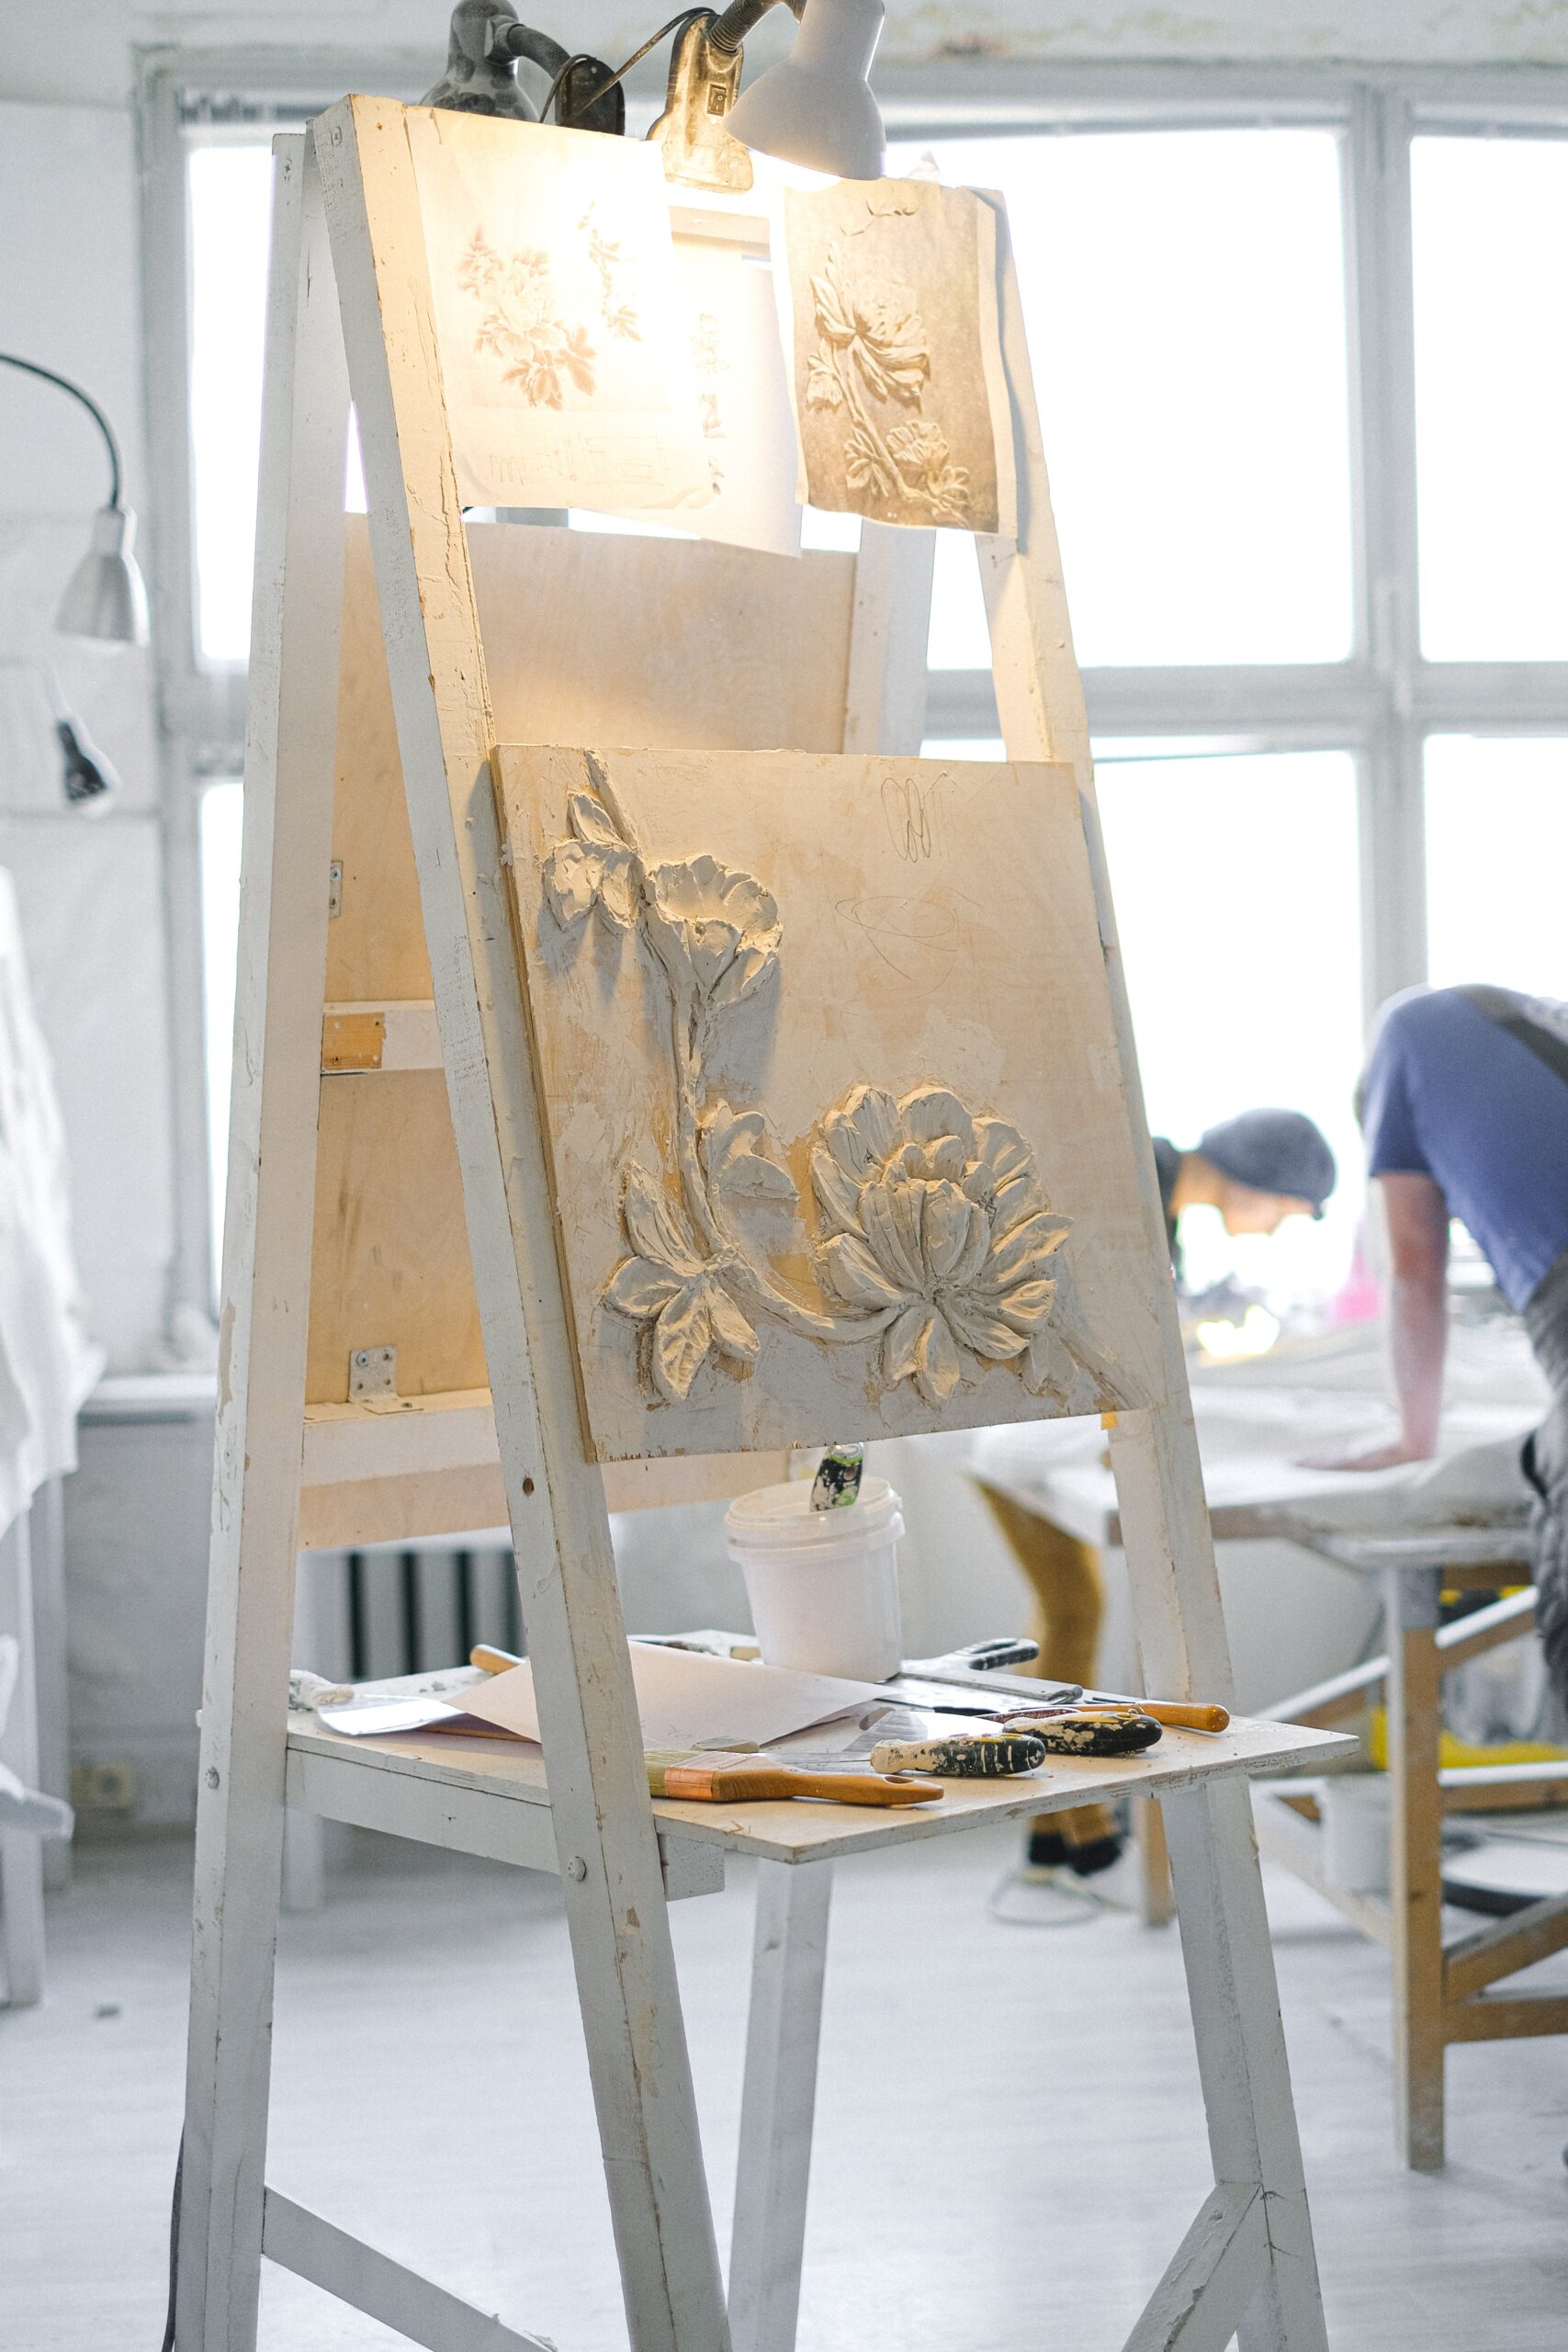
Space
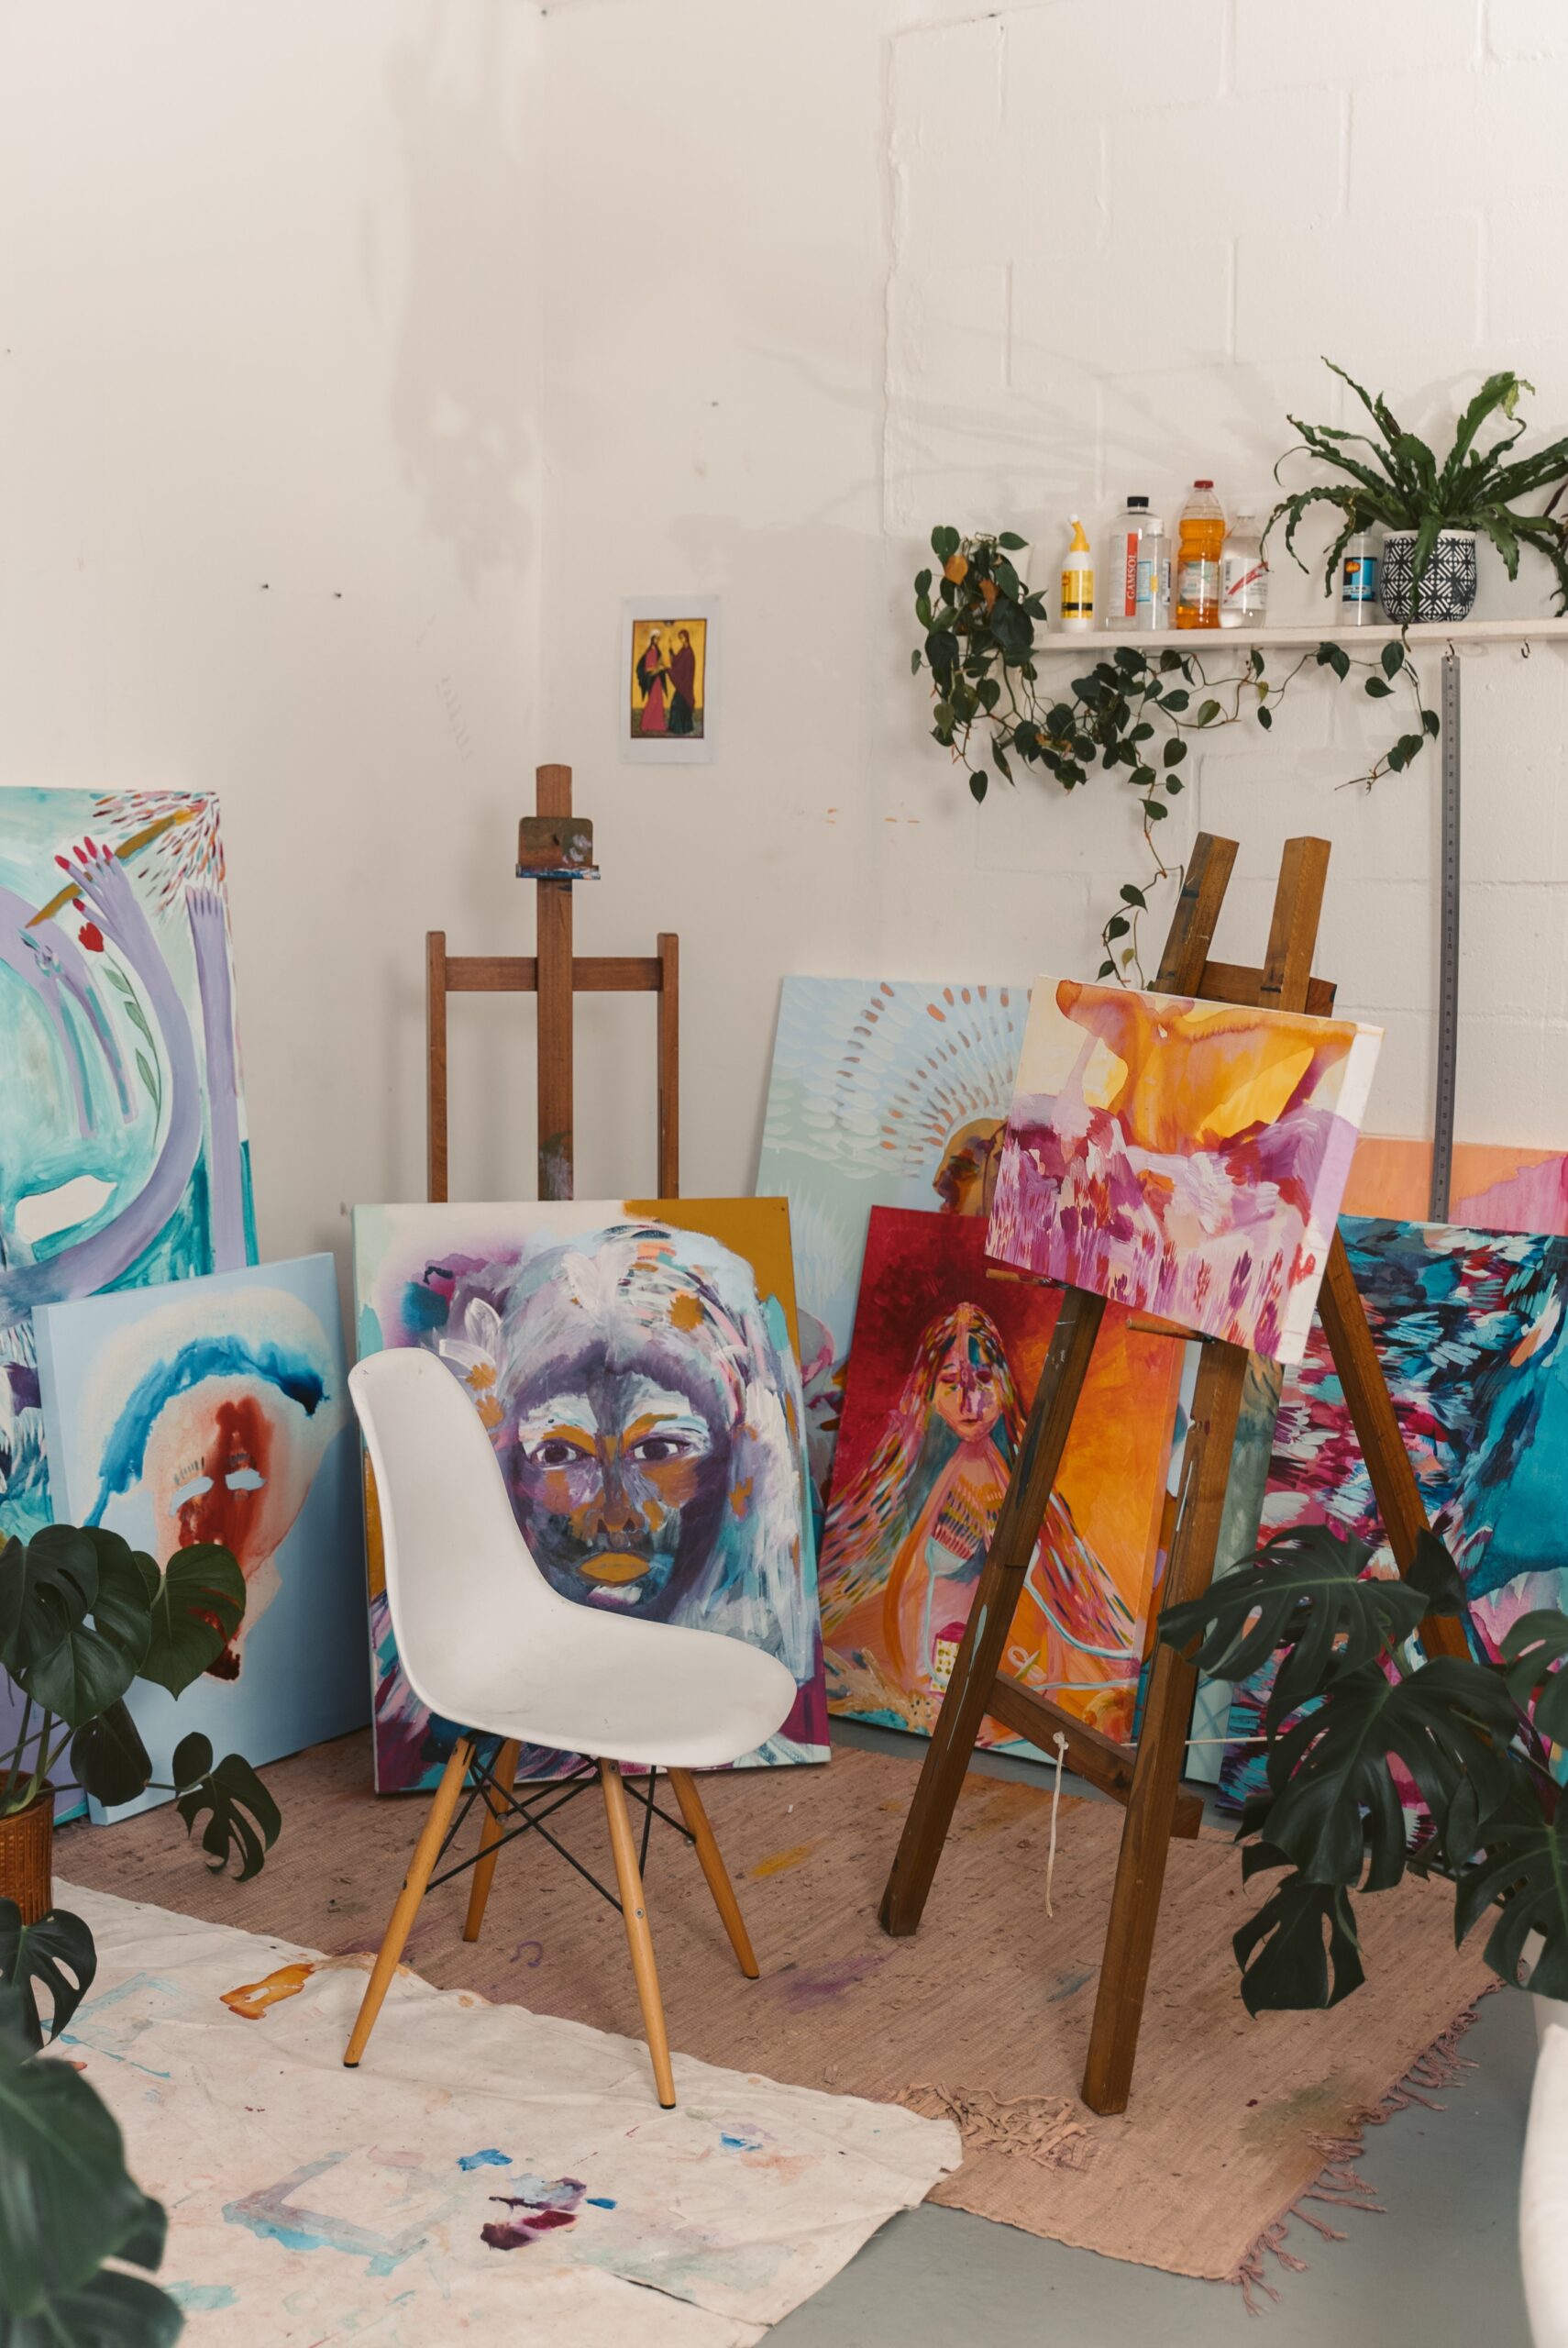
We can fit an art studio pretty much everywhere, some have a spare room as a studio, some have a small desk and a wall, some have an attic, and some a whole building. The important matter is to have a place to set our studio up. I would recommend going for at least more than 20 Square feet if you’re going to work with a standing easel, or an artist desk, that would be enough space to fit your art, some storage, and utilities. If you have more space then that’s amazing, however, to be able to work comfortably I believe 20 square feet are enough.
To take full advantage of our situations even in a less than ideal space, we can try some of the following solutions, optimized for small spaces and make them work in your art studio.
- This adjustable art table can be used in multiple positions and when you need more space, can be put at an almost vertical angle giving you more space than a regular desk.
- This folding mountable table is also great for small spaces, it has additional storage space, is perfect as an additional surface, is easy to use, and folds when needed.
- You can also always use a foldable drawing table, I’d prefer to have my utility custom made, to ensure quality and durability, however, this is also a great option for low budgets and small spaces.
Ventilation
(Image by Vent-a-Fume)
Whatever the media you’re working with, ventilation is key when making an art studio. But if you’re working with acrylics or oils, then ventilation becomes the most important matter of all. If your studio is a closed space, then you’ll definitely have to adjust your budget towards a ventilation solution, that can be multiple fans, a working ventilation system, or a respirator (only consider this option for occasional work and not as a permanent solution). Some artists underestimate the importance of ventilation, however, paint chemicals and solvent fumes are a serious hazard in the long run.
Here are some recommendations:
- Lasko U12104 High Velocity Pro Pivoting Utility Fan
- hOmeLabs 4-in-1 Compact Air Purifier
- VIVOSUN 6 Inch 390 CFM Inline Fan with Speed Controller, 6 Inch Carbon Filter and 8 Feet of Ducting
Illumination
Having a properly illuminated studio is also a very important matter and as many of you would know, natural light is always the best source of light, and the best natural light is the one that doesn’t shine right in your face or your art but that bounces and distributes evenly in the room. So unless you can have a naturally illuminated studio, with big windows and a skylight, then artificial illumination will have to do.
Illumination seems to be a not so important matter, however, the changes in the light can affect the way you see colors and your art. Although you can always make corrections, we all know how expensive paint can be, especially for professional brands and special pigments, so besides the natural light, considering a constant source of artificial illumination will help you save some money and will improve your workflow in general.

For natural and artificial lighting having the light hit your work at an angle from 35° to 45° is the best option, and around 5000 Kelvins is the ideal for artificial light. One of the reasons I prefer artificial light (besides not having enough natural light) is because it’s very constant and it’s more accessible than building a more illuminated room, besides you can always change it in case you want to work with warm or cold light.
Considering illumination also means the lack of it, when working with determined styles reflected light can represent an issue, so if you’re going for a dramatic effect or are planning to have your artwork placed in spaces with low illumination, then getting blinds and a diffuser fabric to avoid bouncing light needs to be considered in your budget.
- These lights are great to have as an additional illumination set, can be adjusted to match several lighting moods and different levels of brightness.
- This sheet is usually for photography studios, however, if your windows receive direct sunlight, you can use this material to cover and diffuse the light, getting a uniform and nice lighting for your art studio.
Inspiration
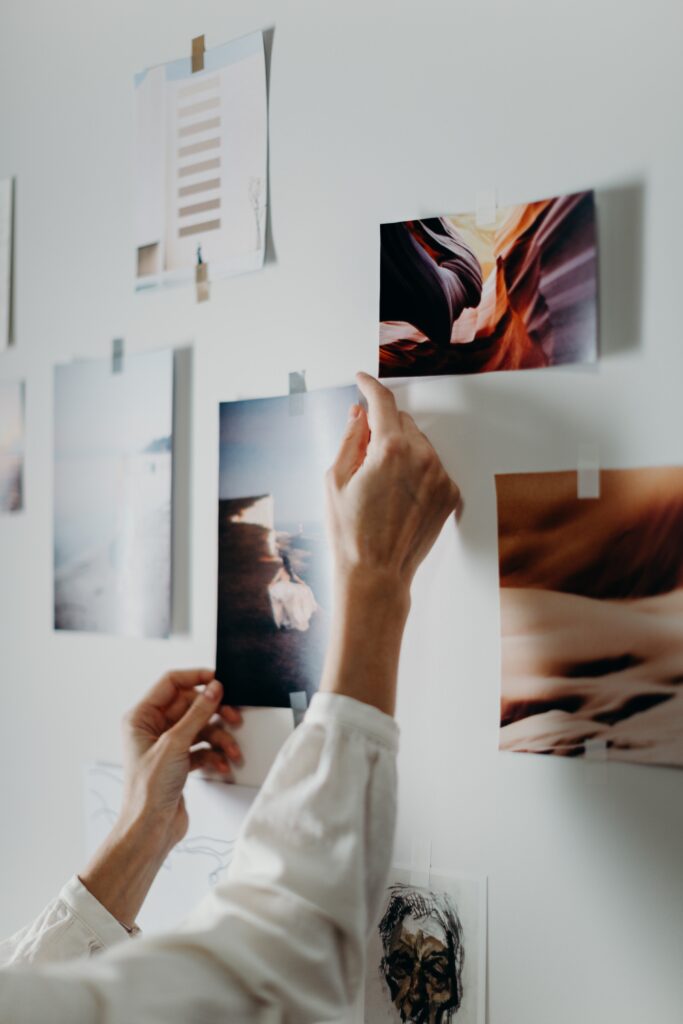
We all get inspired by something or many things in some cases, and with every new project we start, our inspirations tend to change. Something I like to do is gather all my sources of inspiration, print them, and put them in a corkboard, big enough to fit everything but not as big to be a bother while I work. Some artists like to do this but with a whole wall, and that is amazing, however, I find that being able to move my inspiration board wherever and whenever I want is what works better for me.
- This is the one I recommend in case you decide to go for this option.
Organization and Functionality
The organization doesn’t limit to having your studio neatly organized, clean, and set on a specific aesthetic (especially since there are so many messy art styles and some media can’t really be kept that way), but to have a comfortable working space, have your tools right where you need them and have proper storage for your art. Some prefer vertical open storage for the paint tubes, brushes, and materials that are used more frequently, some prefer to have everything in baskets and containers, some need horizontal storage for large art pieces and some need a mix of everything on top of additional storage and workspace for packaging and shipping paintings, prints, etc.
If your studio is small you’ll only have to worry about having a proper organization system, since everything will be at hand’s reach, however, if your studio is larger and you work with a big canvas and large pieces, then this pro tip will be a game-changer.
Put wheels on everything.
Yes, wheels are amazing for functionality, since you can make space for floor work by moving a few things around, you can buy a small cart for your palette and materials and pull them around when needed and when working with large pieces (which means more weight) you can easily move them around in your easel for practical matters or better lighting. Wheels will be your best friends in a large studio or even in a medium-sized studio especially if you feel like moving things around from time to time without a good reason (like me).
But always make sure to get the wheels with stoppers or else everything will roll and it will be a disaster.
Another pro tip is to get the storage you need. I know how easy it is to get carried around getting furniture or storage containers you’re never going to use, but we need to know that investing in the right storage for your art will mark a difference in your life as an artist. You wouldn’t want some of your canvas to tear because you didn’t store them properly, or some of your illustrations to crumple, fold or get full of dust because you didn’t have the proper drawer cabinet.
An artist’s work doesn’t end after finishing a piece, we need to make sure this piece is carefully conserved and stored until we hang it or sell it, so consider this when shopping for storage and set an additional budget to get the proper (but probably more expensive) storage for you and your work.
Here are some recommendations that might help you stay organized and keep your studio functional.
- Mobile cart with drawers: Perfect for extra materials that you might want to store or carry around without getting dust (or paint) on them.
- Open Mobile cart: This is the one I use the most, here I put the materials I’m using for my work. I can also put water containers, solvents, etc on the caddies that attach and hang to the side, it comes with section dividers for one tray that can also be helpful.
- Storage for paint tubes, makers, and pencils: Very useful for a visual display of materials, especially for those who work on a desk, very useful and it comes with a tablet stand to use for work or references.
Business?
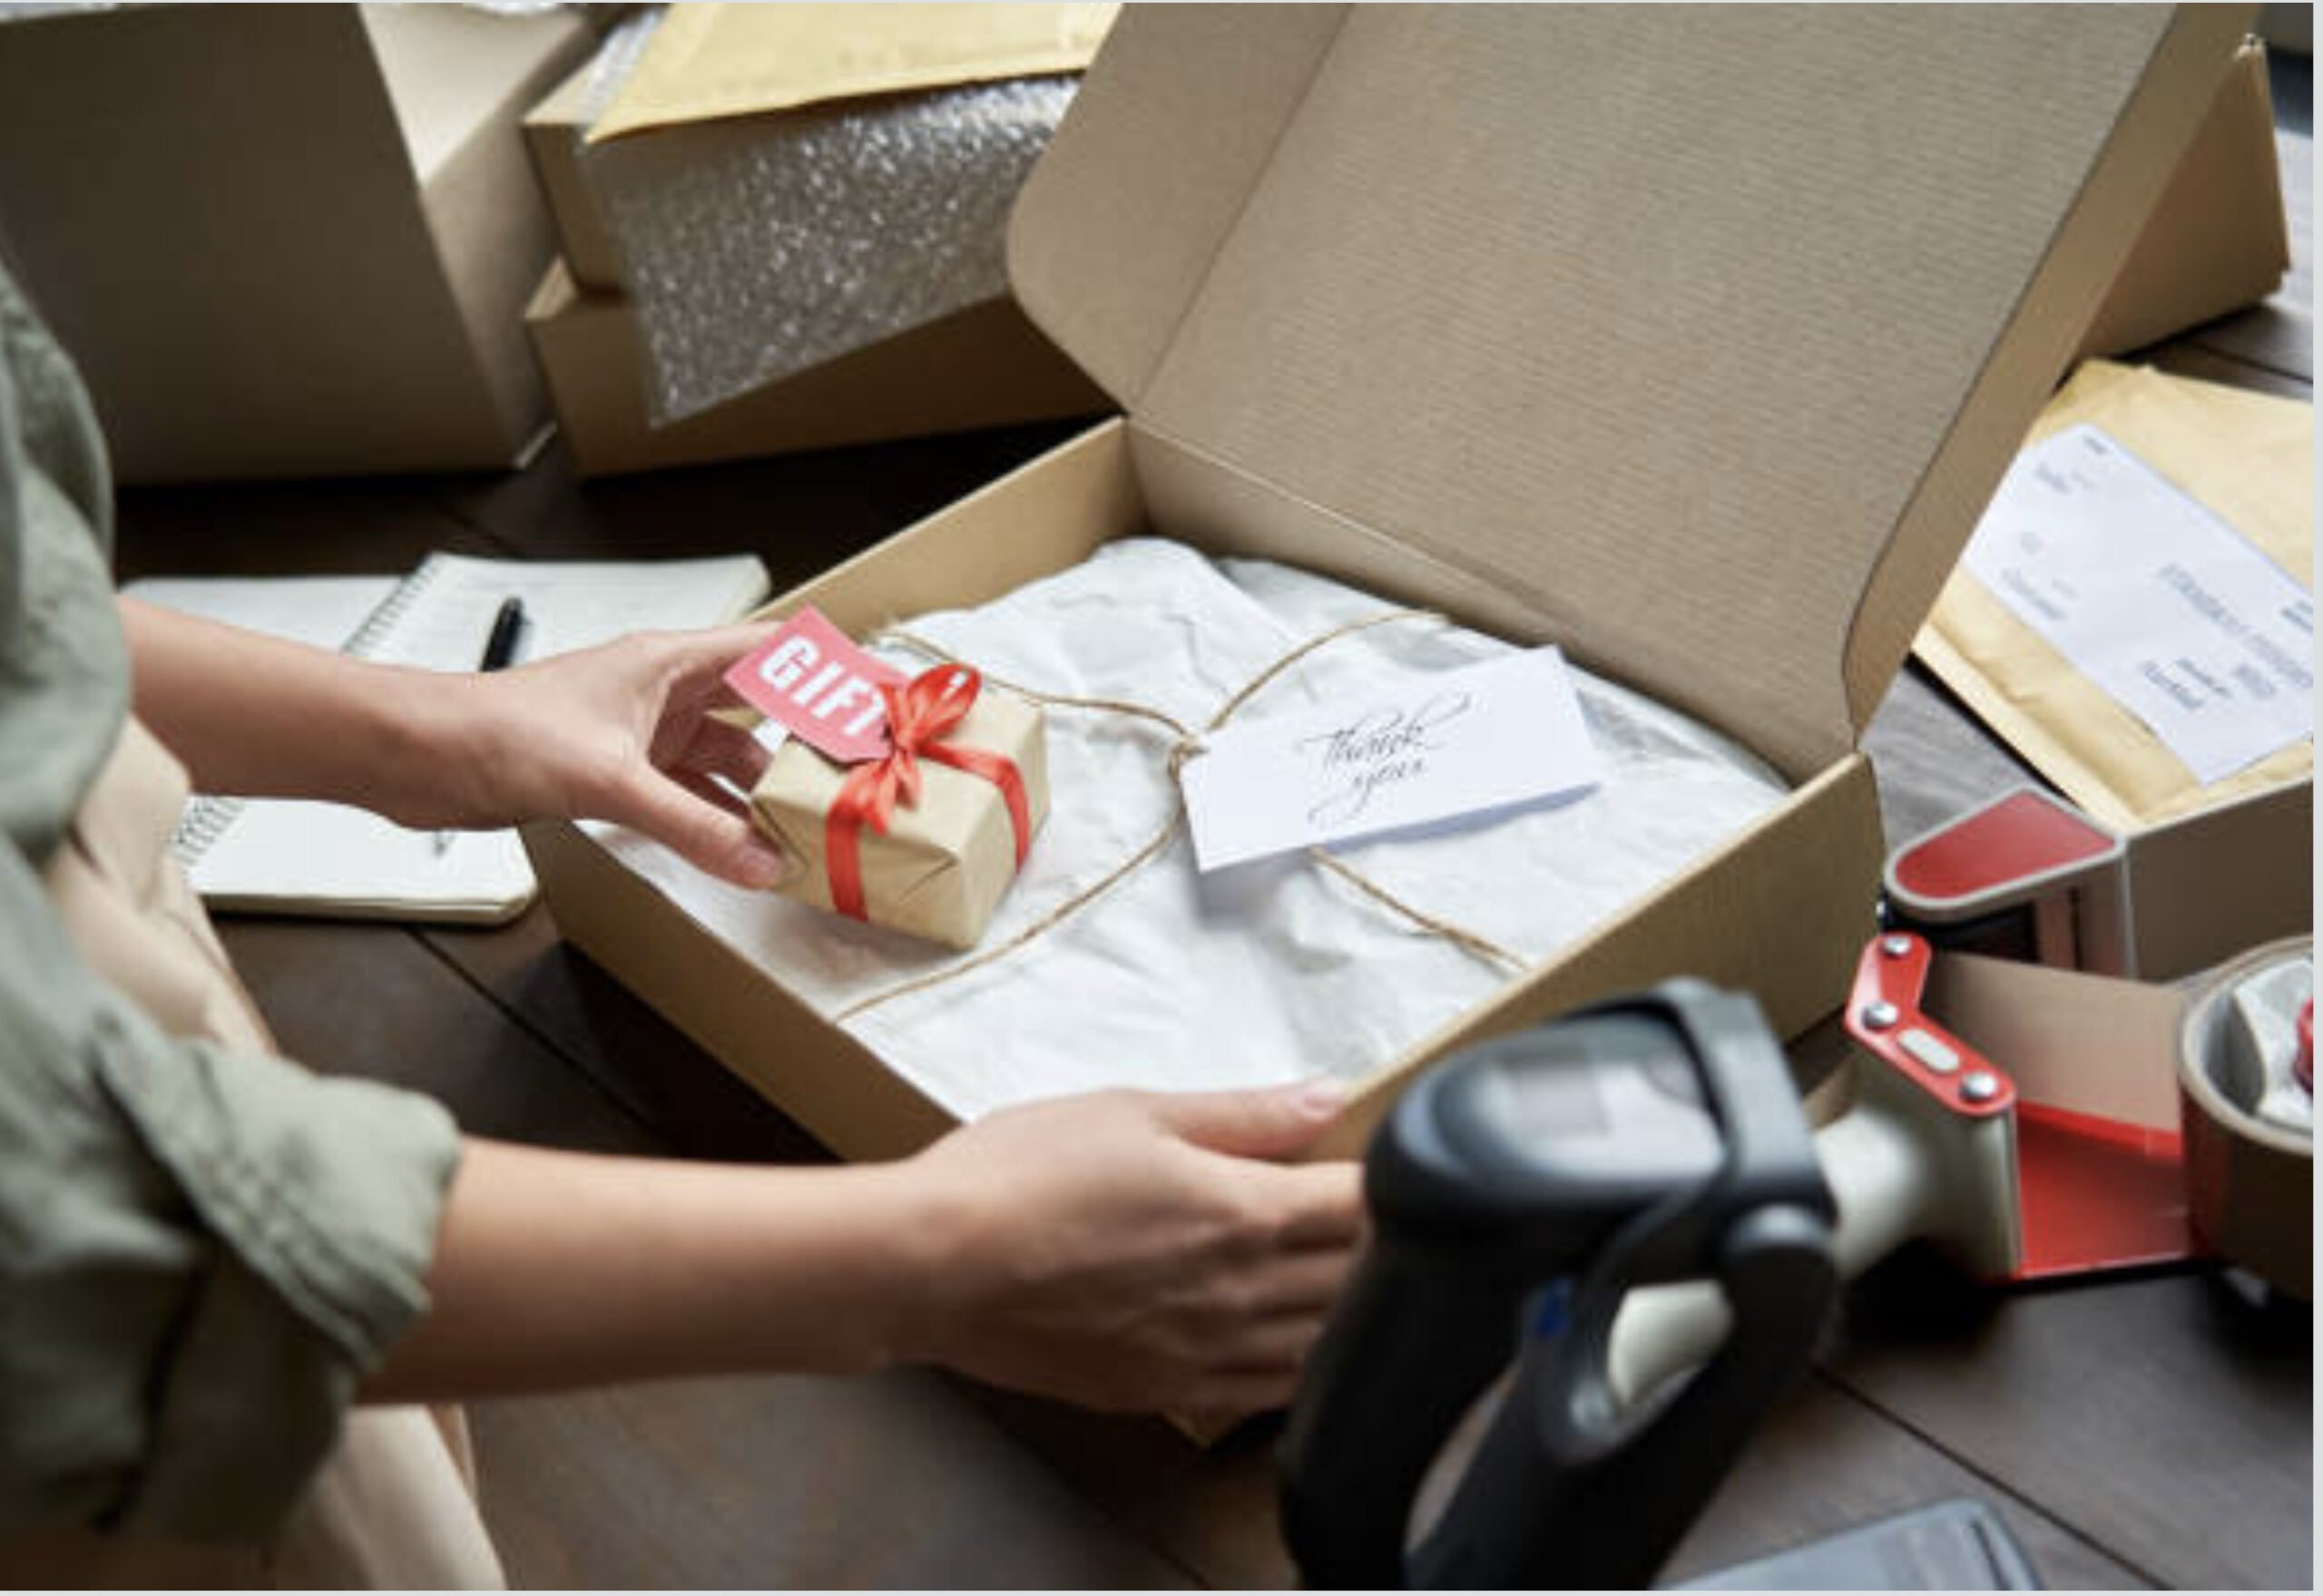
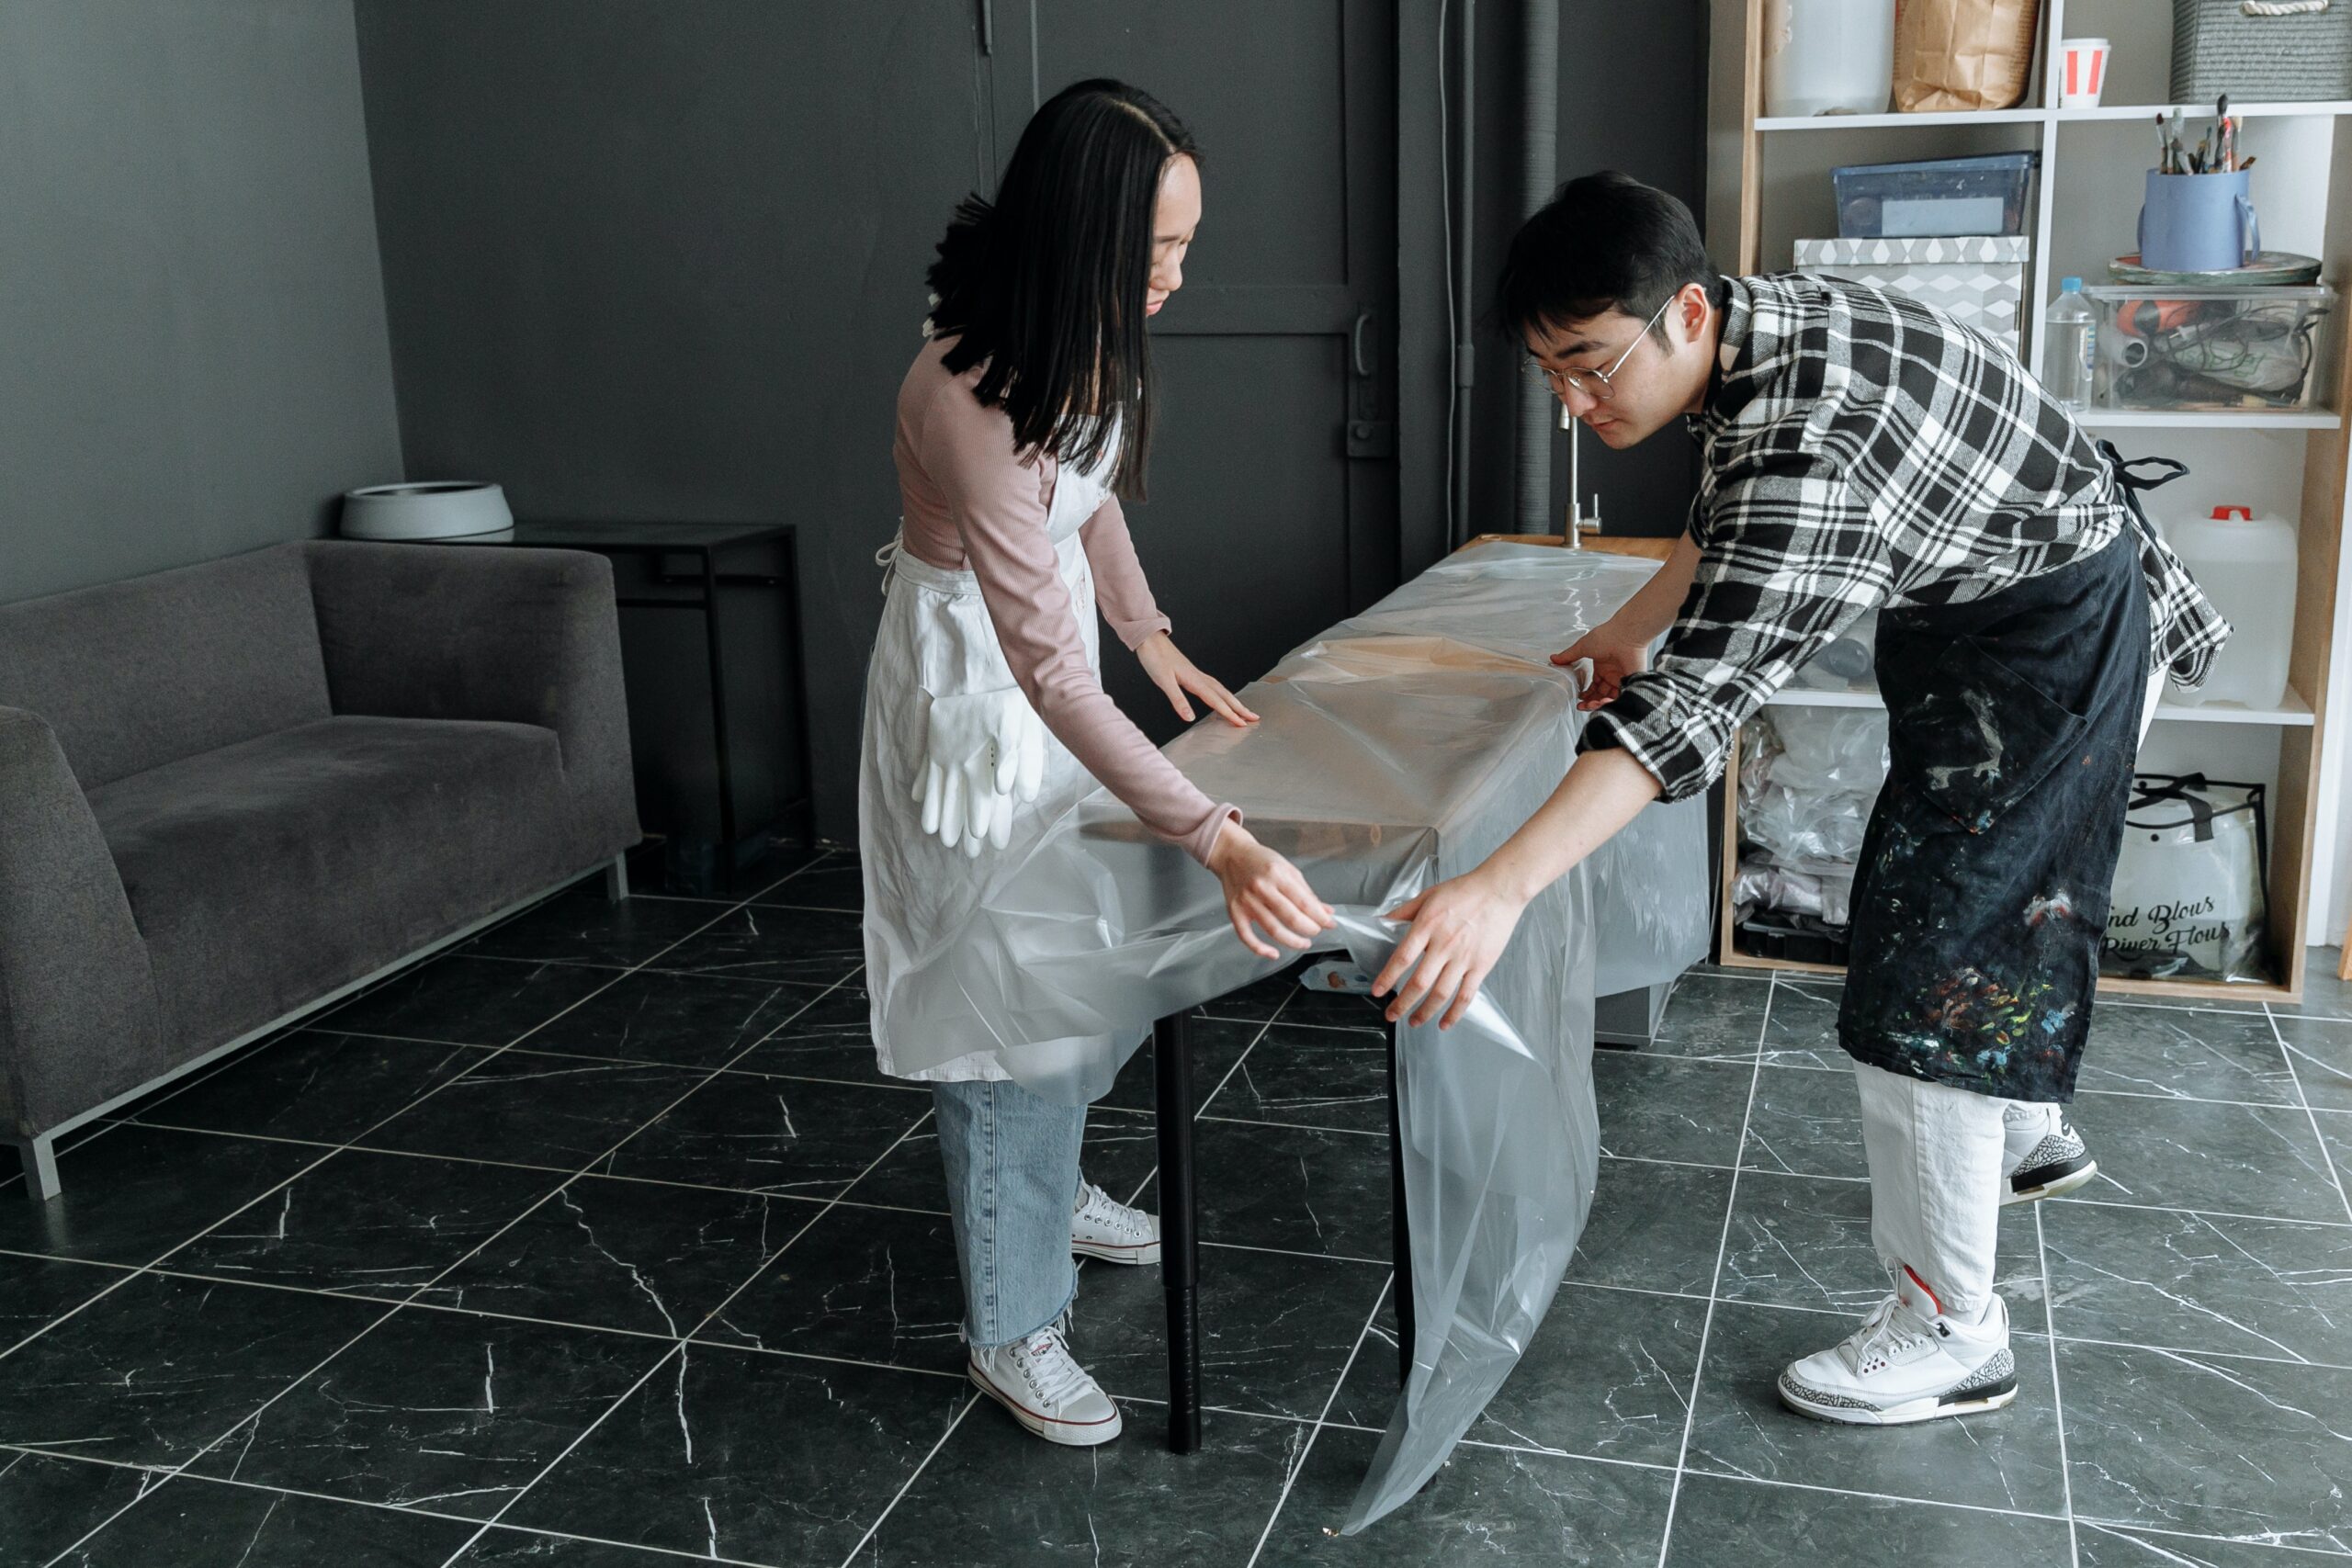
Though not all artists sell their art, most of us do, and when talking about selling original art pieces, we can’t simply put our art in a box or an envelope and hope everything goes well. Especially when shipping it overseas.
We need to take some time and effort in protecting and carefully packaging our art so it doesn’t get damaged on the trip and gets to our customers in perfect condition, so making a small investment for the sake of your business, your art, and clients are only logical.
Here are some recommendations of items that can be extremely useful when packaging and shipping your orders.
- This workbench is the best friend for quick shipping and packaging setup, mainly for small-sized studios, where a small desk might not be enough when handling larger fine artworks or canvas.
- Whether you use cardboard boxes, tubes, or crates to ship your art is very important to always have it protected, using parchment paper to cover your pieces and plastic film to wrap them seems to be the best first protective layer, then you can use bubble wrap but I always recommend the eco-friendly option geami paper for an additional layer of protection.
- Once you have your box ready, then one of the best options to use is paper tape, just a tad of water to activate it, and voila, environmentally friendly and very resistant, and there are no more excuses for the hassle that represent activating the tape every time with this tape dispenser, it’s super easy to use and works like a charm.
- And for larger art pieces, these telescopic adjustable boxes are definitely a great option to go. With the proper protection and fillers, you can be sure that your art will be secure as it travels, although I always recommend reinforcing the corners of your artwork inside in case of heavy bumps.
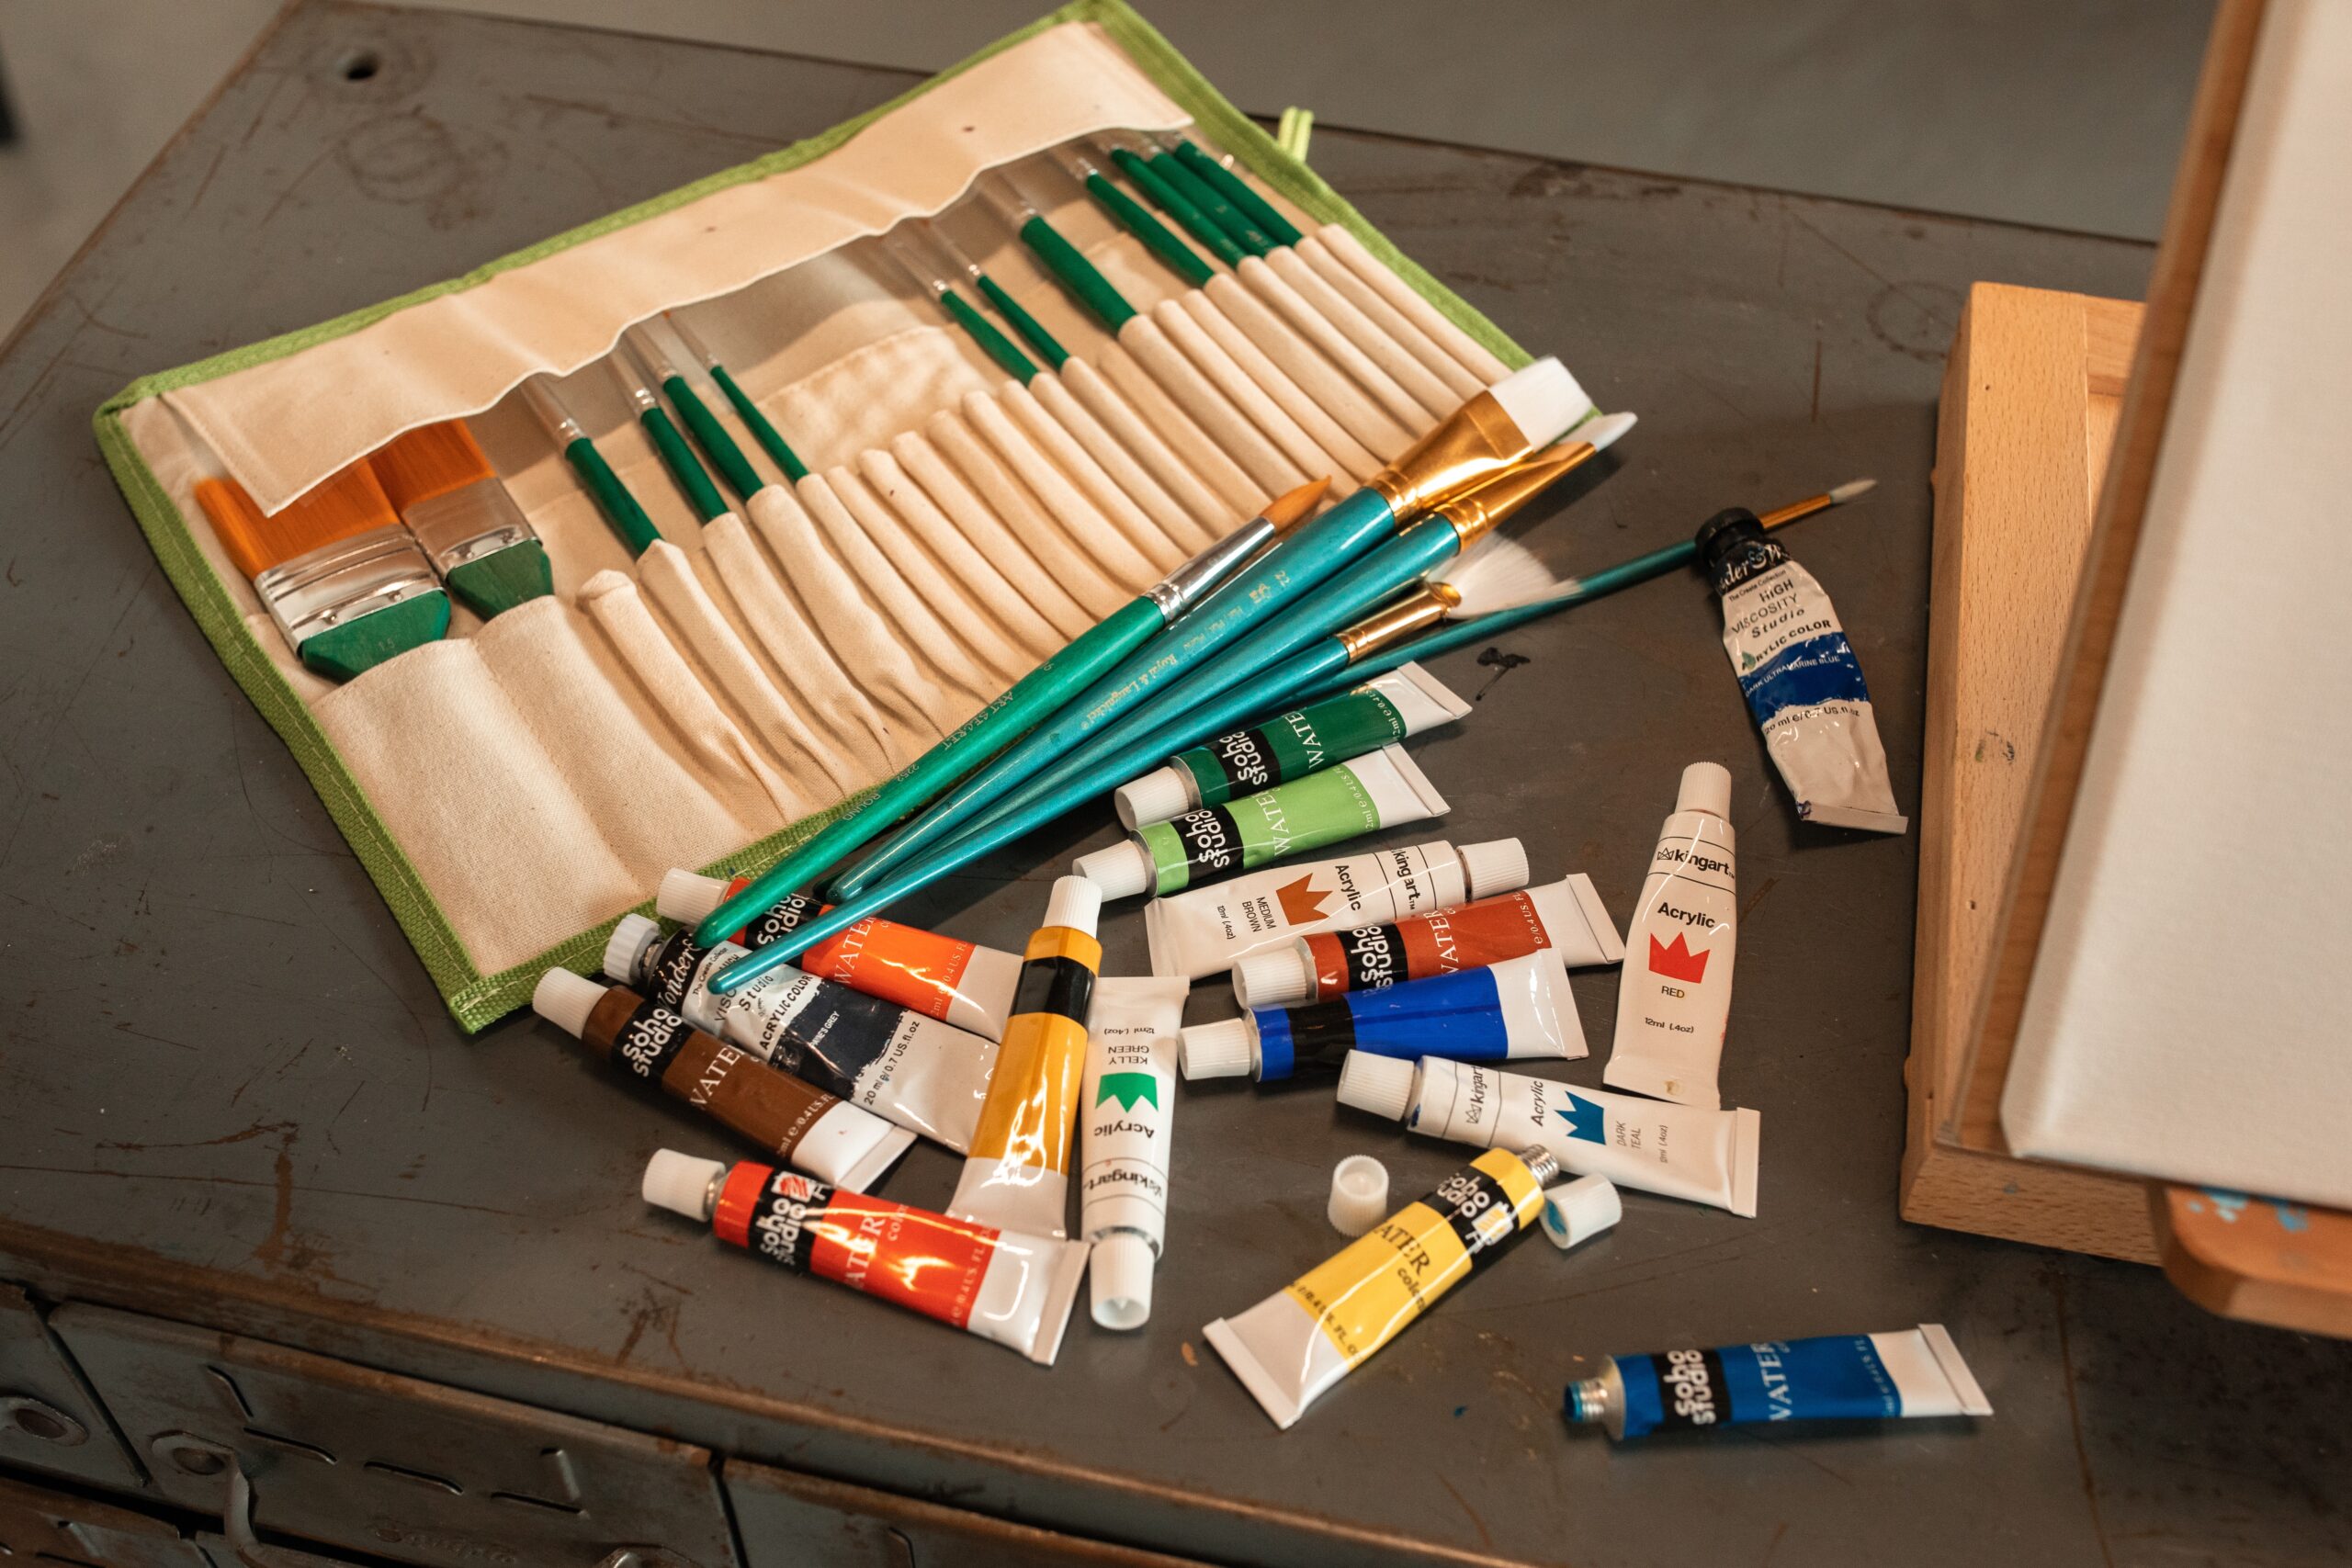
Materials
As I mentioned at the beginning of this article, every artist is different, and this article has been made with the intention of being helpful to every artist that wants to make an art studio, however, we can’t really talk about materials without upsetting some artists or leaving some mediums out.
Art is so wide and wonderful that we can make art and create new pieces with many different materials and even when using the same mediums, every piece is unique and beautiful, so if I were to list every material needed for an art studio I would never end.
I recommend taking the materials you already have and getting some more for your studio, however, if you are still looking for recommendations, we do have curated buying guides for art supplies with our recommendations for each medium (and budget) so check them out and comment on what do you want to see next!
Thank you for reading this article, I hope it helped you figure out how to make your art studio and identify the matters to take into consideration before taking that big step. If there’s something we missed or anything you’d like to know don’t doubt on asking, I’ll be happy to answer!
Until next time!