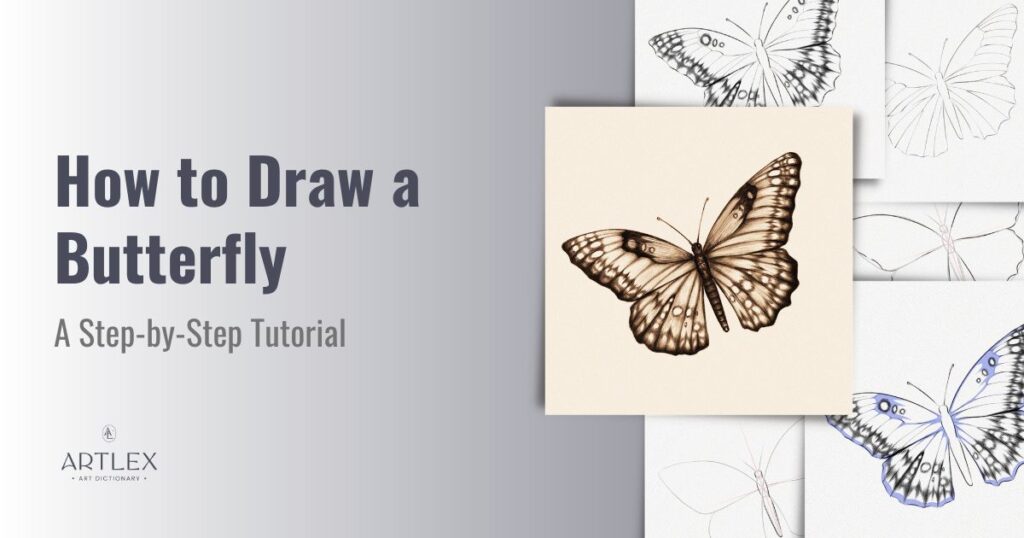
Butterflies are beautiful and fascinating animals that can be found all over the world; they have been a frequent subject in art through the centuries. In addition to their beauty and bright colors, they also have great cultural and symbolic significance in many countries and traditional cultures worldwide.
Learning how to draw a butterfly that doesn’t look like the basic icon we’ve drawn since we were kids can be a surprisingly rewarding experience. The intricate patterns in the butterflies’ wings, the body shape, the flying angles, etc., make the drawing process unique and entertaining and can help you improve your observational and constructional skills as an artist.
In this tutorial, we’ll guide you step by step so that you can draw a realistic butterfly using simple and easy-to-follow steps.
Not only will you be able to enjoy the drawing process, but you will also be able to improve your ability to capture fine details in your drawings.
So, grab your pencils, and let’s get started!
What you will learn:
- Structure and proportions of a butterfly
- How to draw a butterfly
- How to shade a butterfly
Materials needed:
- A piece of paper
- A 2H graphite pencil
- A 4B graphite pencil
- A Tombow Mono Zero 2.3mm
- A kneaded eraser
This is the butterfly you’re going to draw: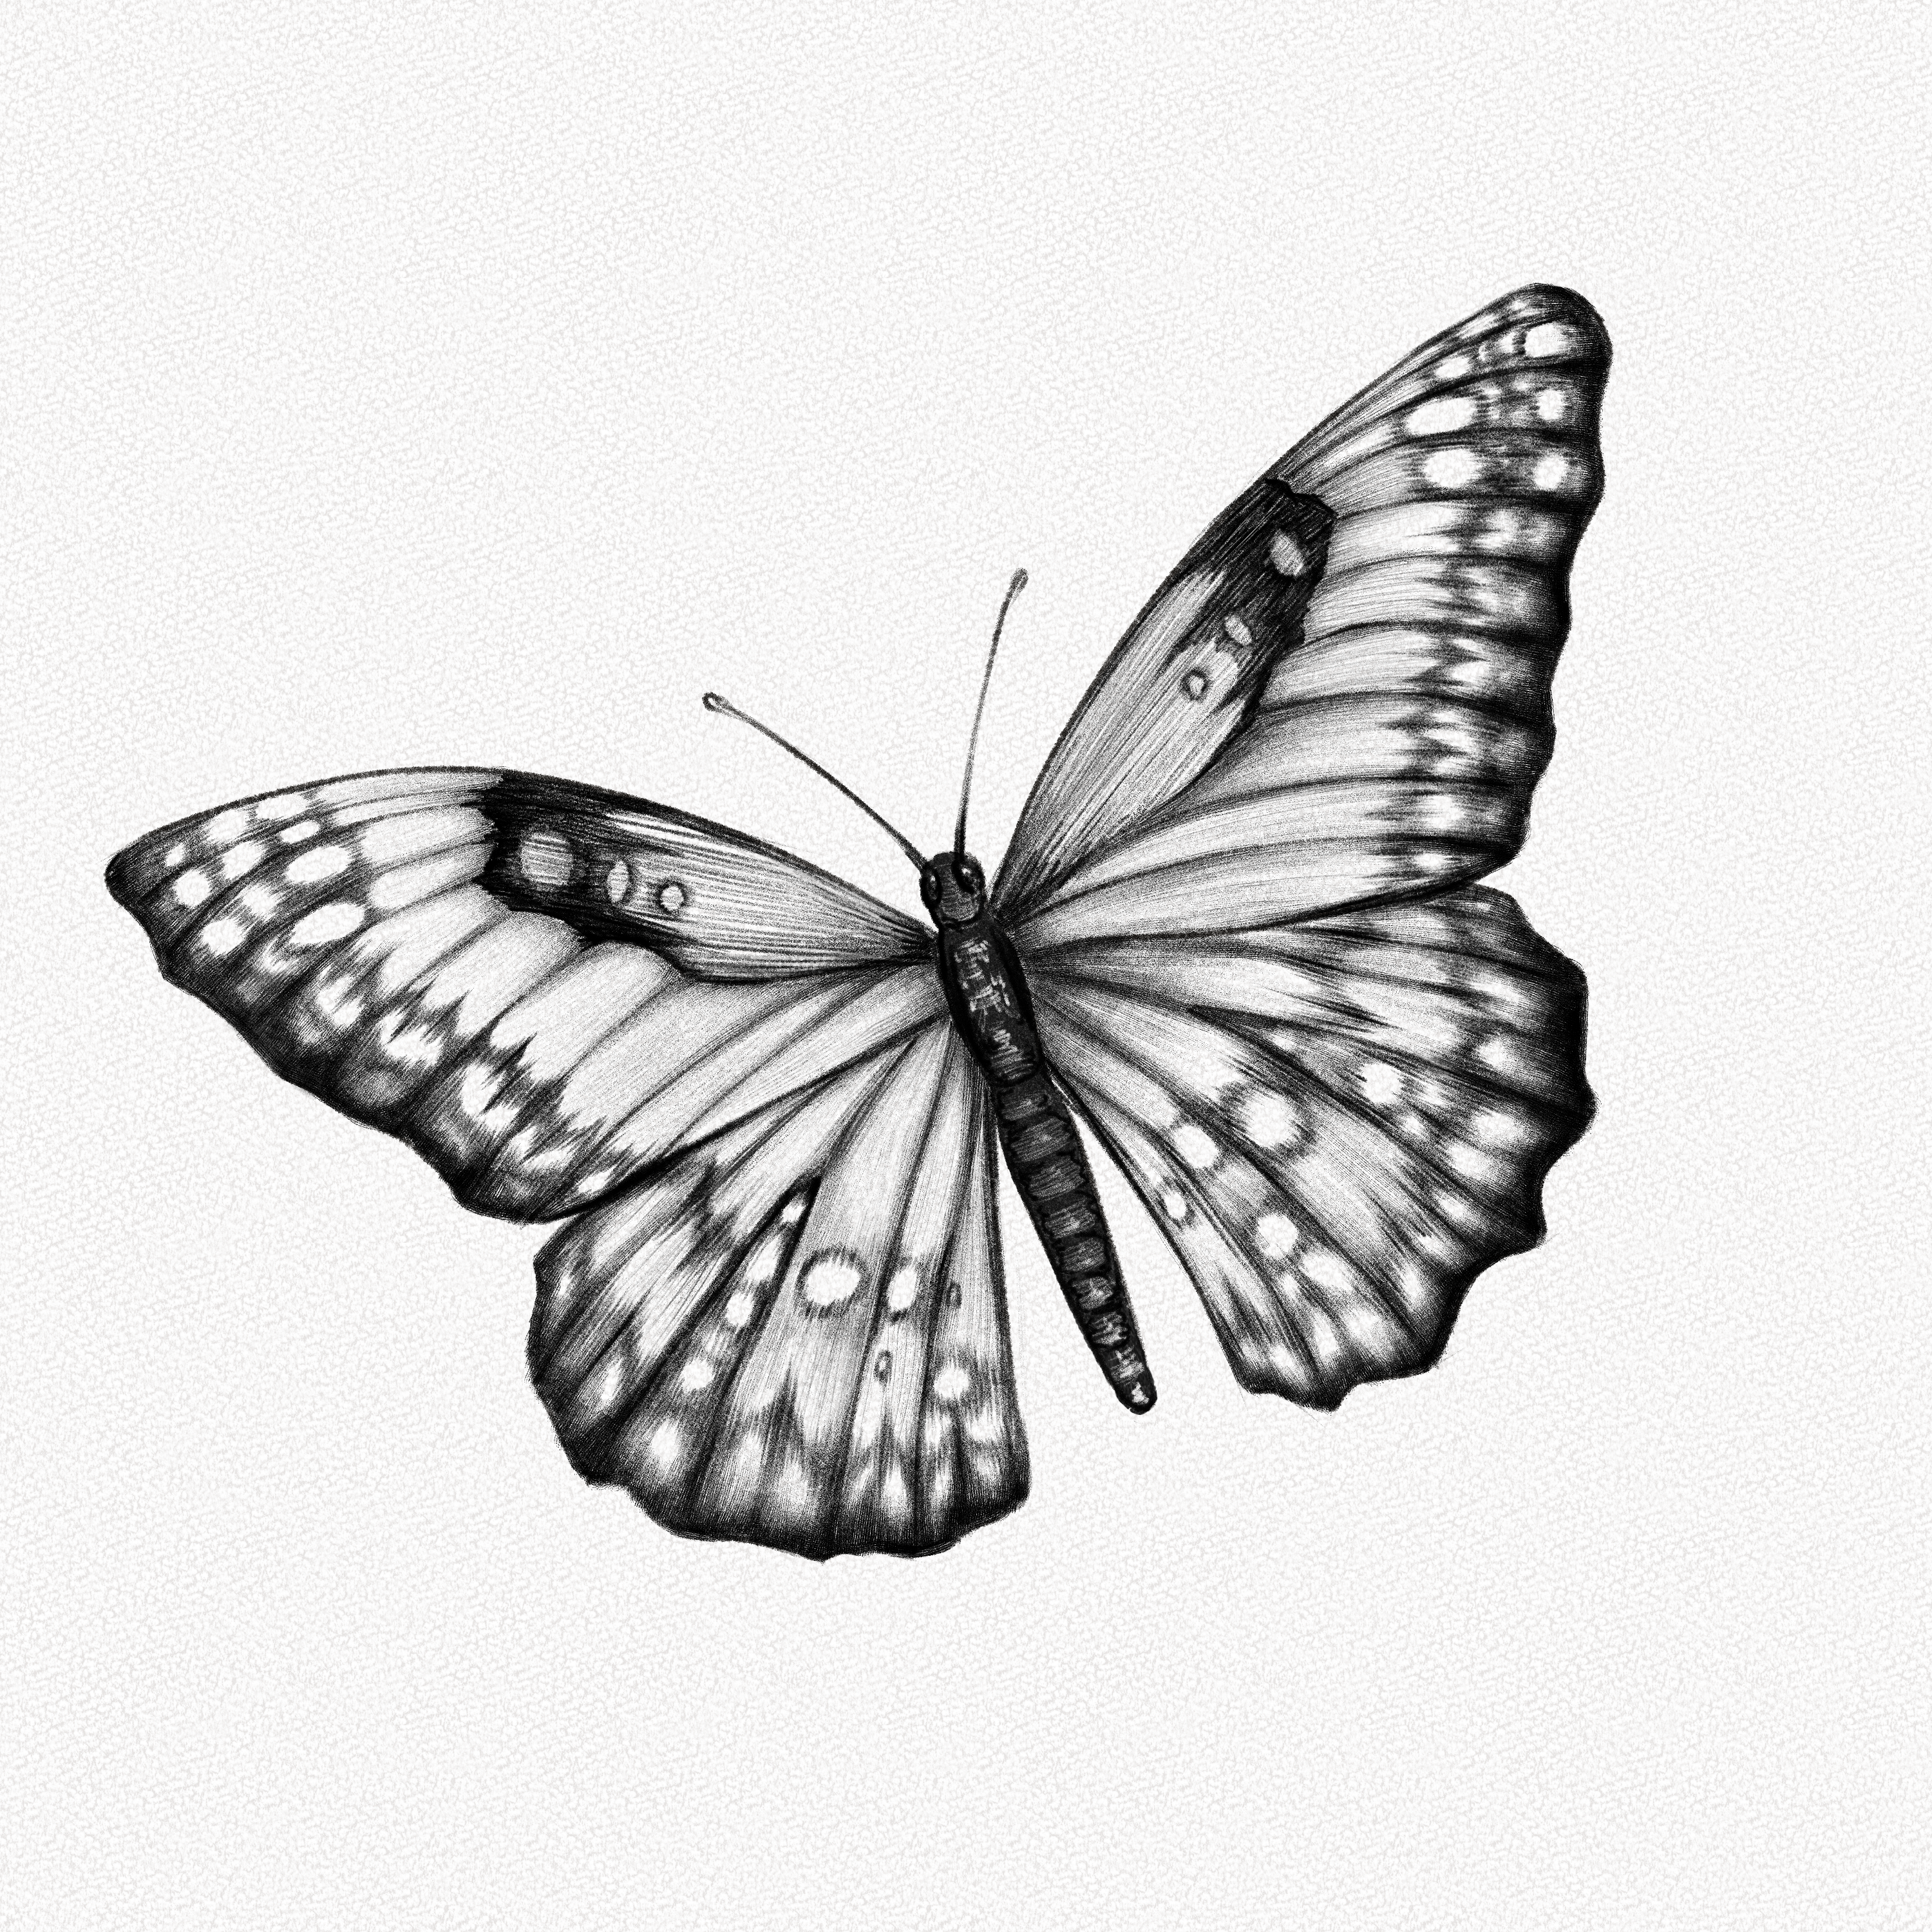
And these are all the steps we’ll guide you through:
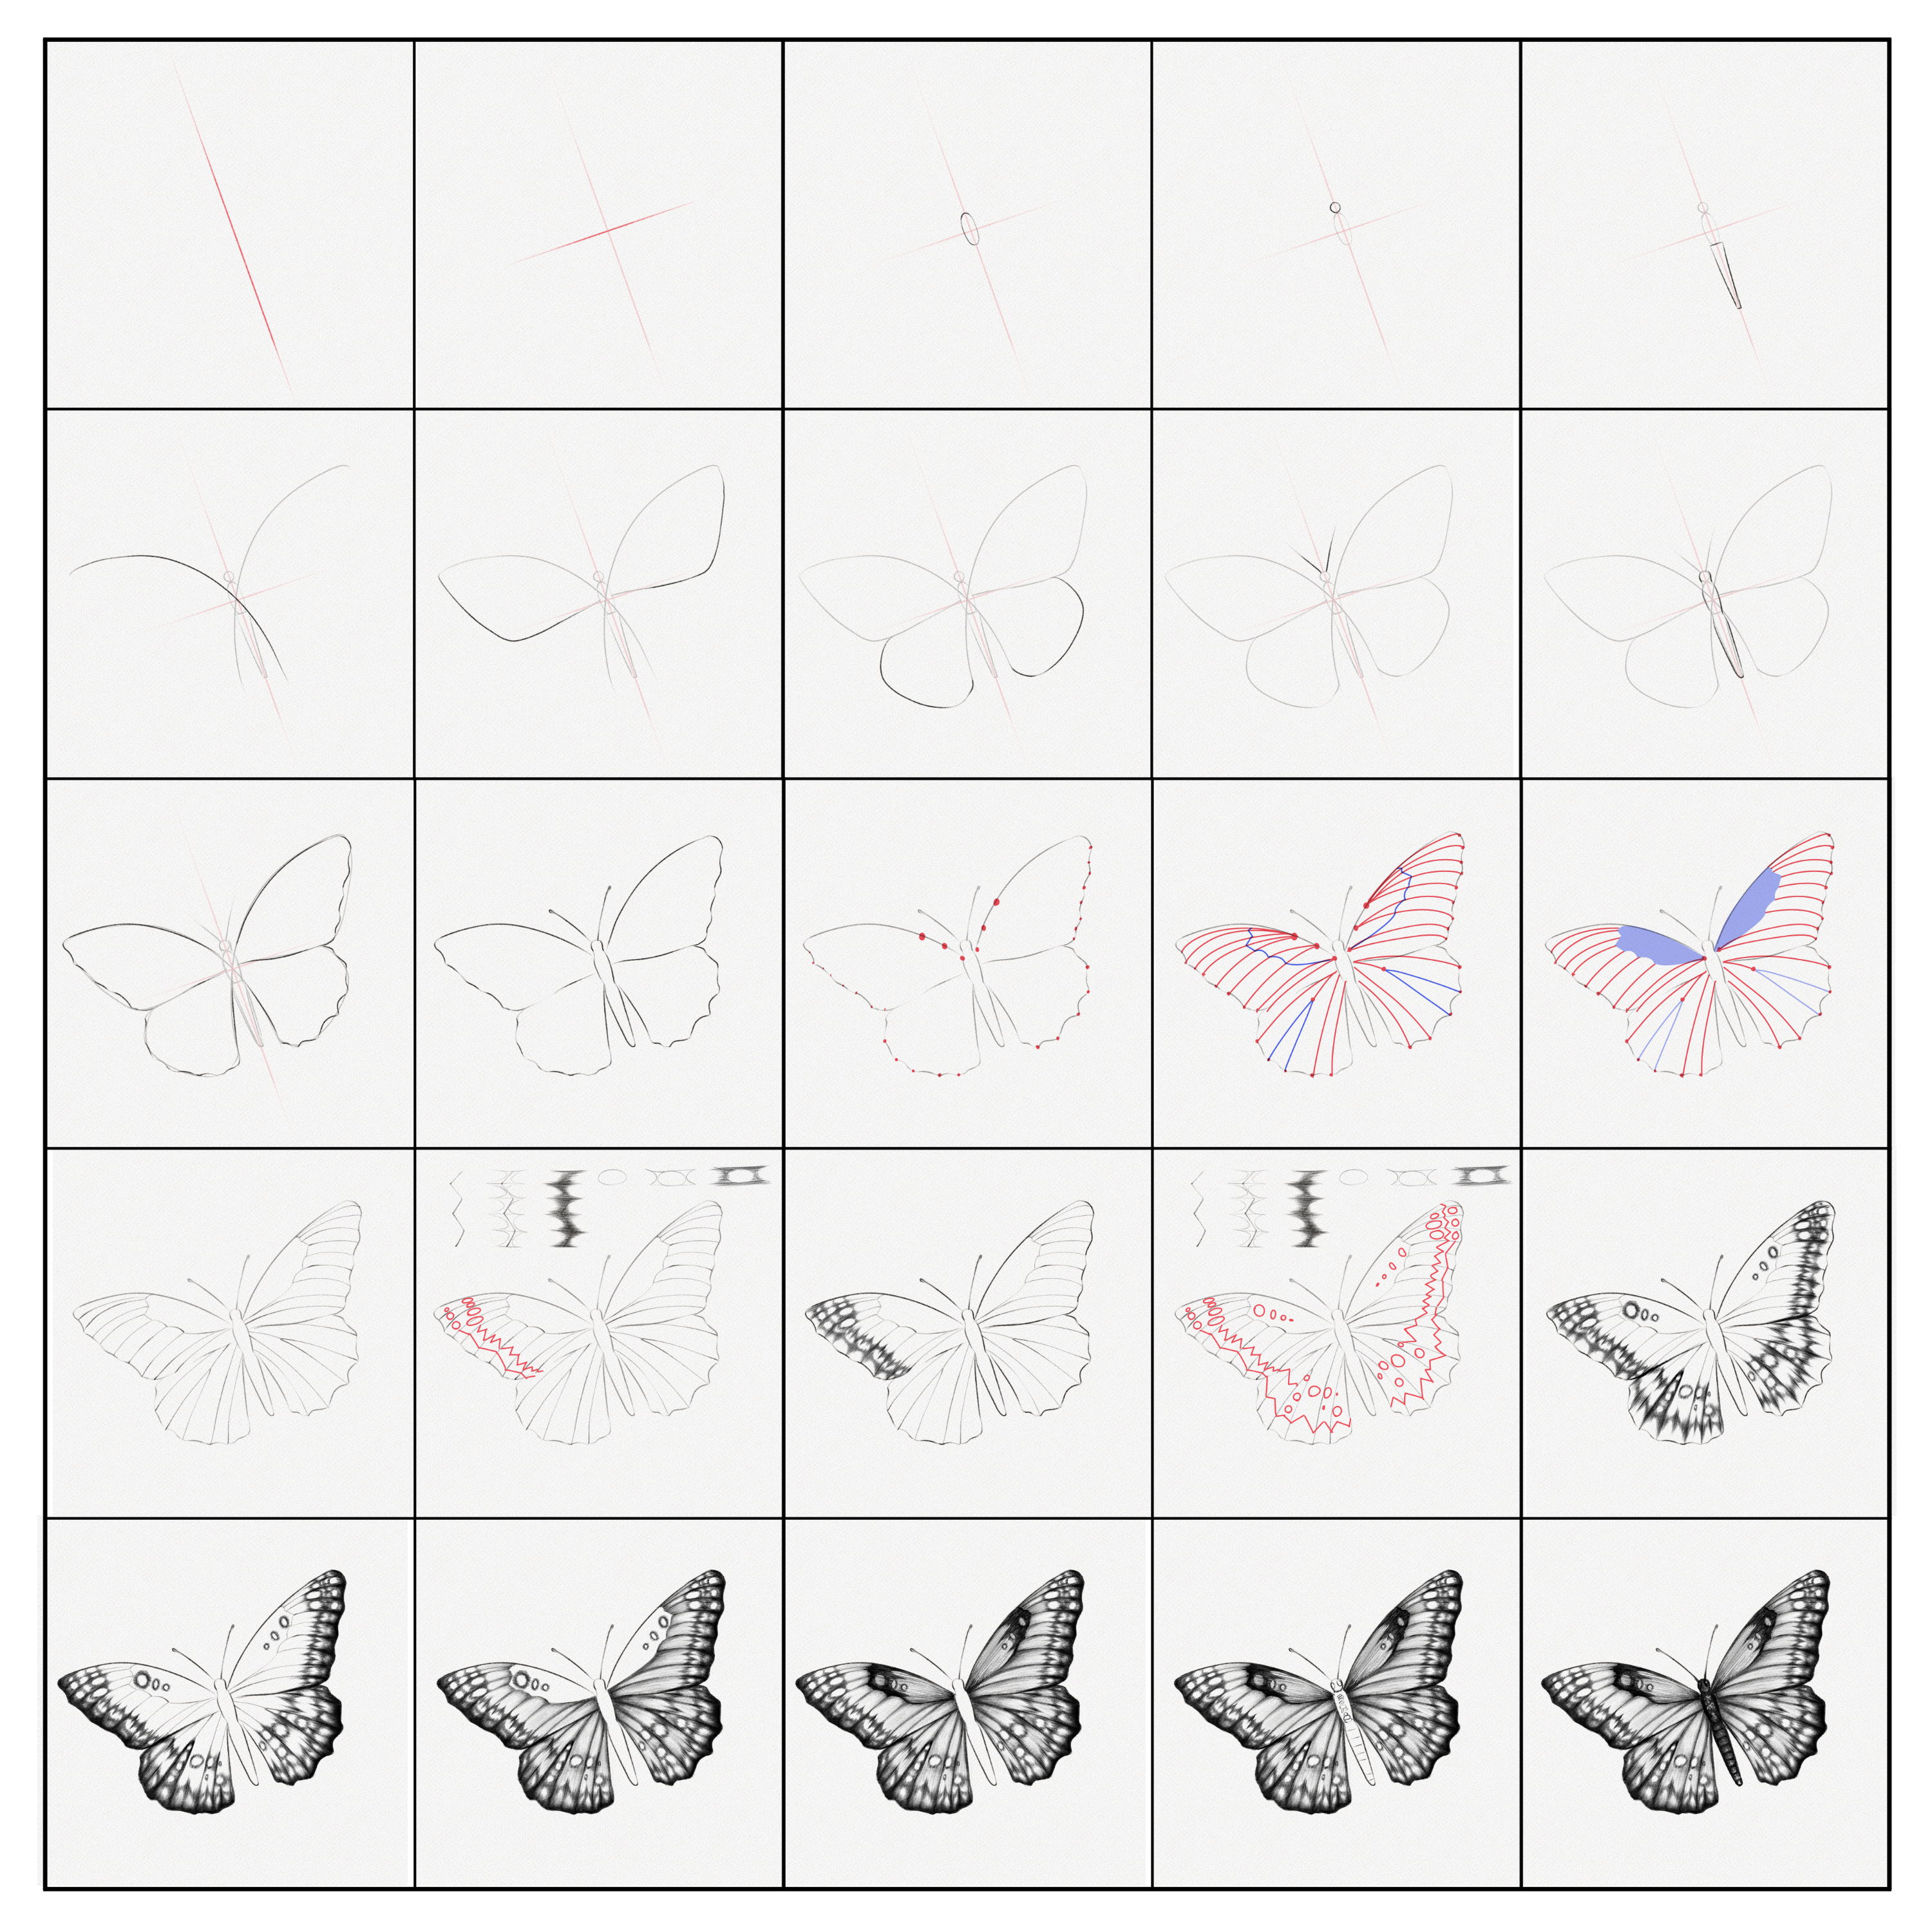
Section 1 – Structure and Proportions of a Butterfly
A butterfly’s body structure is quite simple when properly broken down into basic shapes; the beauty and complexity of it lie in the details that we’ll learn about in Section 2. In order to make our drawing more appealing and to properly showcase all the details in the wings of our butterfly, we’re going to draw it with the wings wide open.
Step 1: Draw a diagonal line
Draw a diagonal line in the middle of your canvas. The direction of this line will determine the position of your butterfly.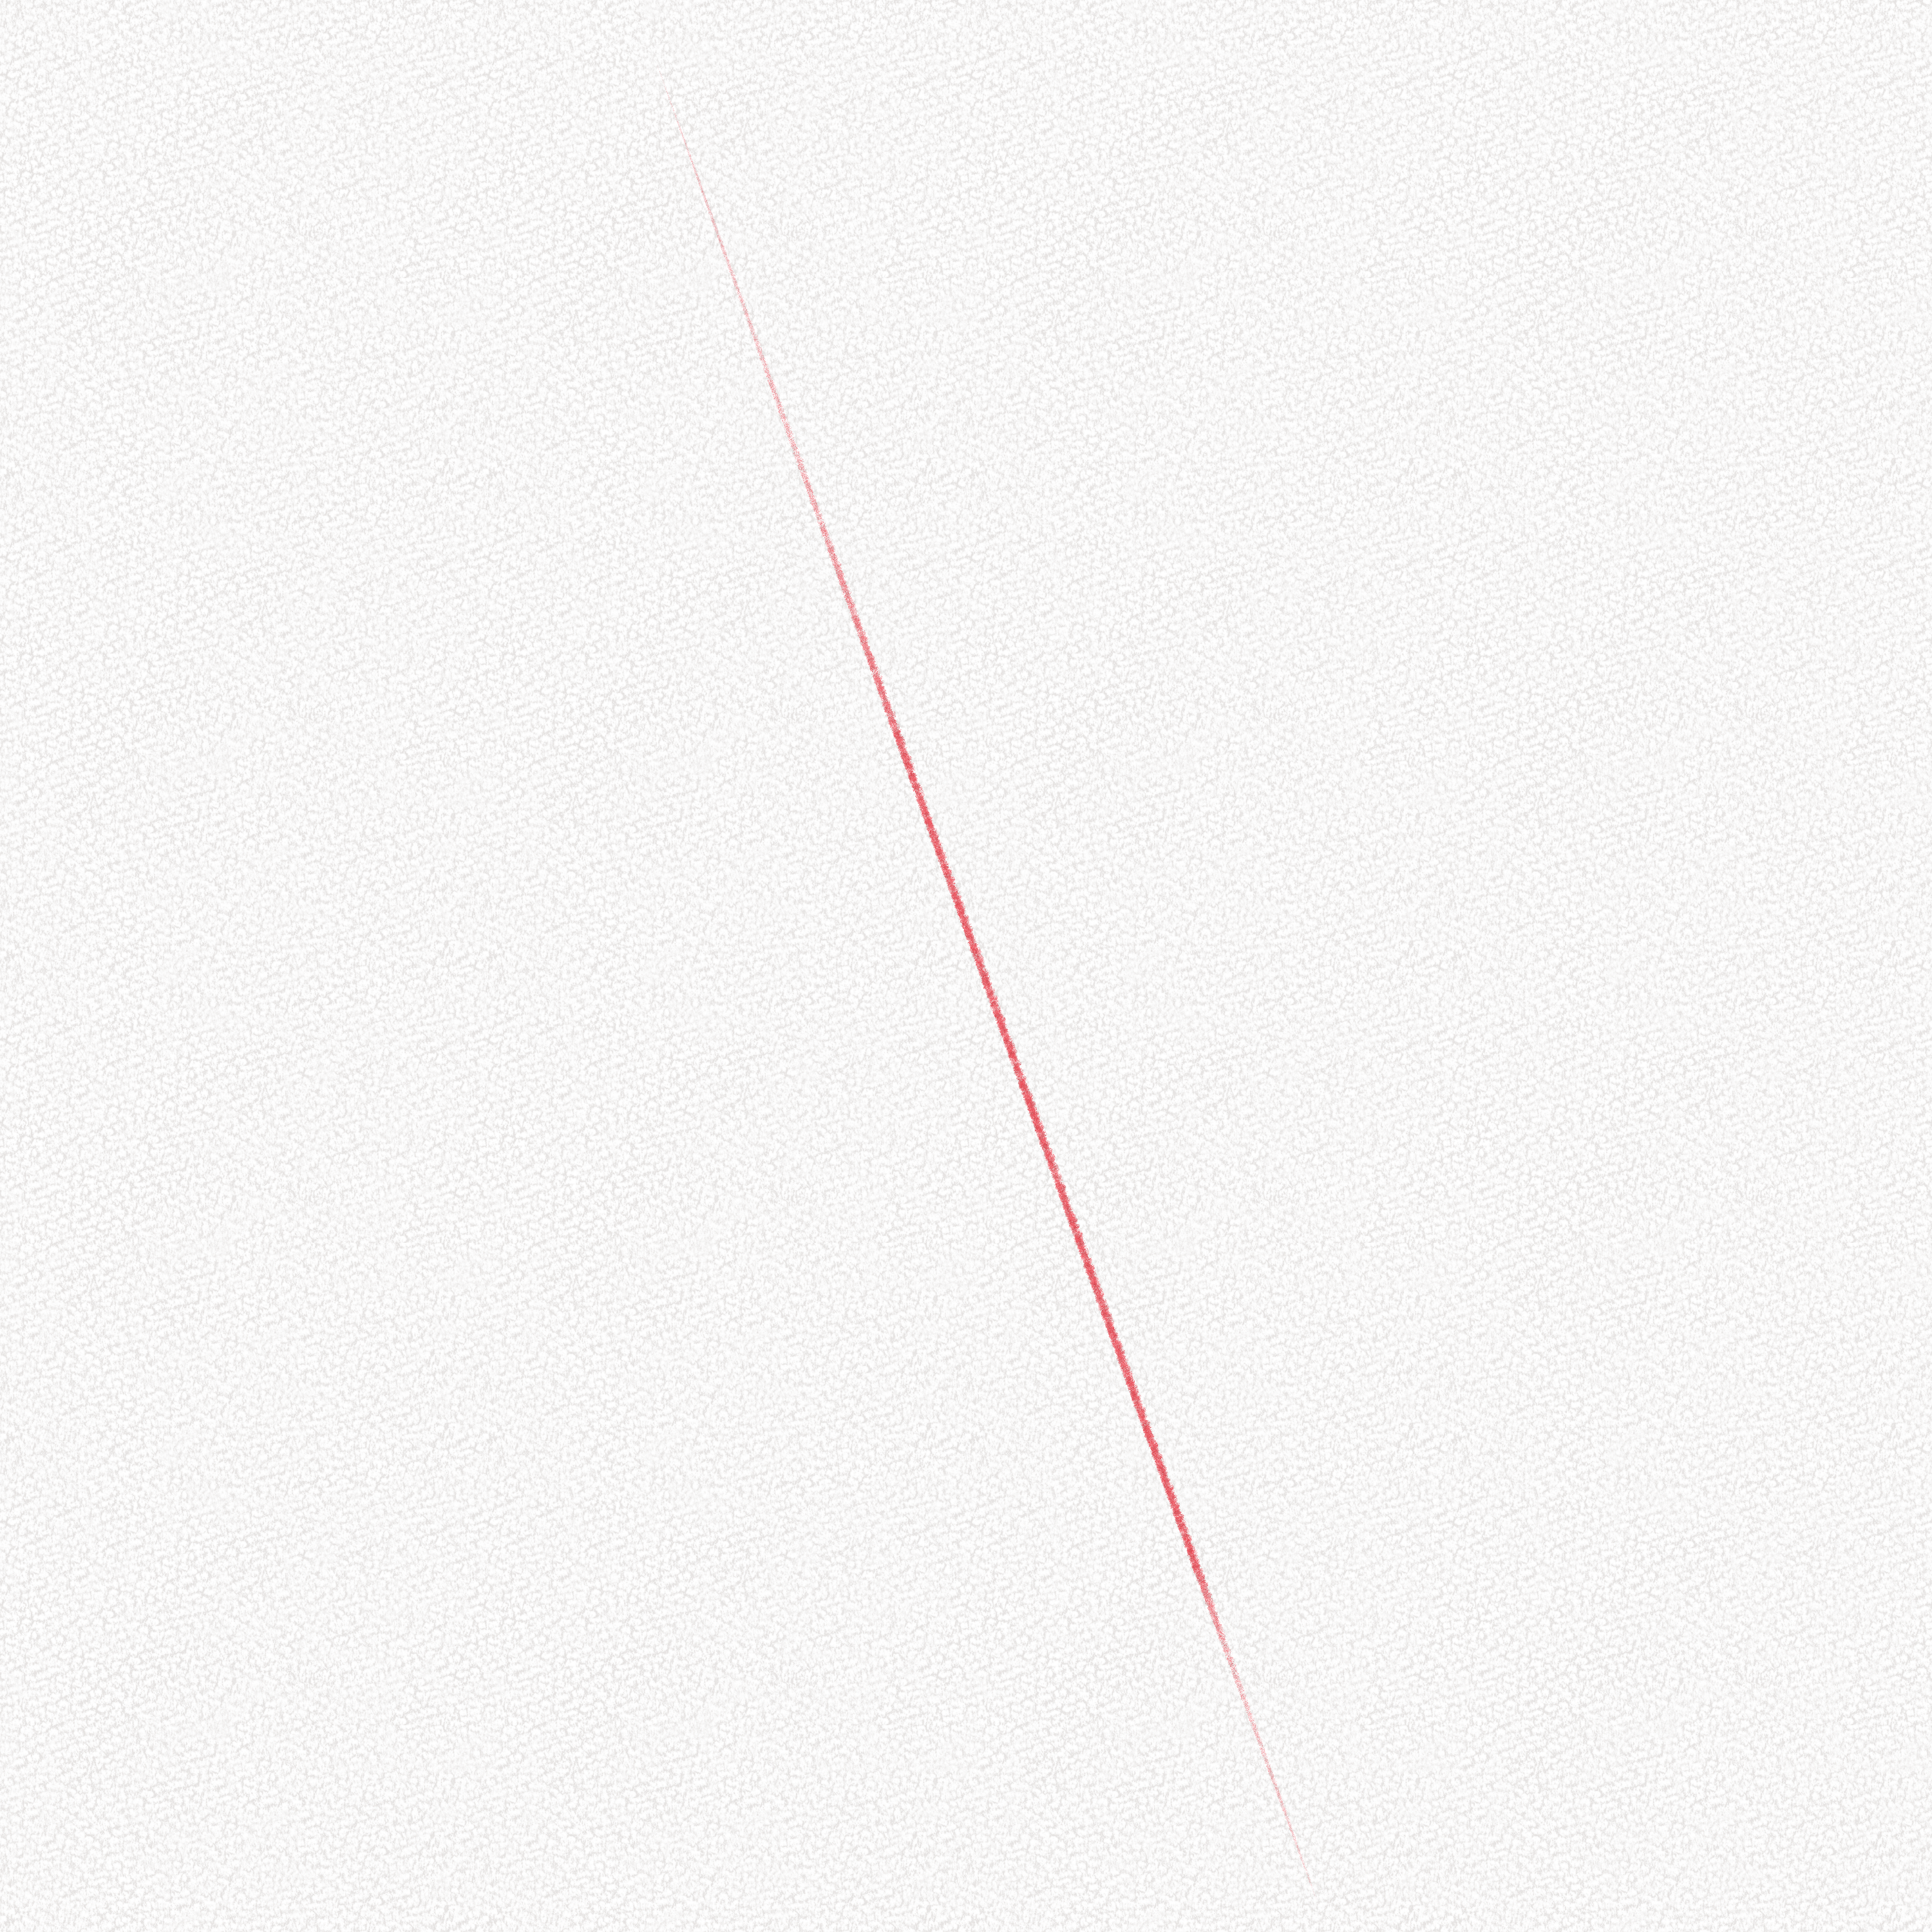
Step 2: Draw a perpendicular line
Draw a smaller, perpendicular line in the middle of the line we drew first.
Step 3: Draw an oval
Draw a small oval right in the middle of these two lines. This will represent the upper body structure of our butterfly.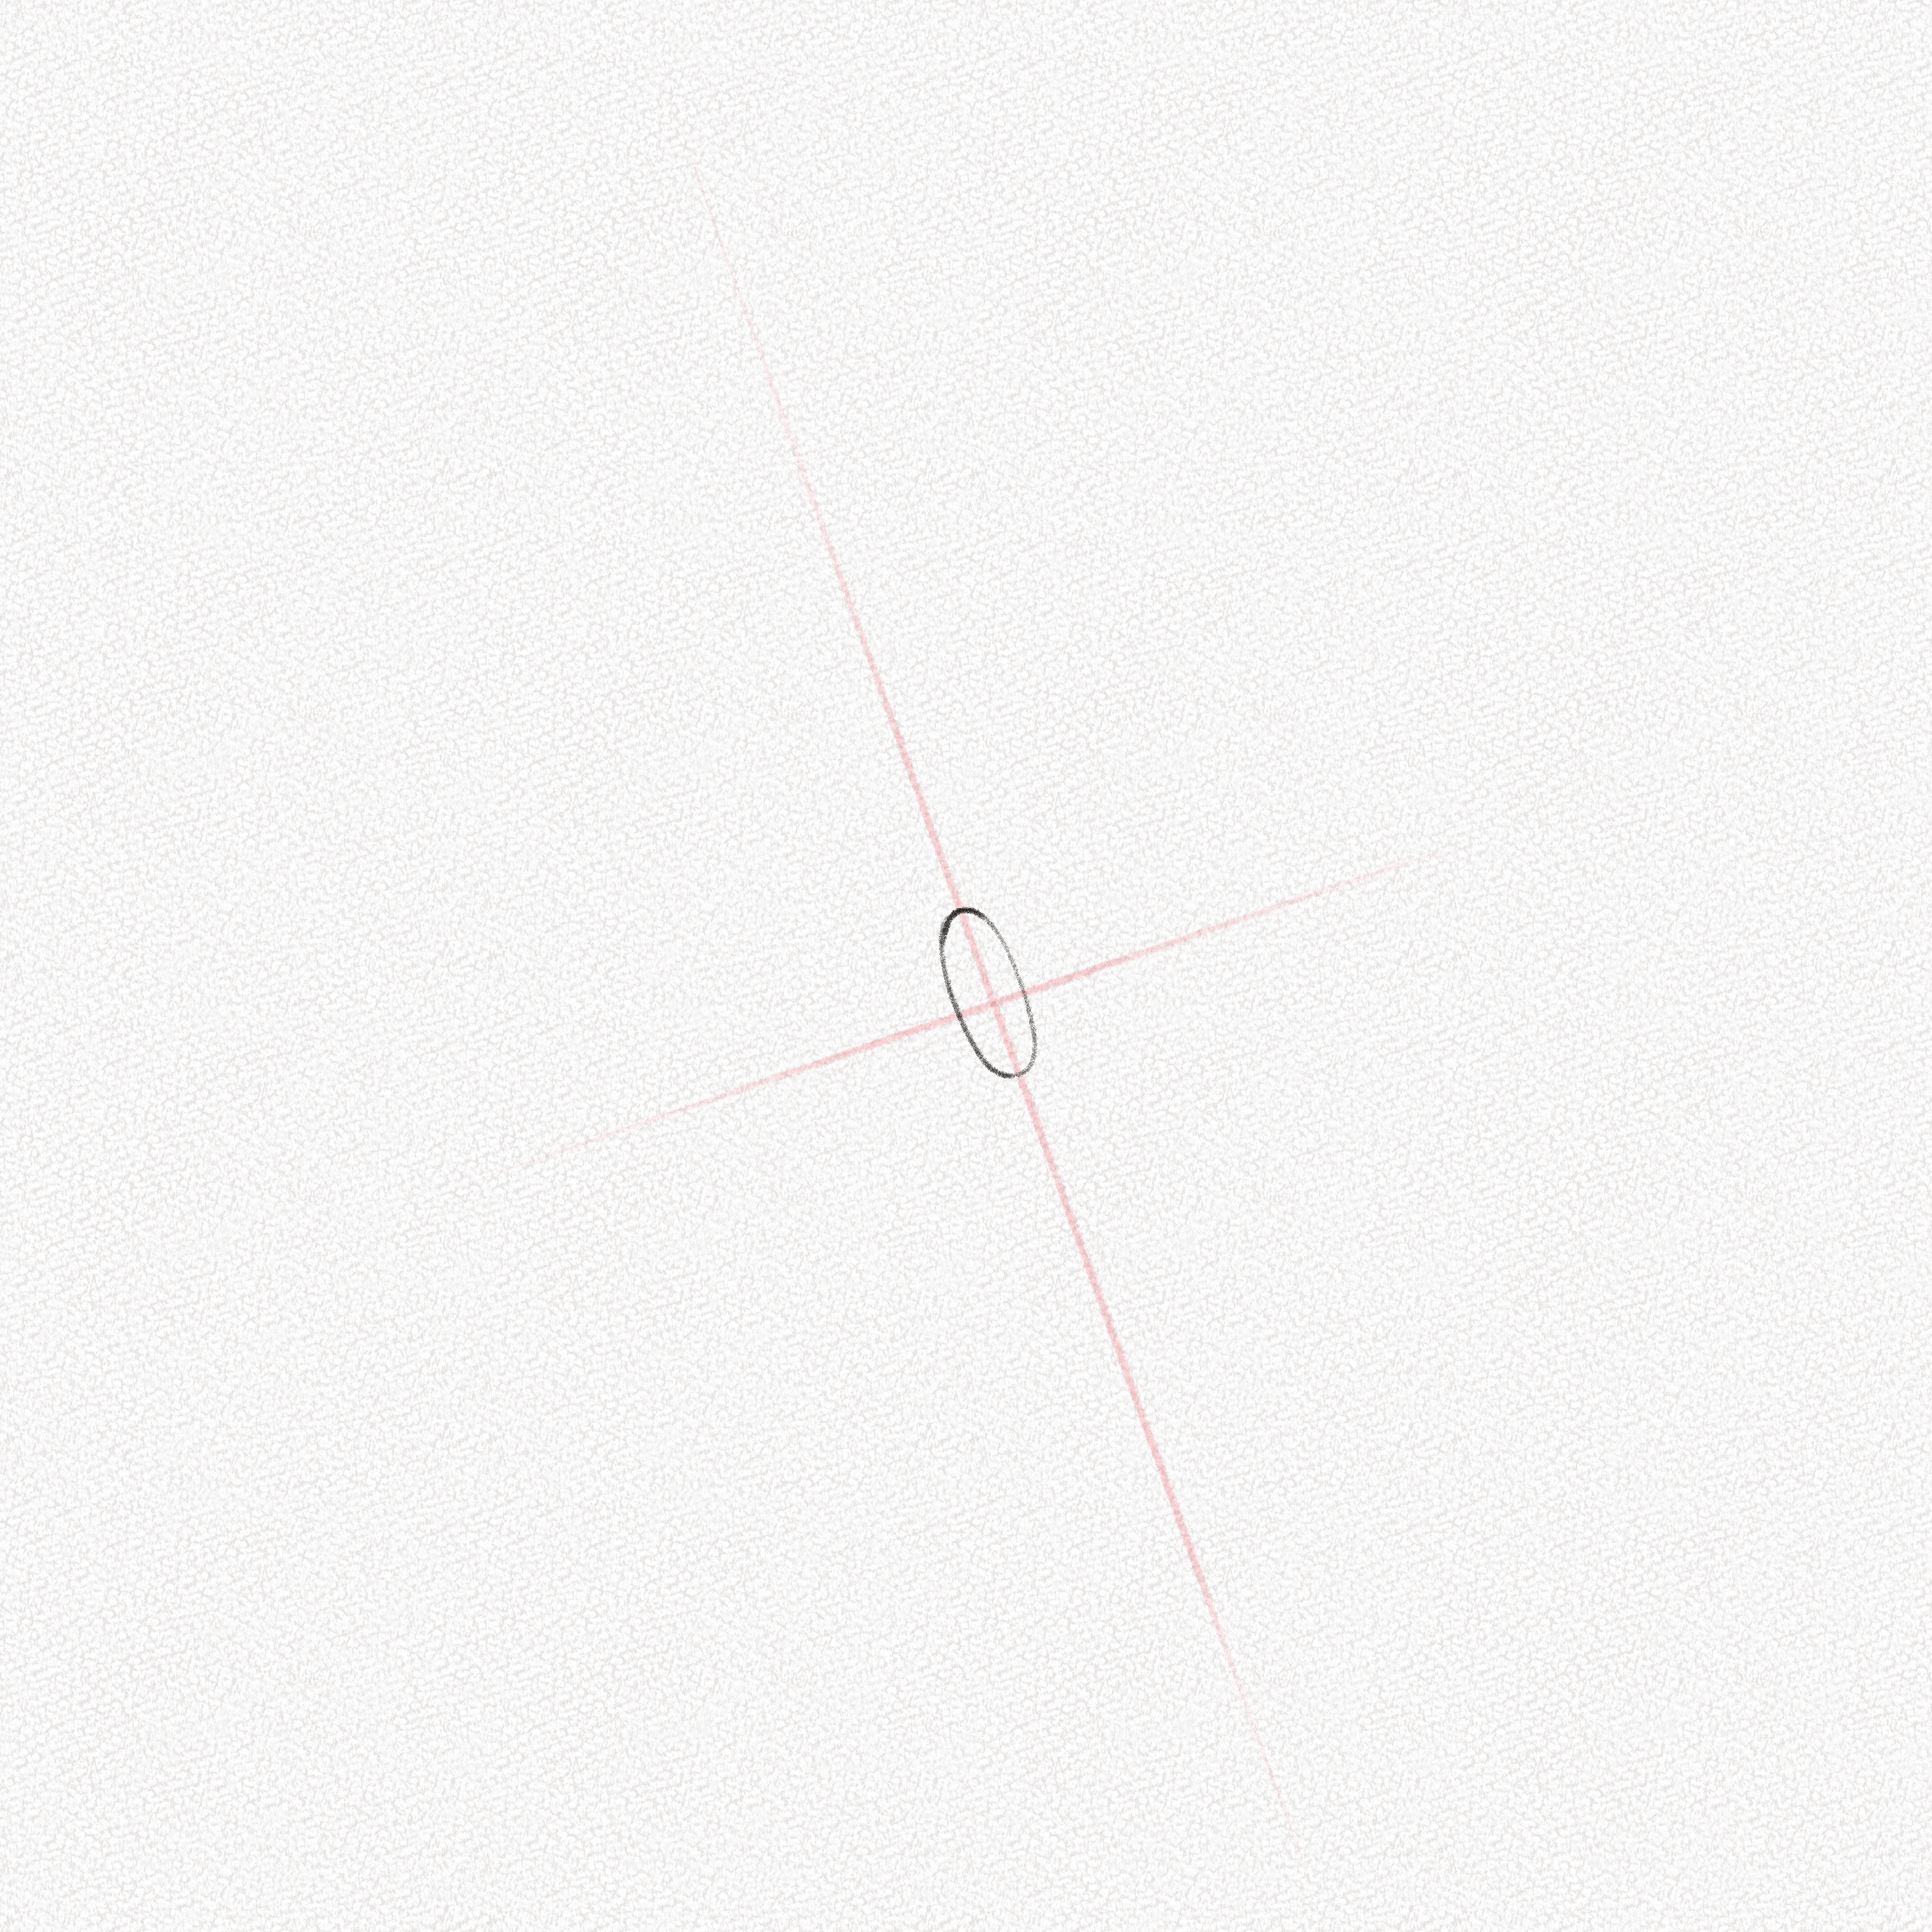
Step 4: Draw a circle
Draw a small circle above the oval drawn in step 3. This should not exceed the width of the butterfly’s body oval, as this will be the butterfly’s head.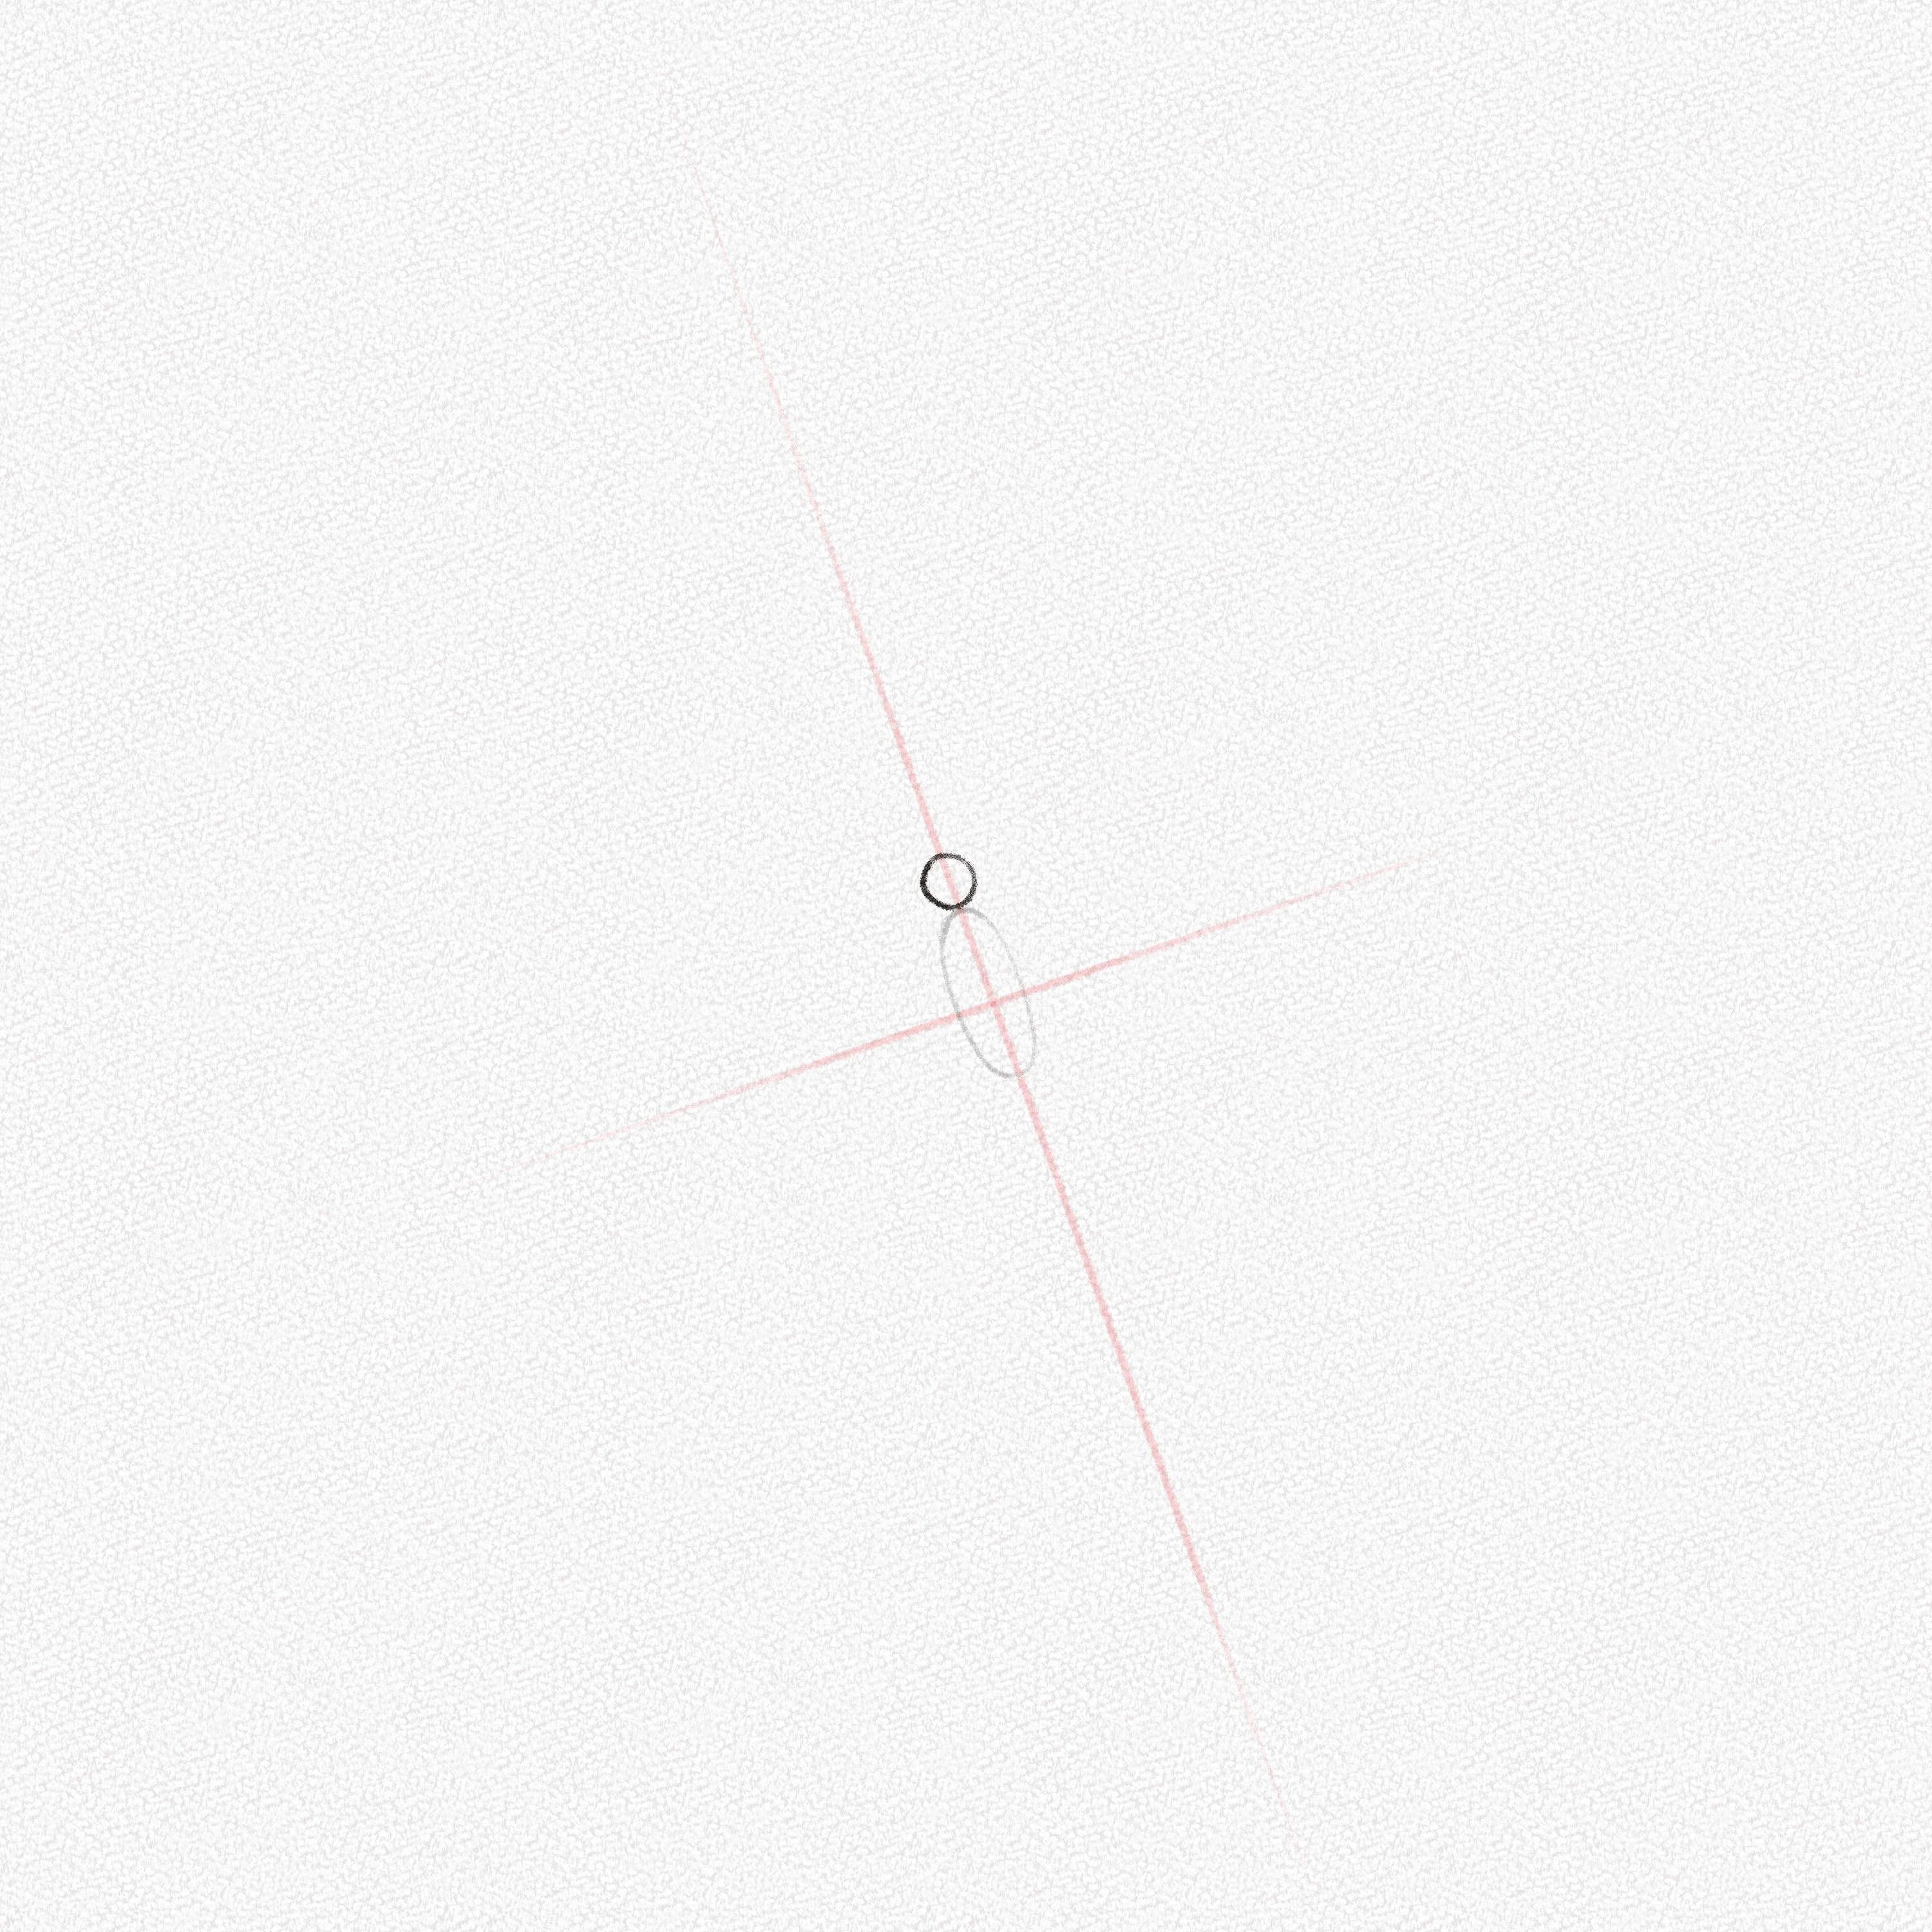
Step 5: Draw a triangle-like shape
Draw a long inverted triangle with a flat side, like an elongated trapezoid under the butterfly’s oval body. This will be the butterfly’s lower body and tail.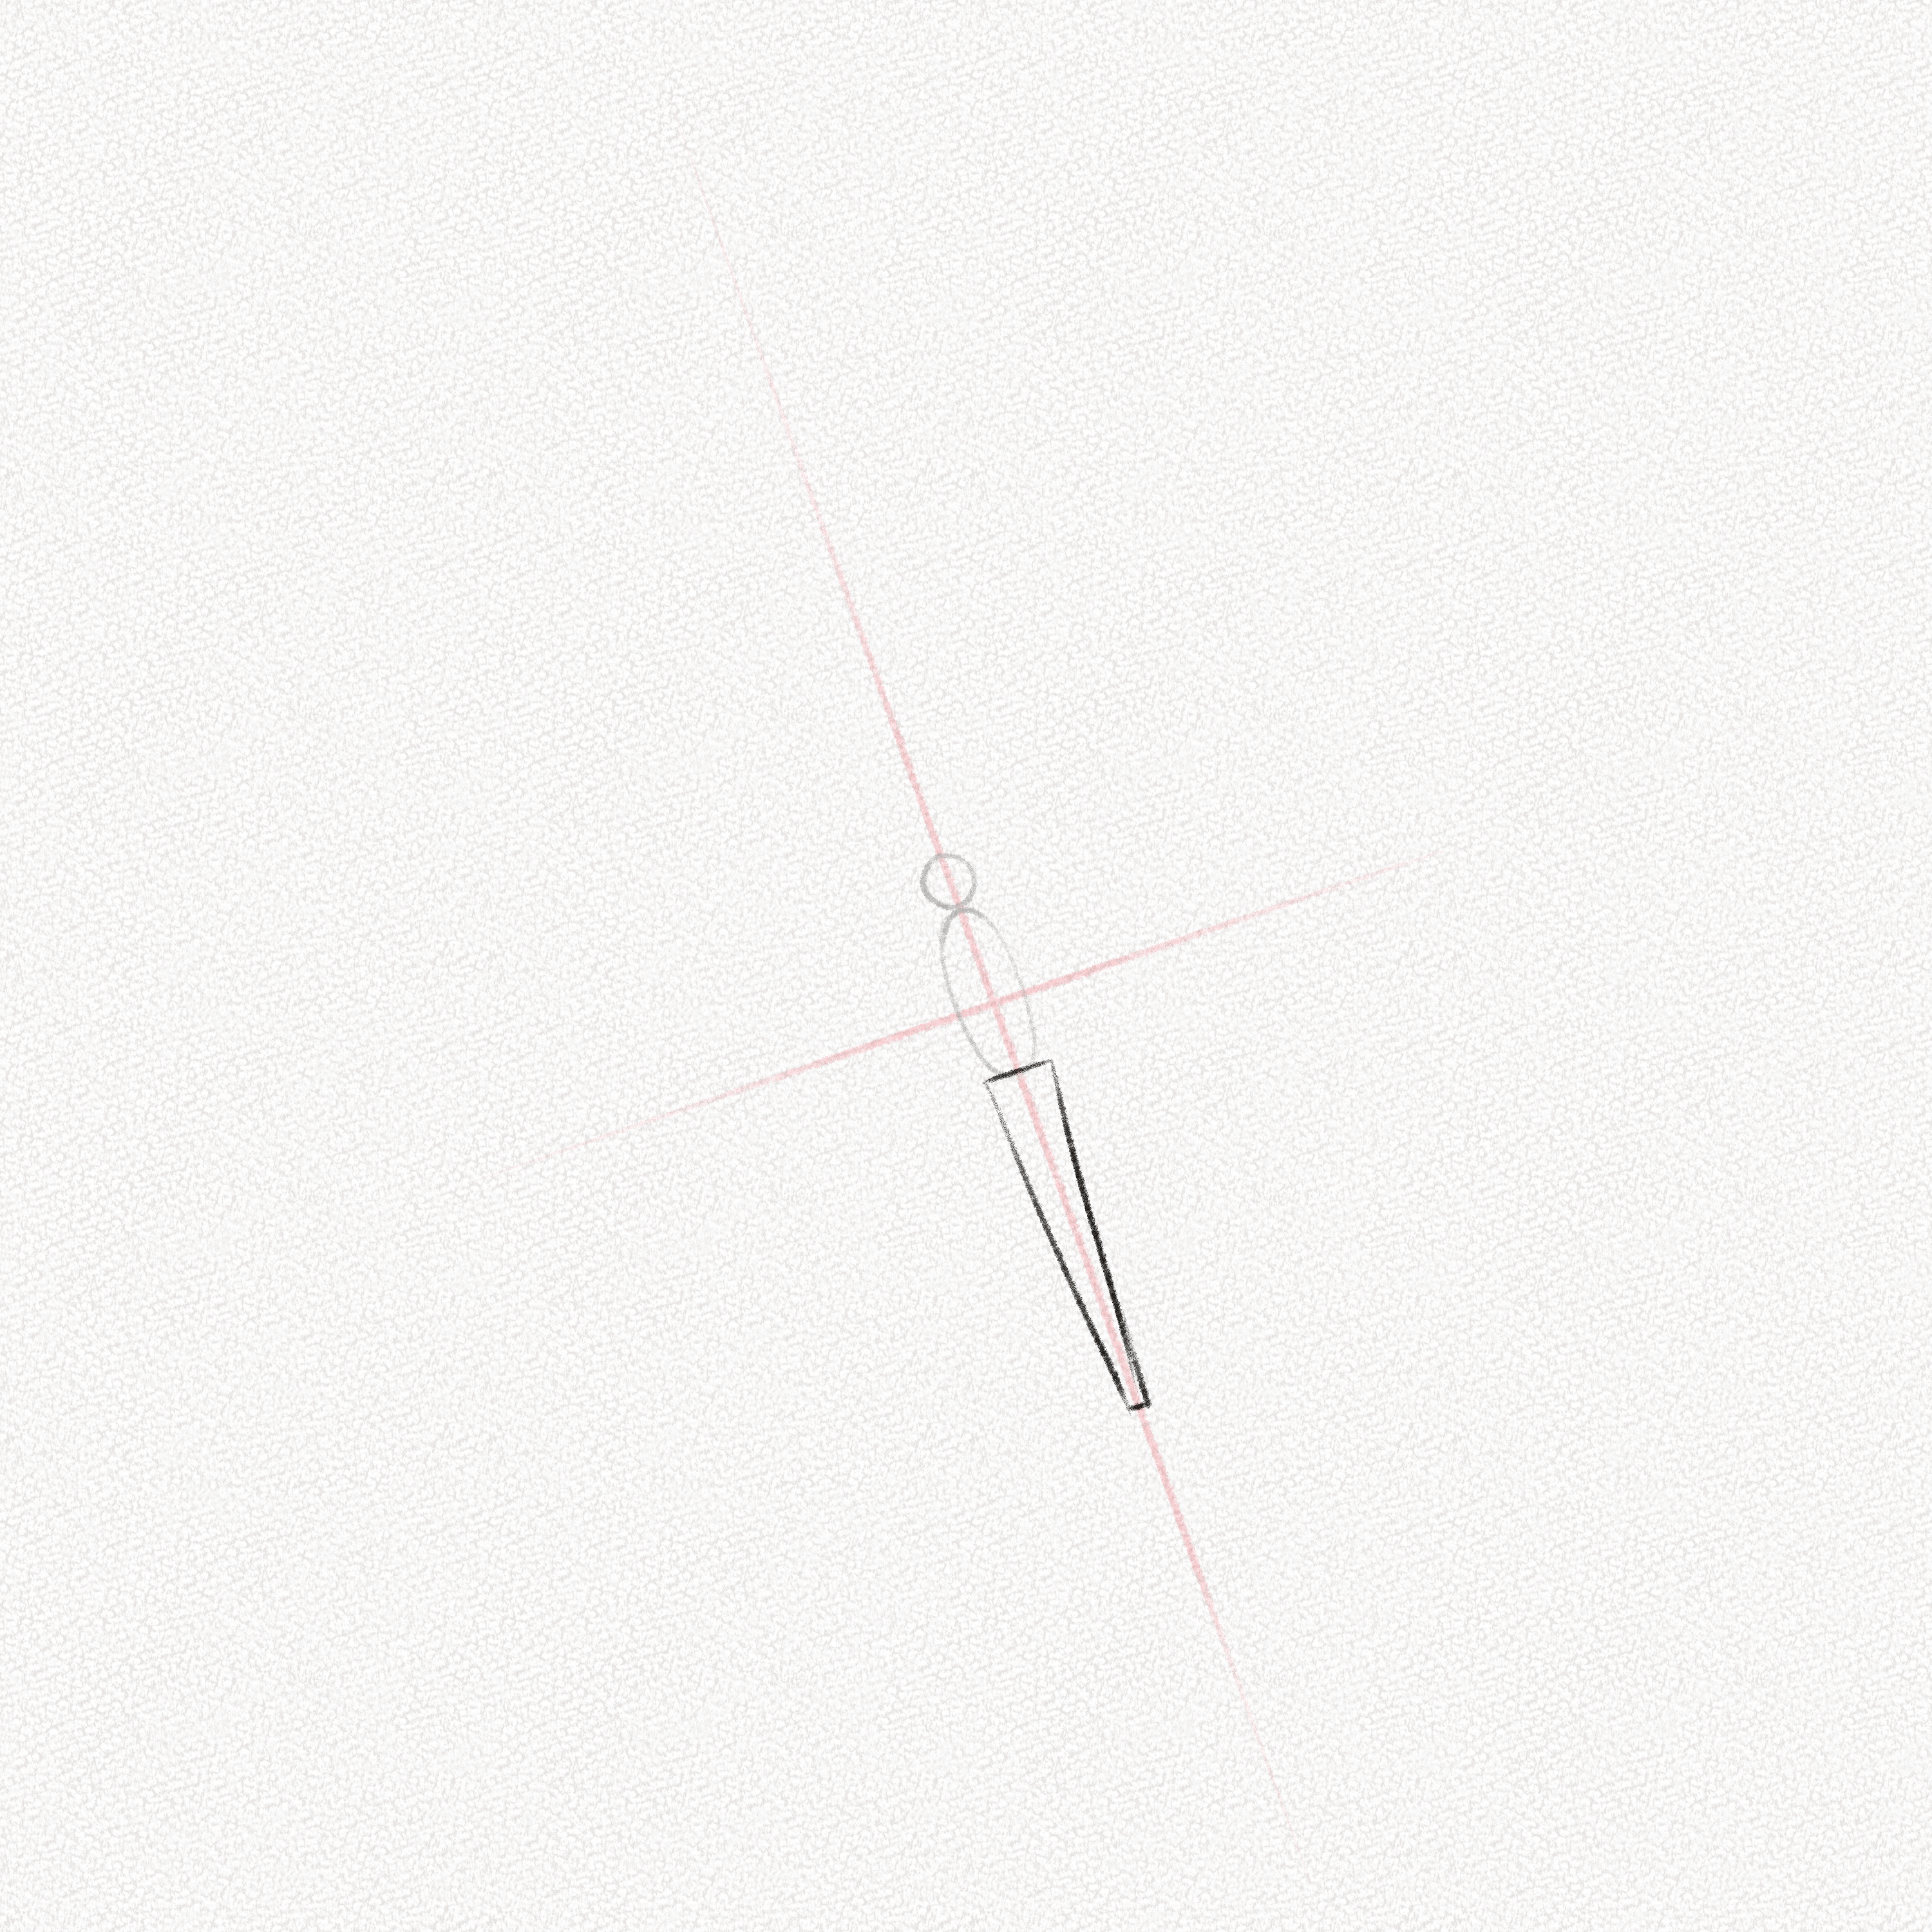
Step 6: Draw a curved line
Draw a long curved line from the corner of your canvas, as shown in the diagram below.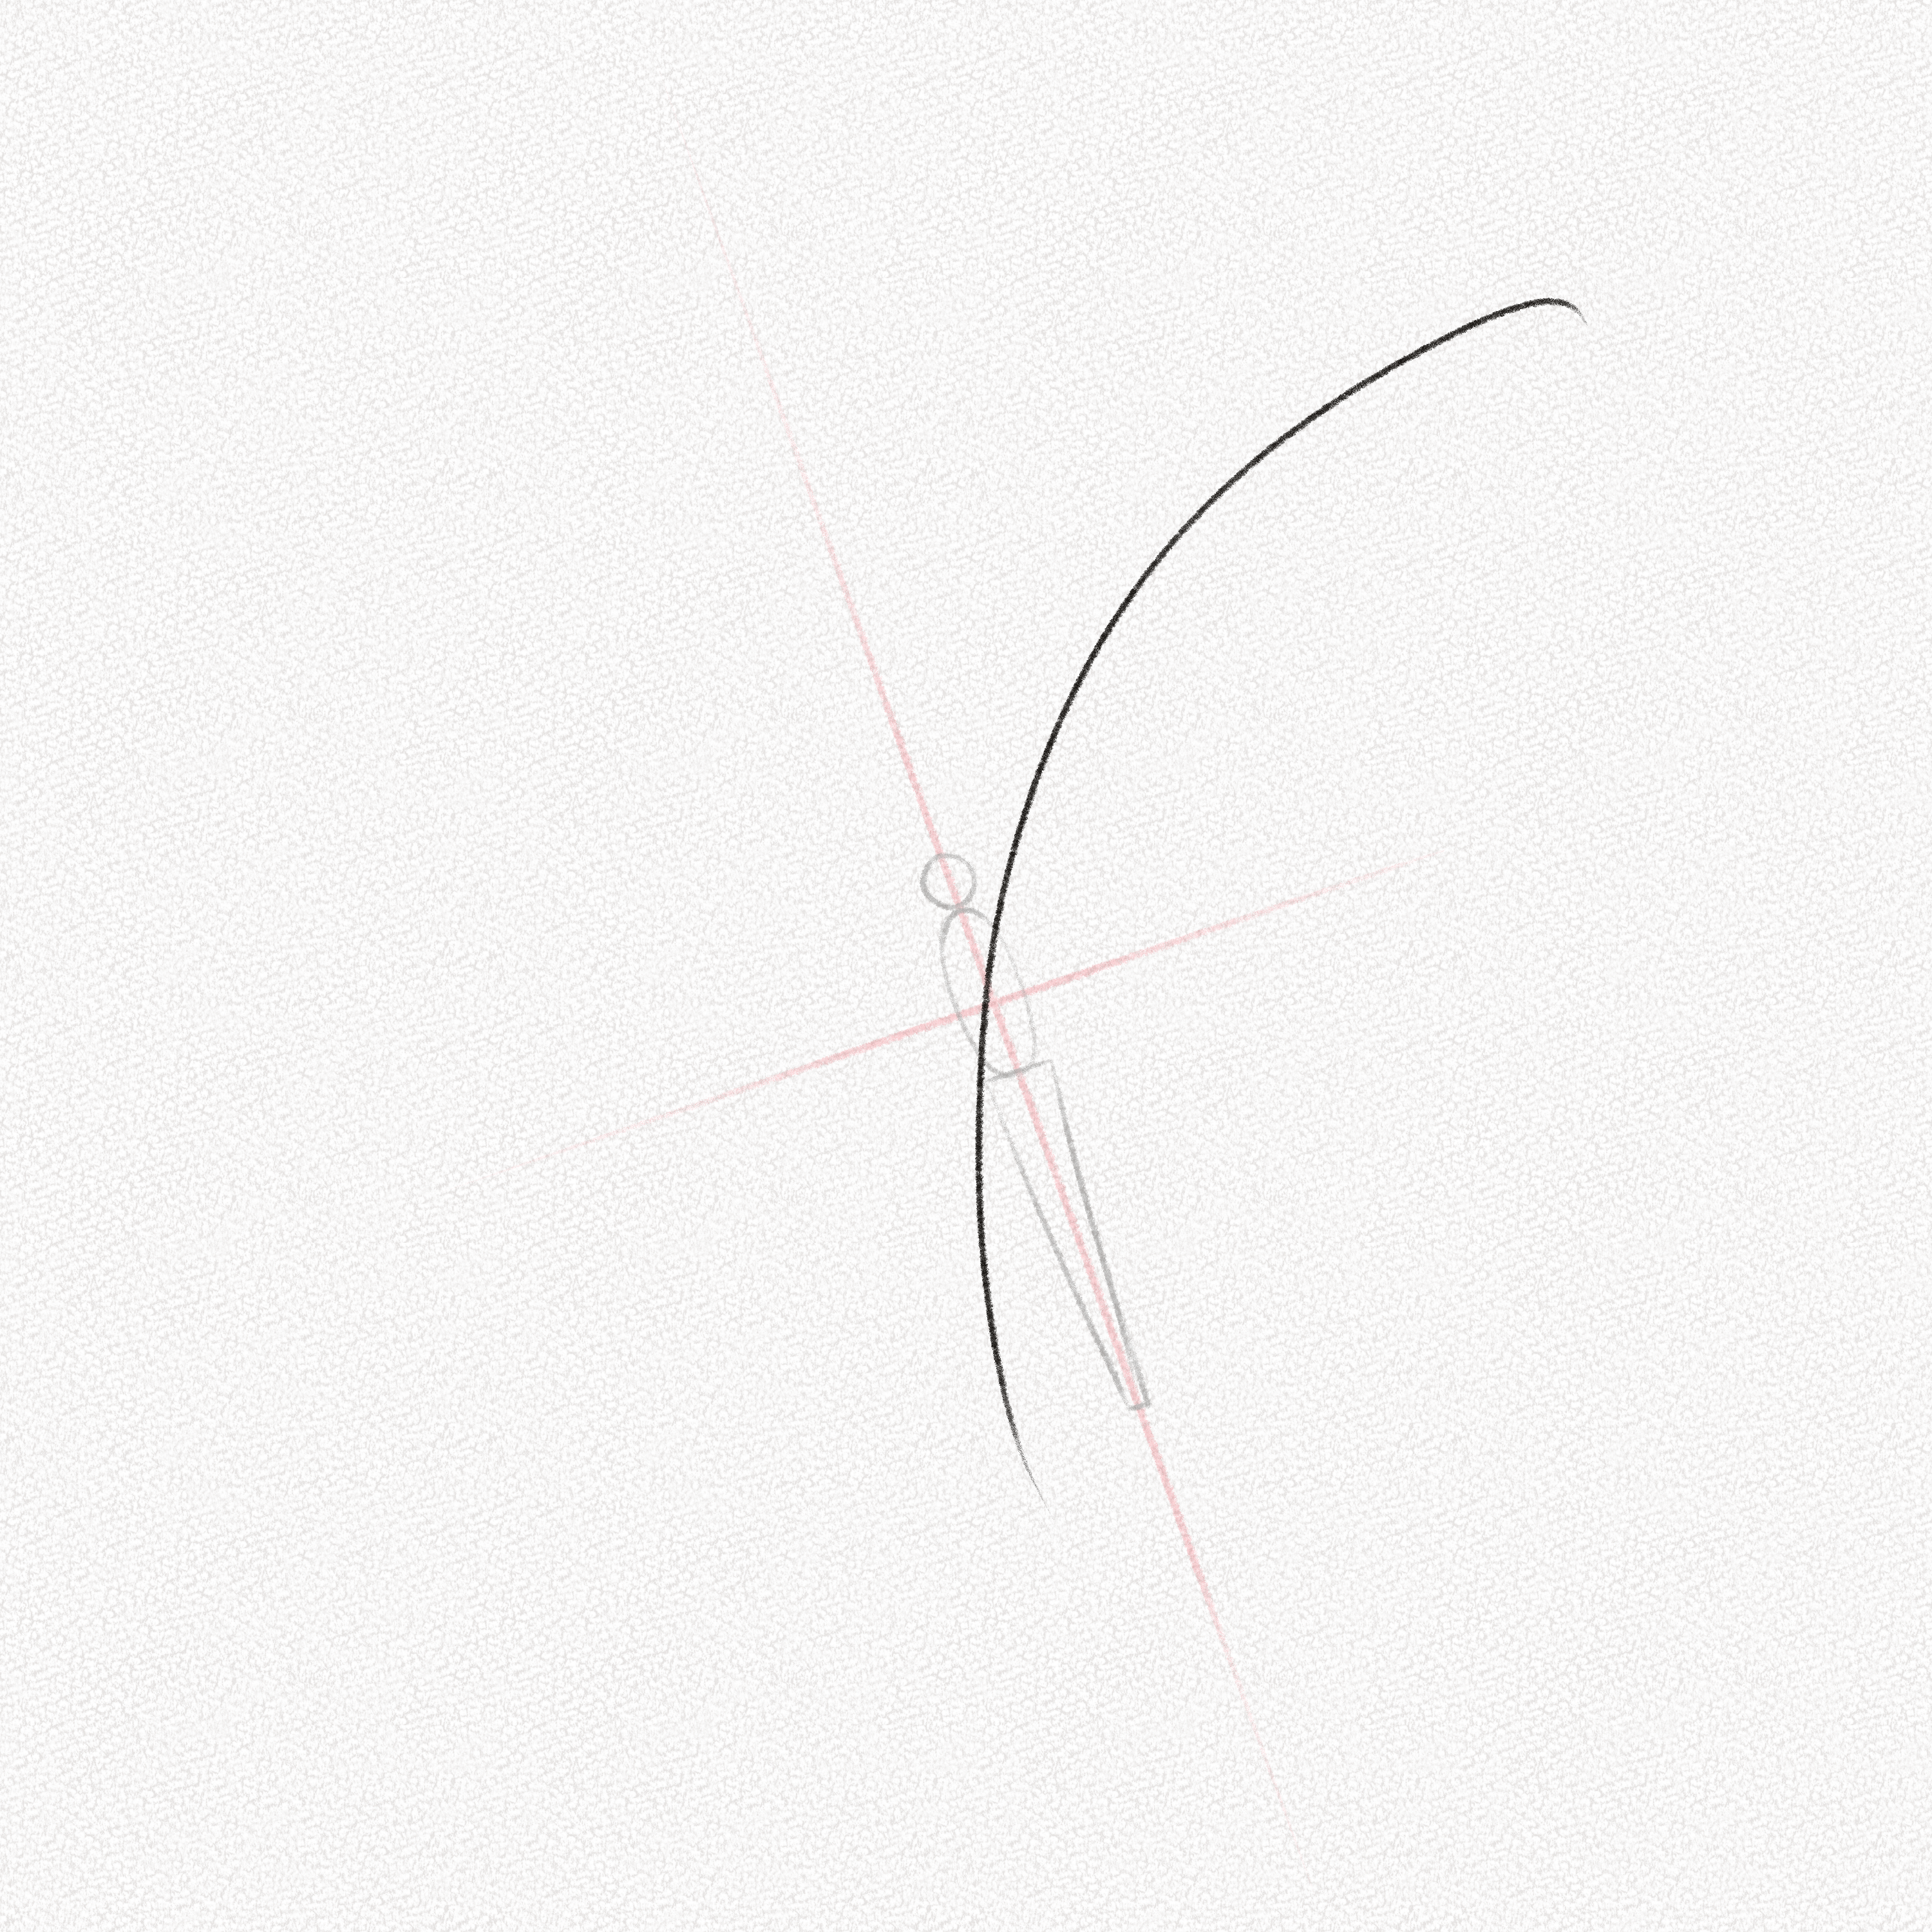
Step 7: Repeat
Repeat the step above for the other wing; make sure to keep it somewhat symmetrical, and make sure the ends don’t go below the butterfly’s lower body.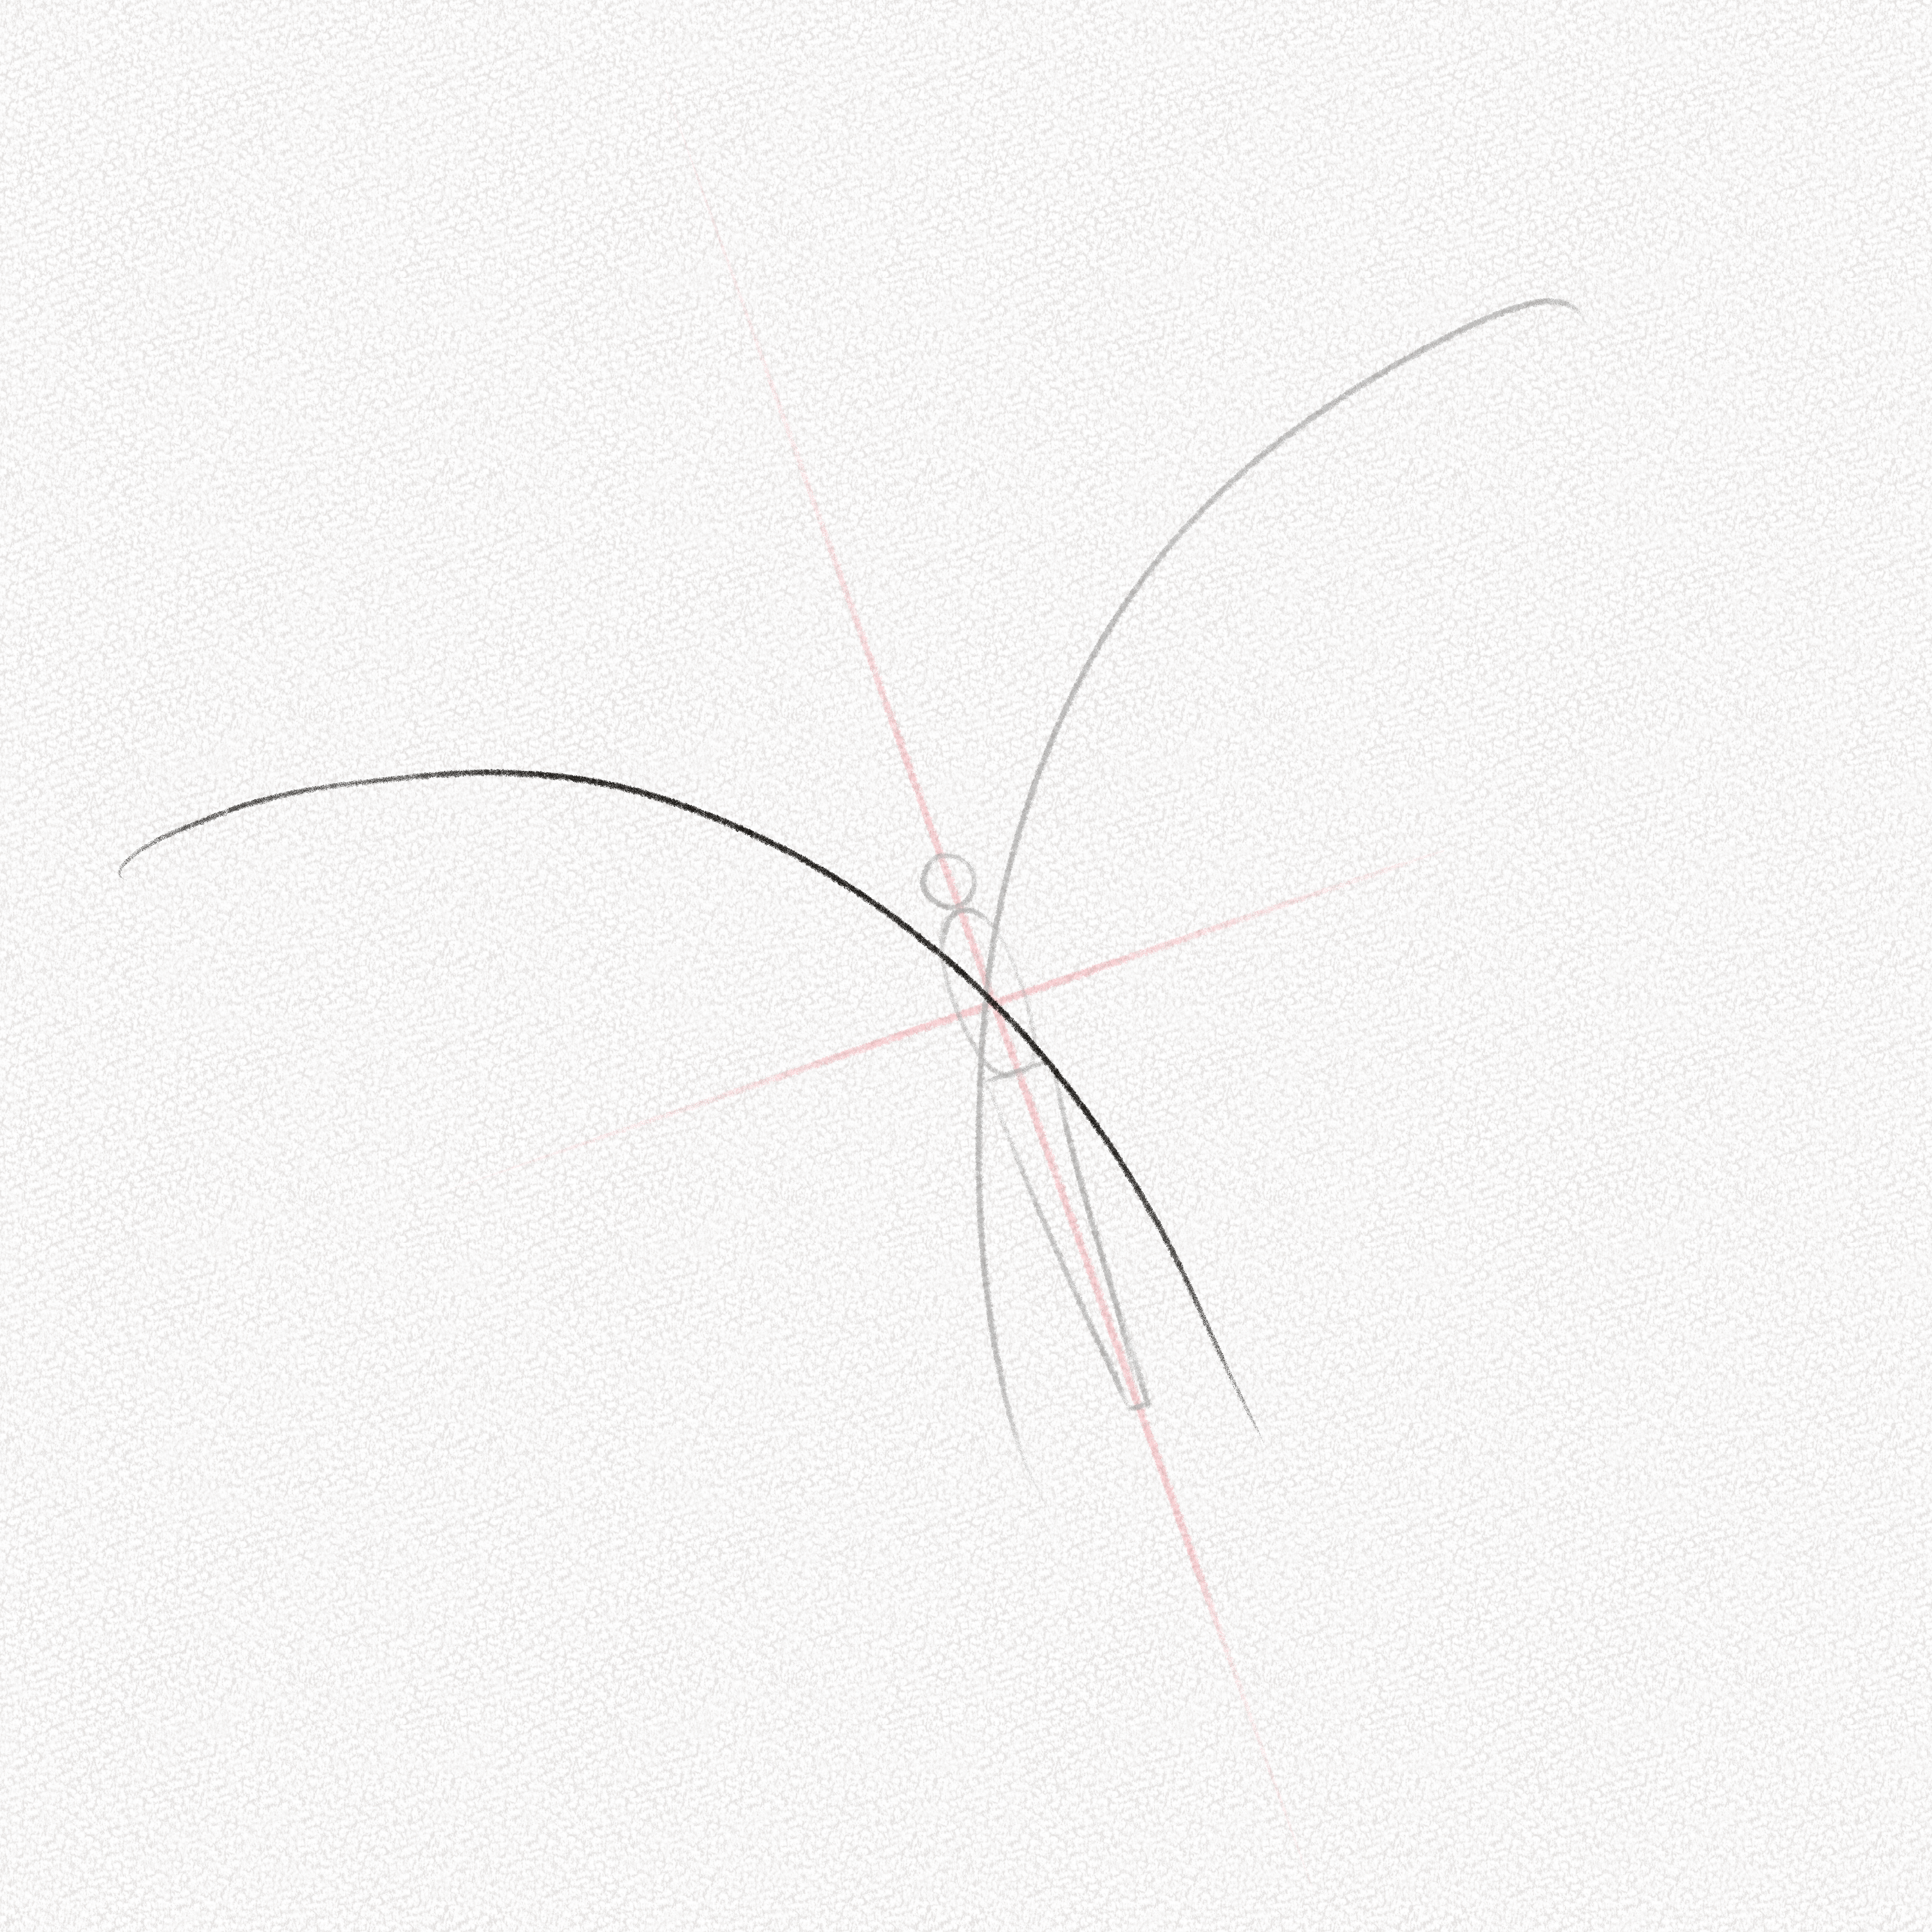
Step 8: Draw two lines
Draw two straight lines from the middle of the butterfly’s body to mark the wing’s structure, as shown in the image.
Step 9: Connect them
Connect the lines forming the characteristics butterfly wing’s shape using a long curved line.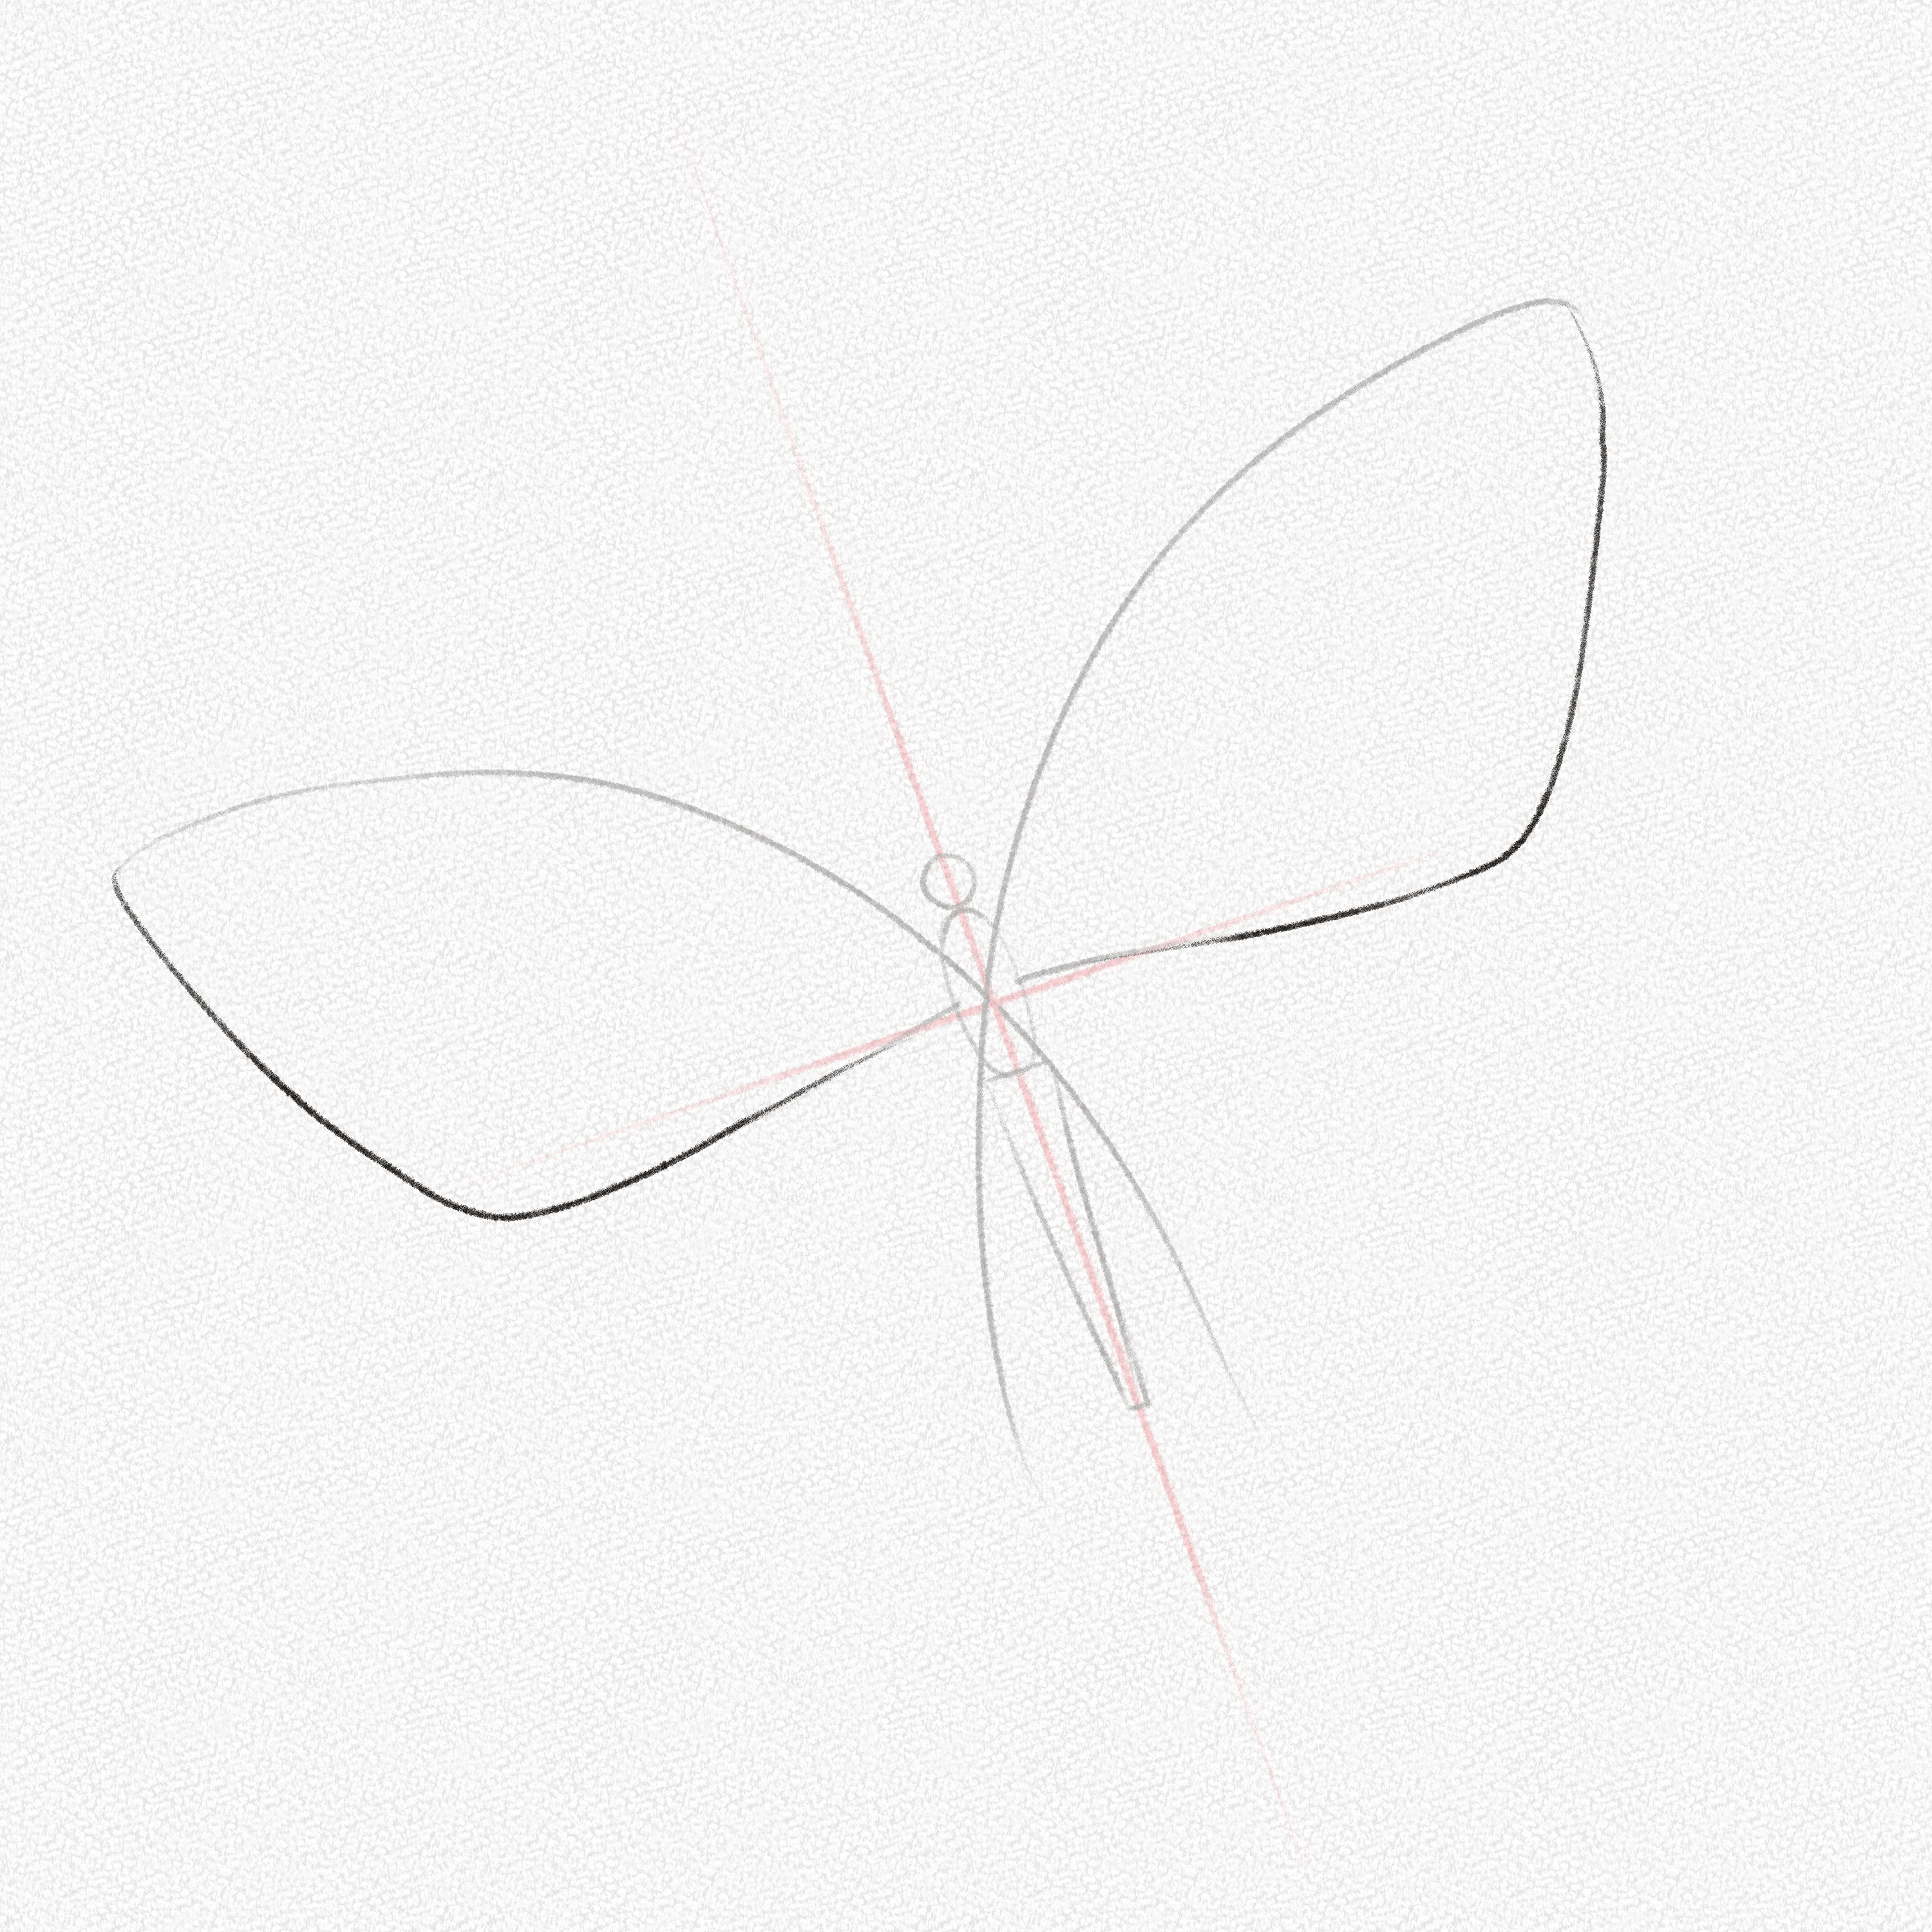
Step 10: Draw the lower wings
Using the upper wings as a reference, pull two curved C-shape lines and connect them to the guidelines drawn in steps 6 & 7.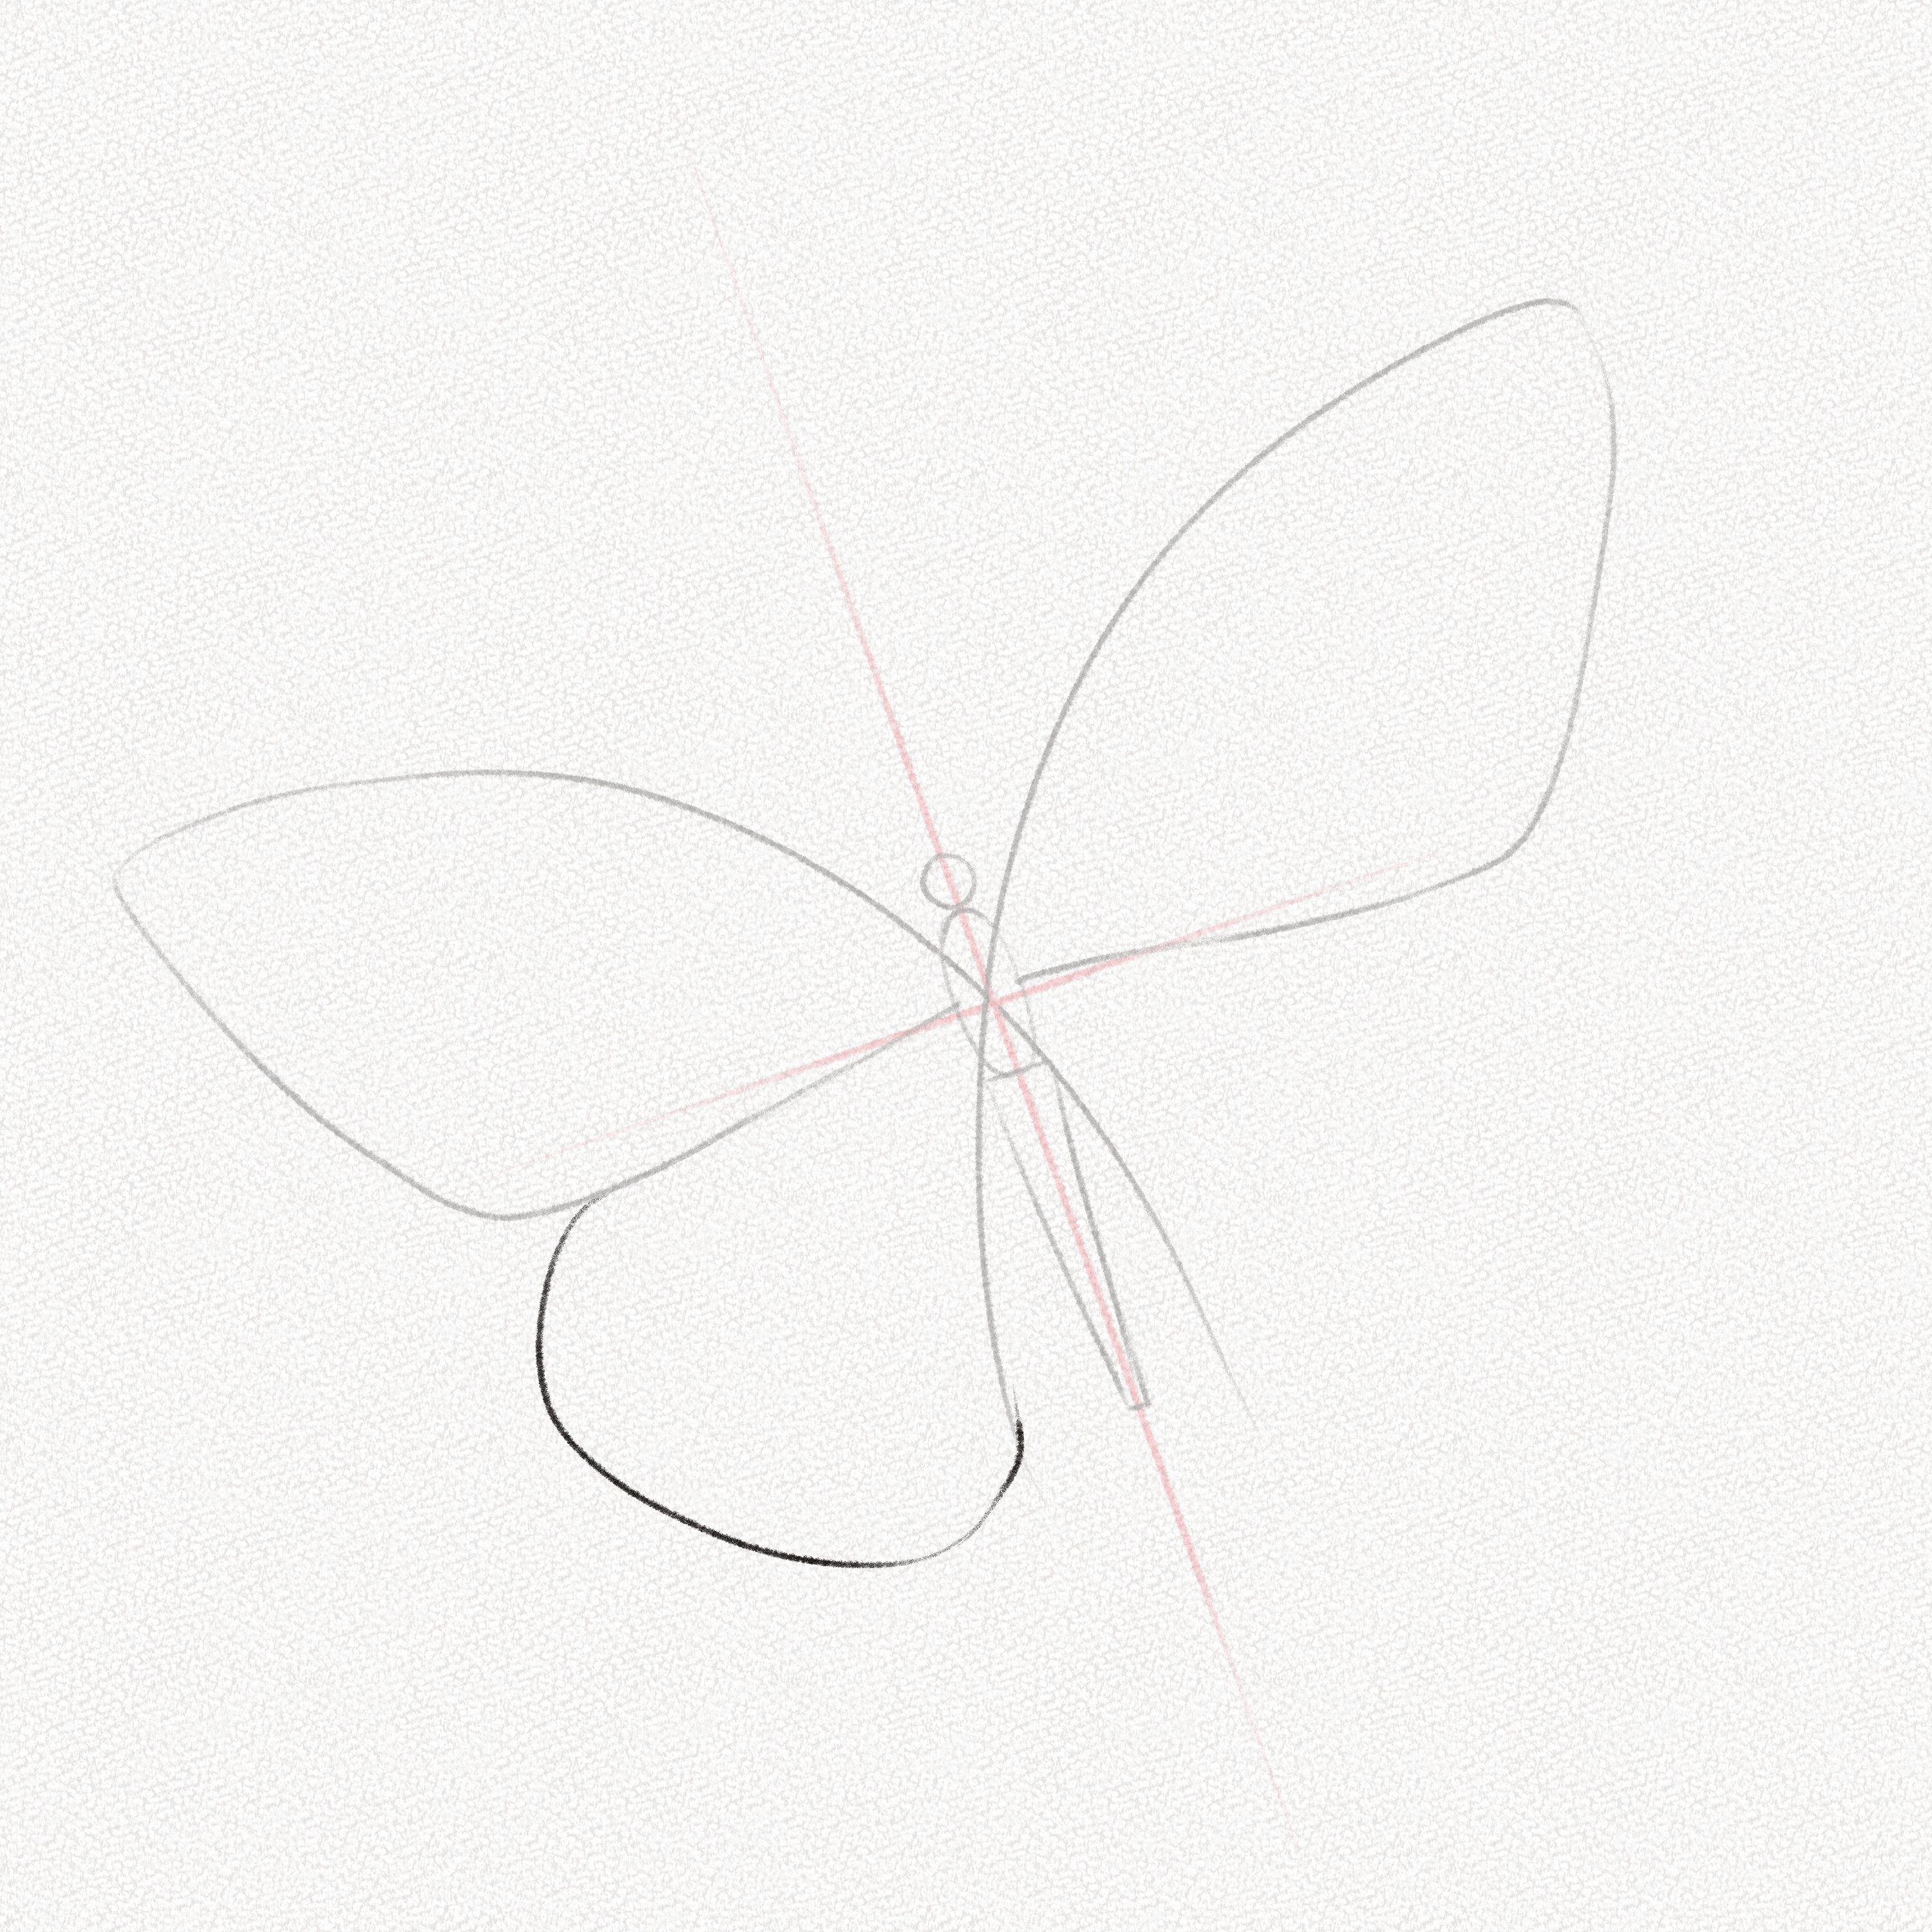
Step 11: Draw the feelers
Draw two lines starting from the top of the head circle to indicate the feelers (antennae) position.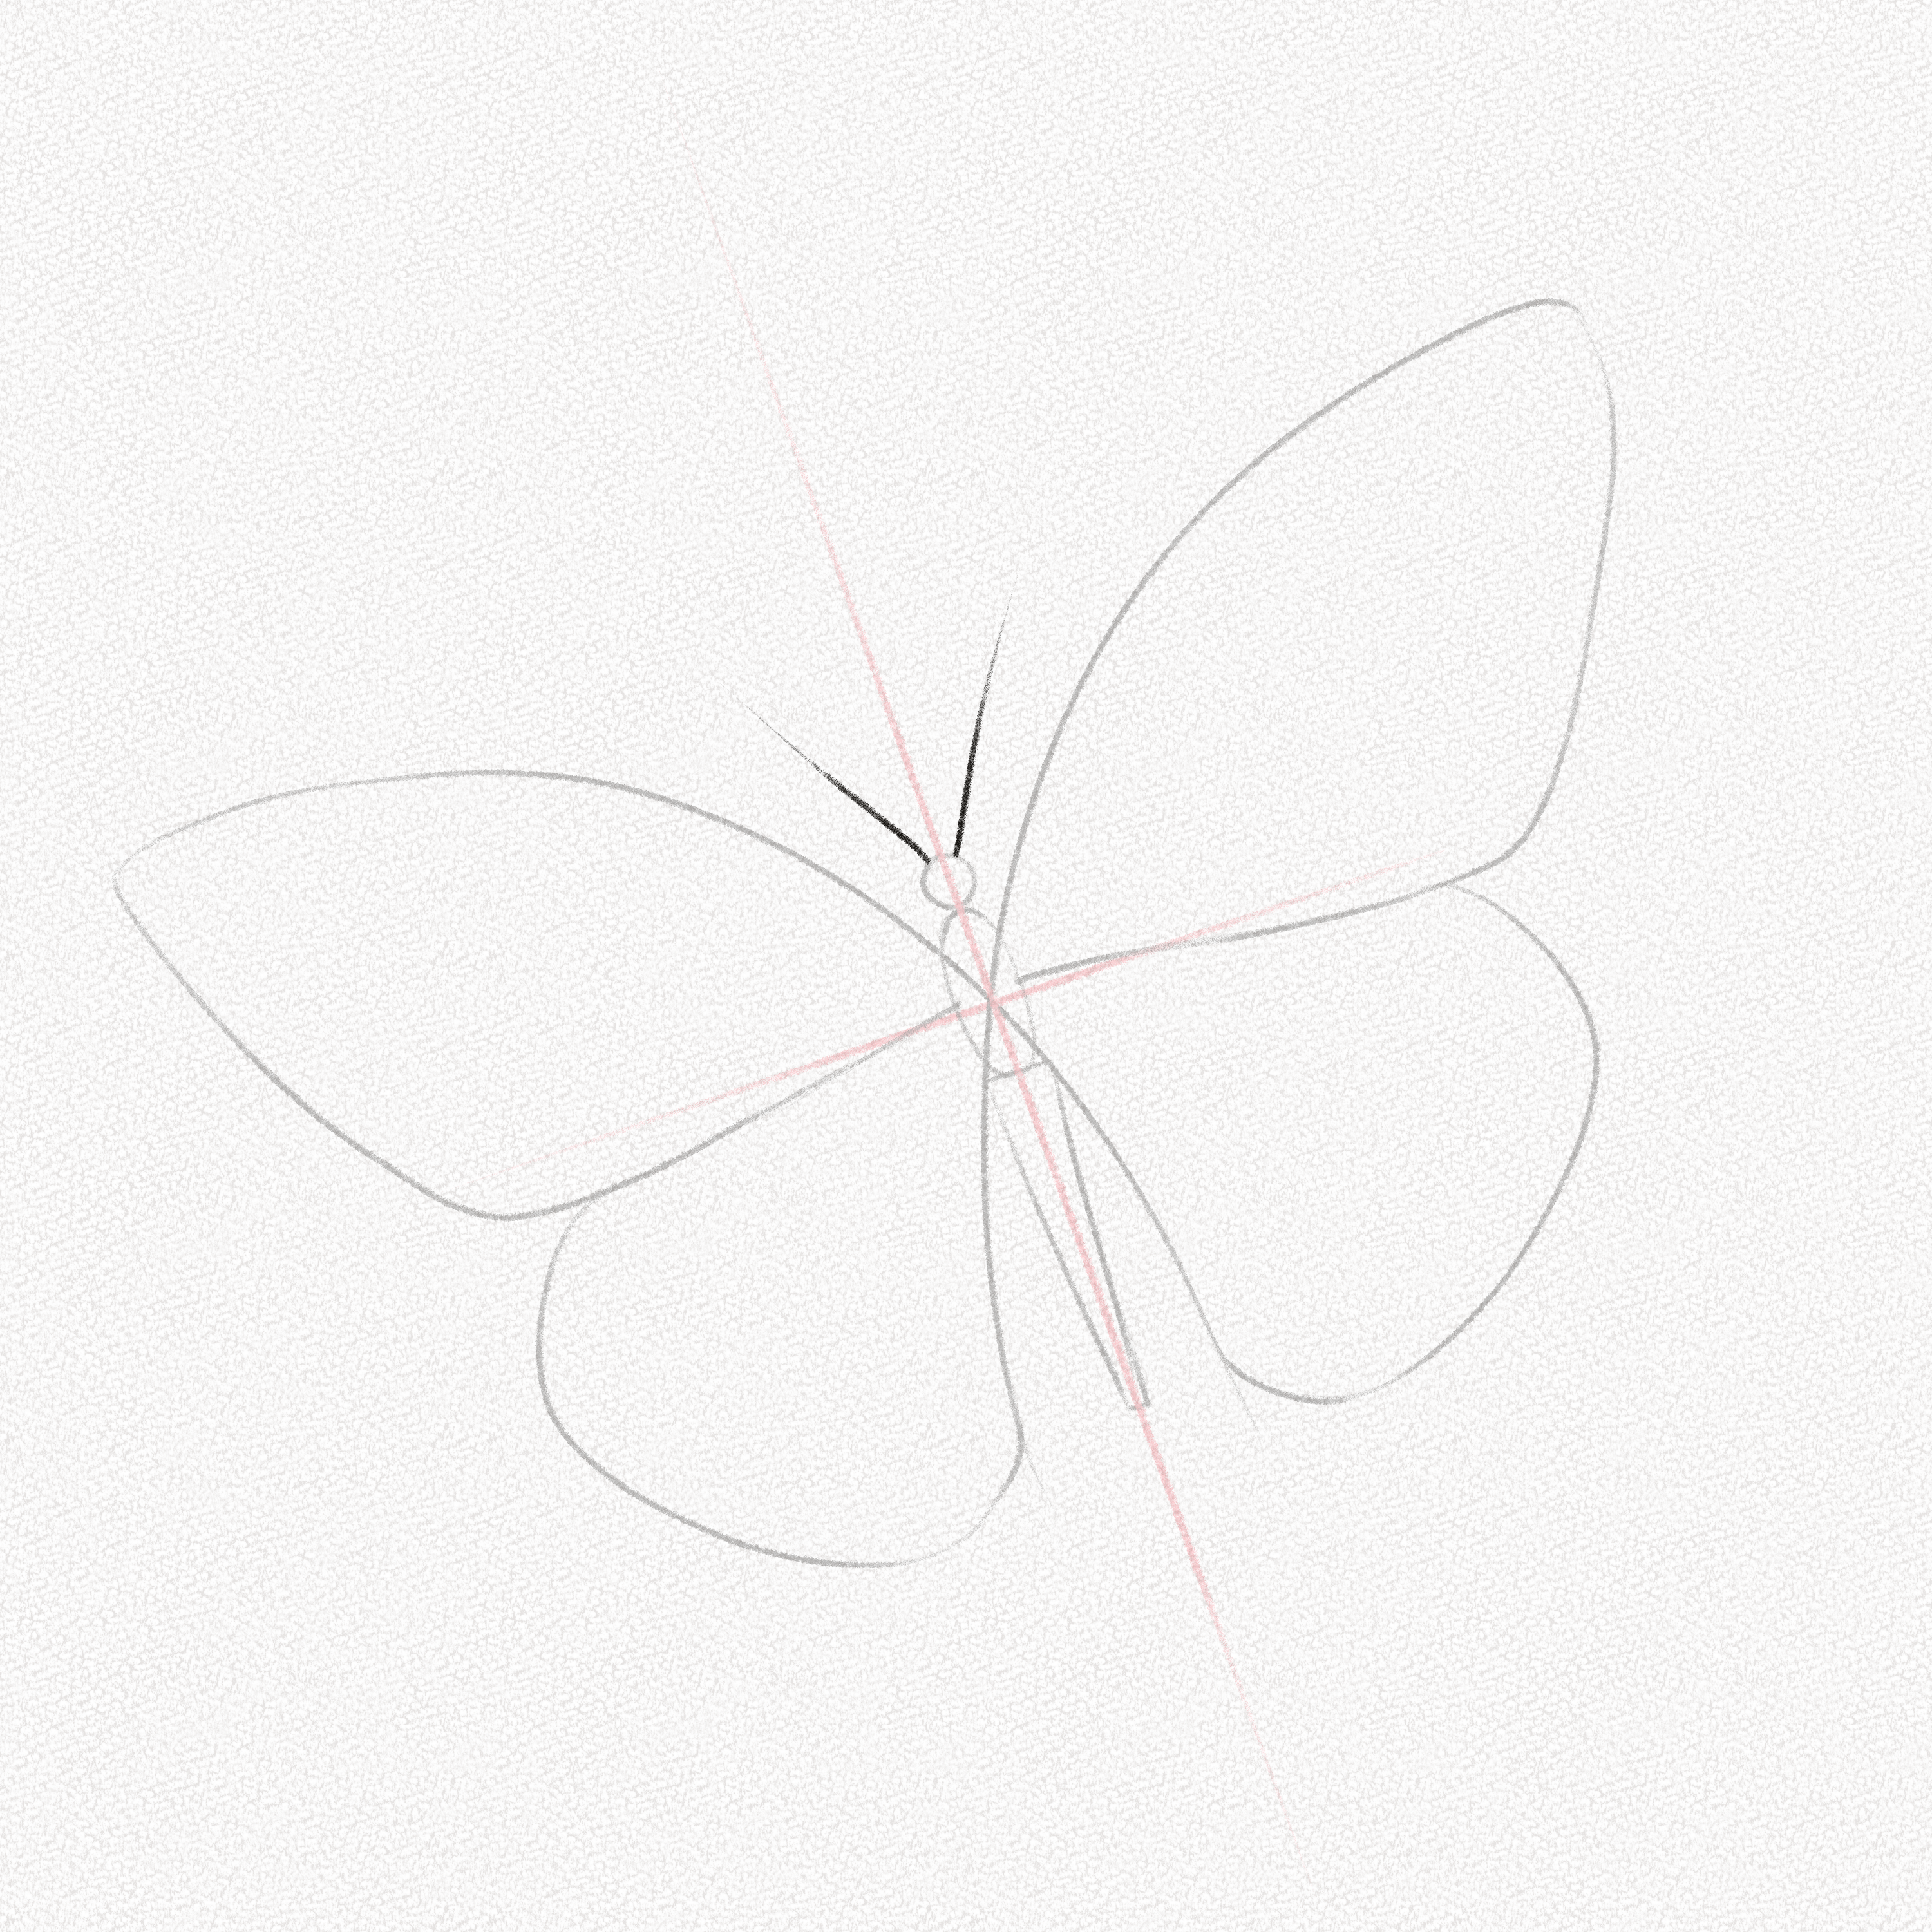
Section 2 – How to Draw a Butterfly
Step 12: Outline the body
Following the basic shape guidelines, outline the body of the butterfly with smooth, curved lines.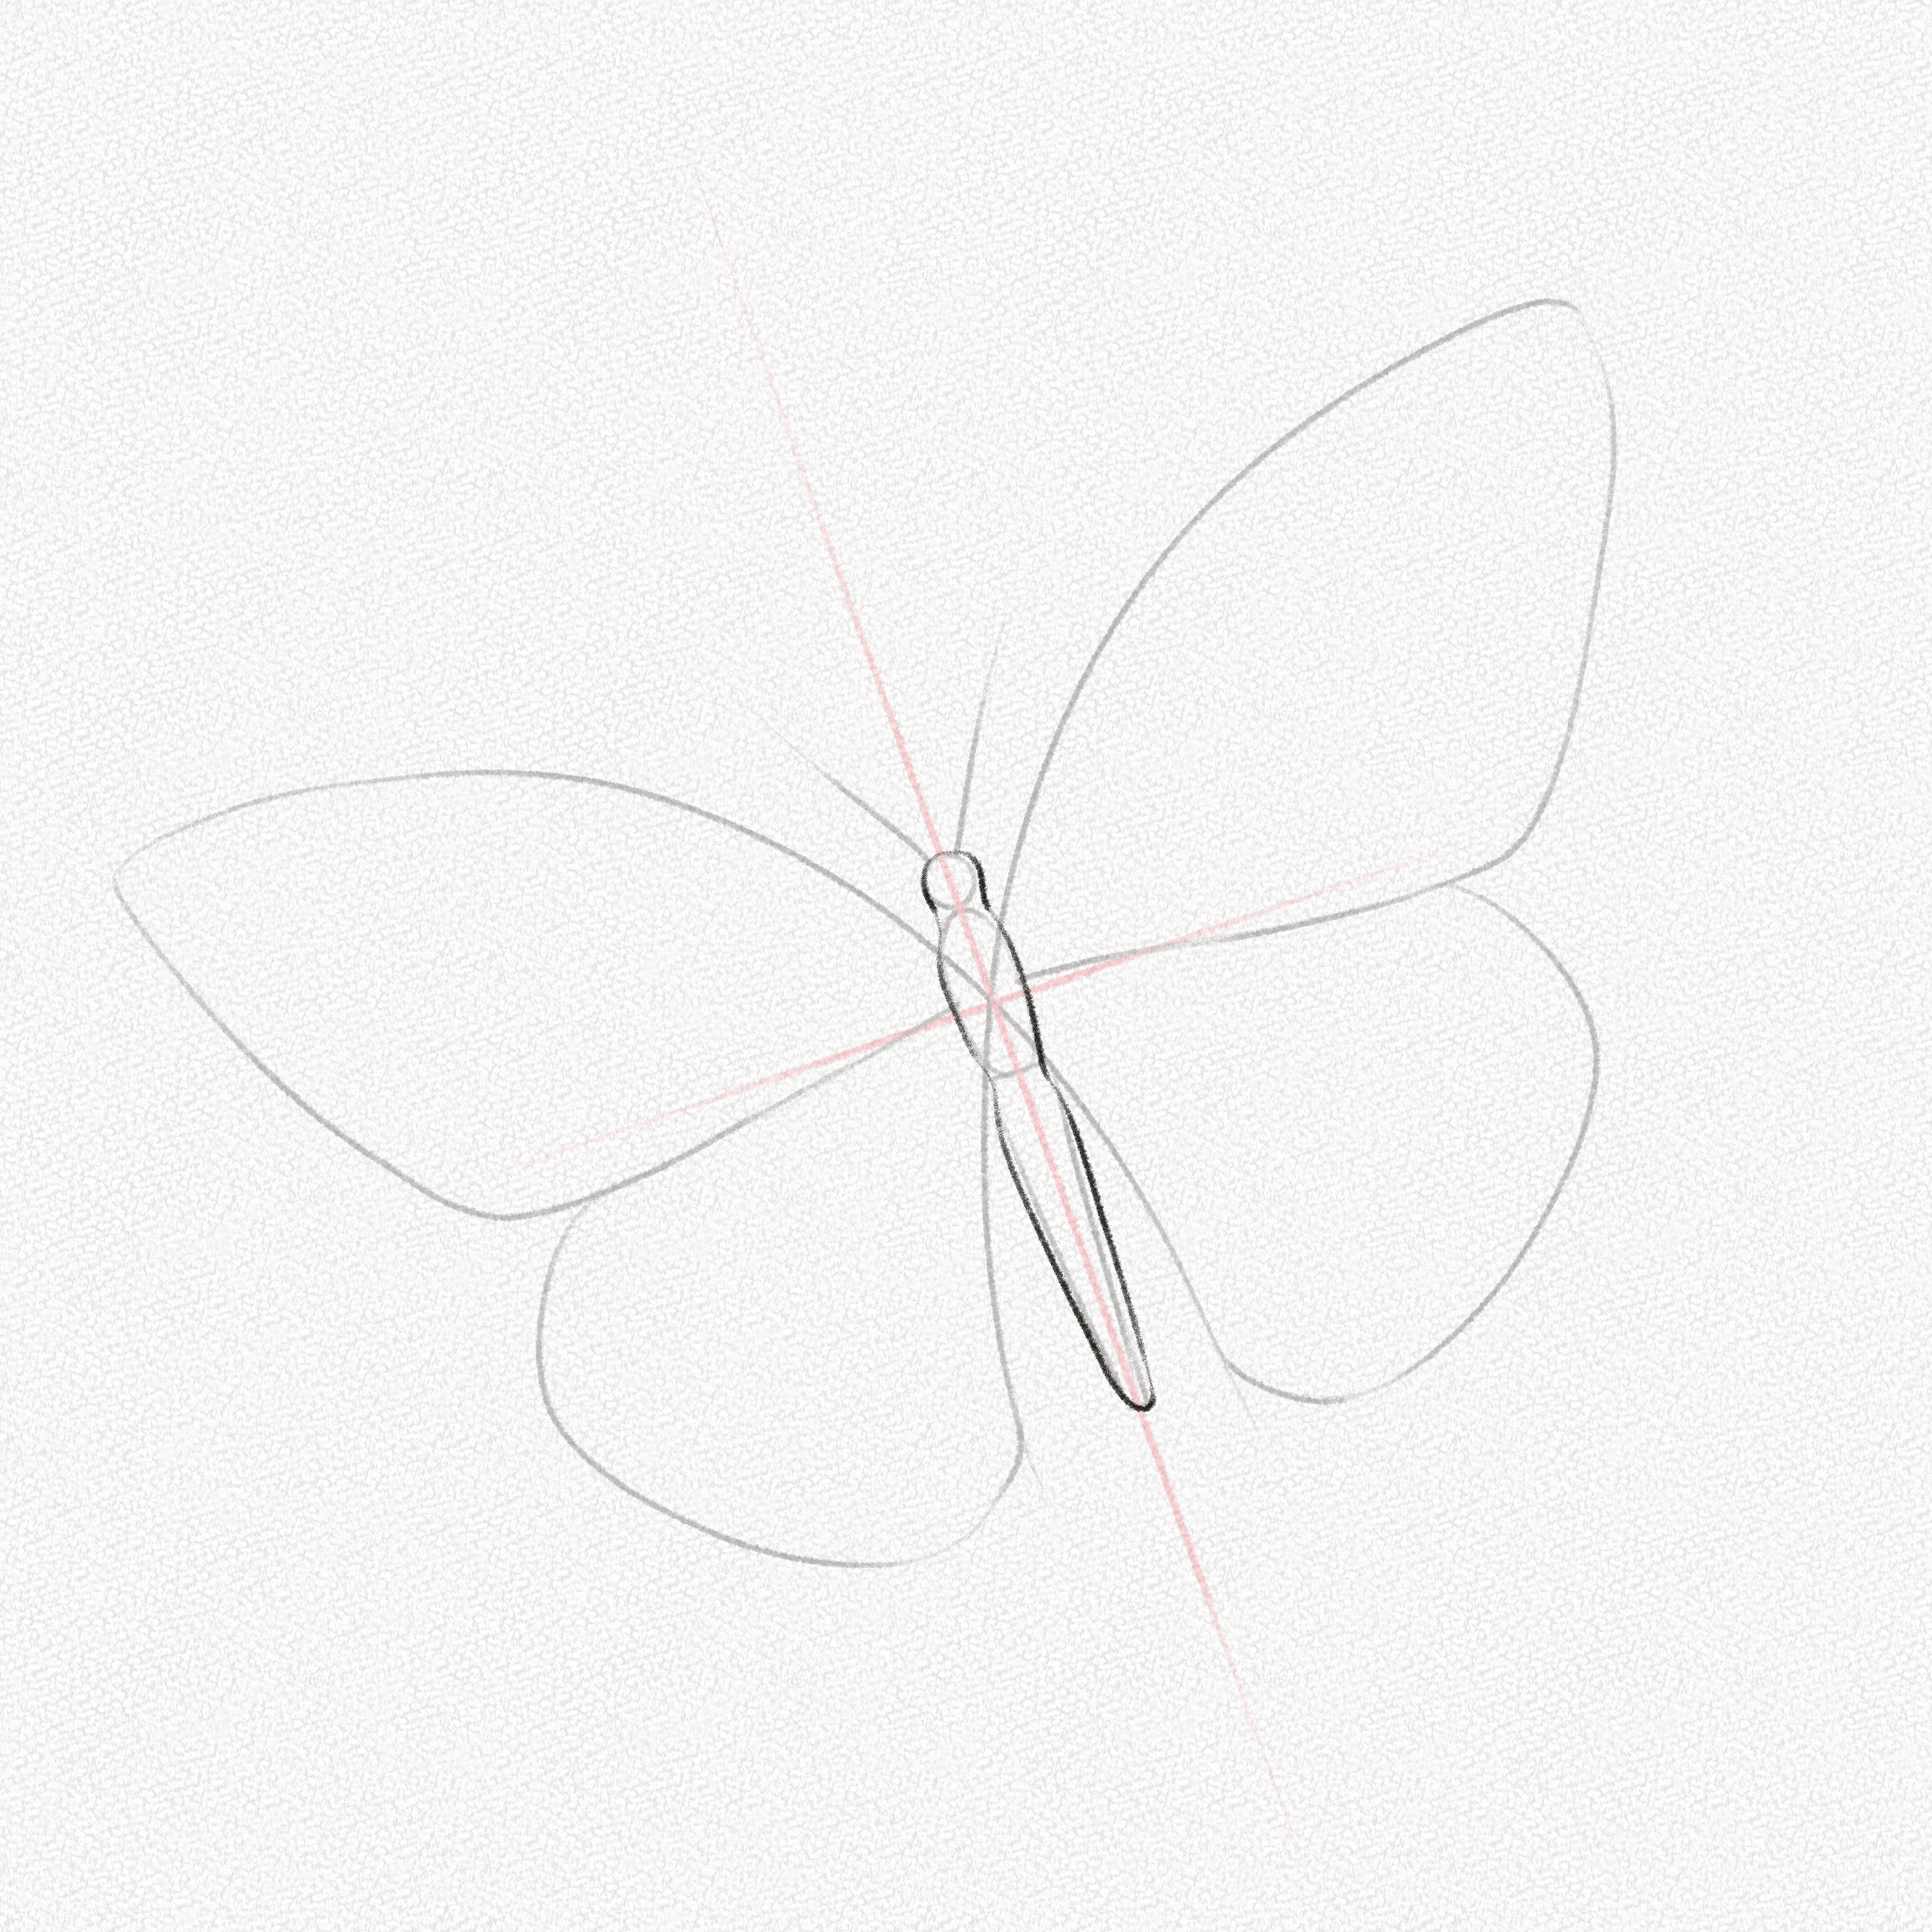
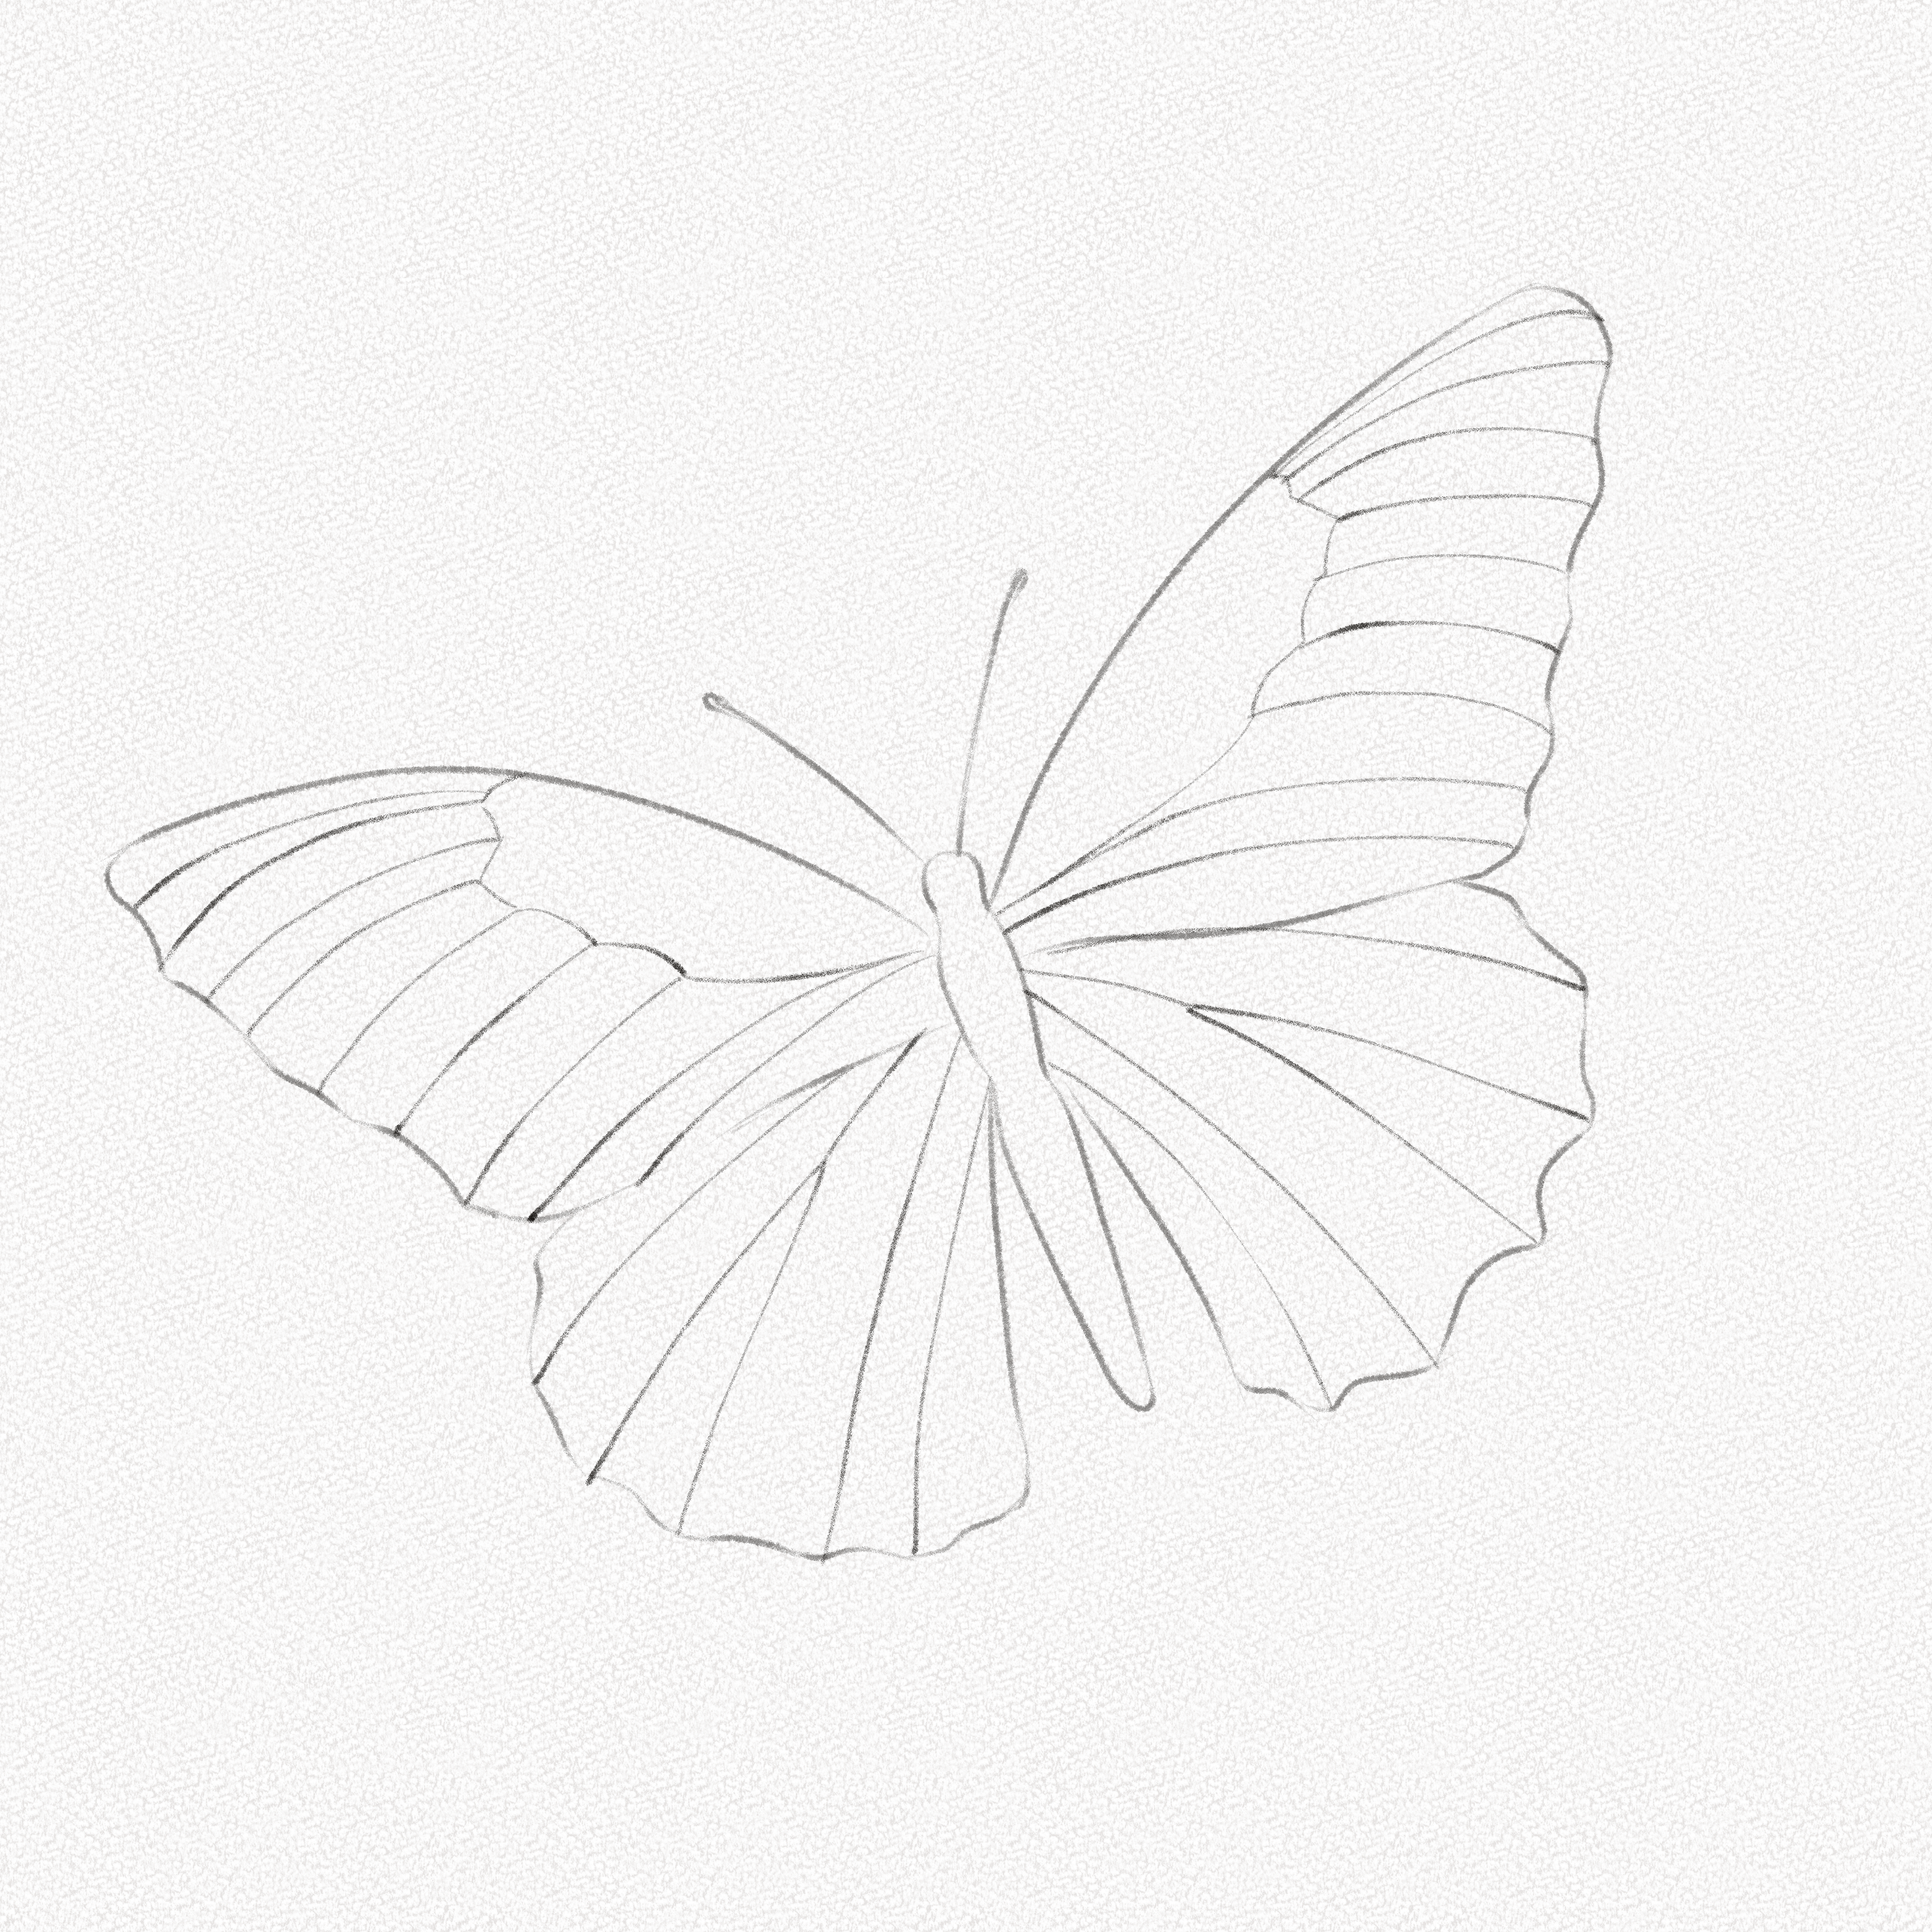
Step 13: Outline the wings
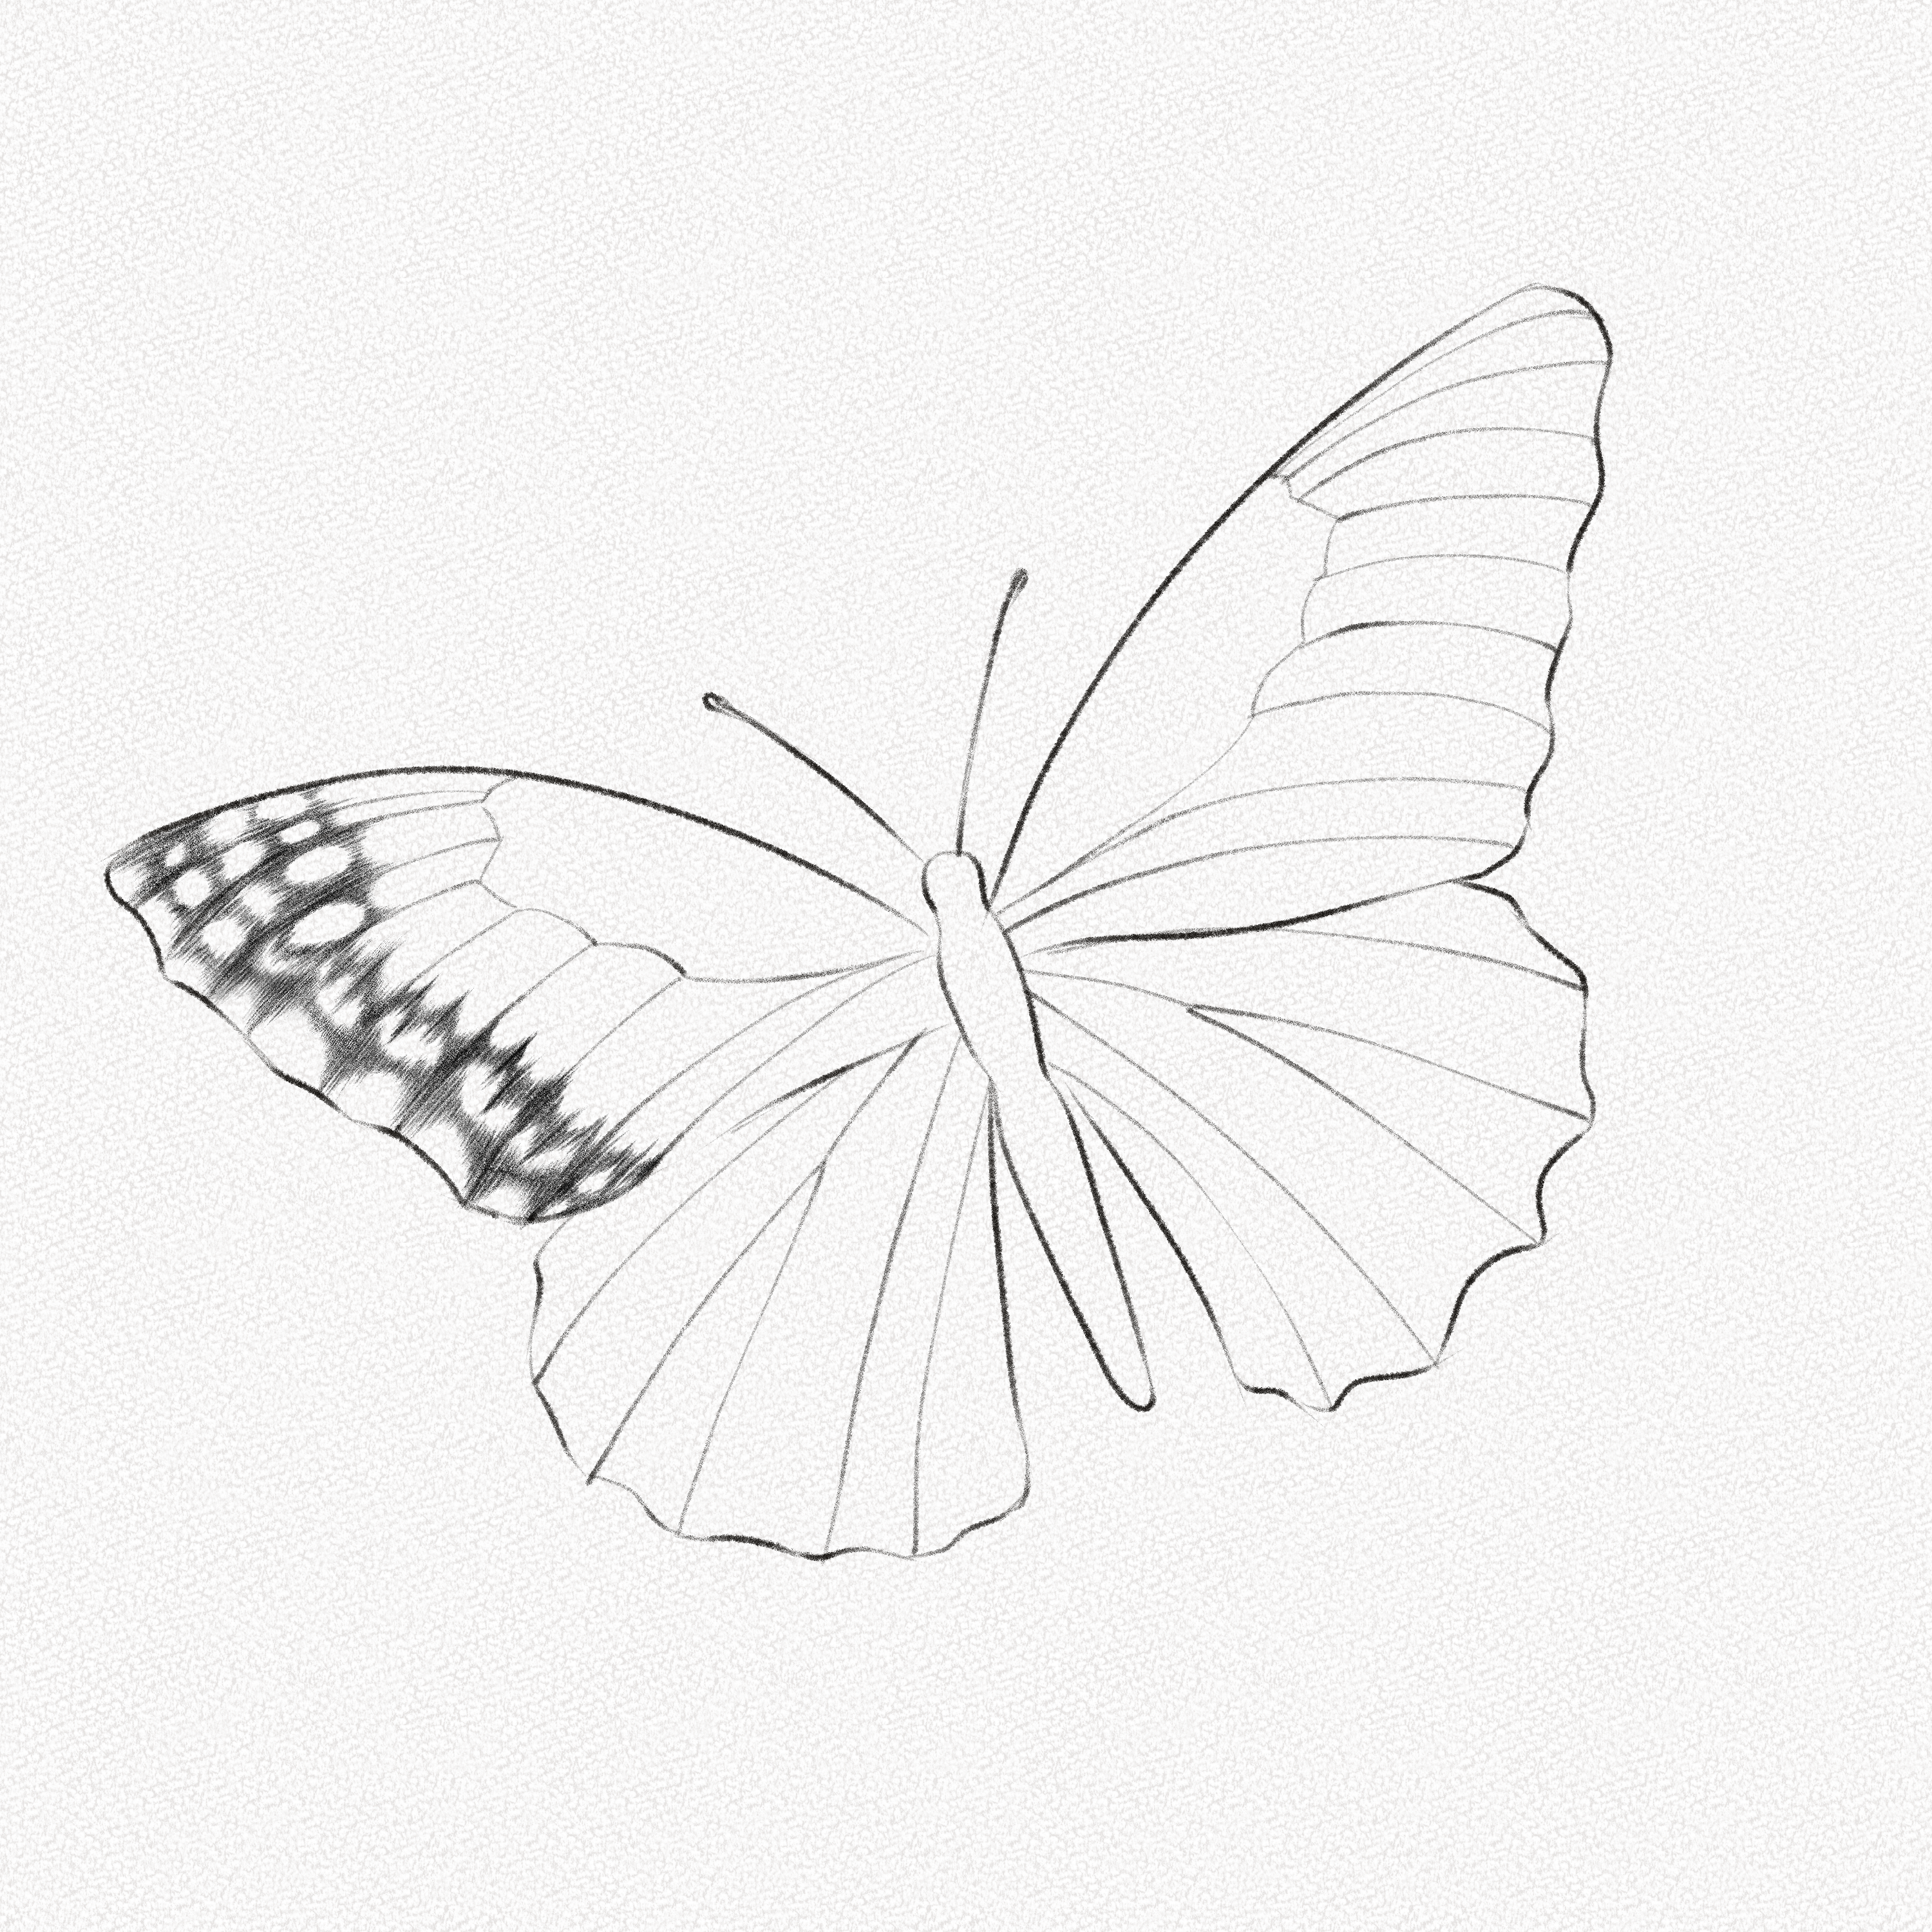
There are many species of butterflies in the world, and the wings follow the basic shape shown below, but the details will be up to your liking or reference photos. Outline the wings, add the details of your butterfly’s species or reference, and erase your guidelines.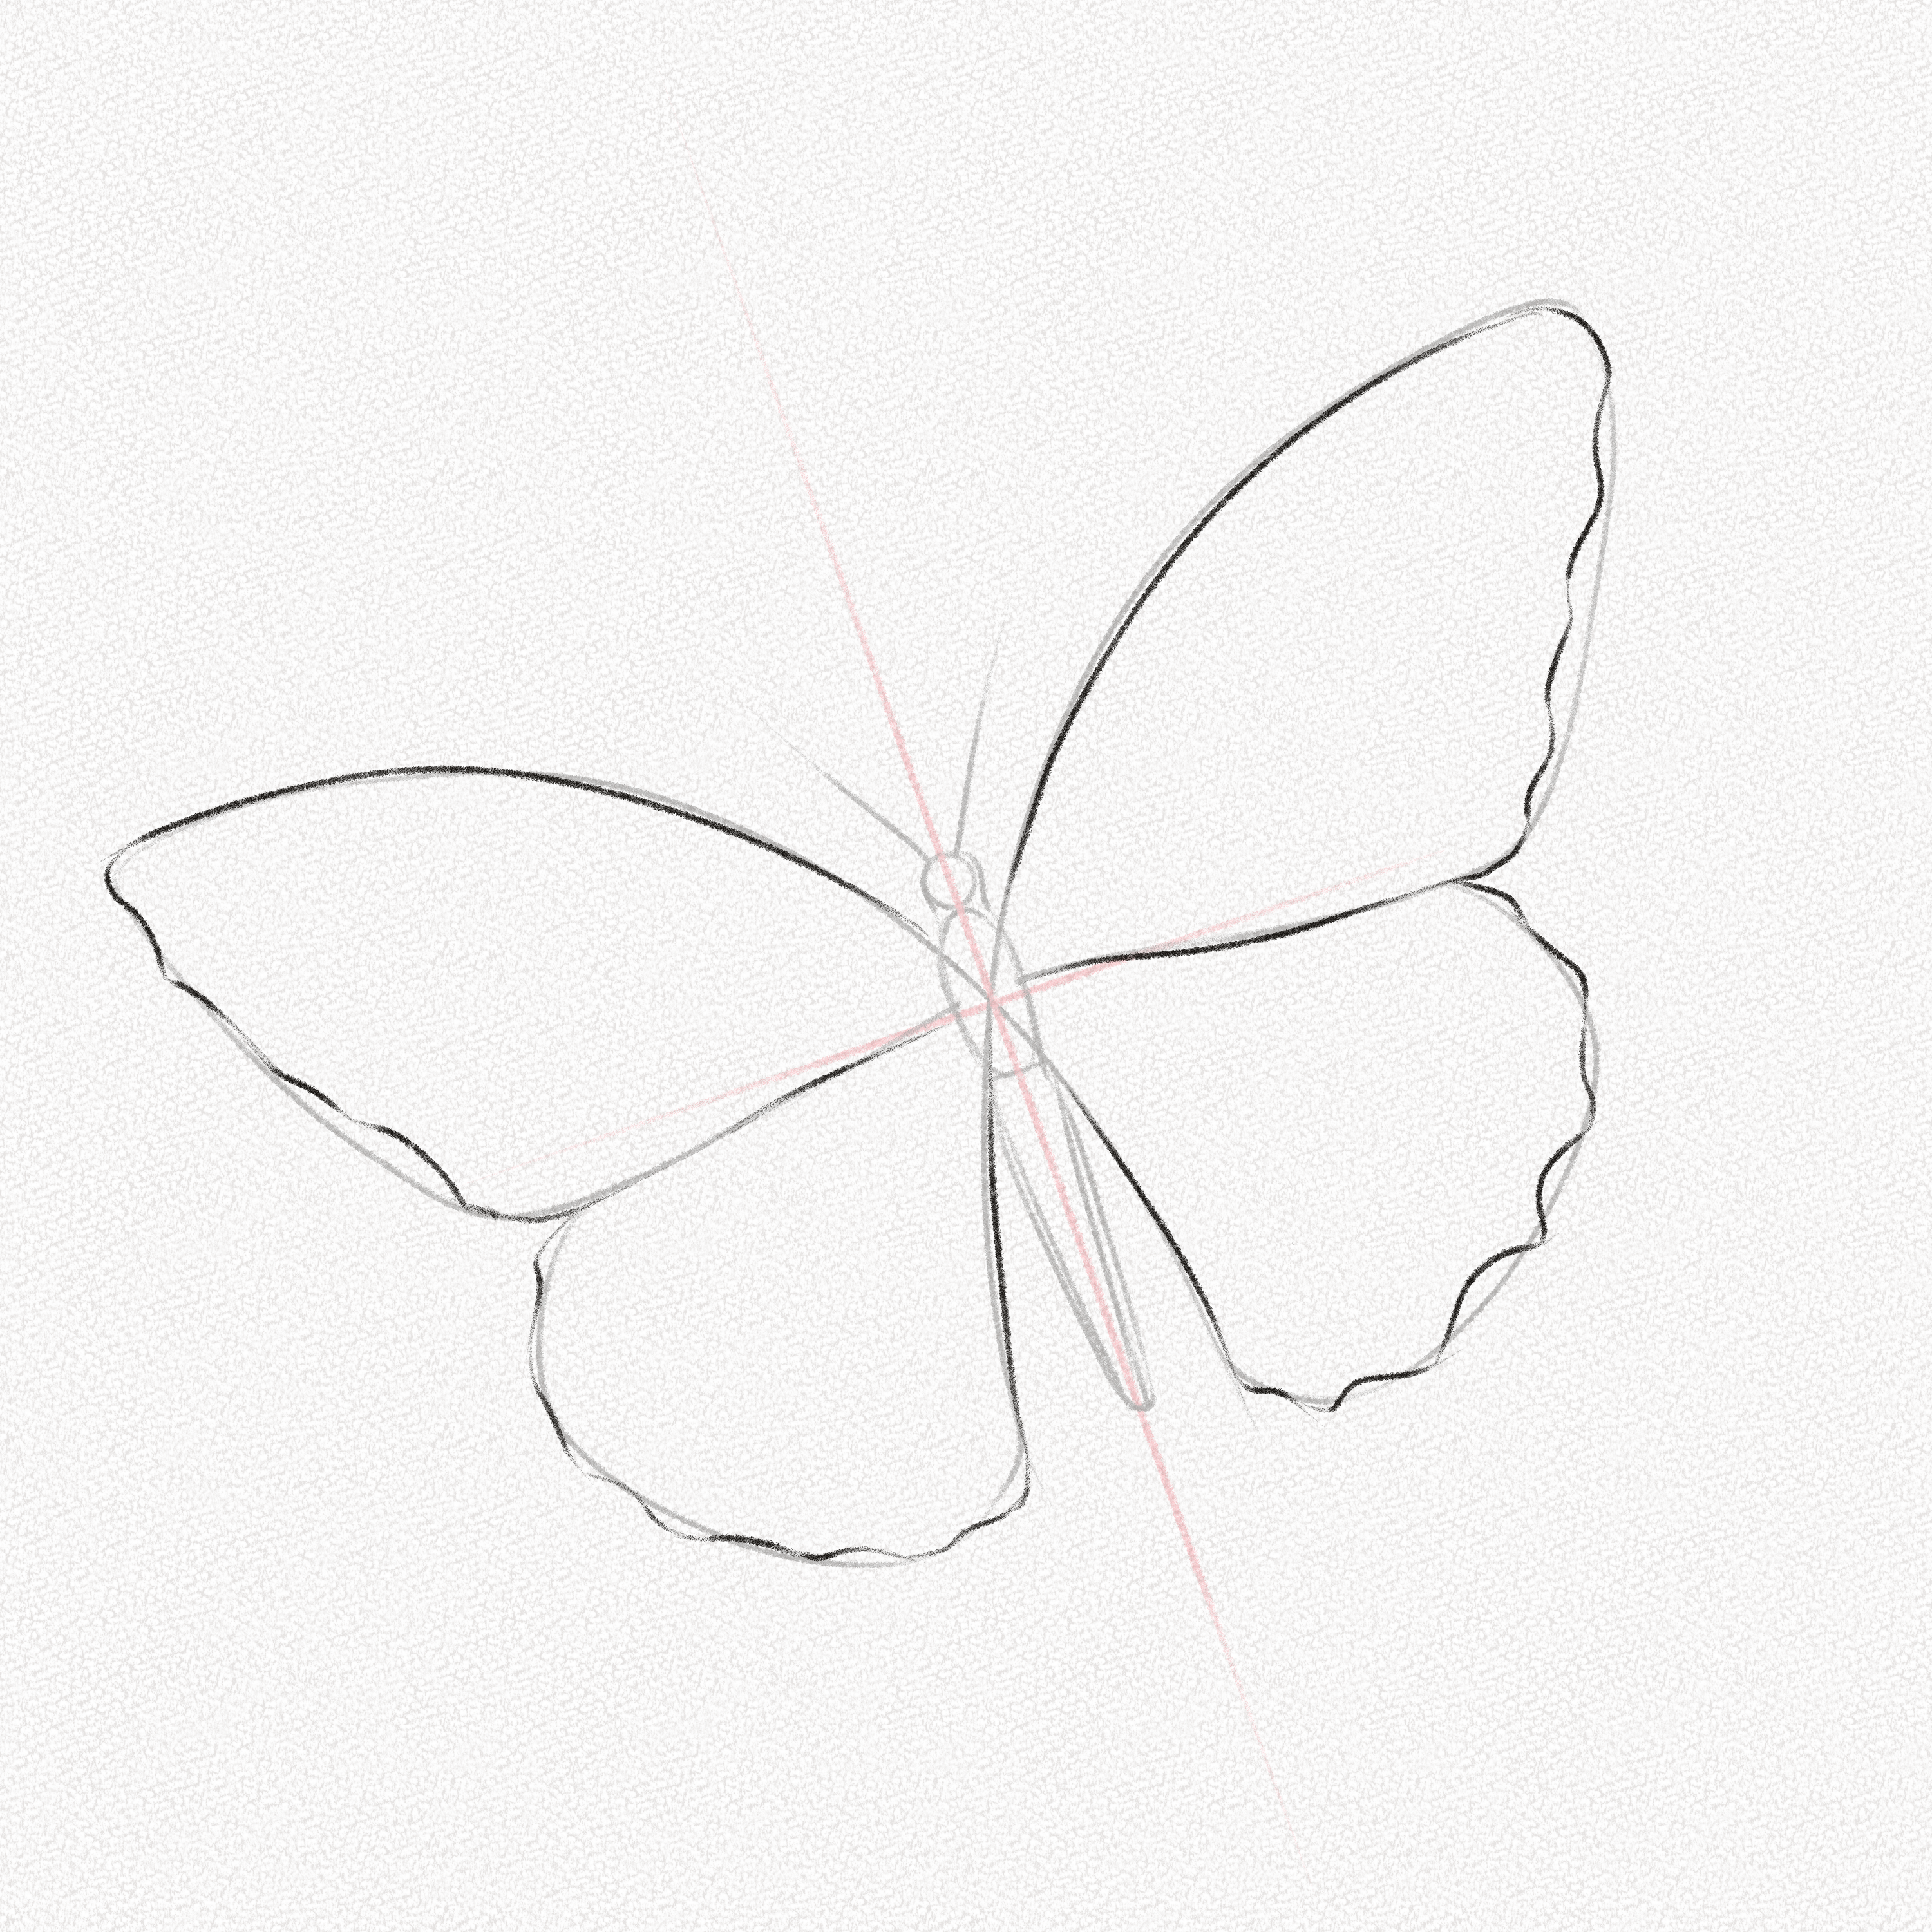
Step 14: Draw the body outline
Draw the outline of the body of our butterfly by connecting the contours of the circles, and for the lower part, opt for a slightly straight and oval shape in the corners.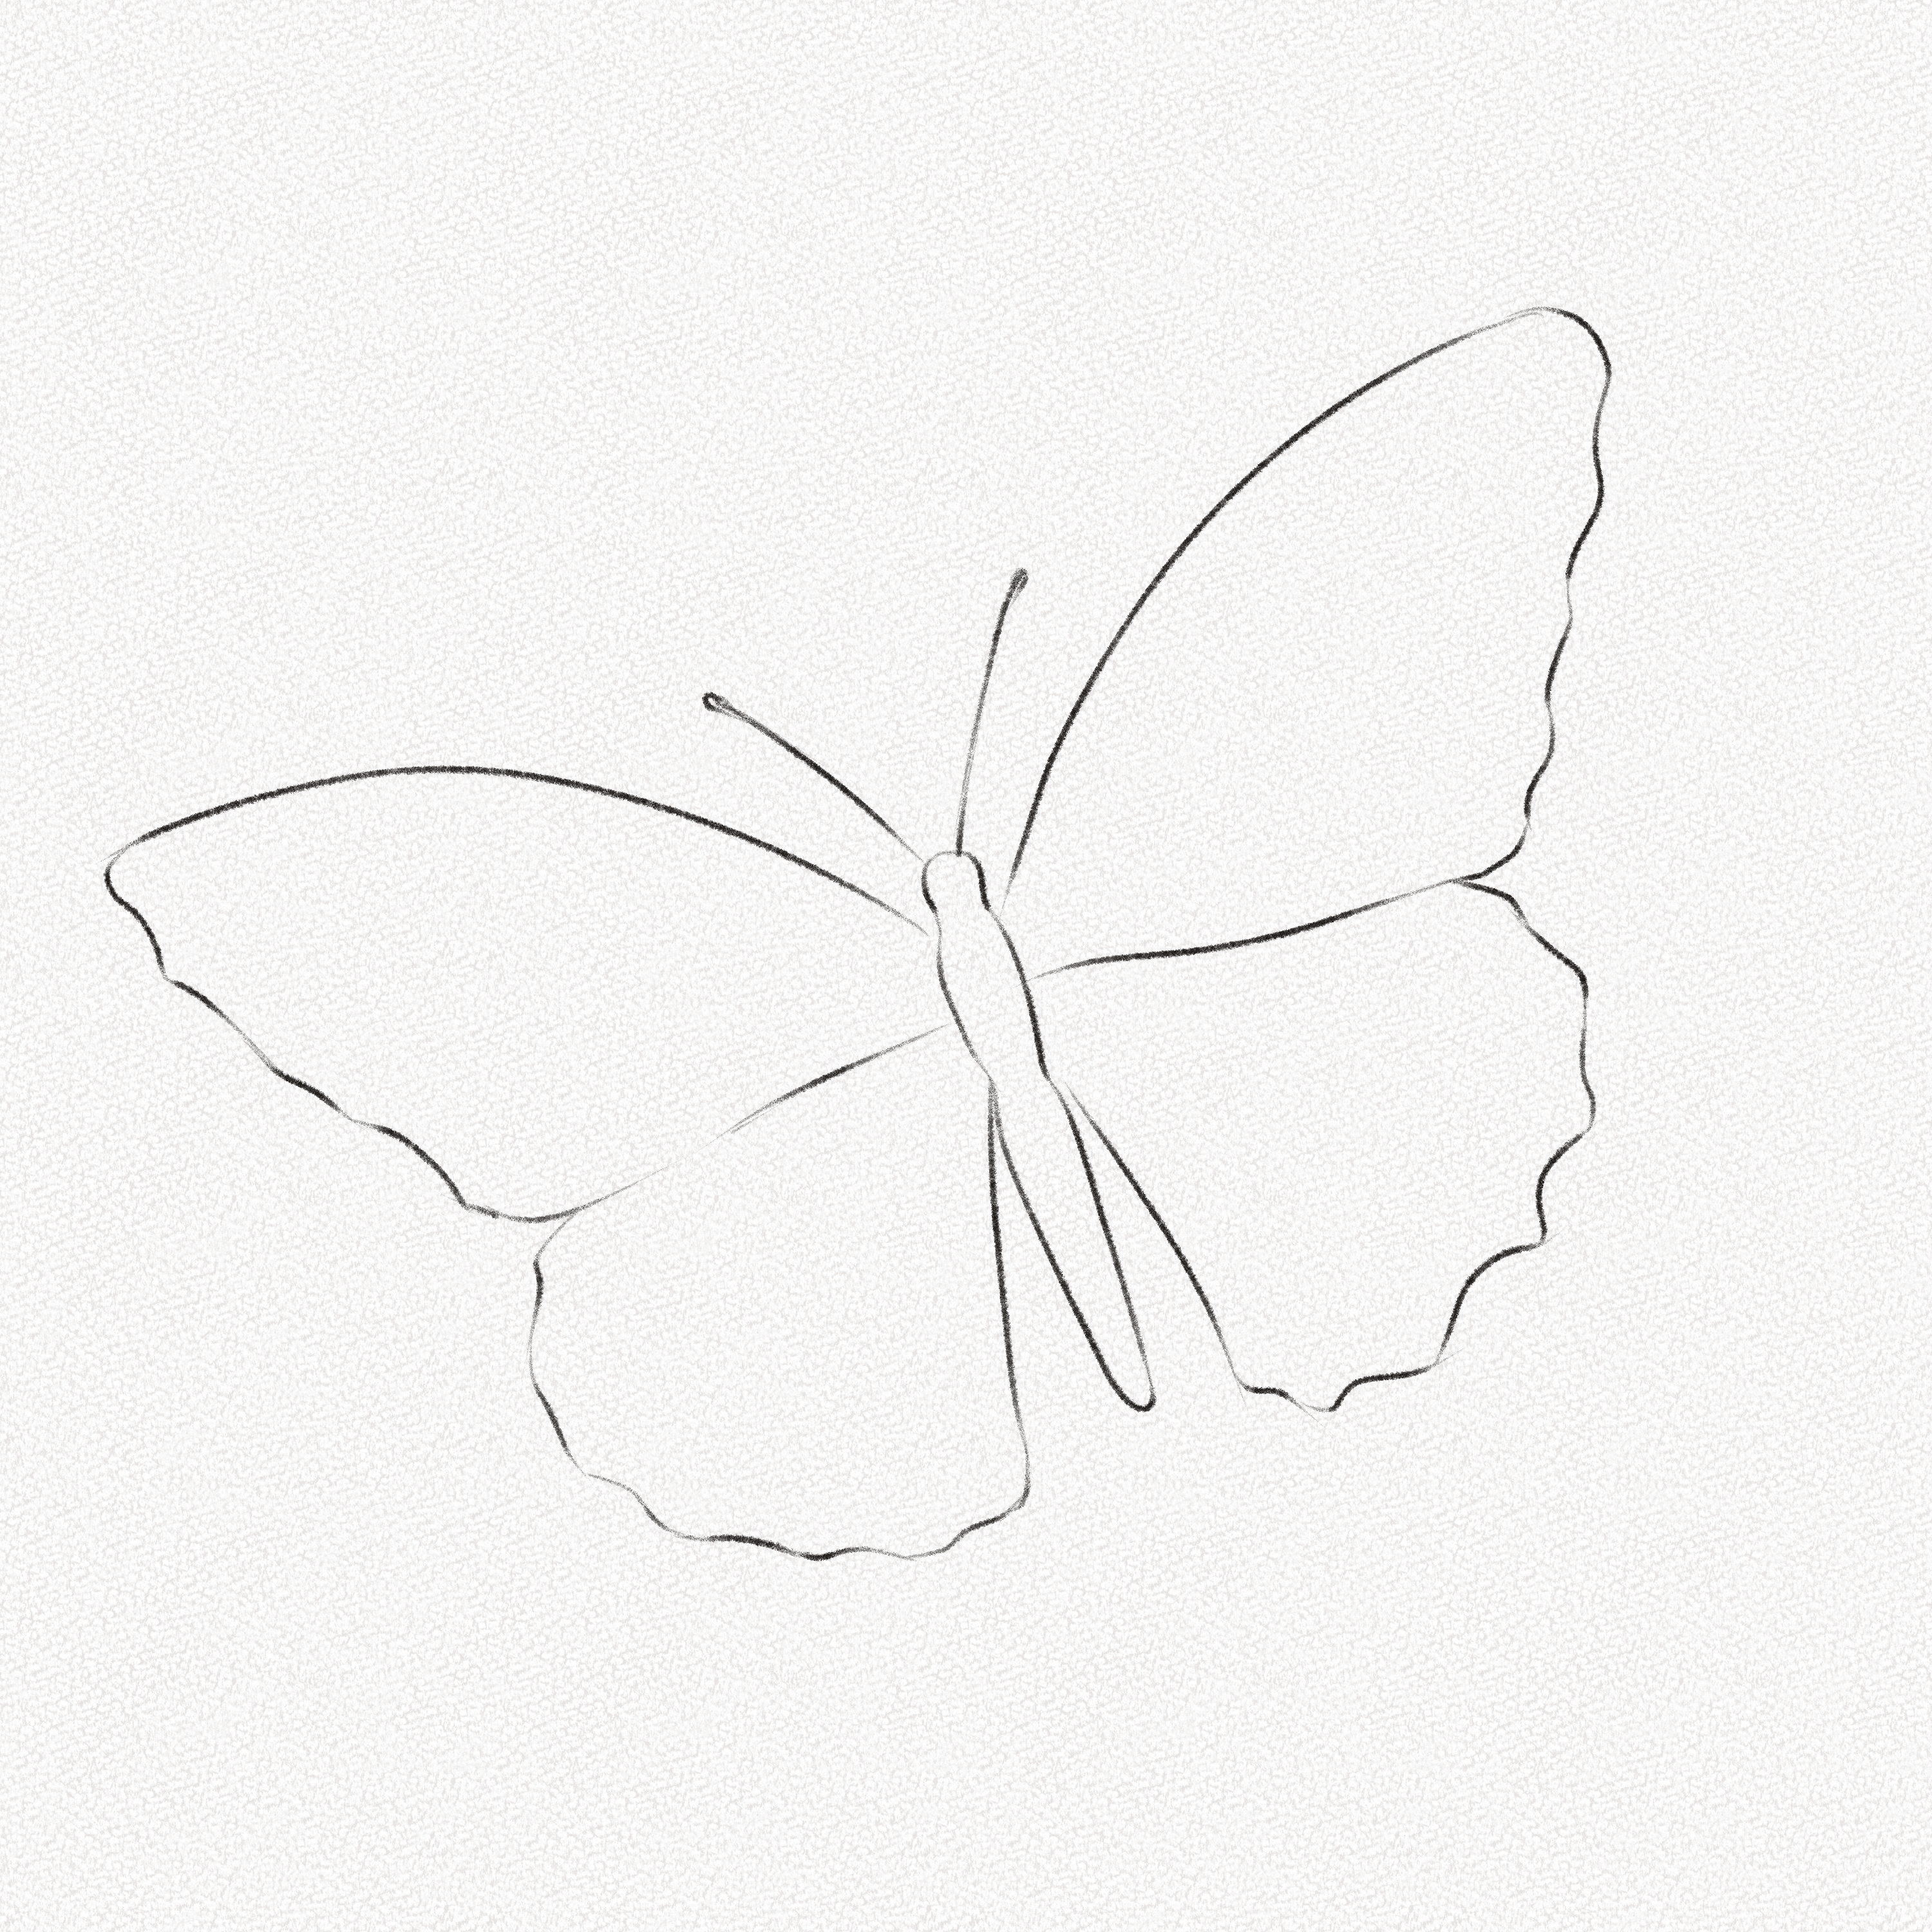
Step 15: Mark the veins’ positions
Vein patterns seem easy to draw, but they can be complex, so planning in advance is very helpful. The following steps will make the most complex part of our drawing. The first step will be marking the veins’ position. 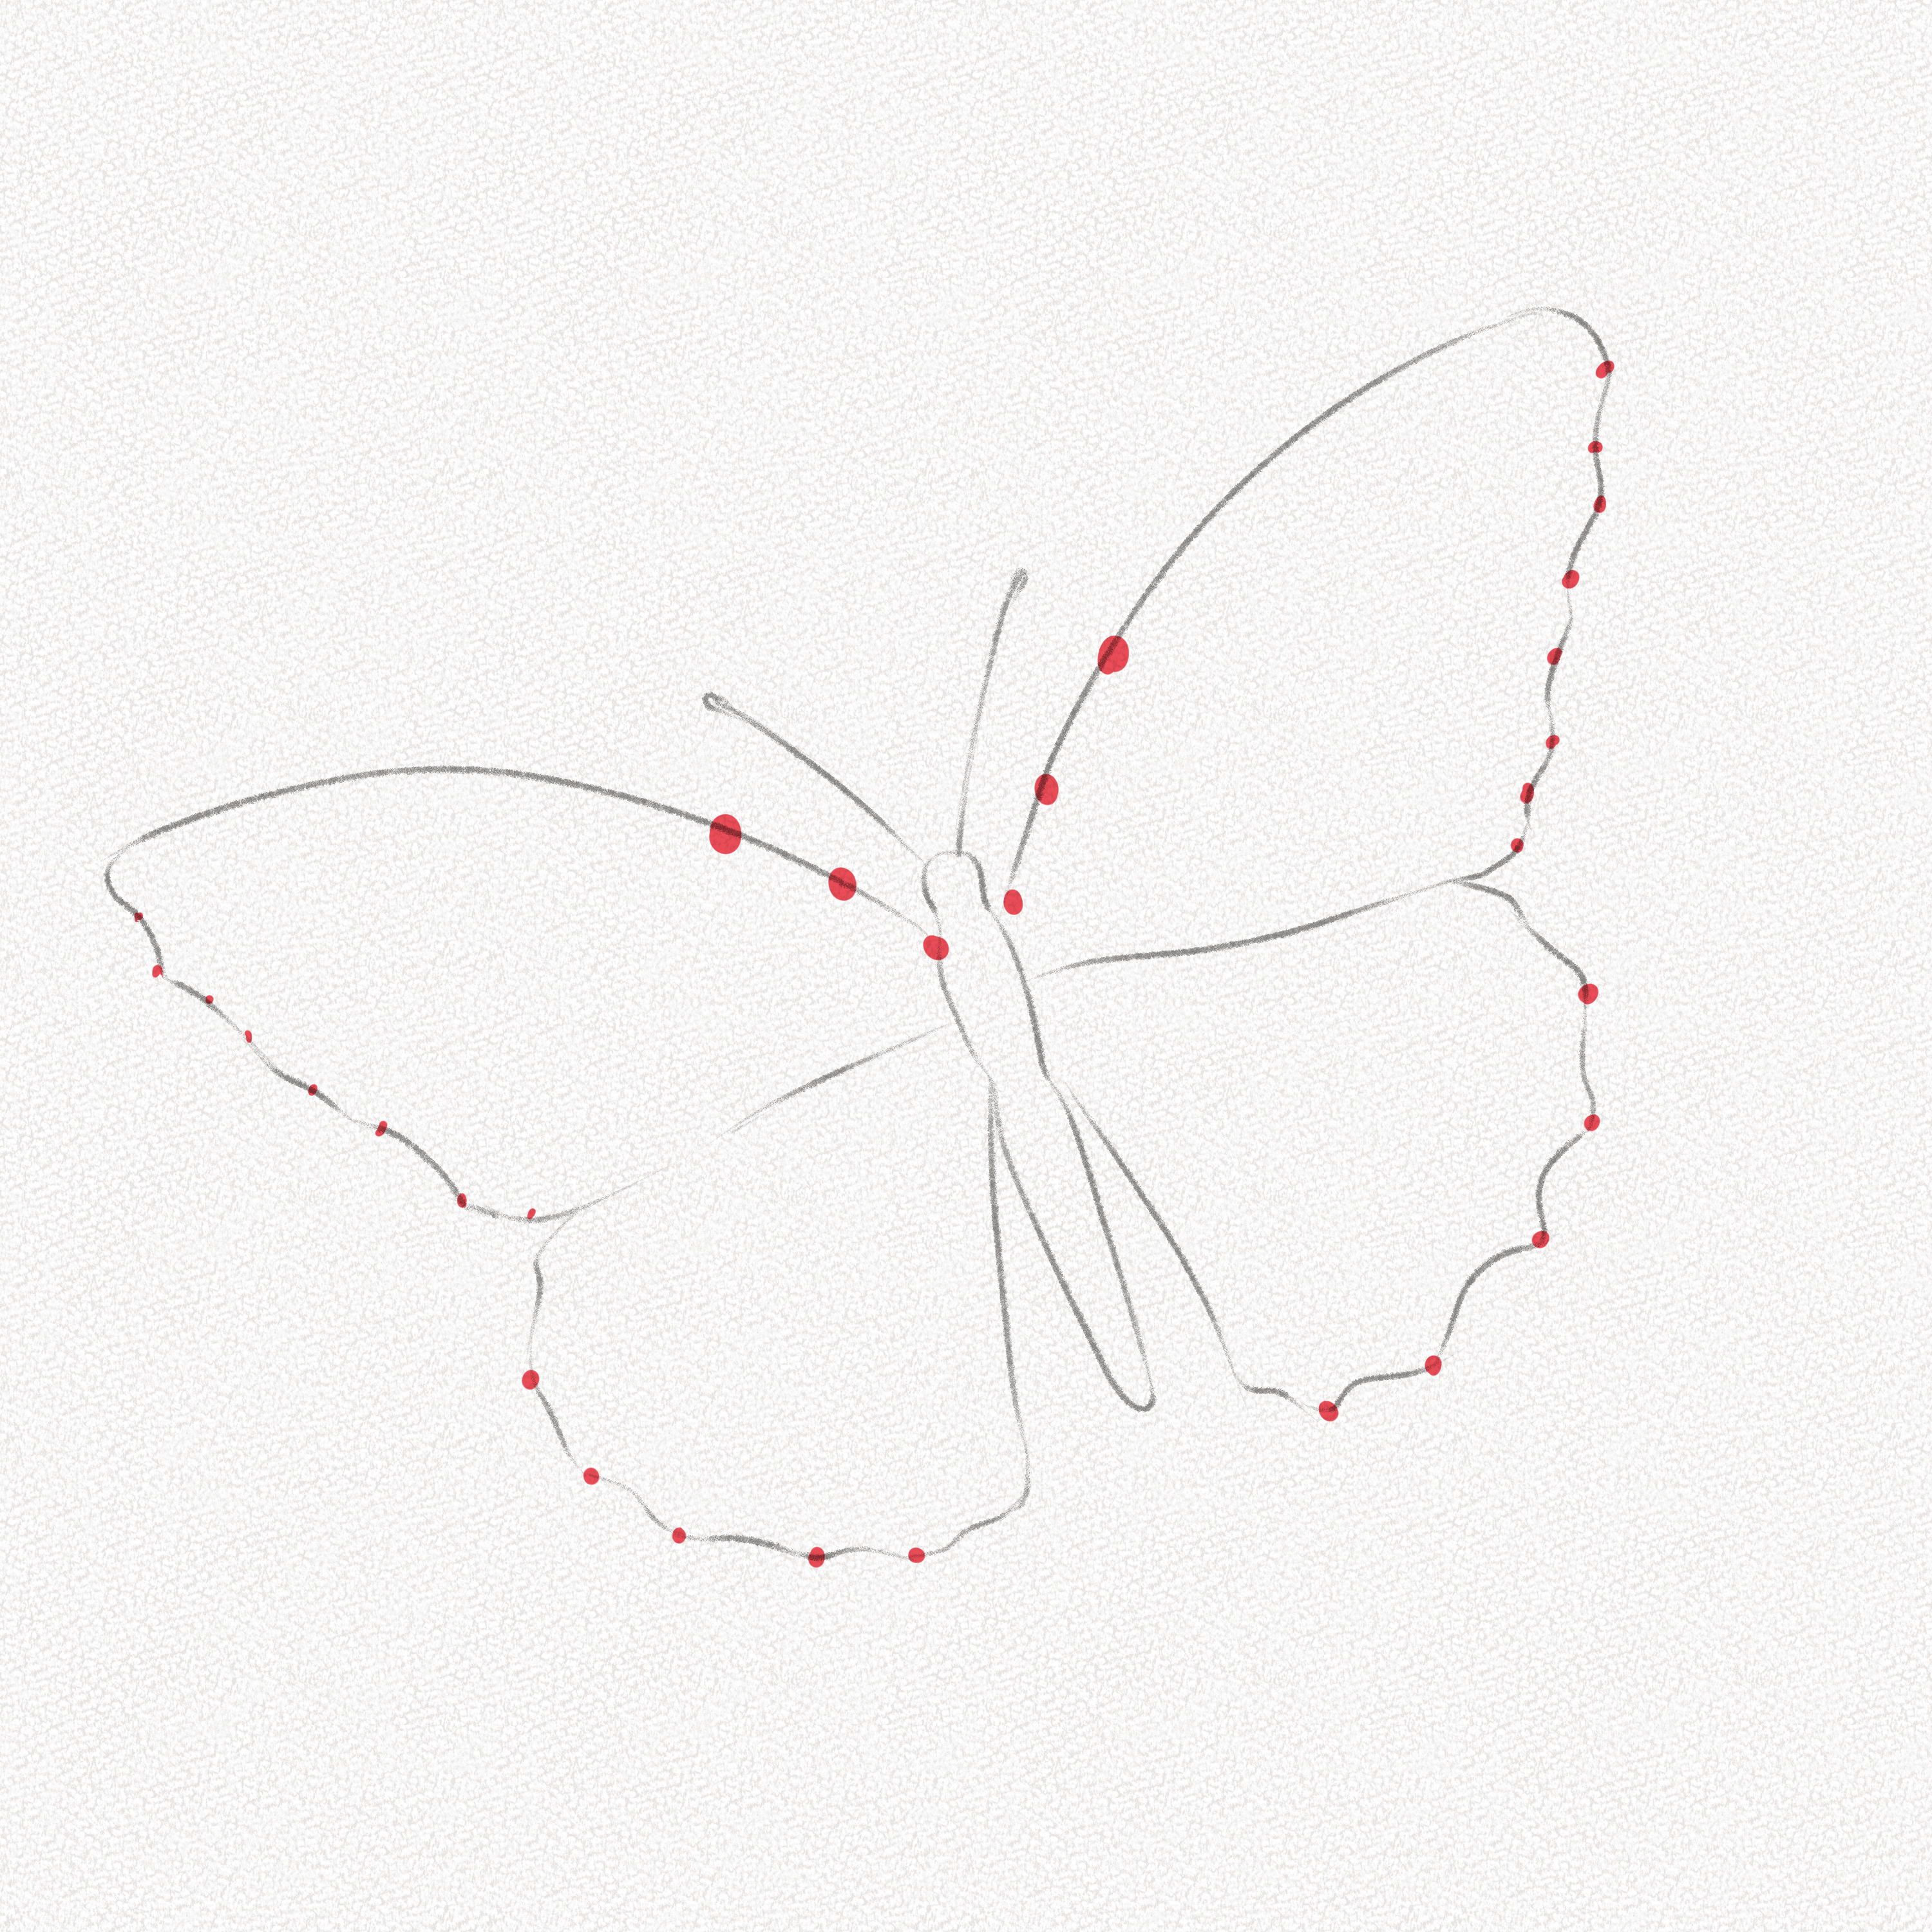
With your 2H pencil, softly mark three spots in the inner part of the upper wings, then mark 10-13 dots on the borders of the wings.
Step 16: Draw the veins
Pull curved lines from the sides of the wings towards the three inner points we first drew following the diagram below; make these lines as soft and faint as possible since we’ll be adding more details in the following steps.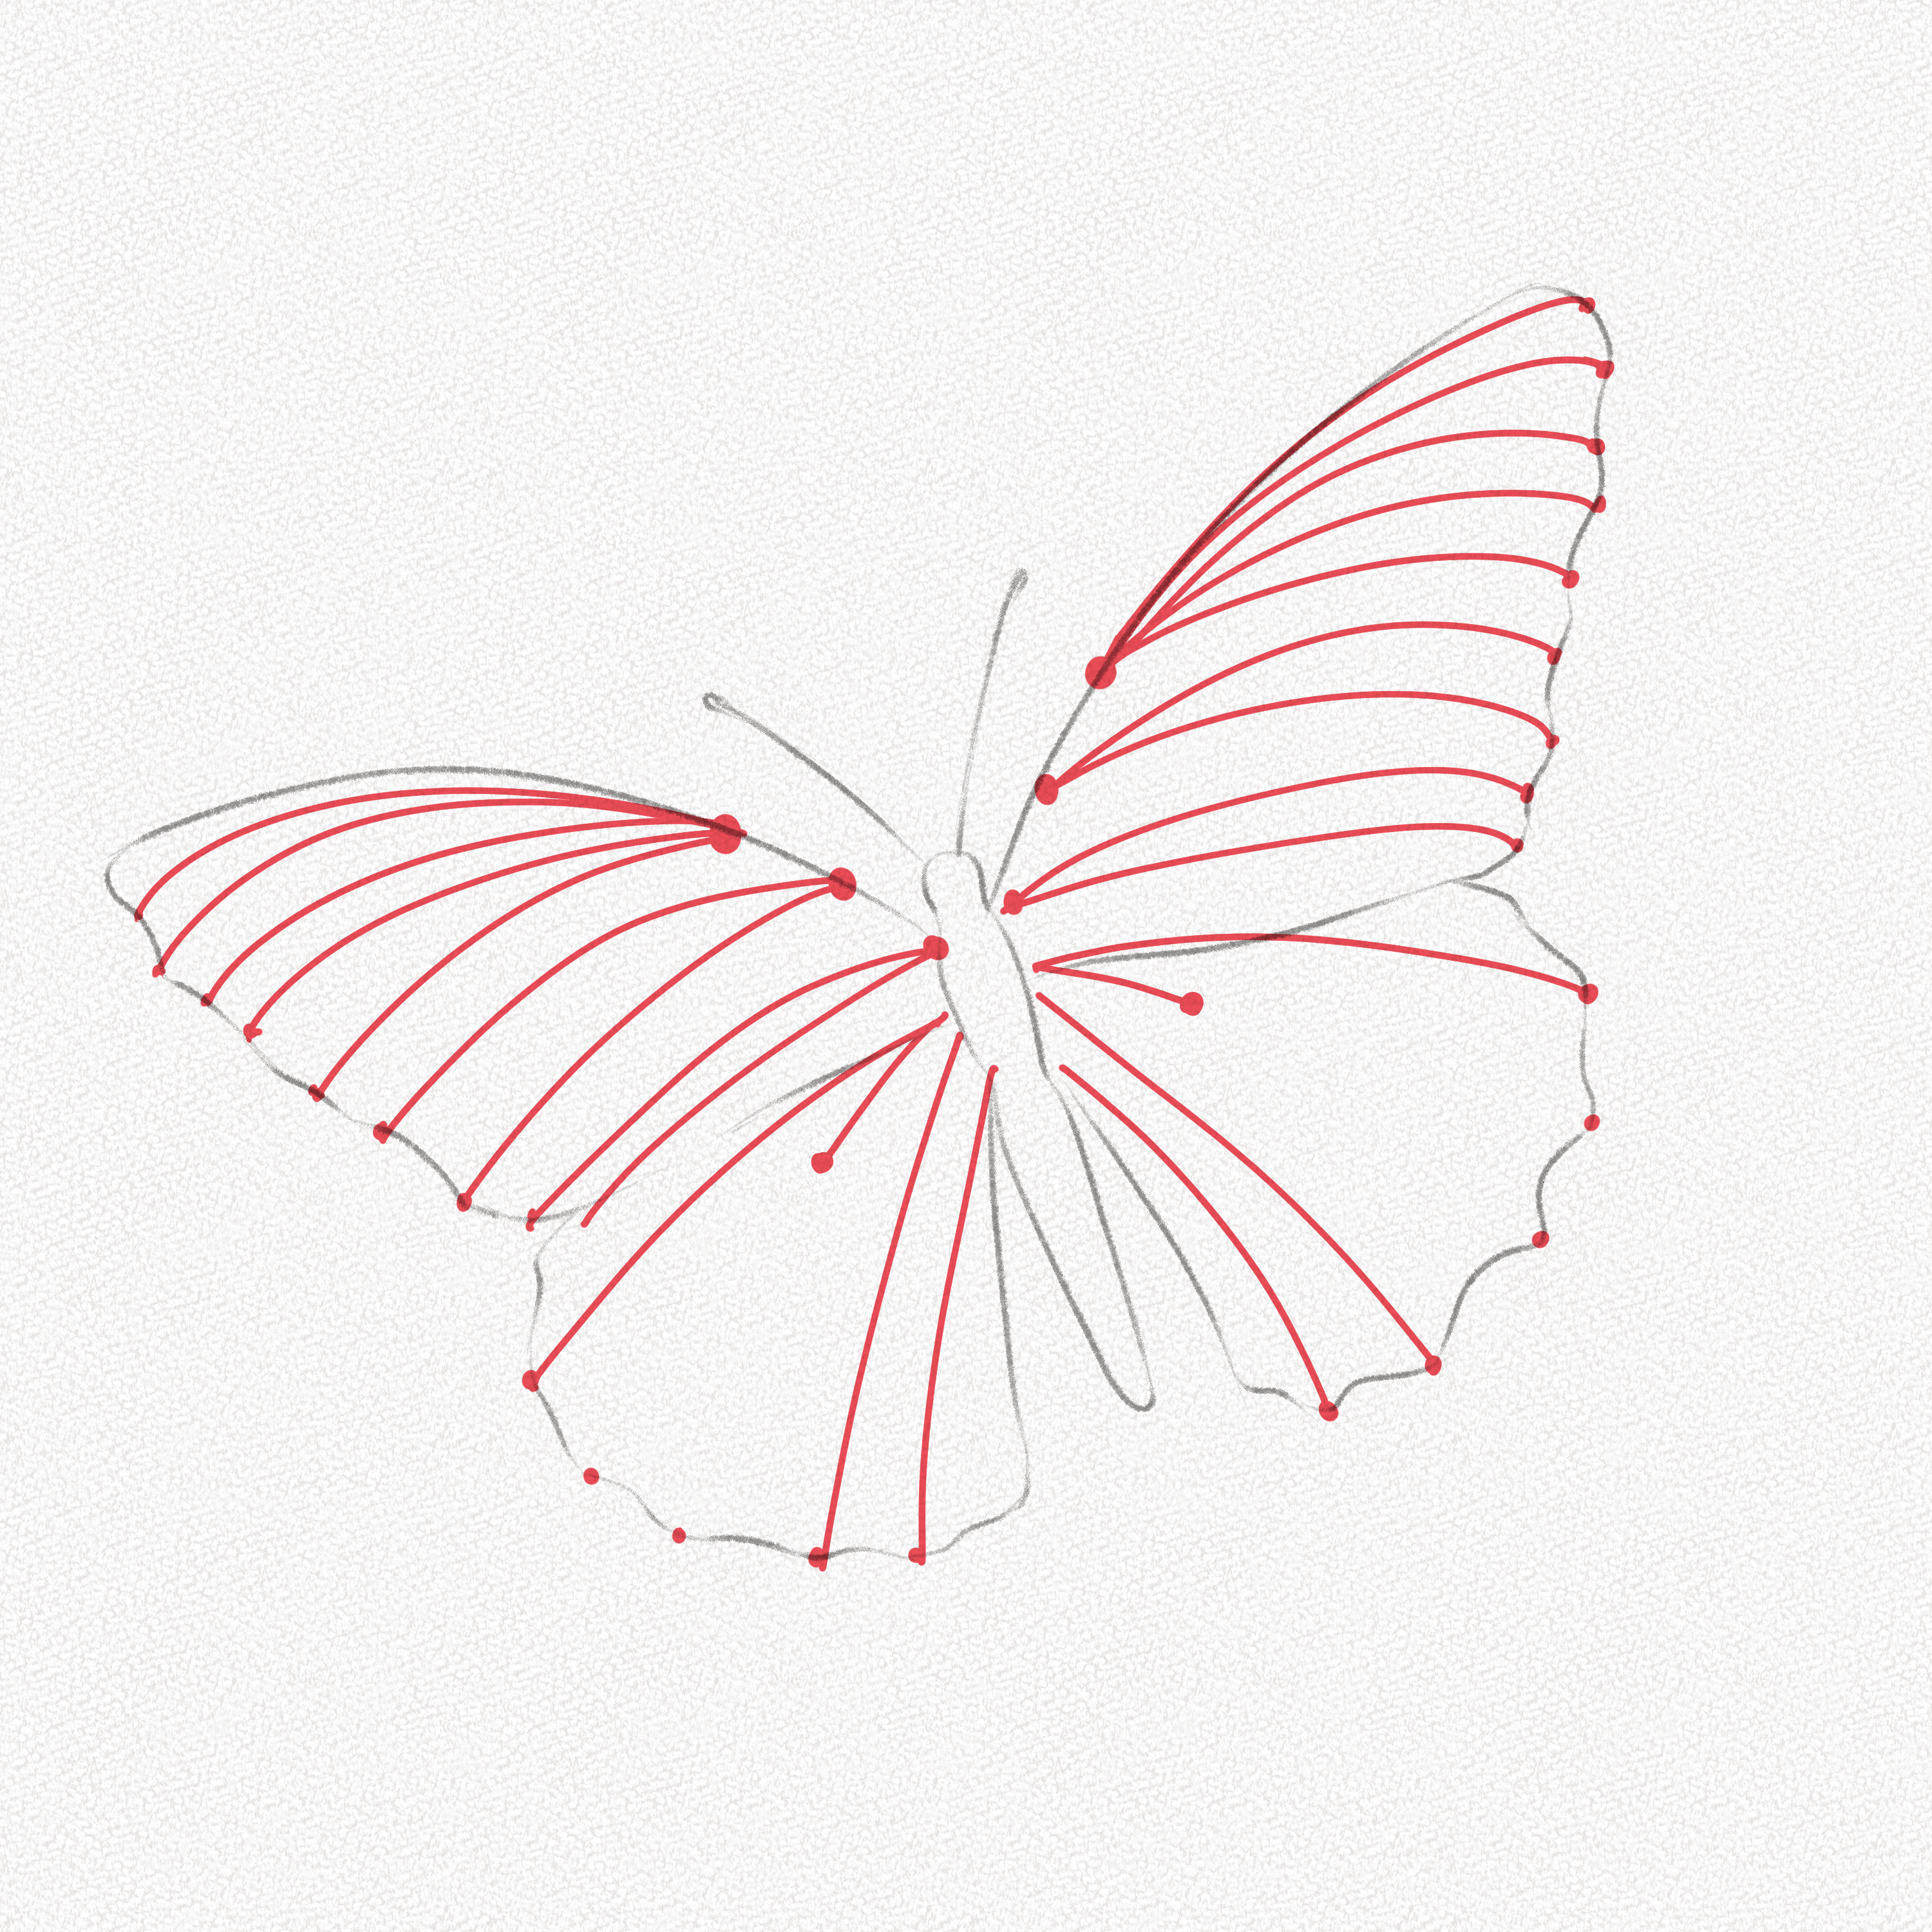
Step 17: Add some details
Draw an irregular shape following the veins’ lines and mirror it on the other wing. Do the same for the lower wings. You can be as creative as you want in this step but don’t overdo it since we’ll add even more details.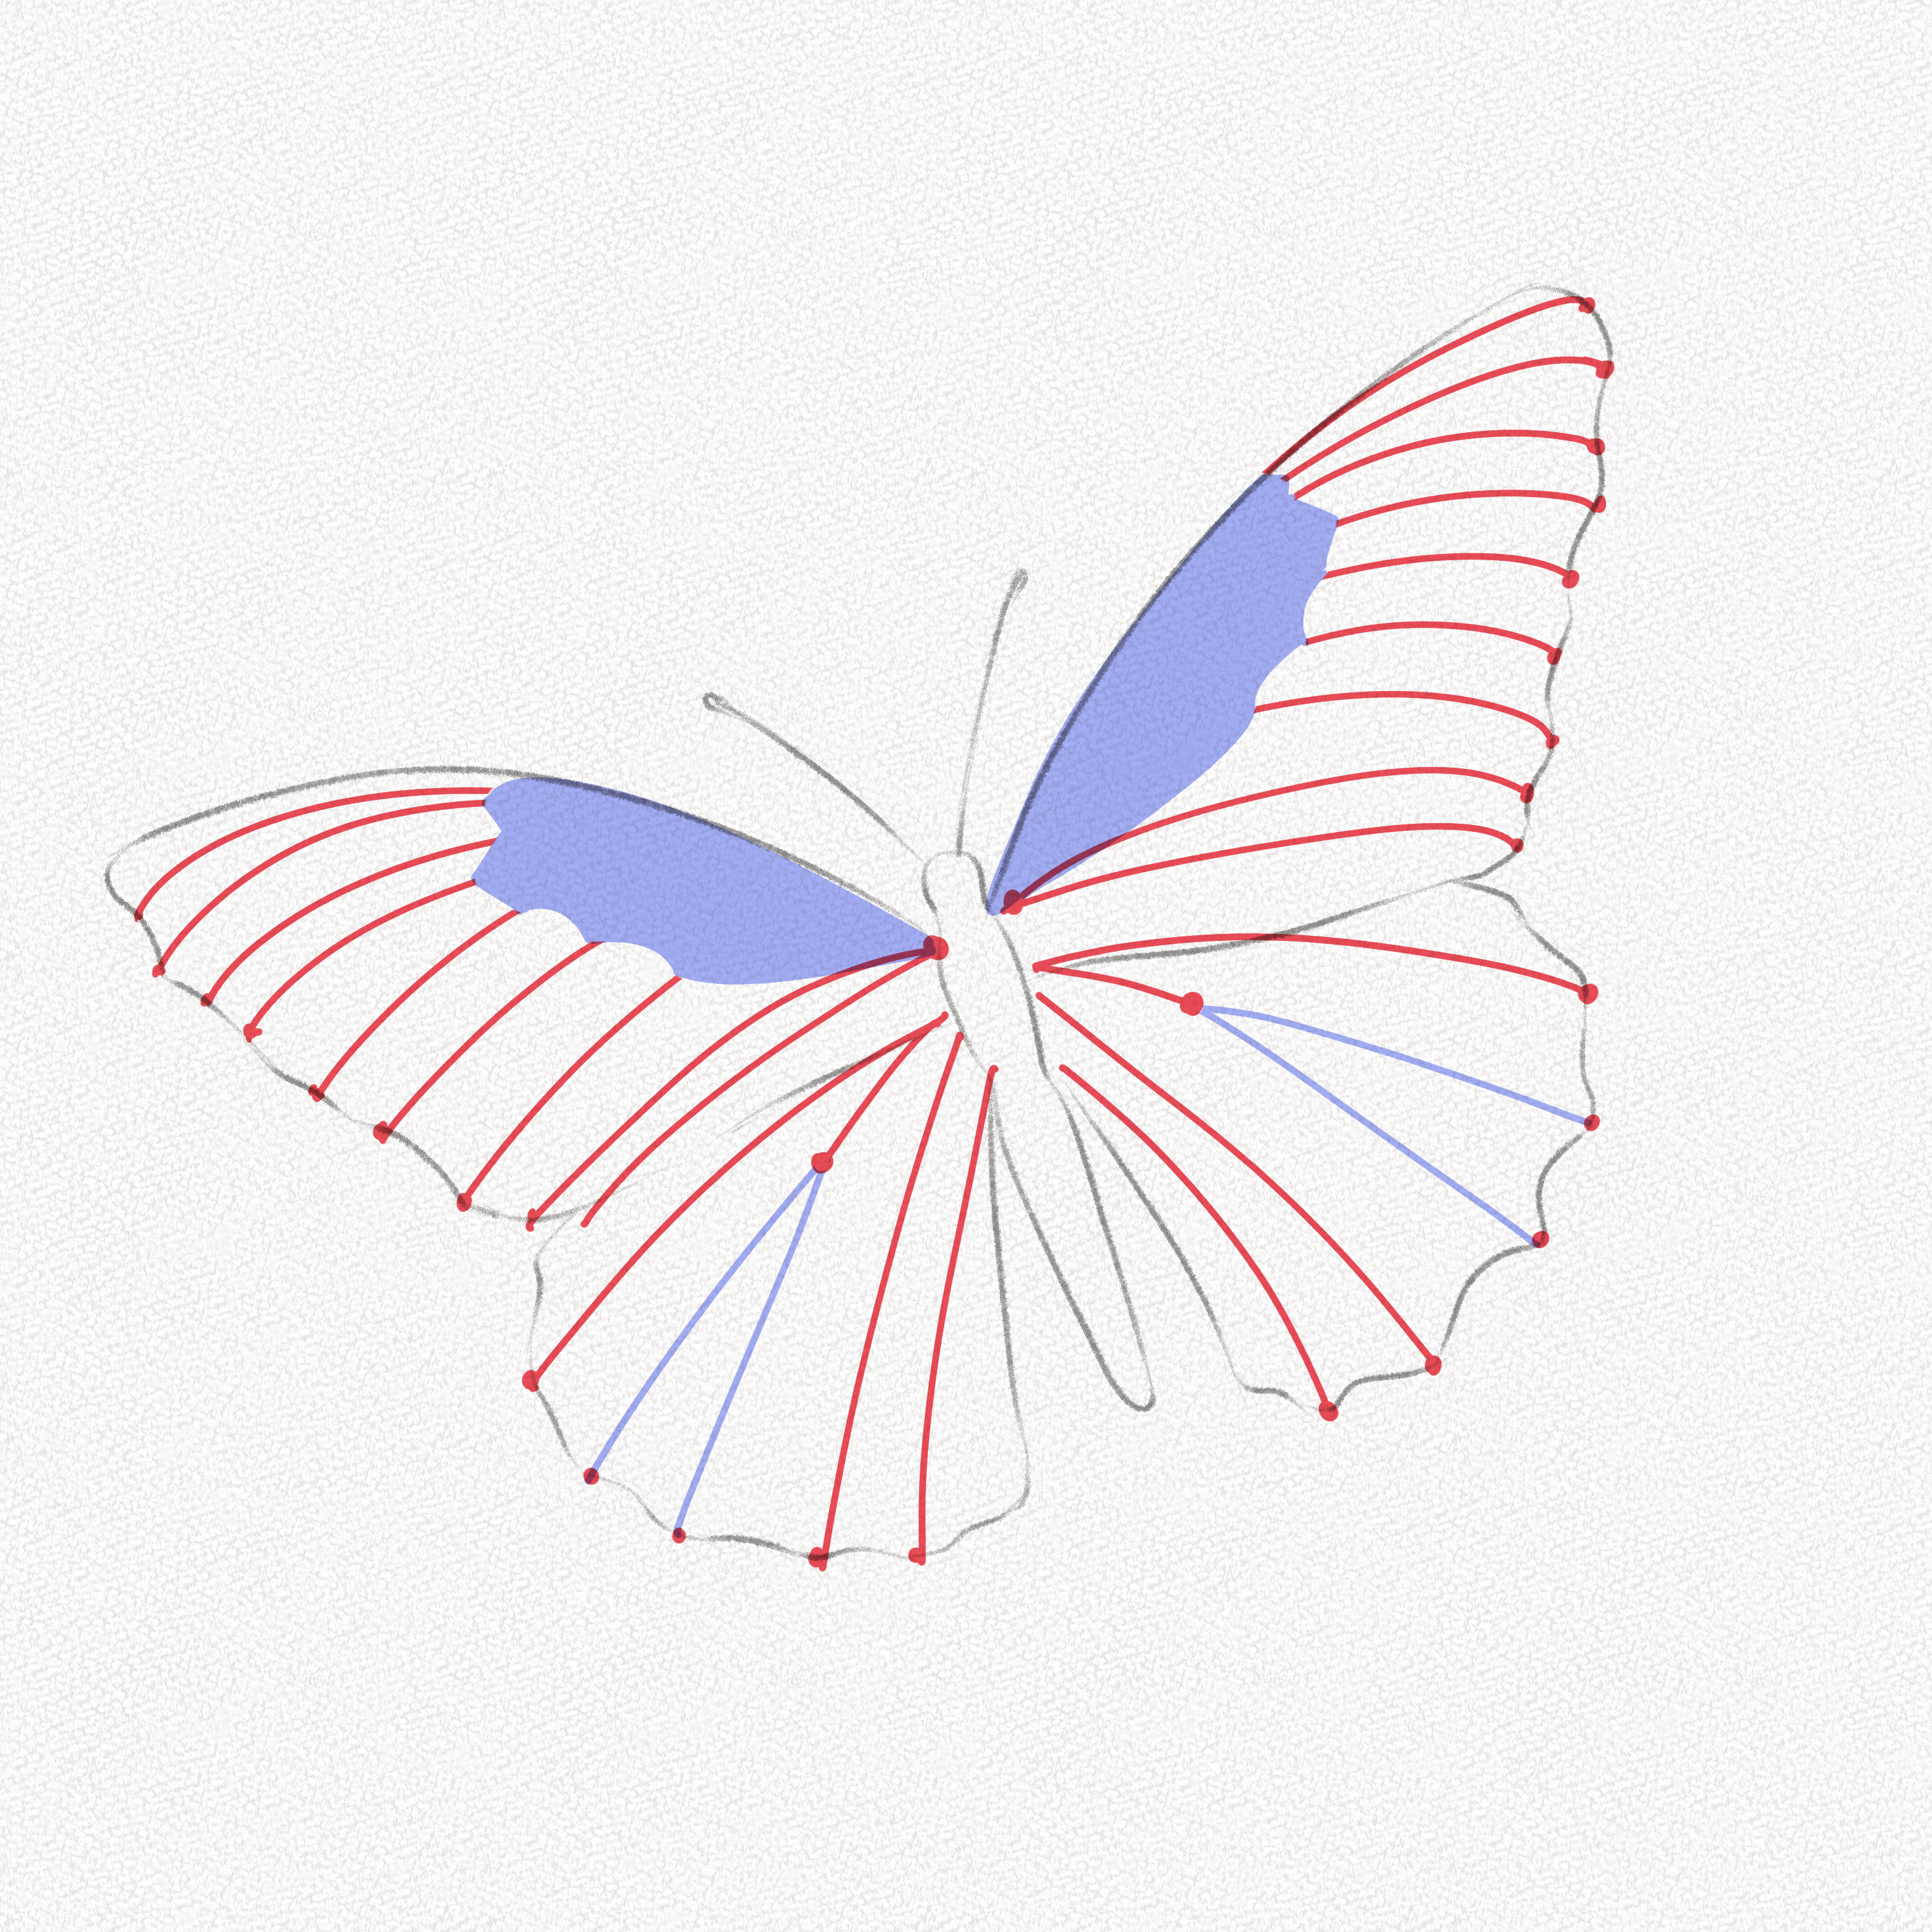
Section 3 – How to Shade a Butterfly
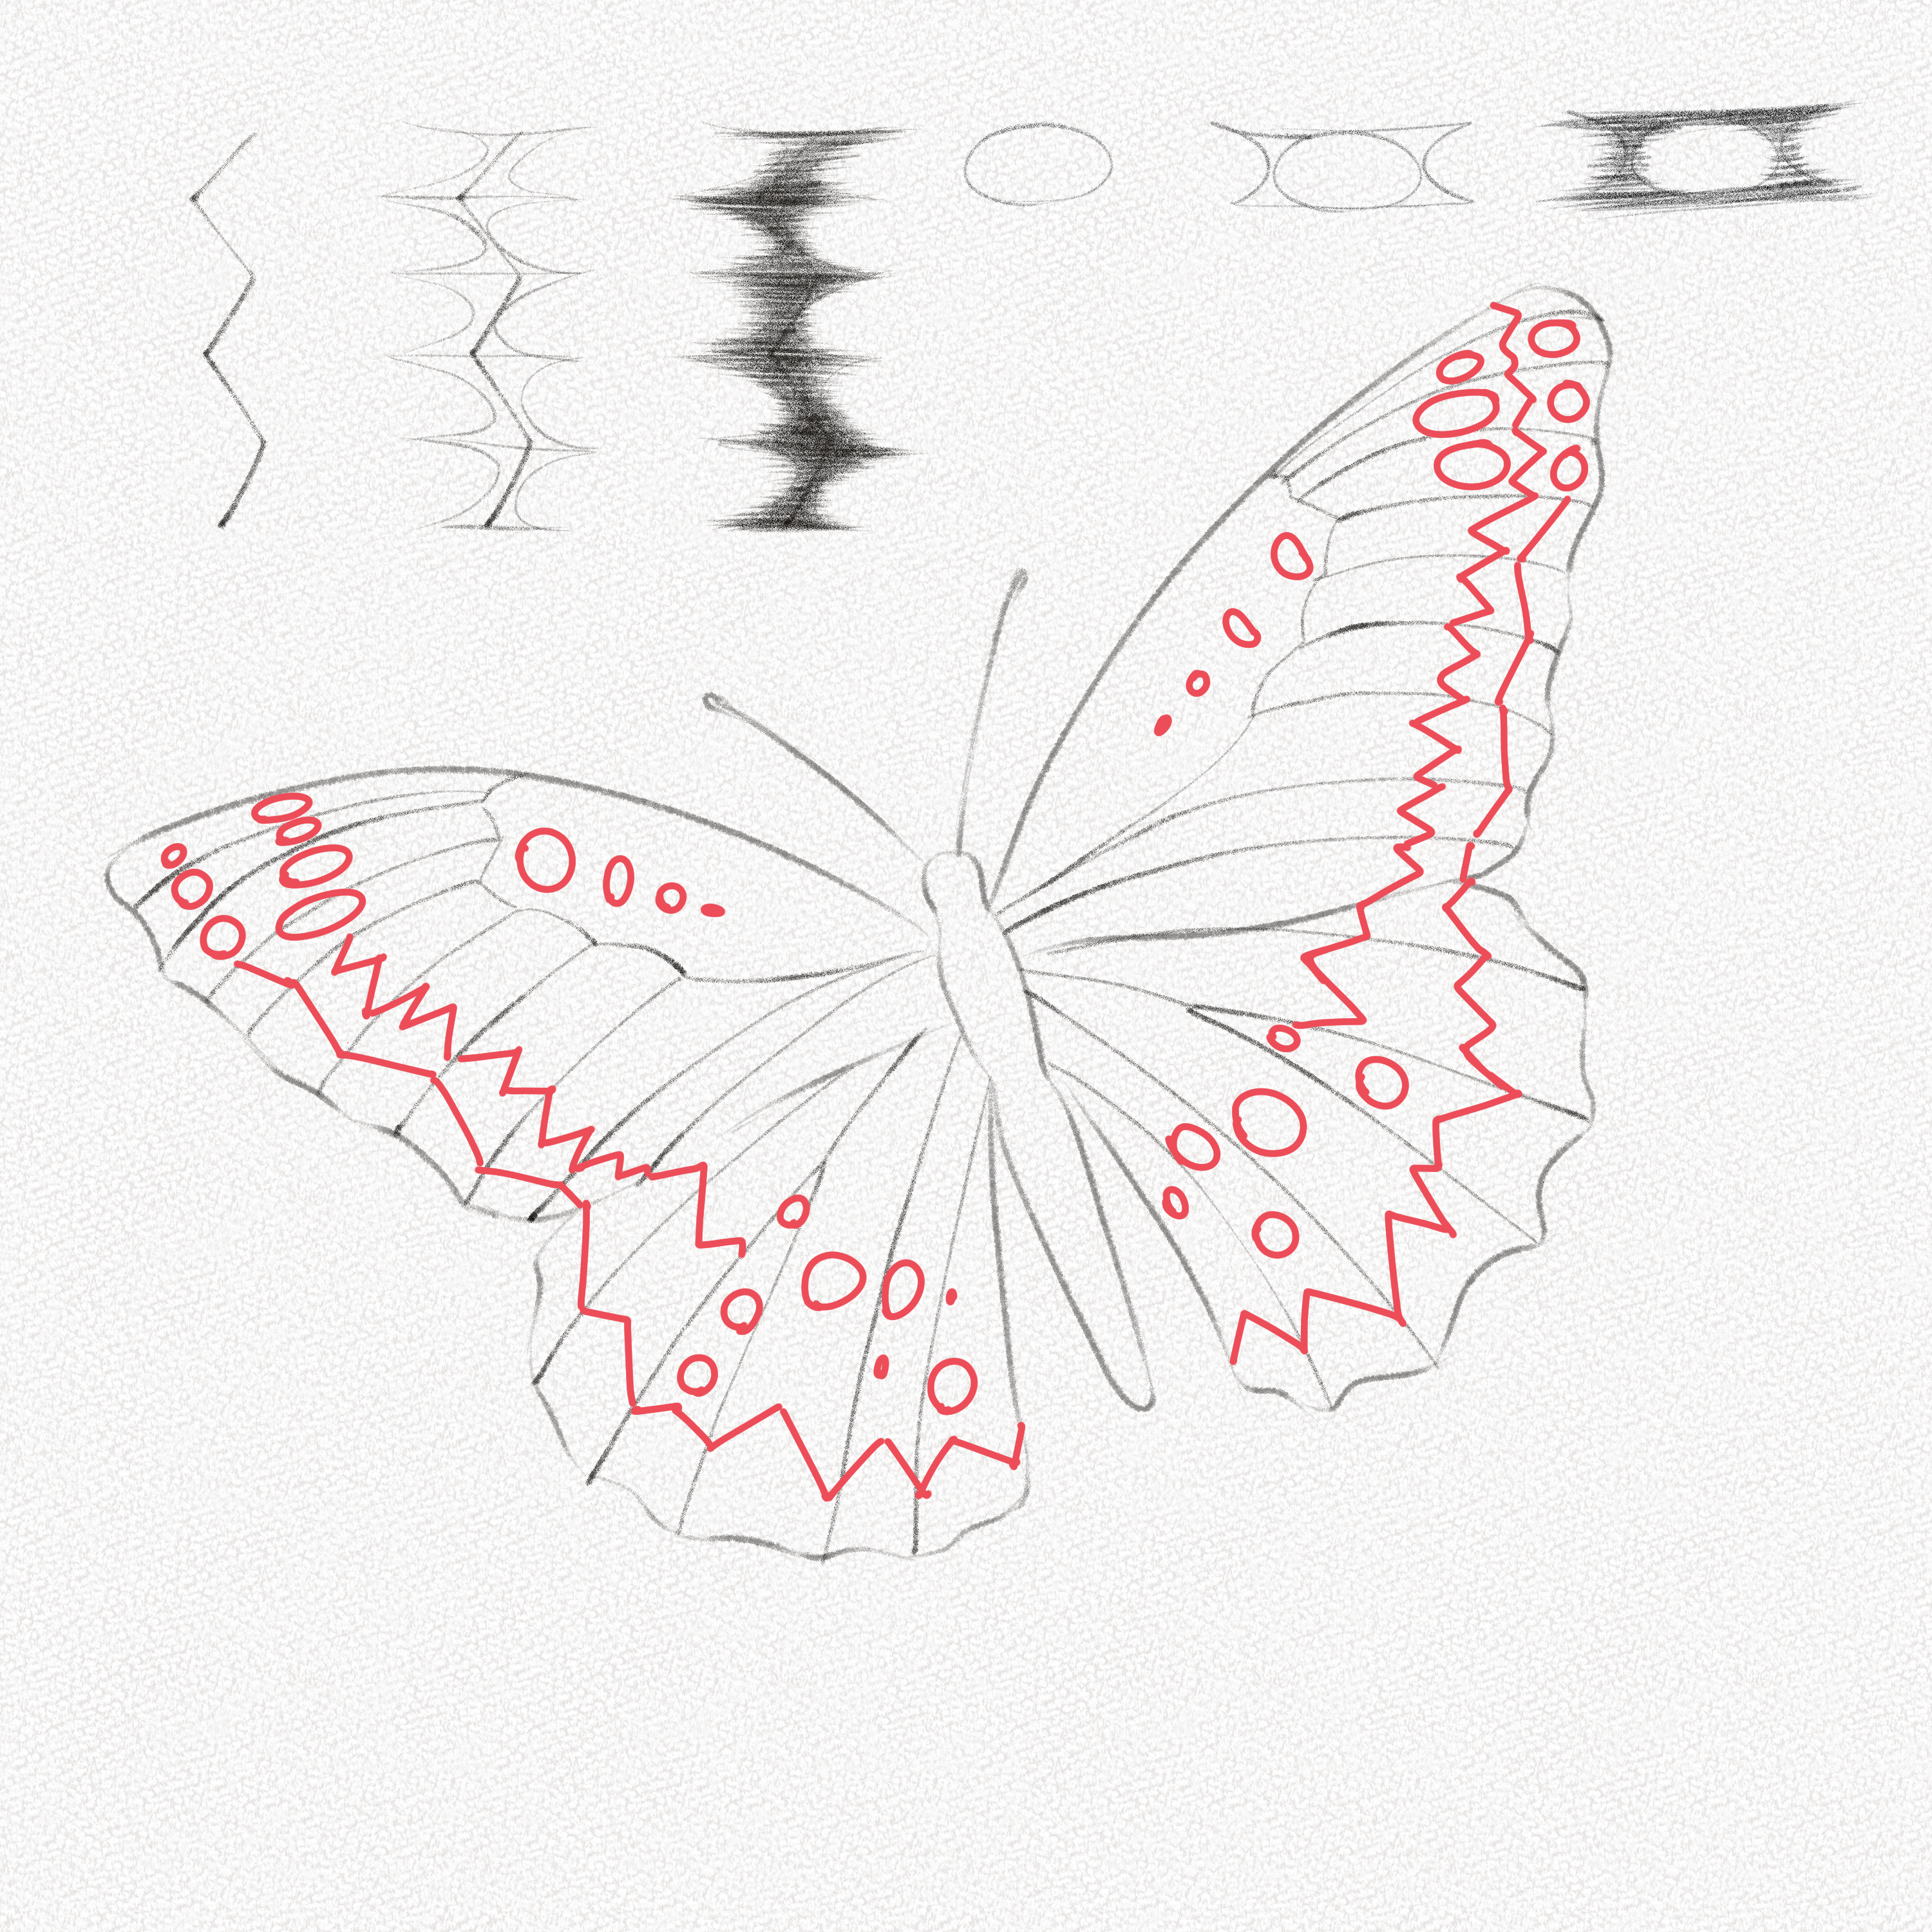
Step 18: Add patterns and spots and shade them
Add patterns and spots to the wings with your pencil, and use simple, soft lines since we’ll be working on top of them. Follow the diagram for details on how to shade them. 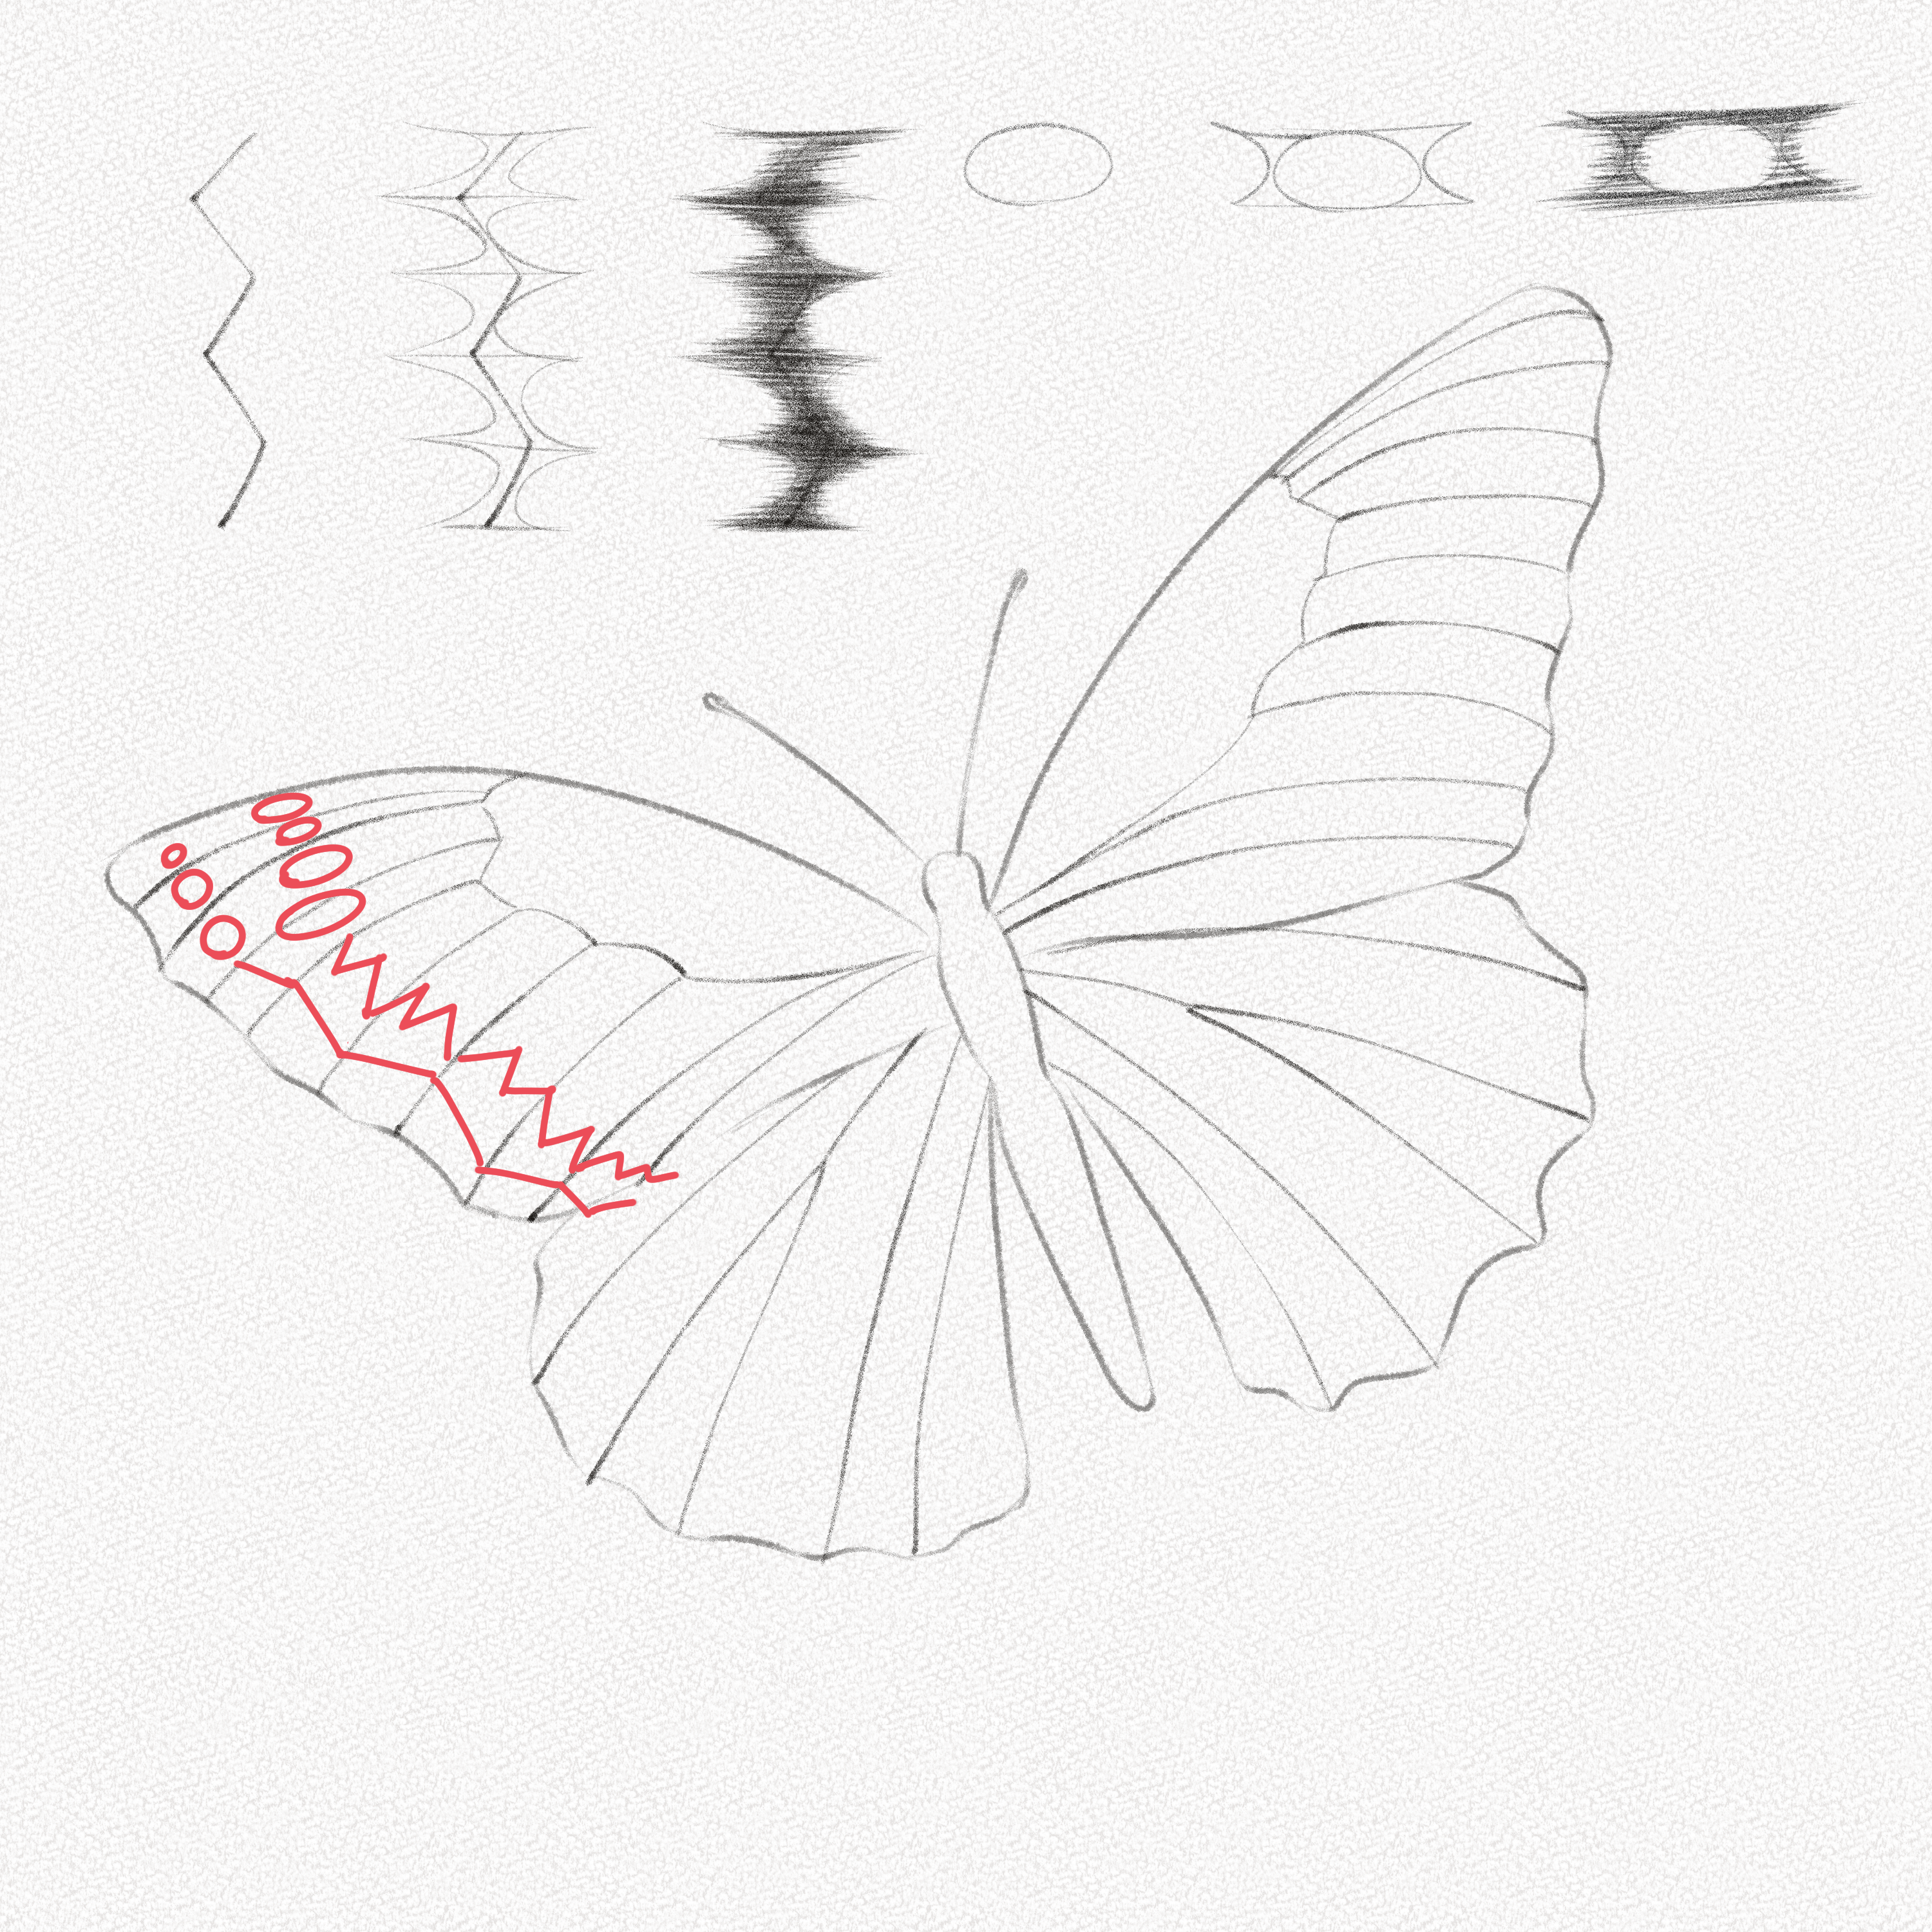
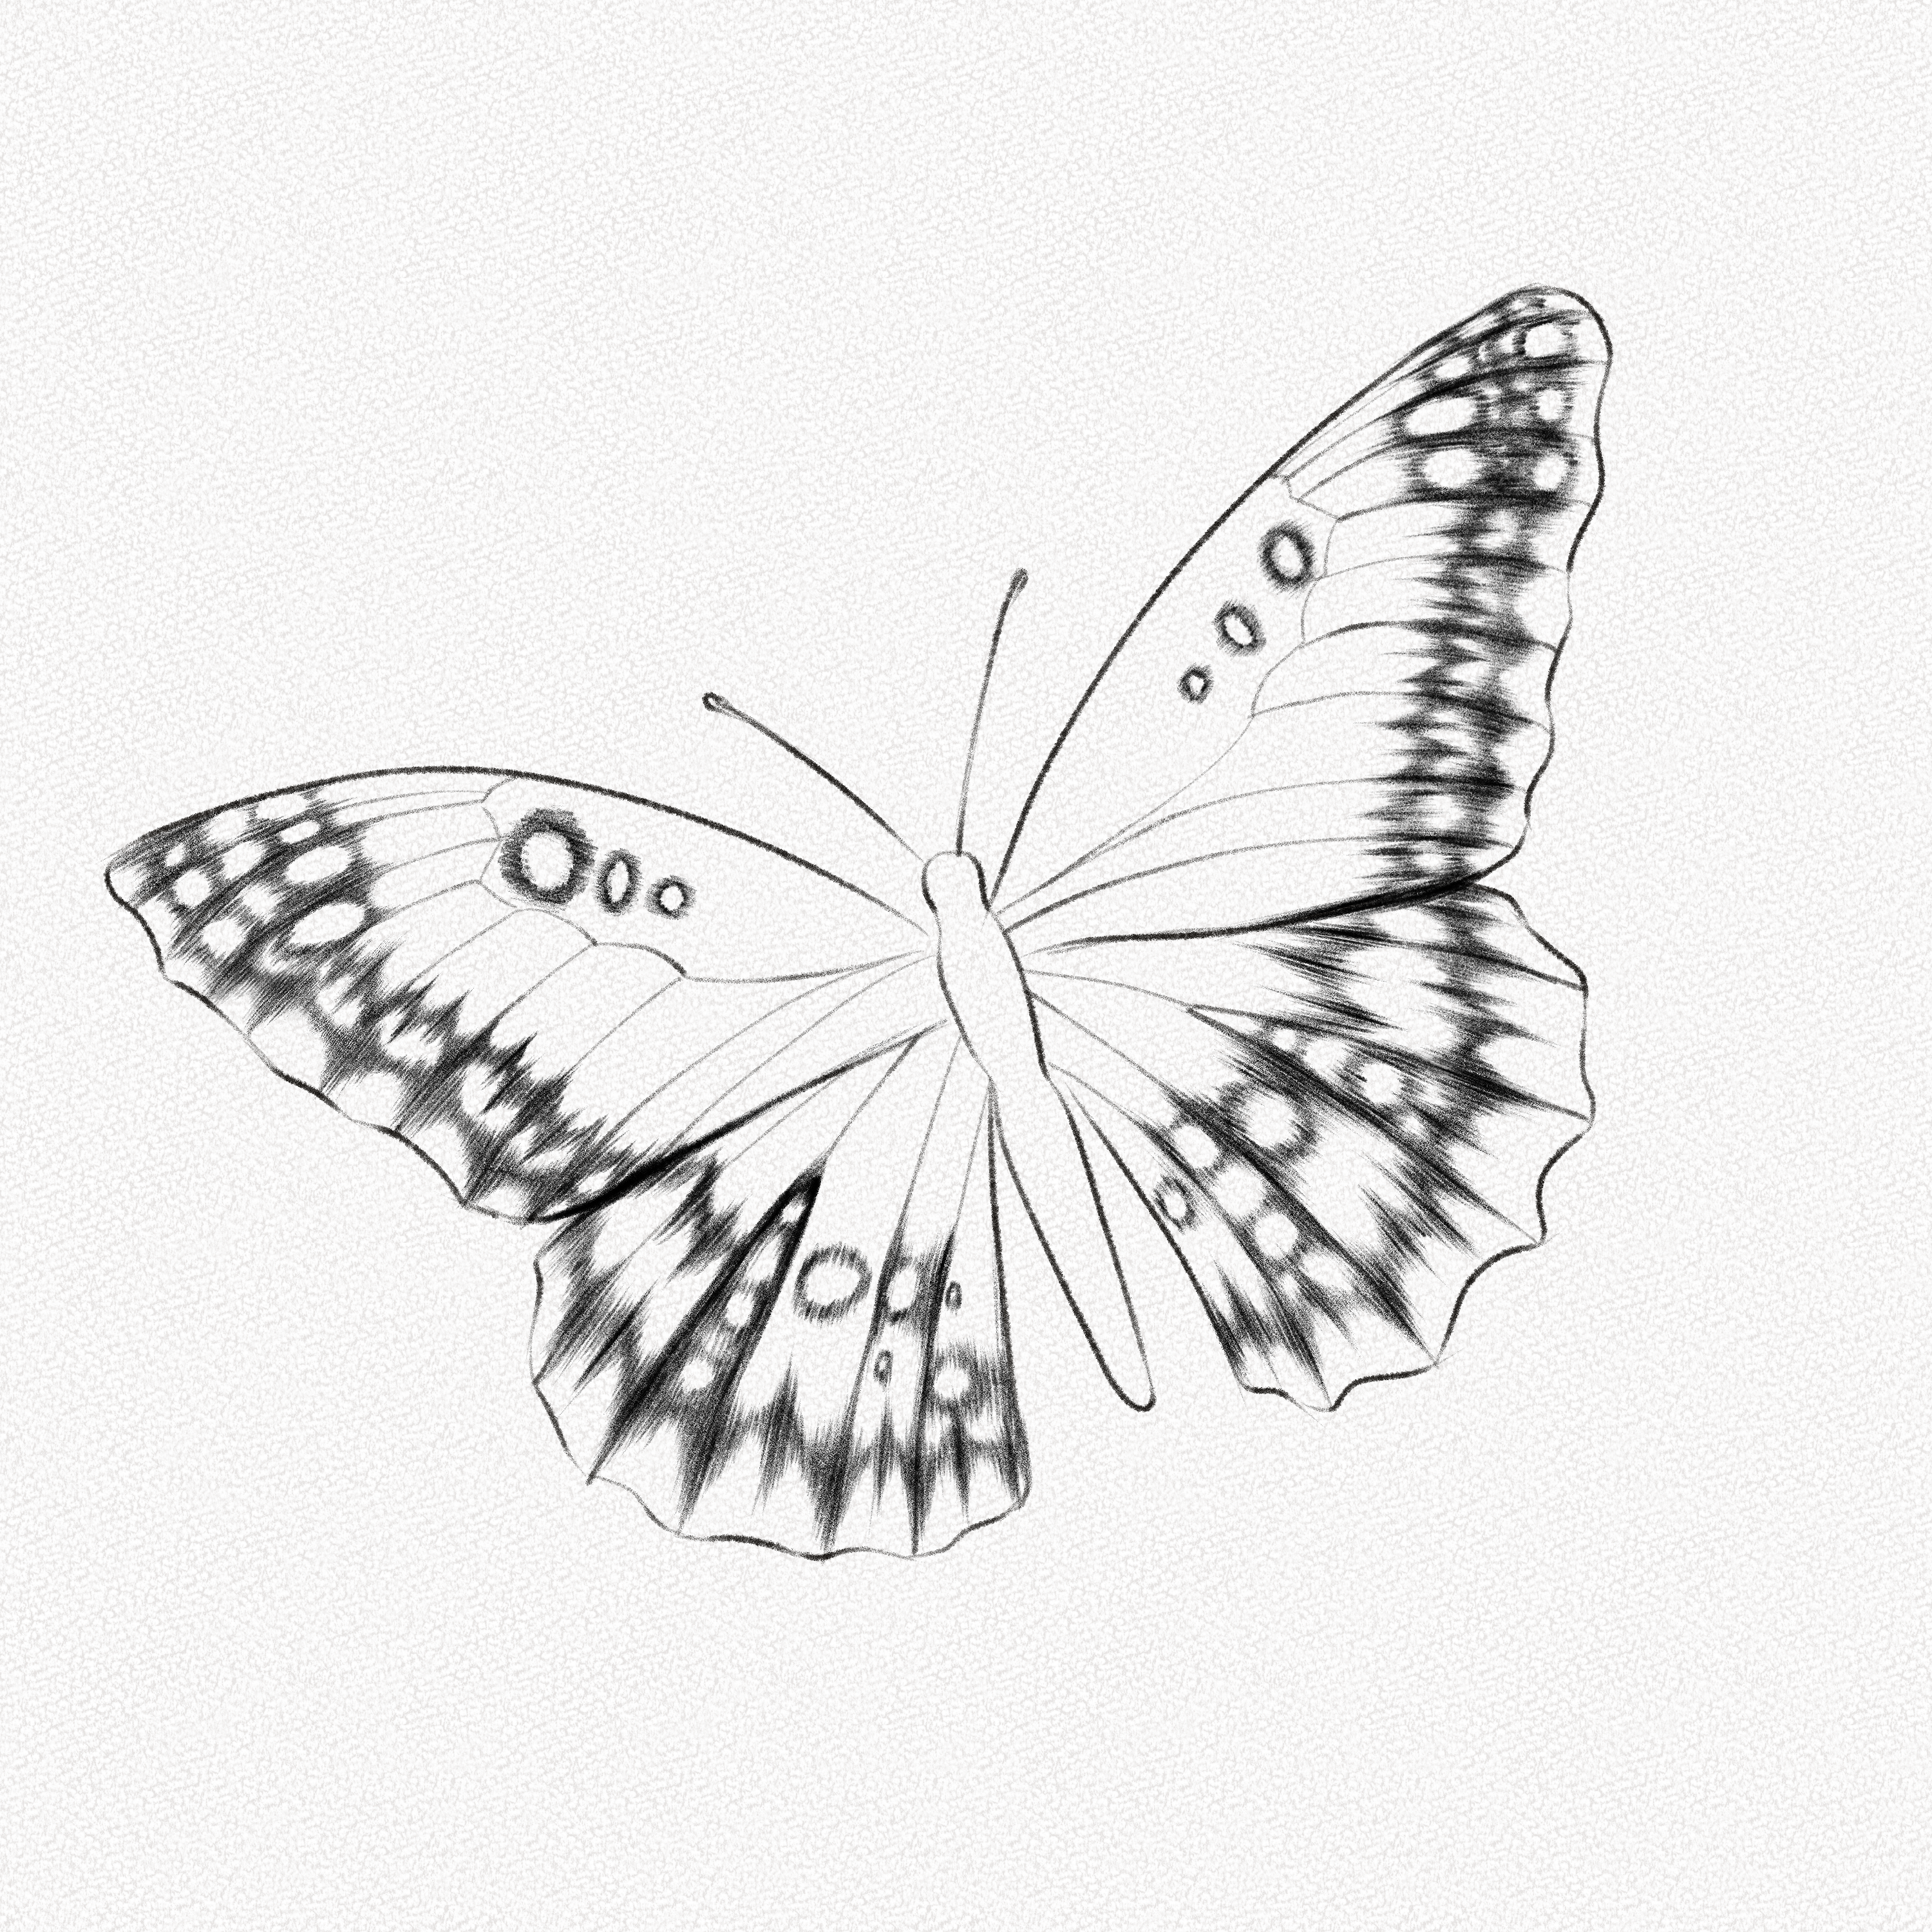
Step 19: Shade the borders
With your 6B or 8B pencil, shade the borders, and apply enough pressure to make them very dark.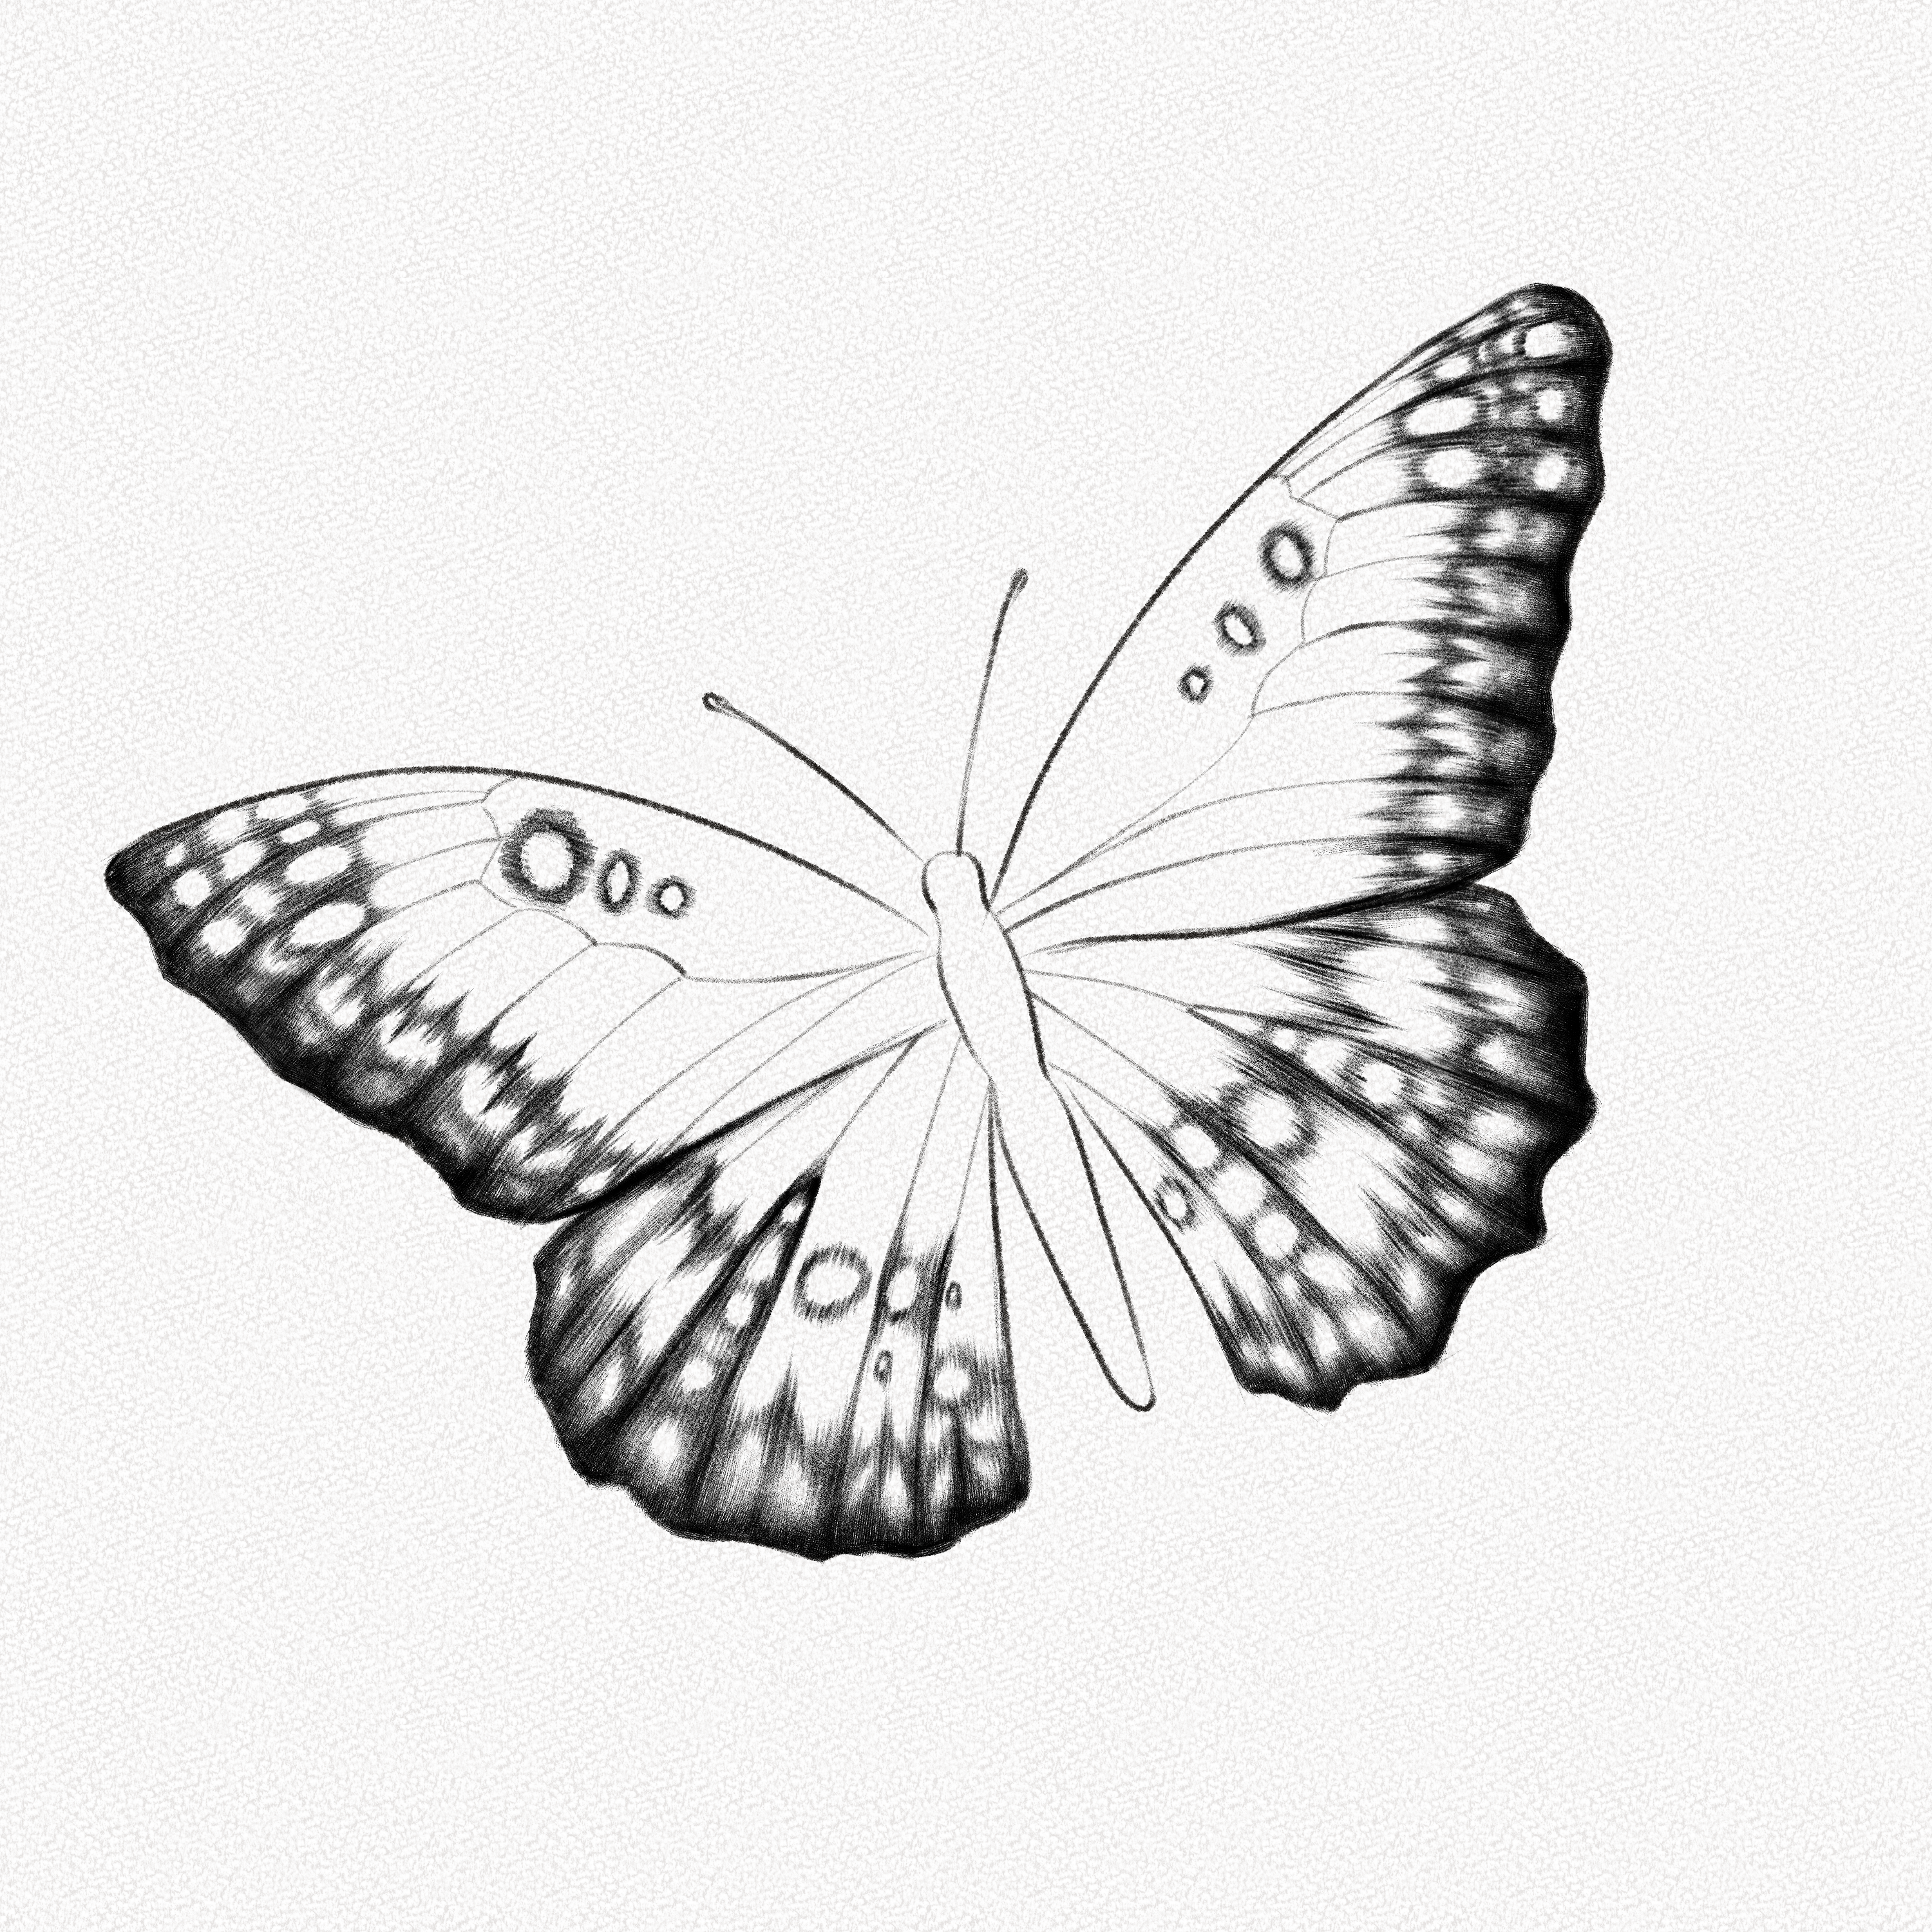
Step 20: Shade the wings and veins
Shade the butterfly’s wing with your 2H pencil, adding contrast to the borders and veins with your 6B pencil. 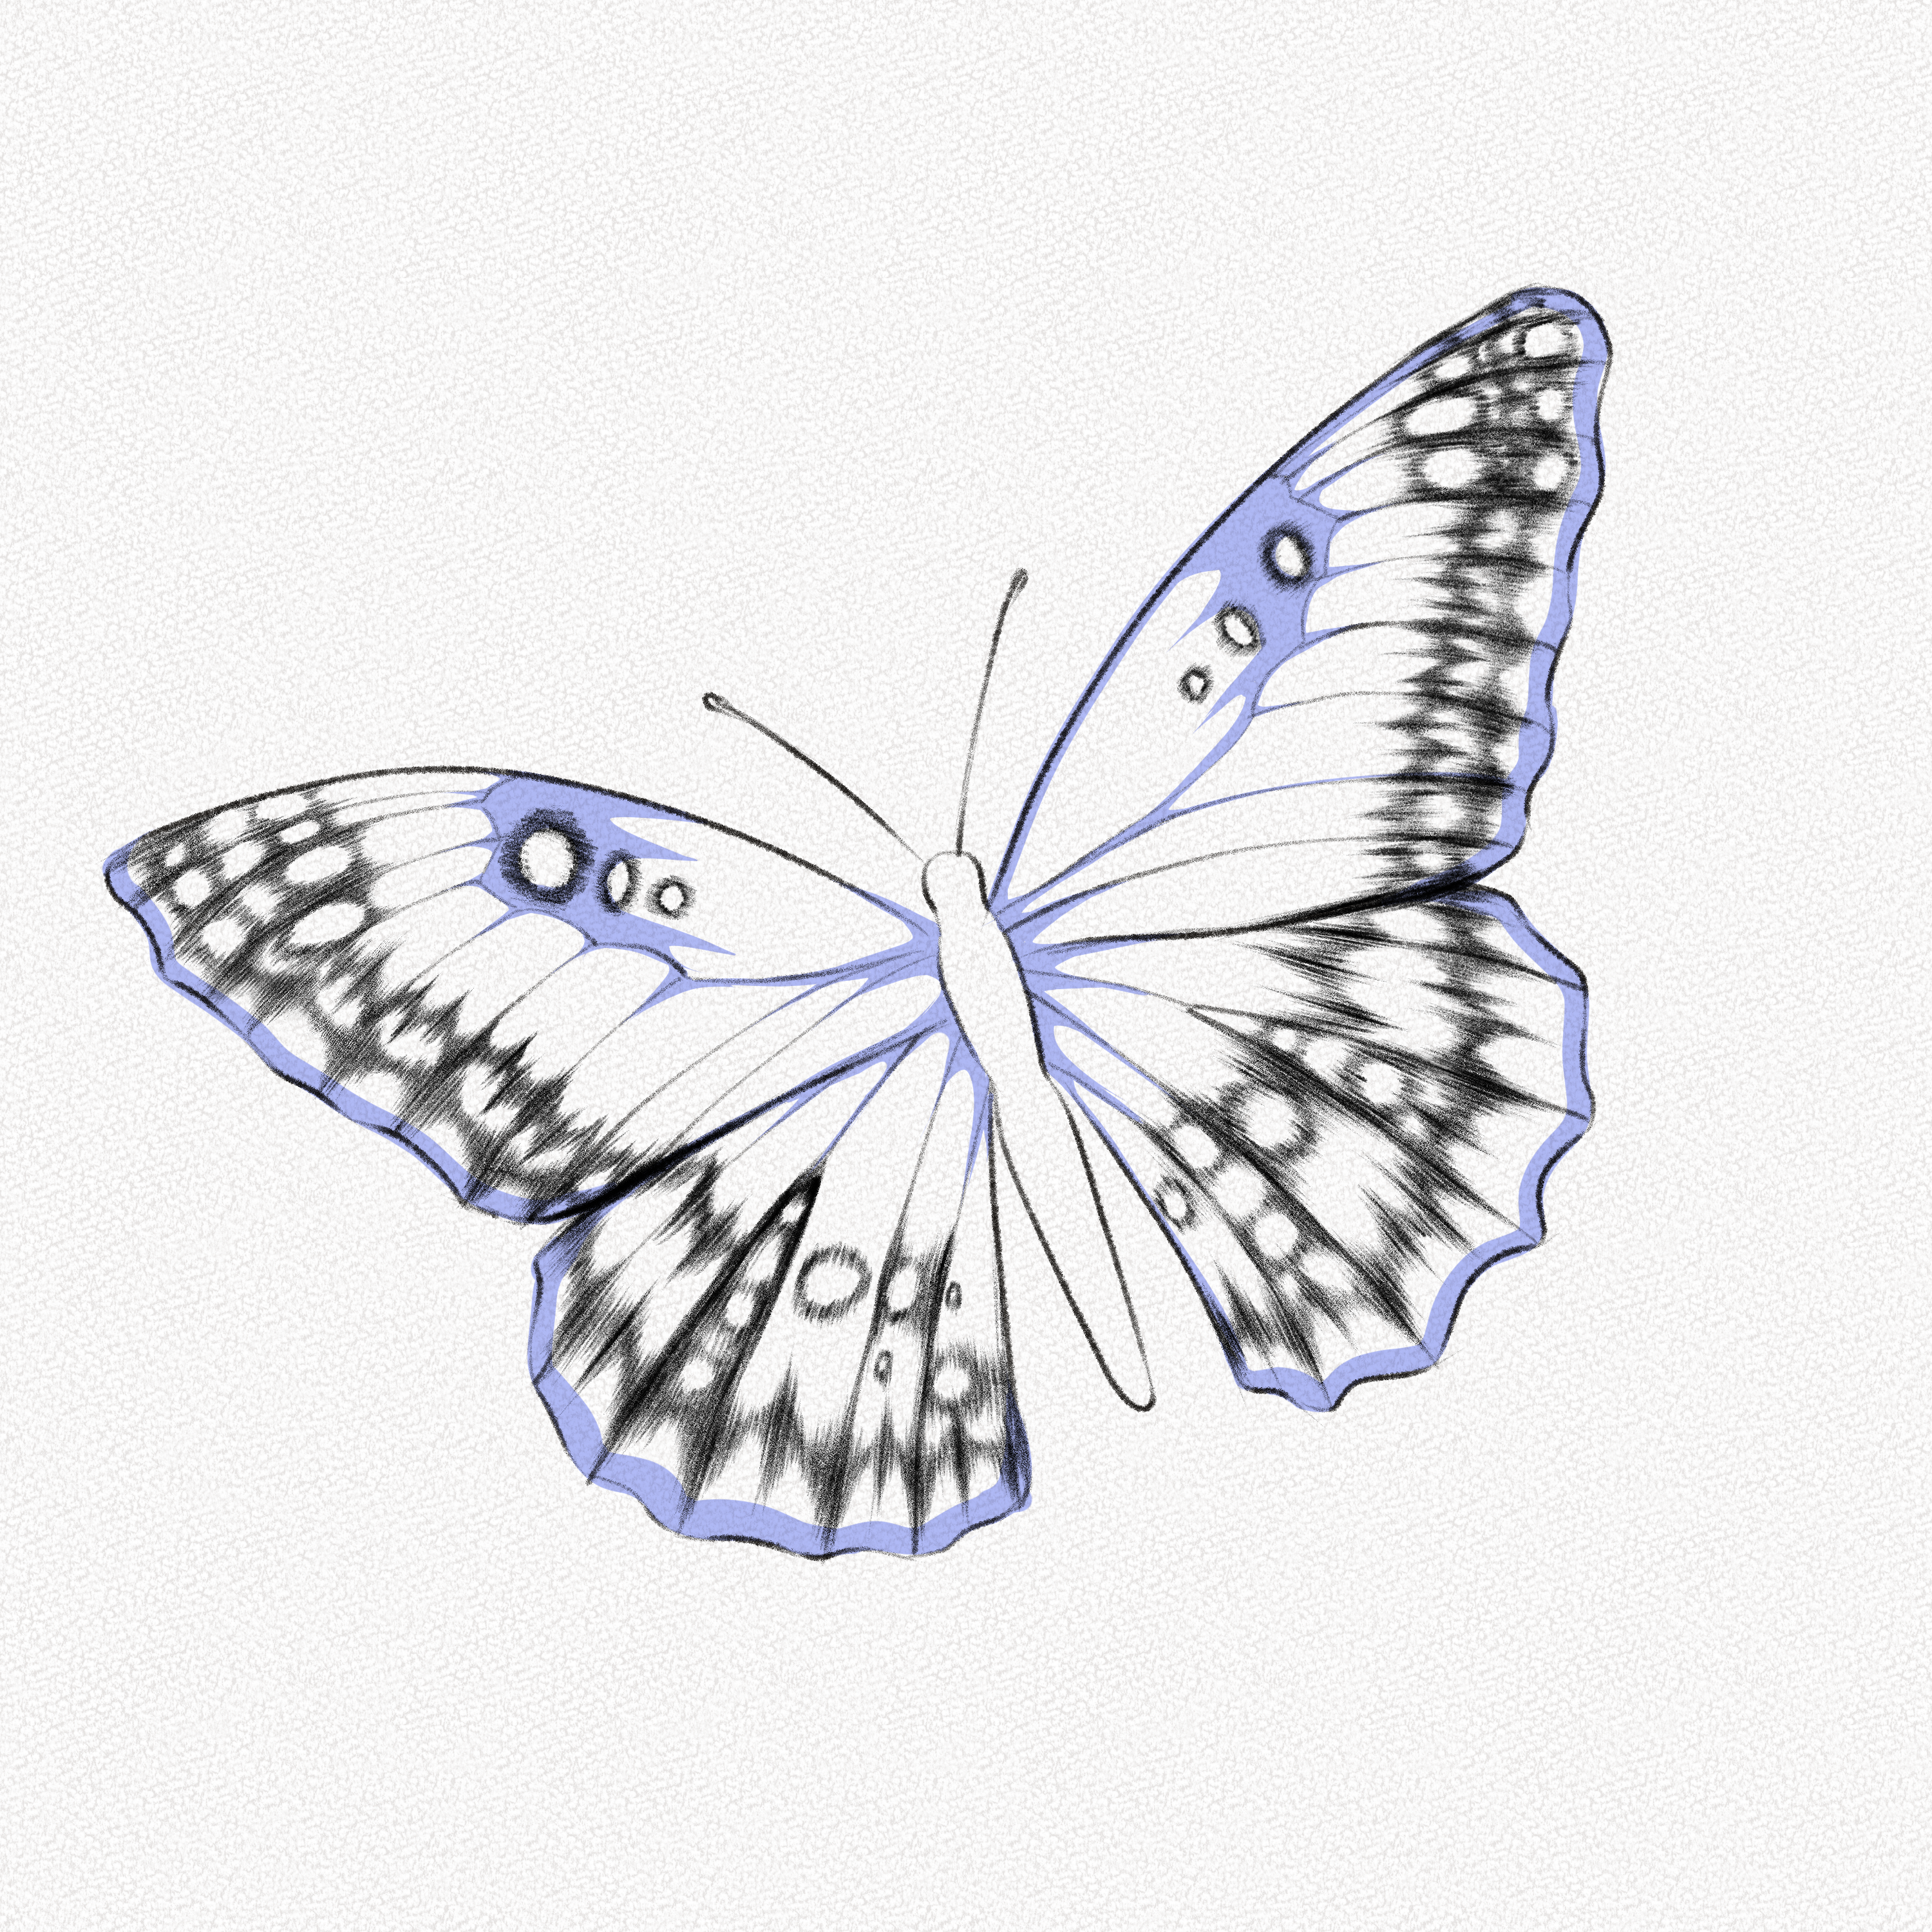
Step 21: Shade the wings’ details
Shade the details on the upper wings, adding a thick, dark border and a darker shade to differentiate it from the rest of the wings. 
Step 22: Define the highlights
Butterflies’ bodies are usually on the dark side, so for this step, we will mark our highlights and lower body structure to have a guide on what to shade.
Step 23: Shade the body
With your darkest pencil, shade the body of our butterfly, leaving the highlights white and considering the tail’s fragmentation.
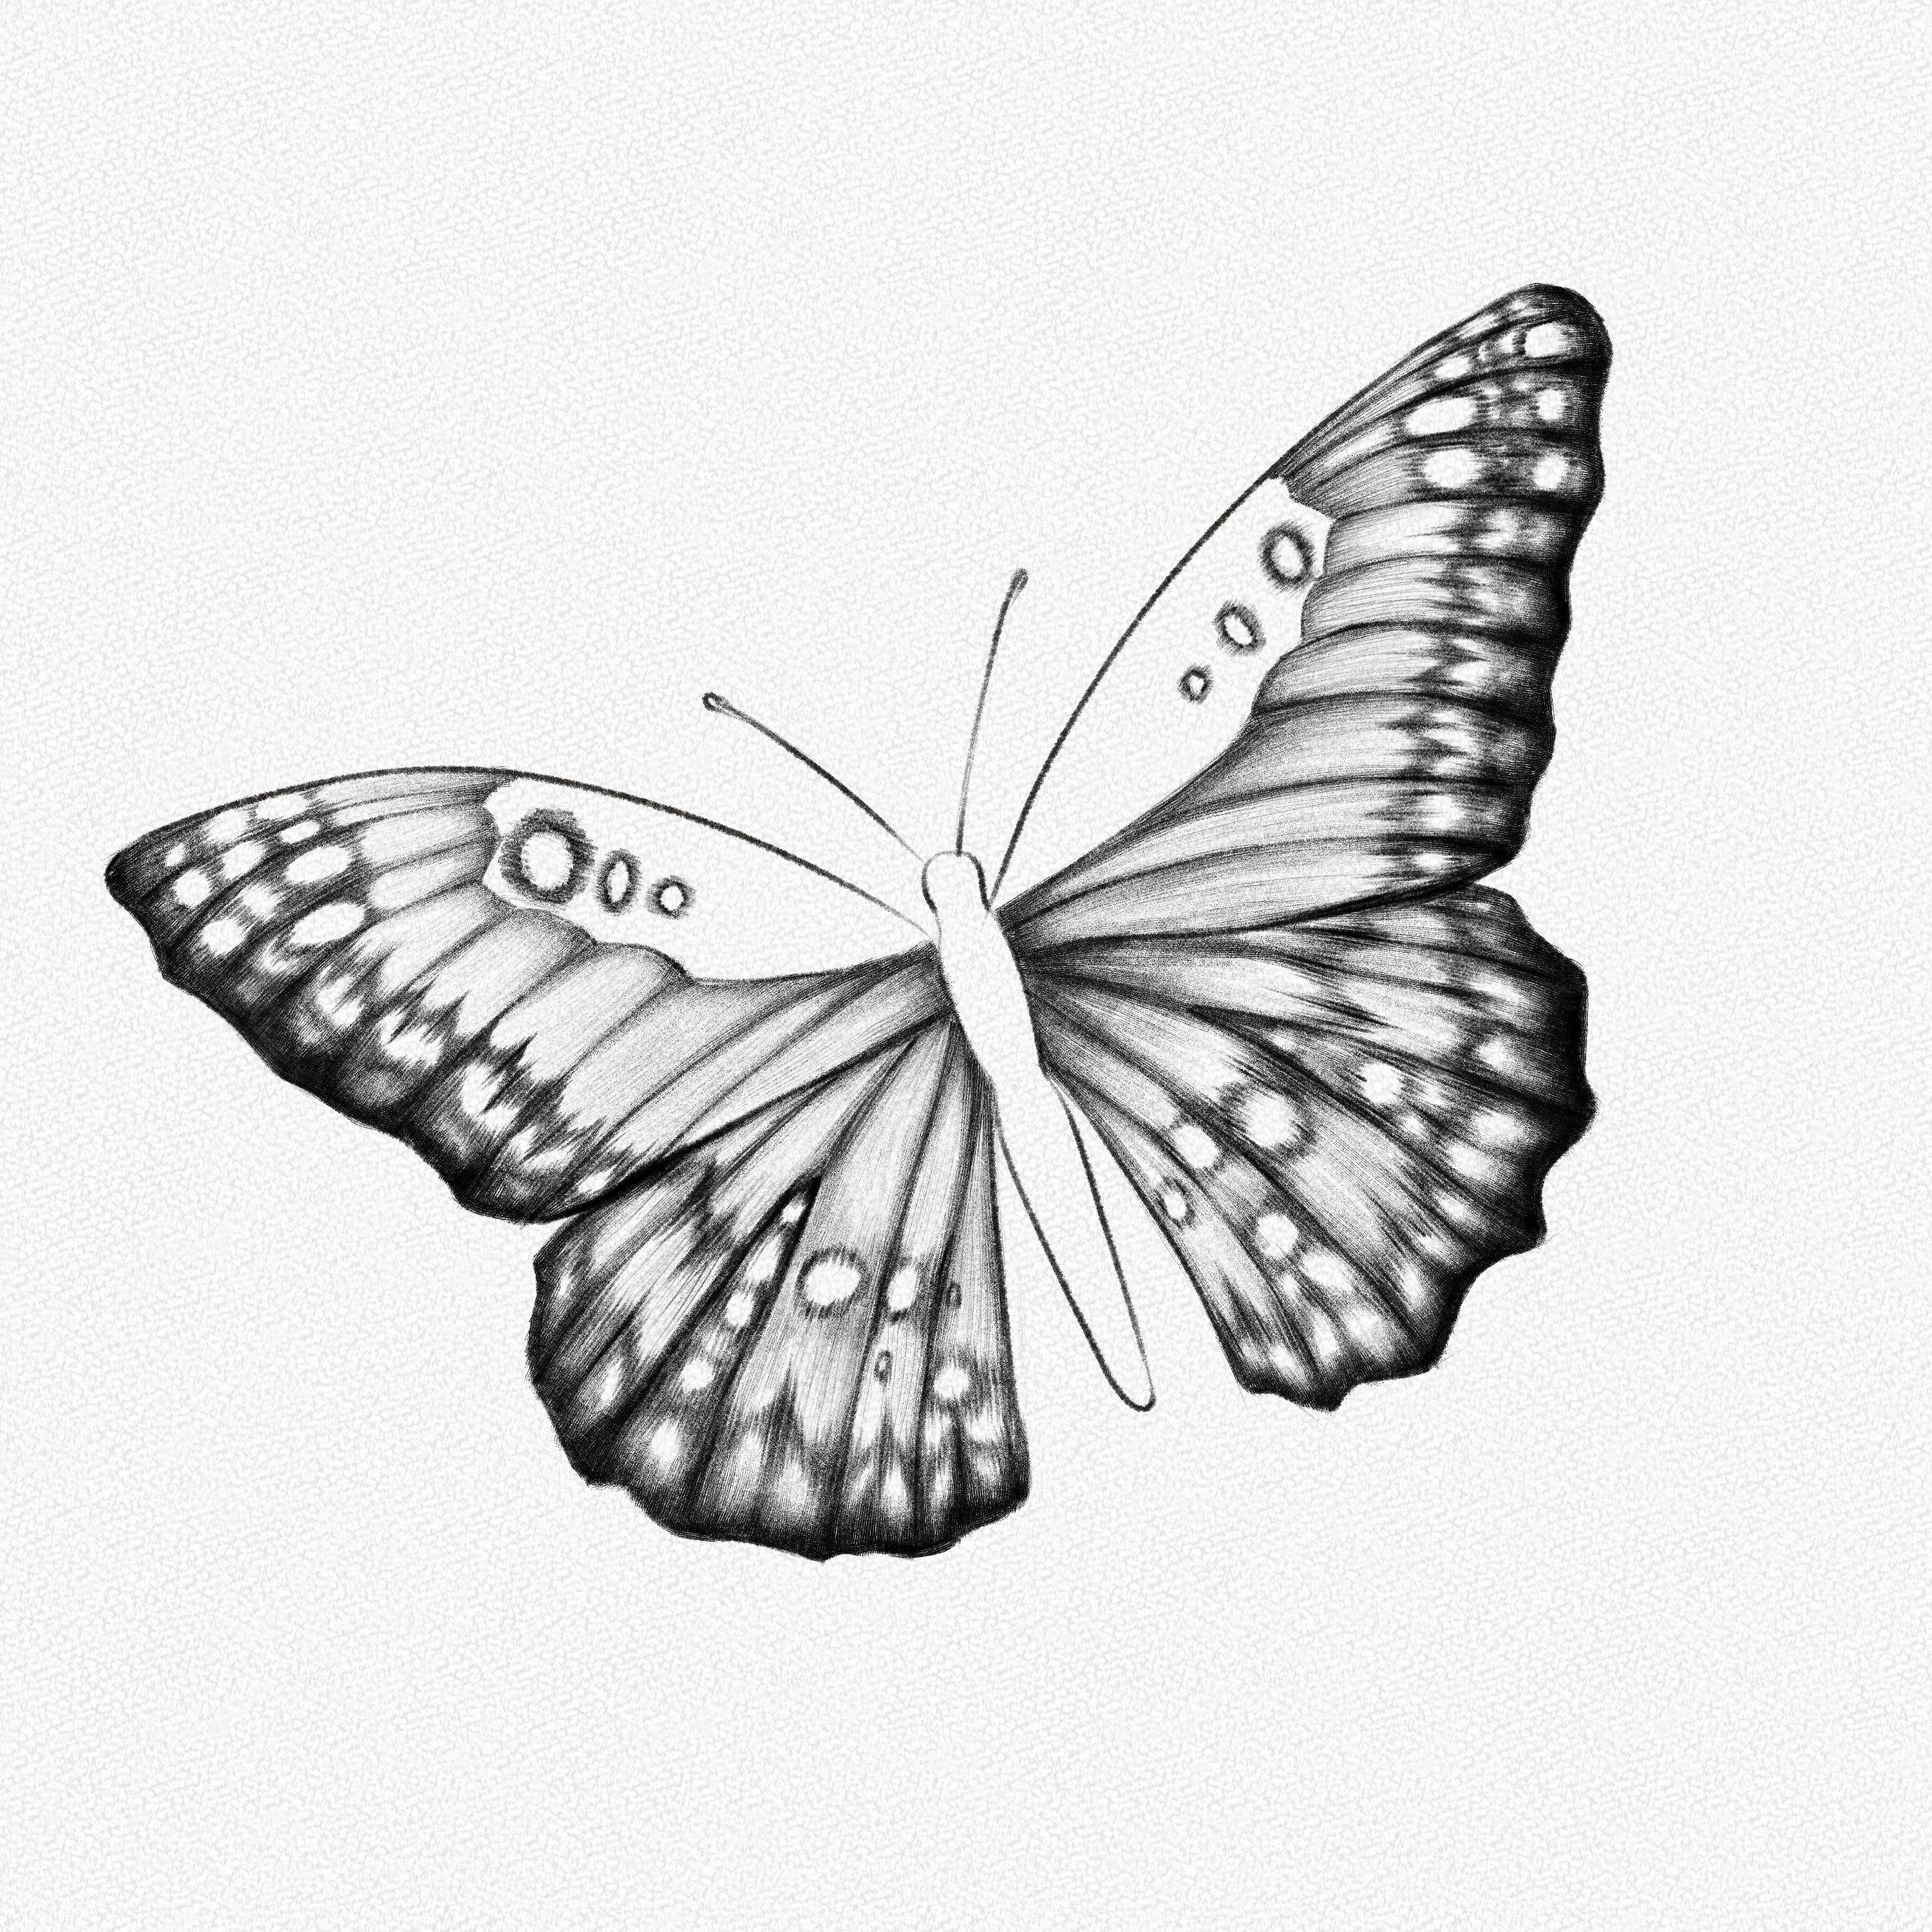
And that’s it. You’re done!
Thank you for following this tutorial. We’re glad you made it this far. Remember, although anatomy and structure are important, there’s no one “right” way to draw a butterfly, so feel free to let your imagination run wild!
Remember to observe the butterfly’s anatomy, study its wings, and pay attention to details such as patterns and textures. Feel free to use references, and take your time with each step.
We hope this tutorial was helpful and easy to follow, let us know which other tutorial you’d like to see on Artlex, and we’ll do our best to bring them to you.
Until next time, and happy drawing!