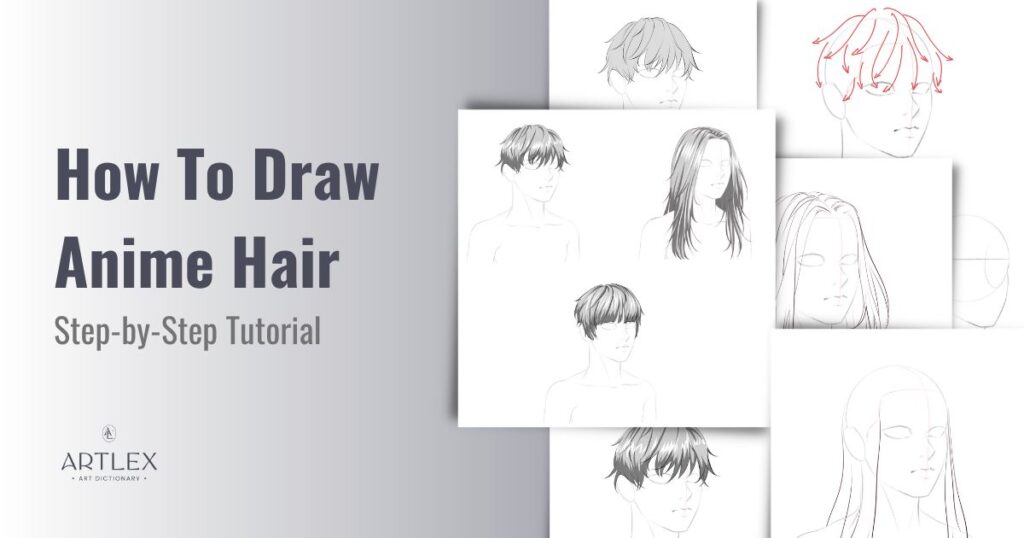
One of the most challenging aspects of drawing anime and manga is definitely the hair. However, anatomy and facial expressions can be difficult. It is pretty hard to simplify and stylize multiple hairstyles while keeping them dynamic and fluid.
In this tutorial, we’ll walk you through the construction process of a base head, the hairline, and three different hairstyles, step by step.
Since anime is primarily drawn digitally, this tutorial will have two versions, a traditional version with the steps and video and a digital video process.
What you’ll learn:
- How to draw a base head
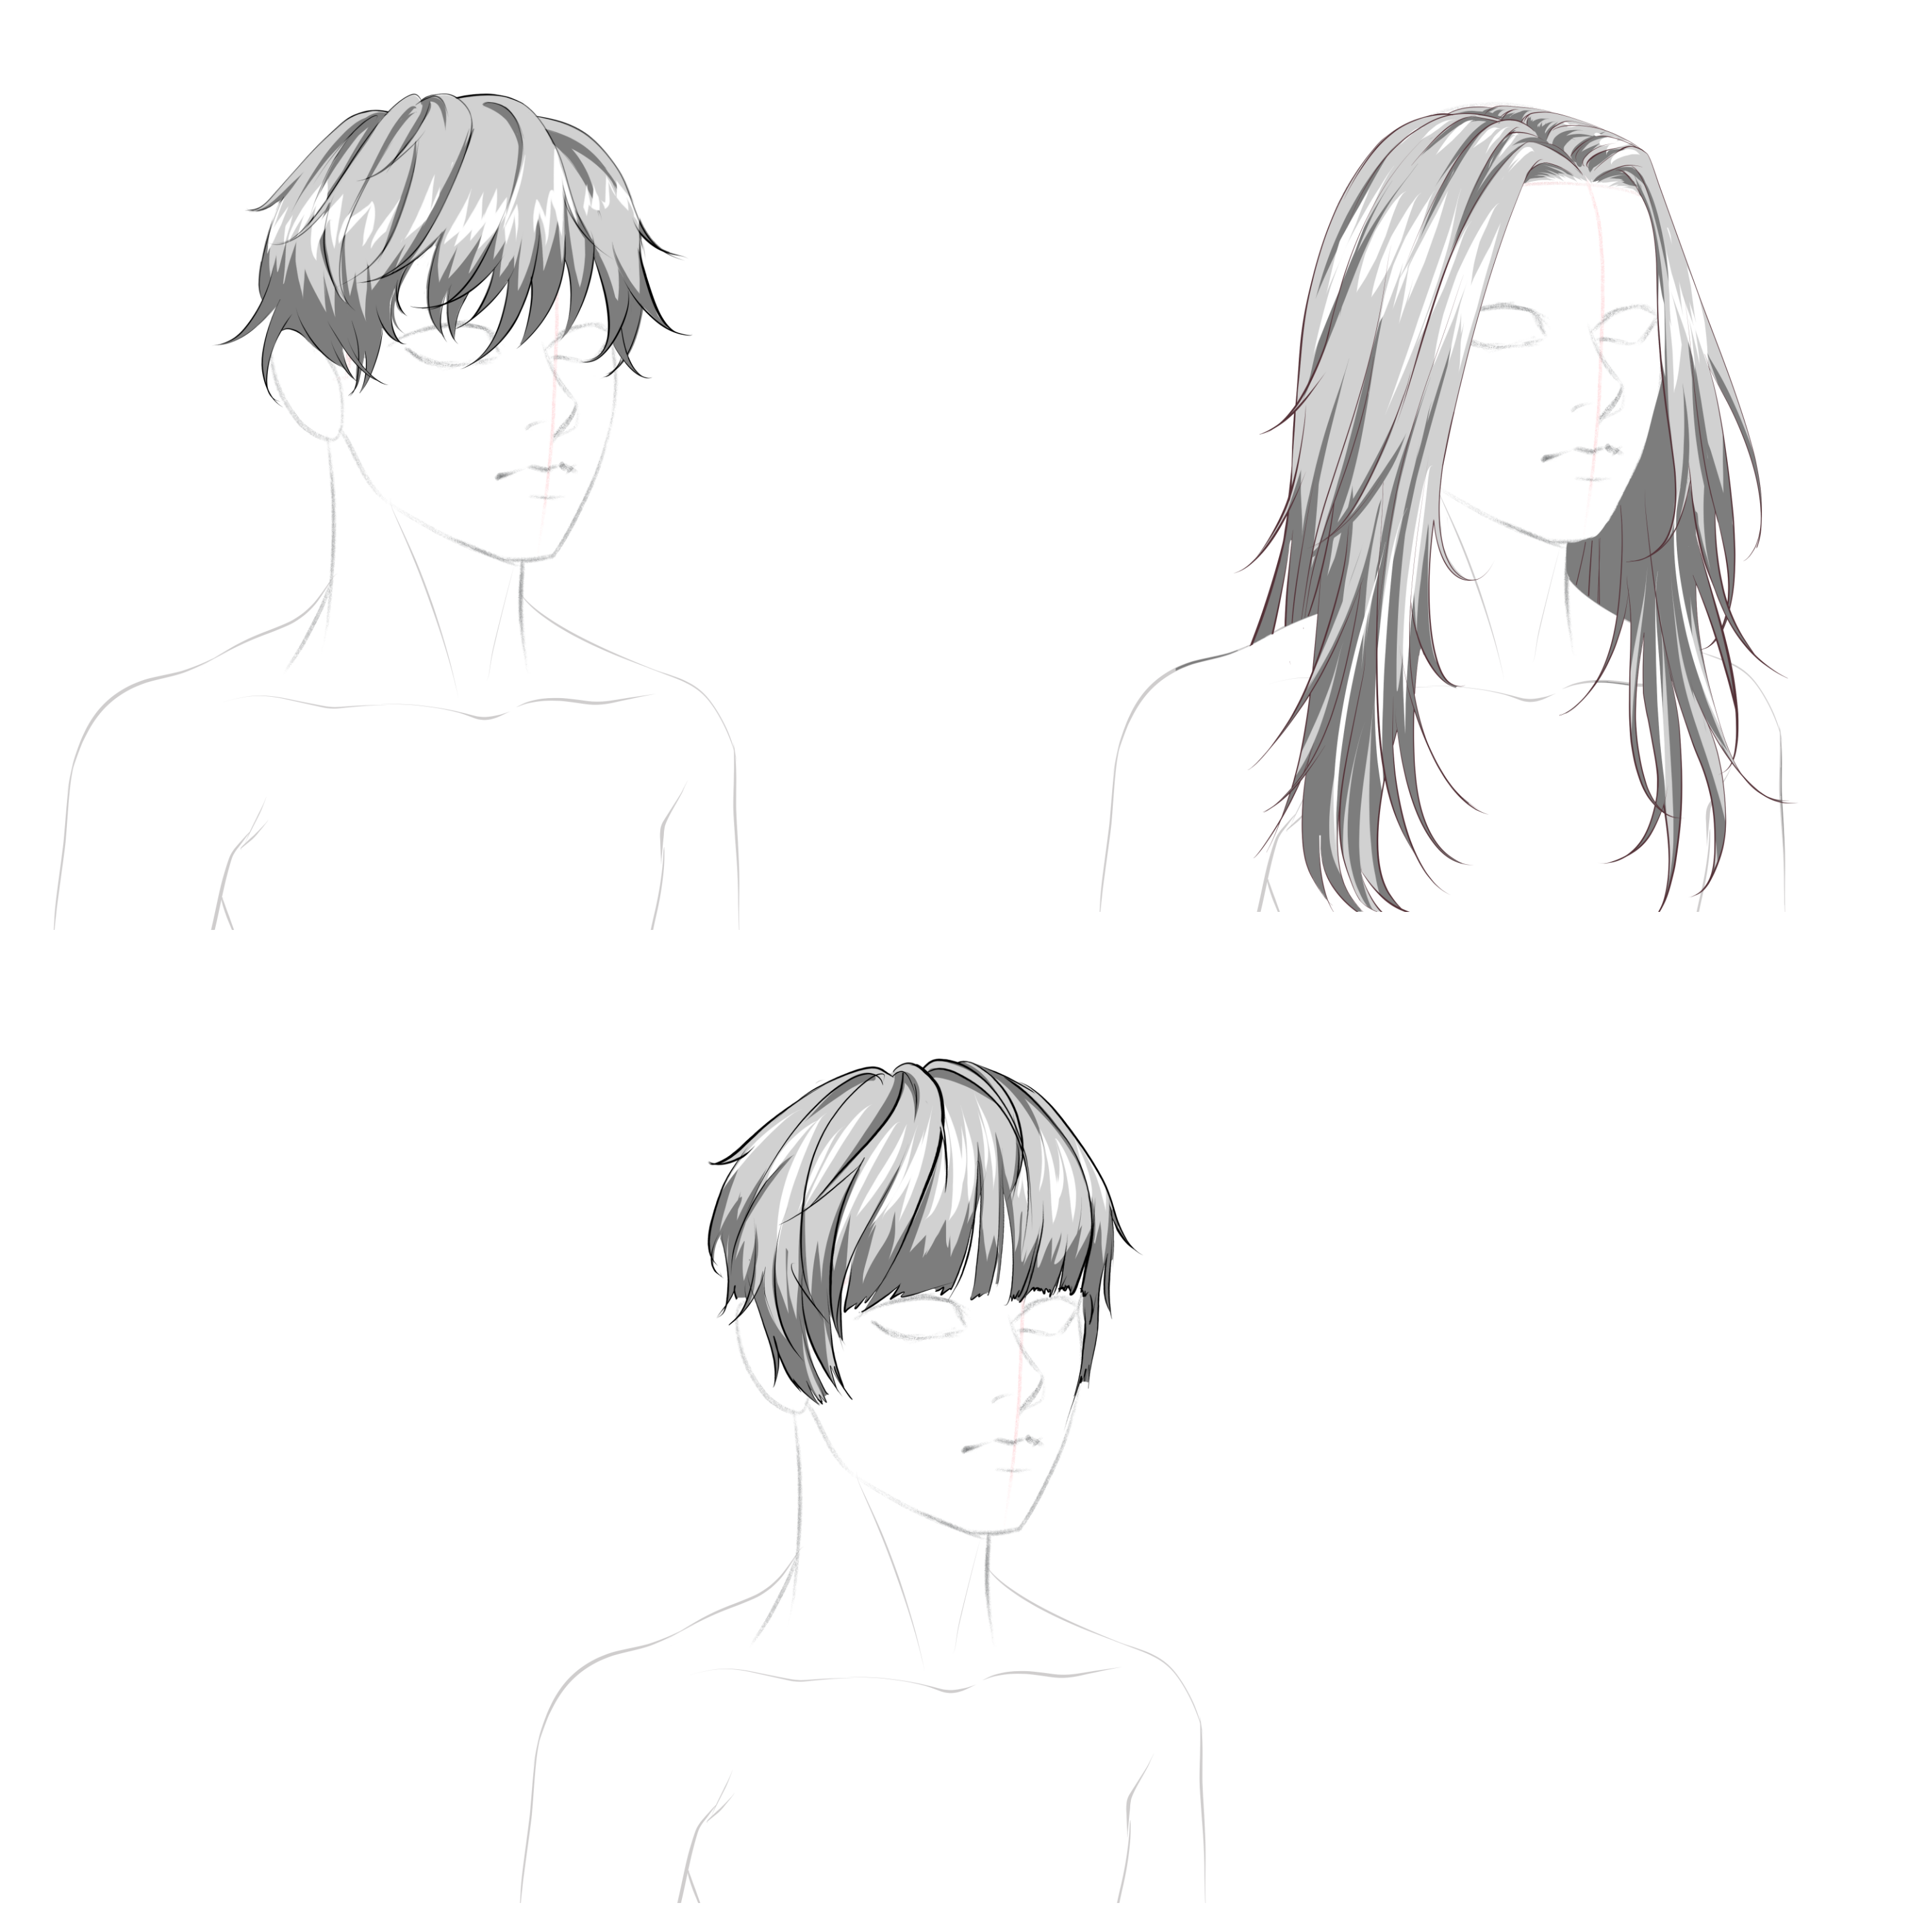
- How to draw short anime hair
- How to draw long anime hair
- How to shade anime hair
Materials needed:
– A piece of paper
– A 2H graphite pencil
– A 4B graphite pencil
– A 0.5 2B mechanical pencil
– A Tombow Mono Zero 2.3mm eraser
These are the hairstyles you’re going to draw:
And these are all the steps we’ll walk you through: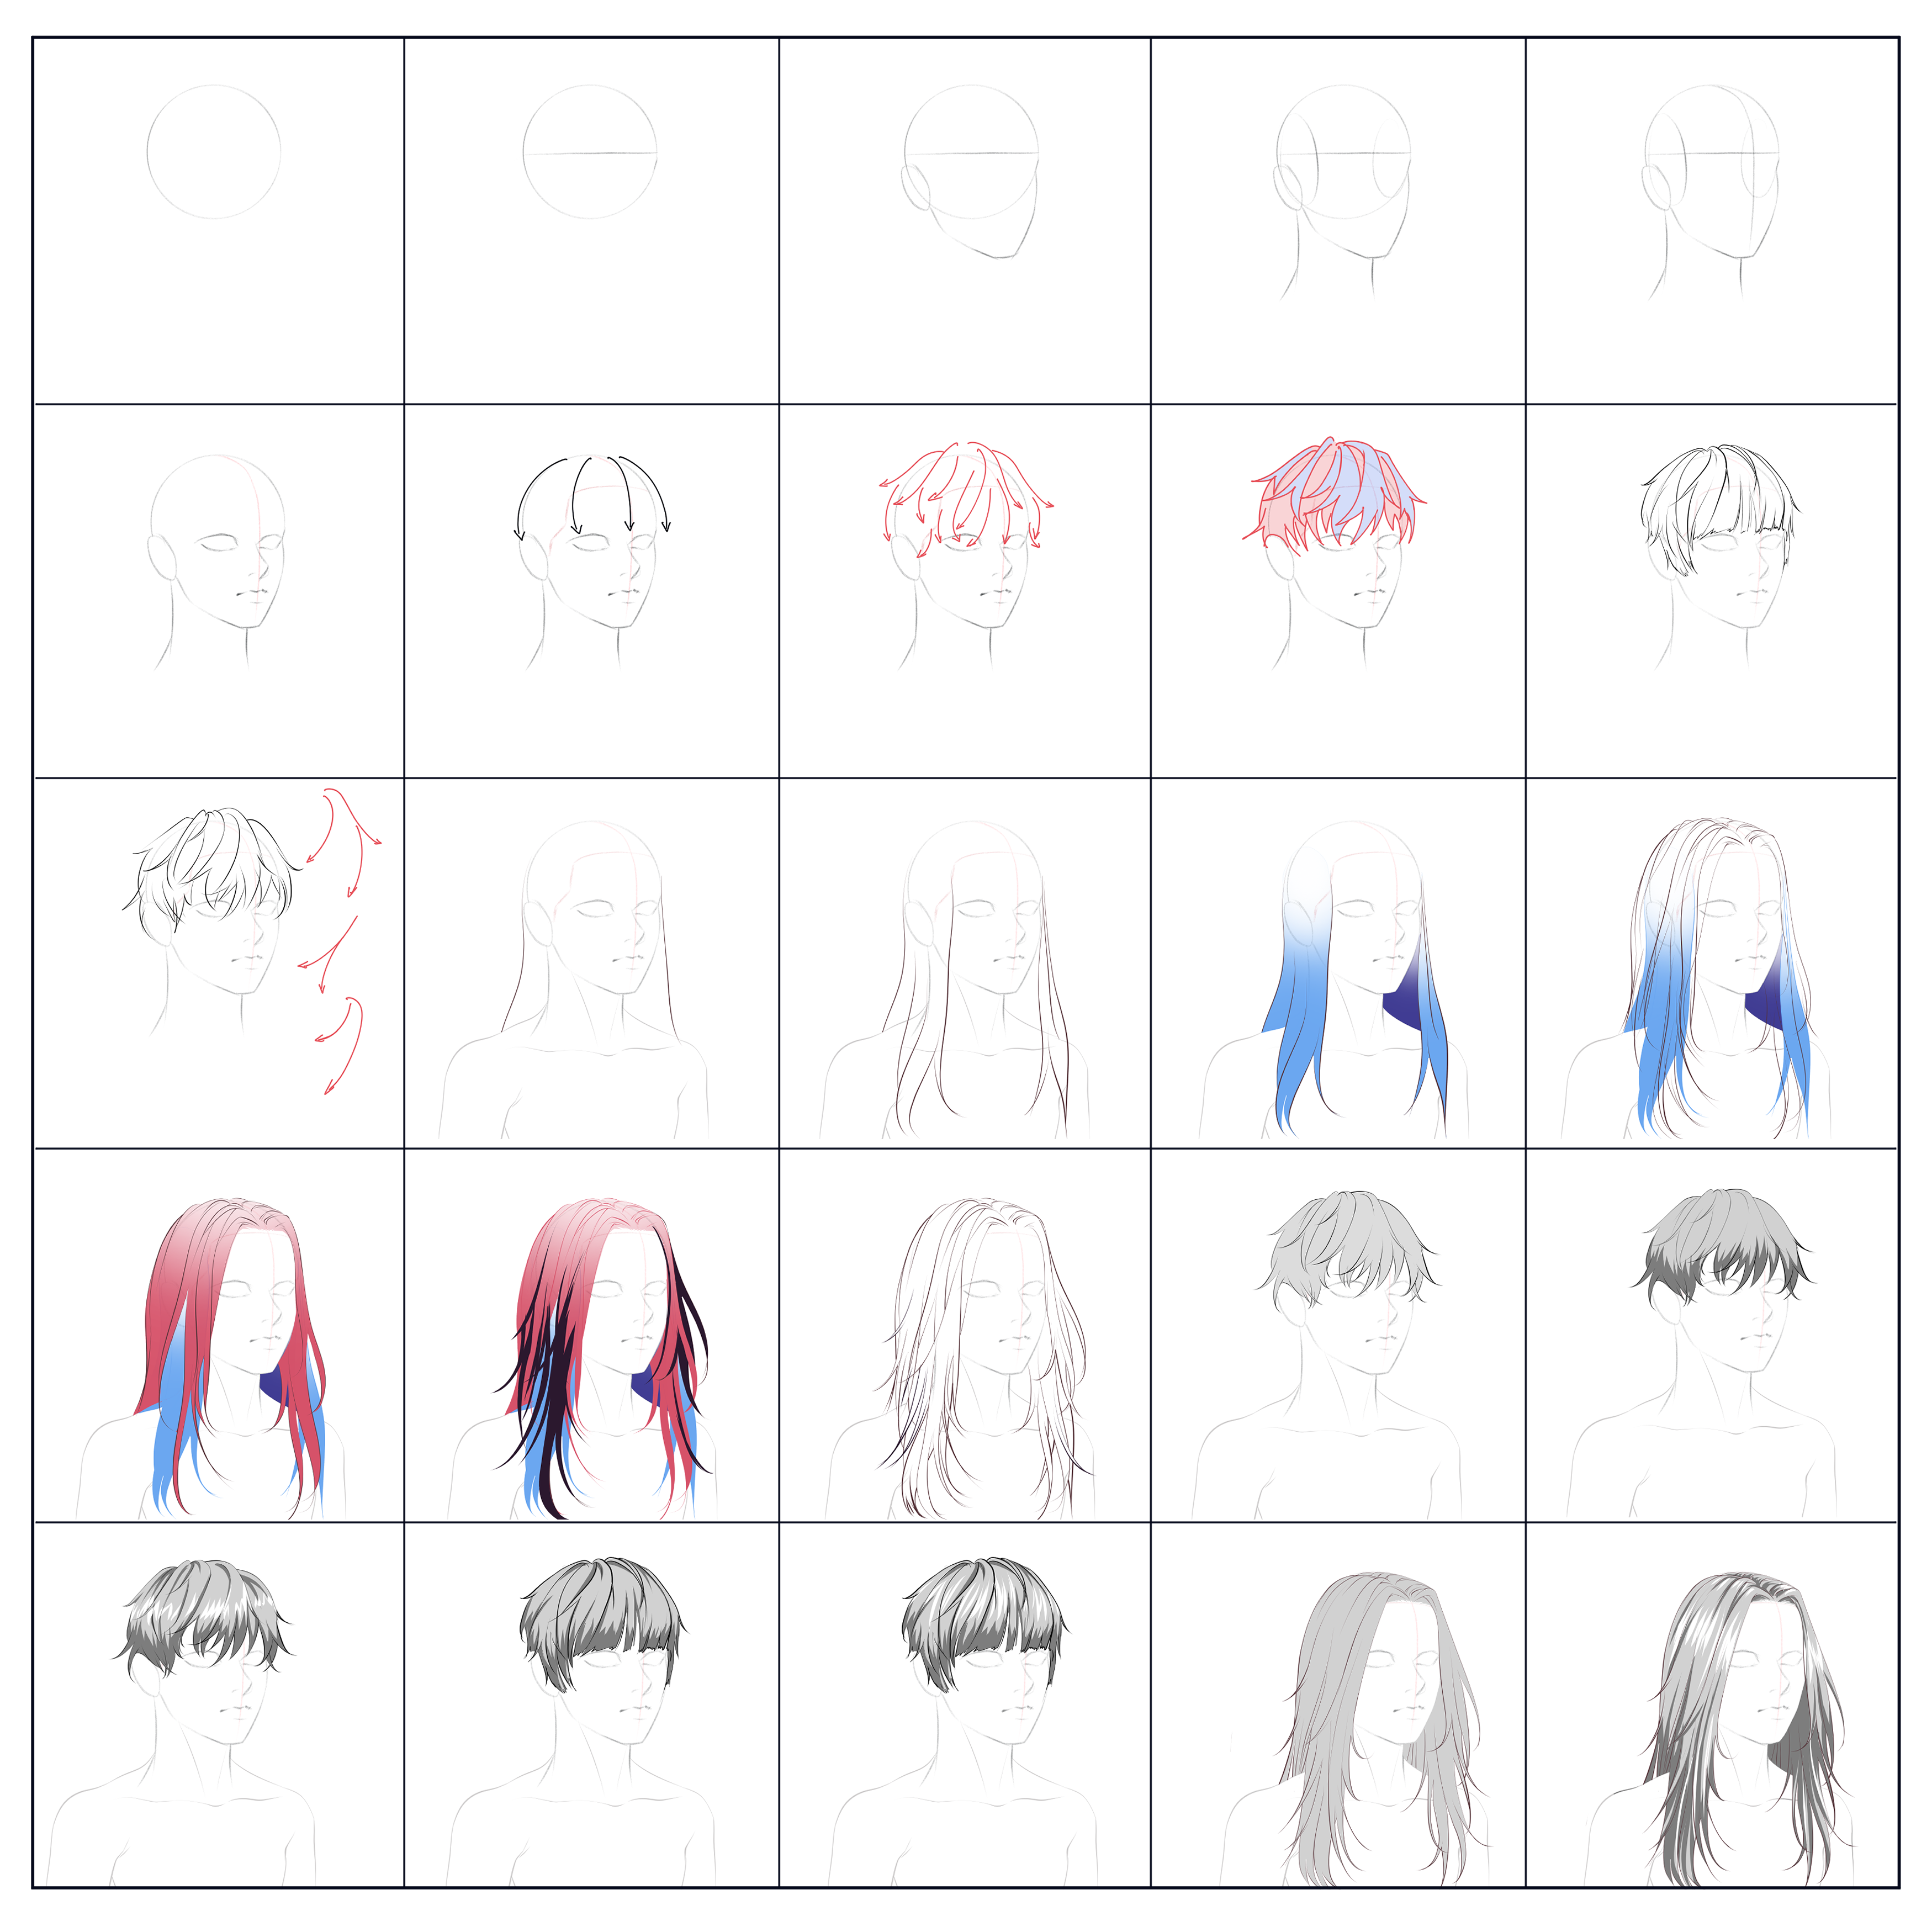
Section 1.- Drawing an anime head base
For this section, we are going to learn how to draw our own head base to practice different styles on.
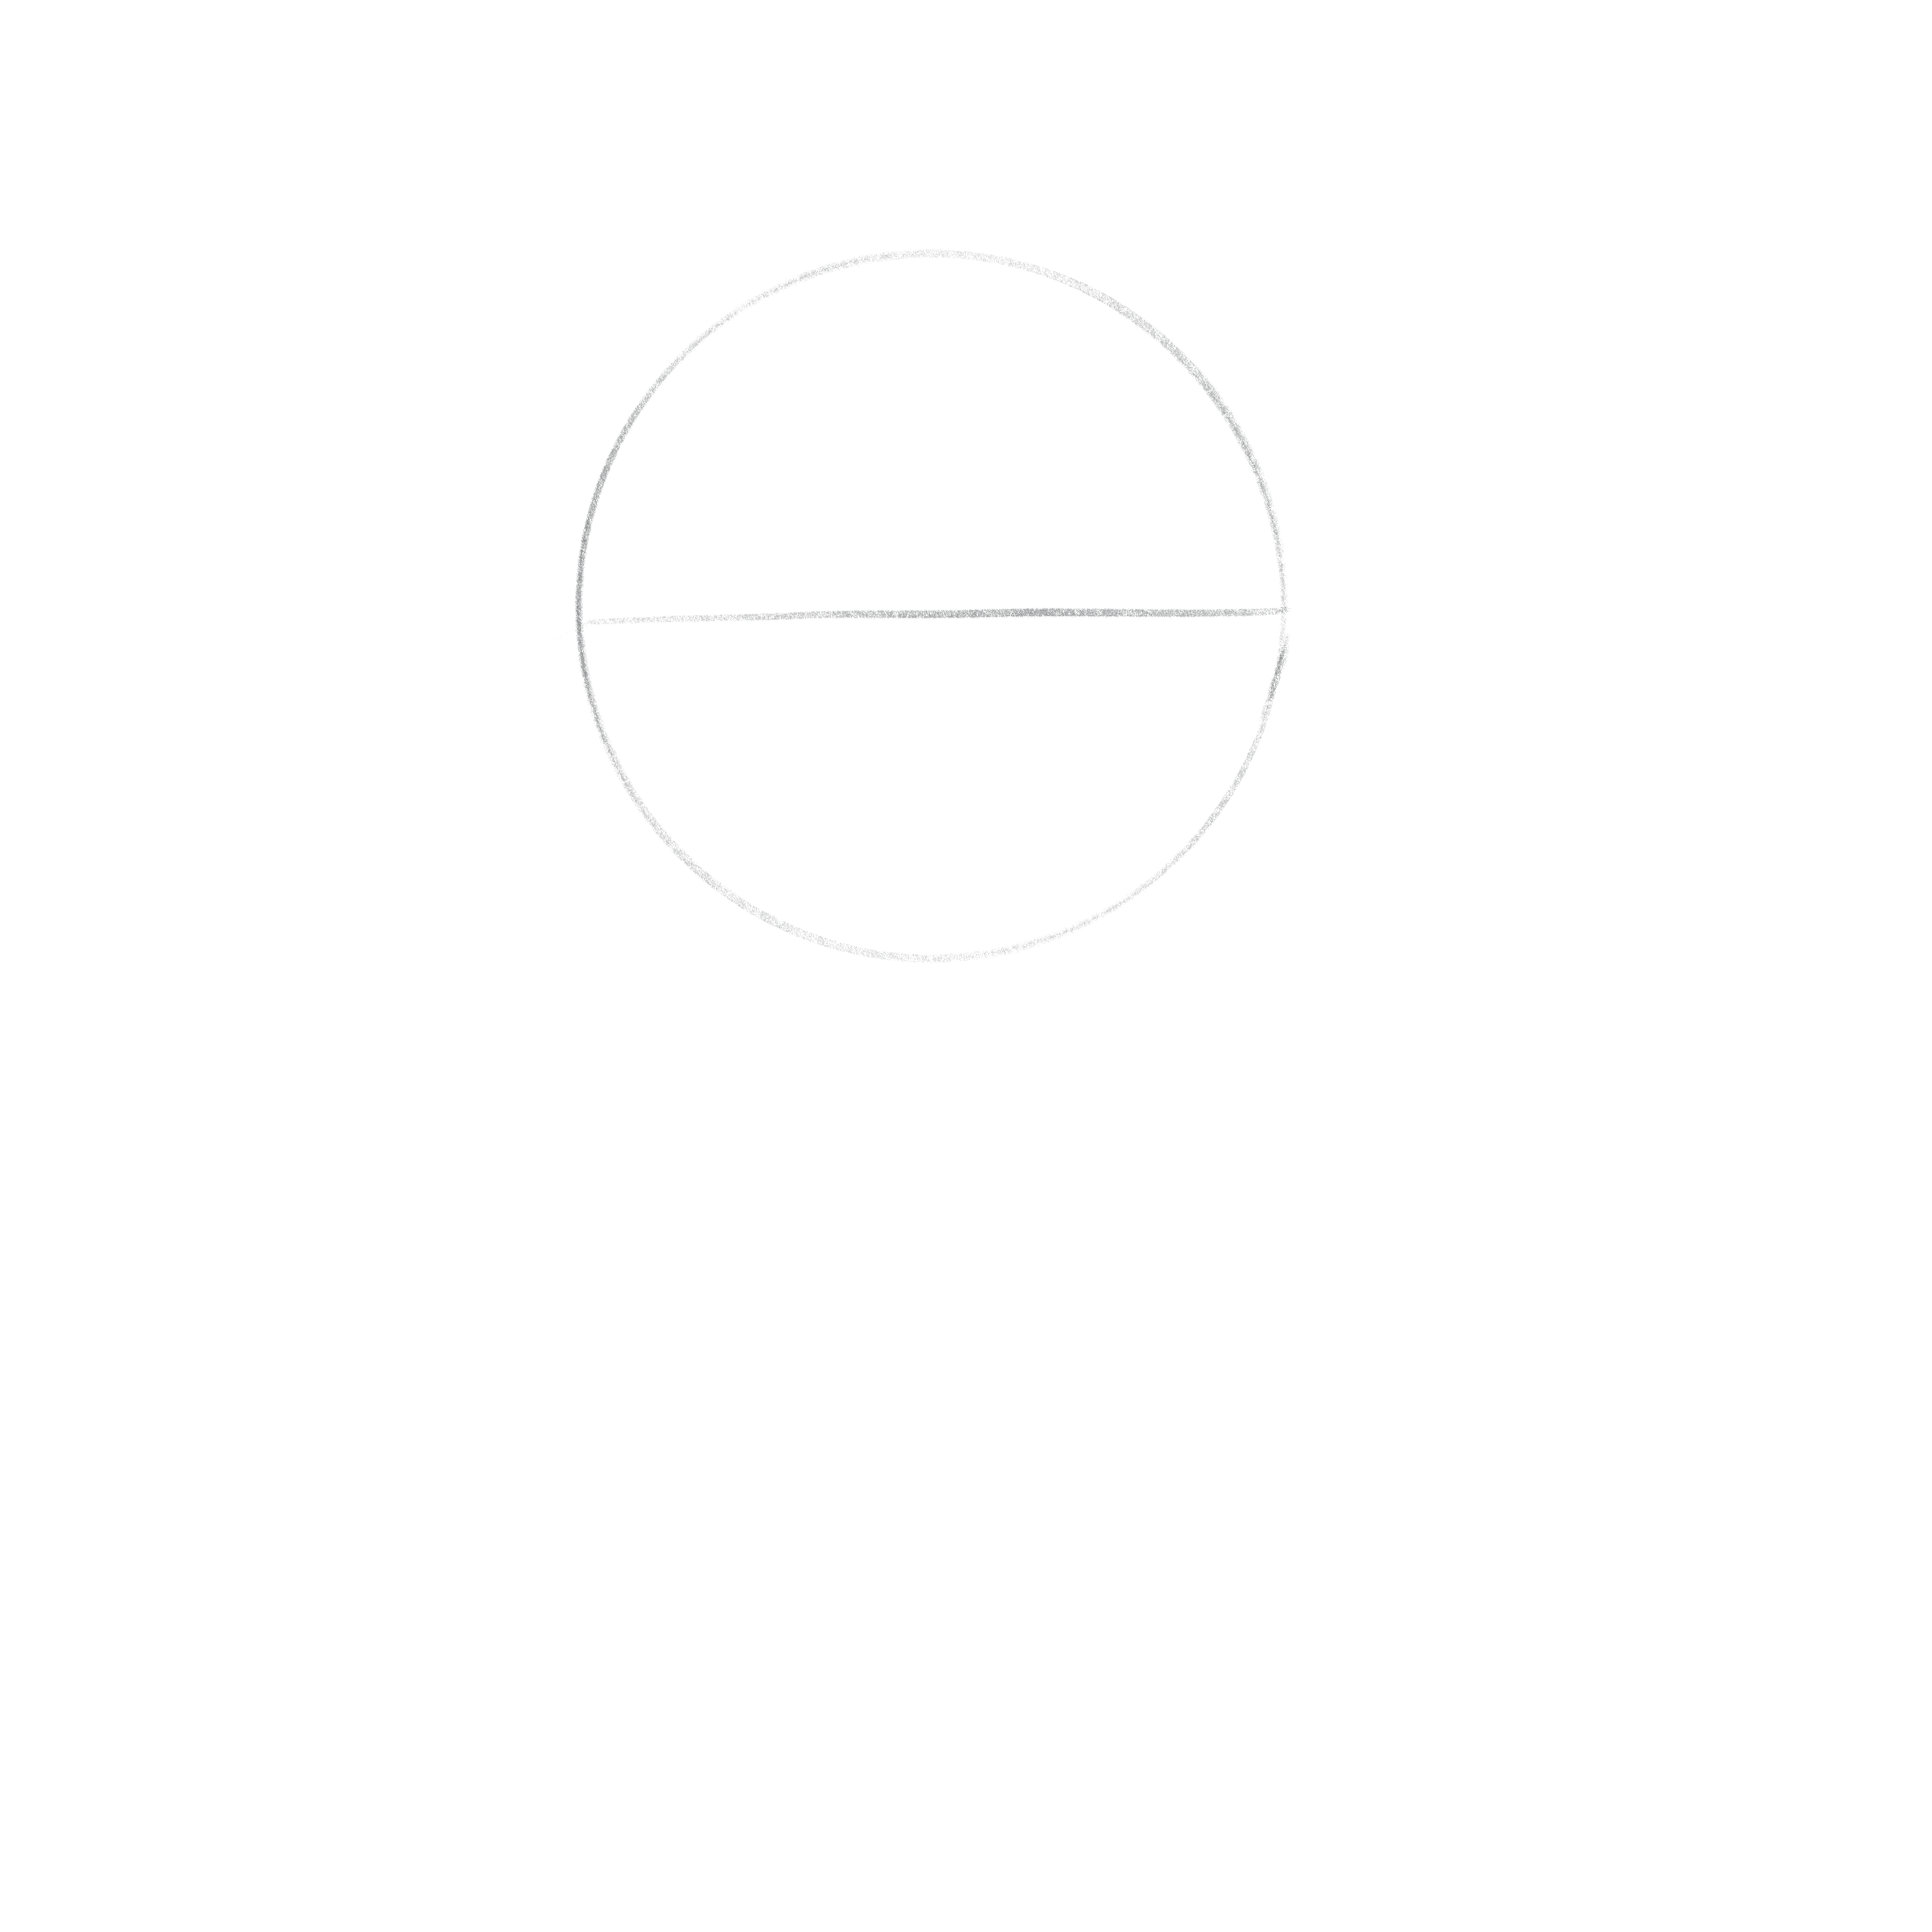
Step 1: Draw a circle
Using your 2H pencil, draw a small to medium circle.
Step 2: Split the circle in half
Now, draw a straight line and split the circle in half horizontally.
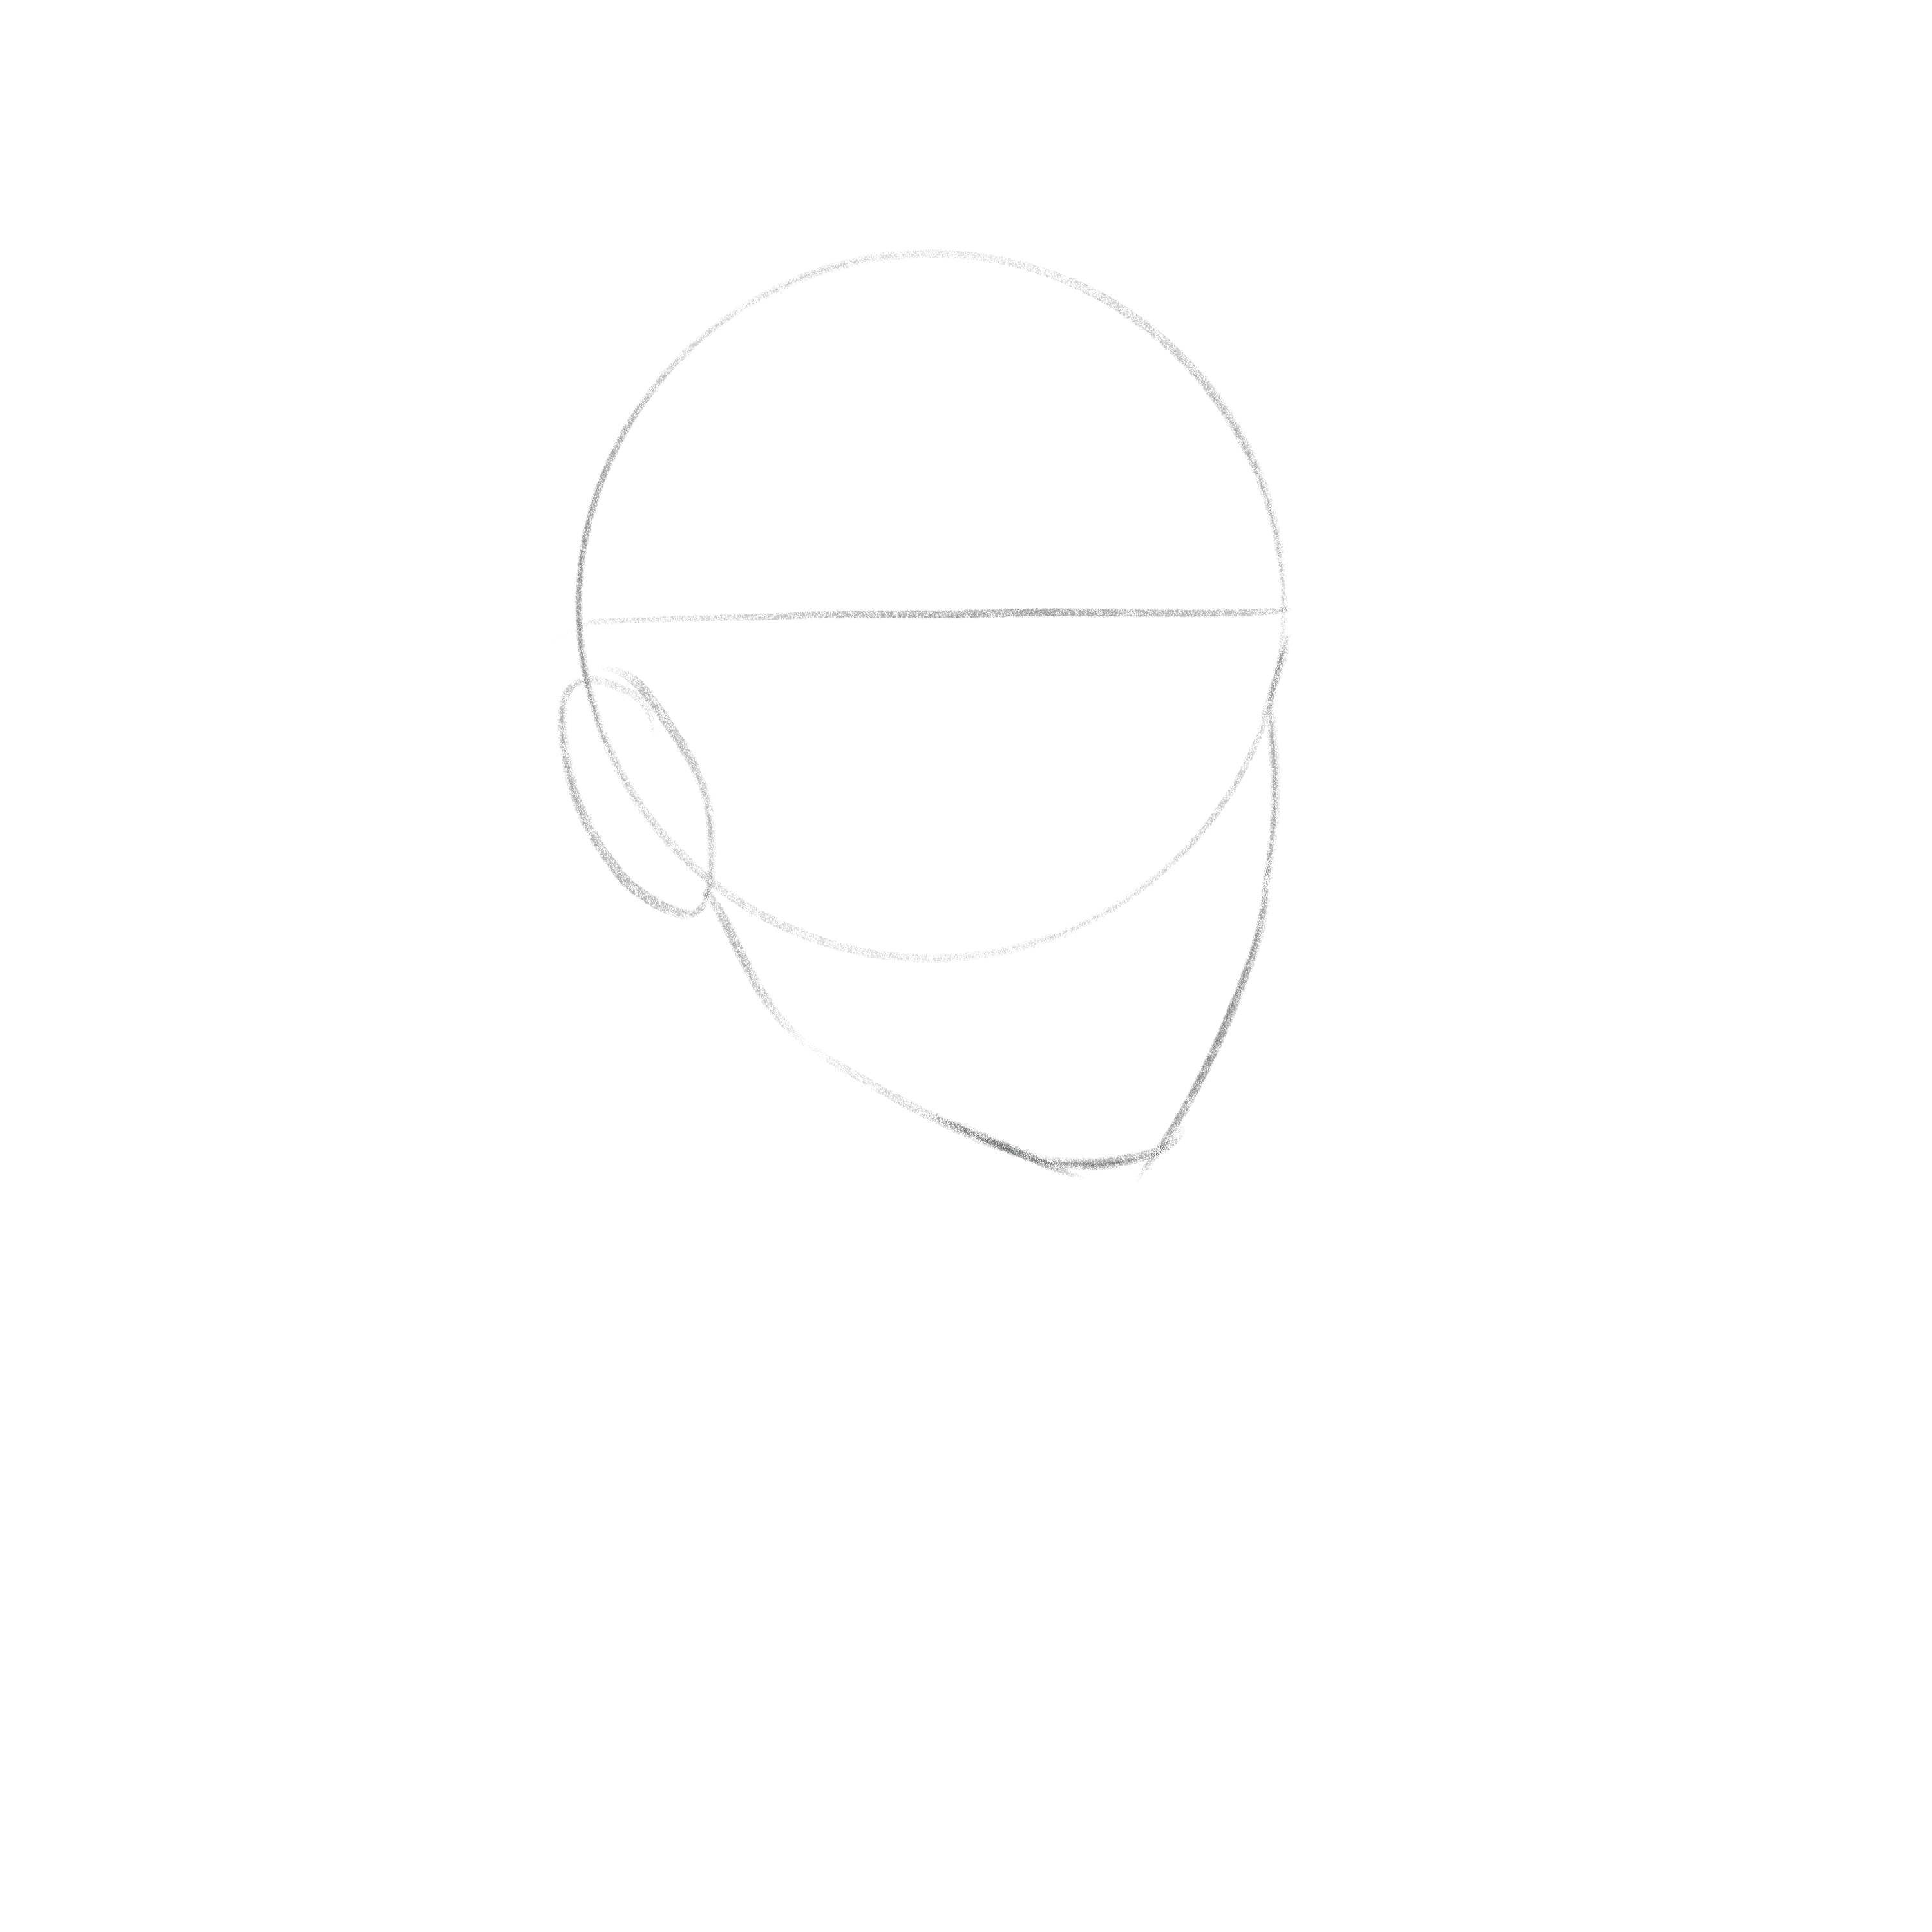
Step 3: Draw the face outline
Draw a small ellipse under the line you drew in the previous step. This will indicate the ear’s position. Now, draw the face’s outline.
Step 4: Add the sides guidelines
Using your 2H pencil, lightly sketch the flat sides of the head. Once you have them, split the middle area in half.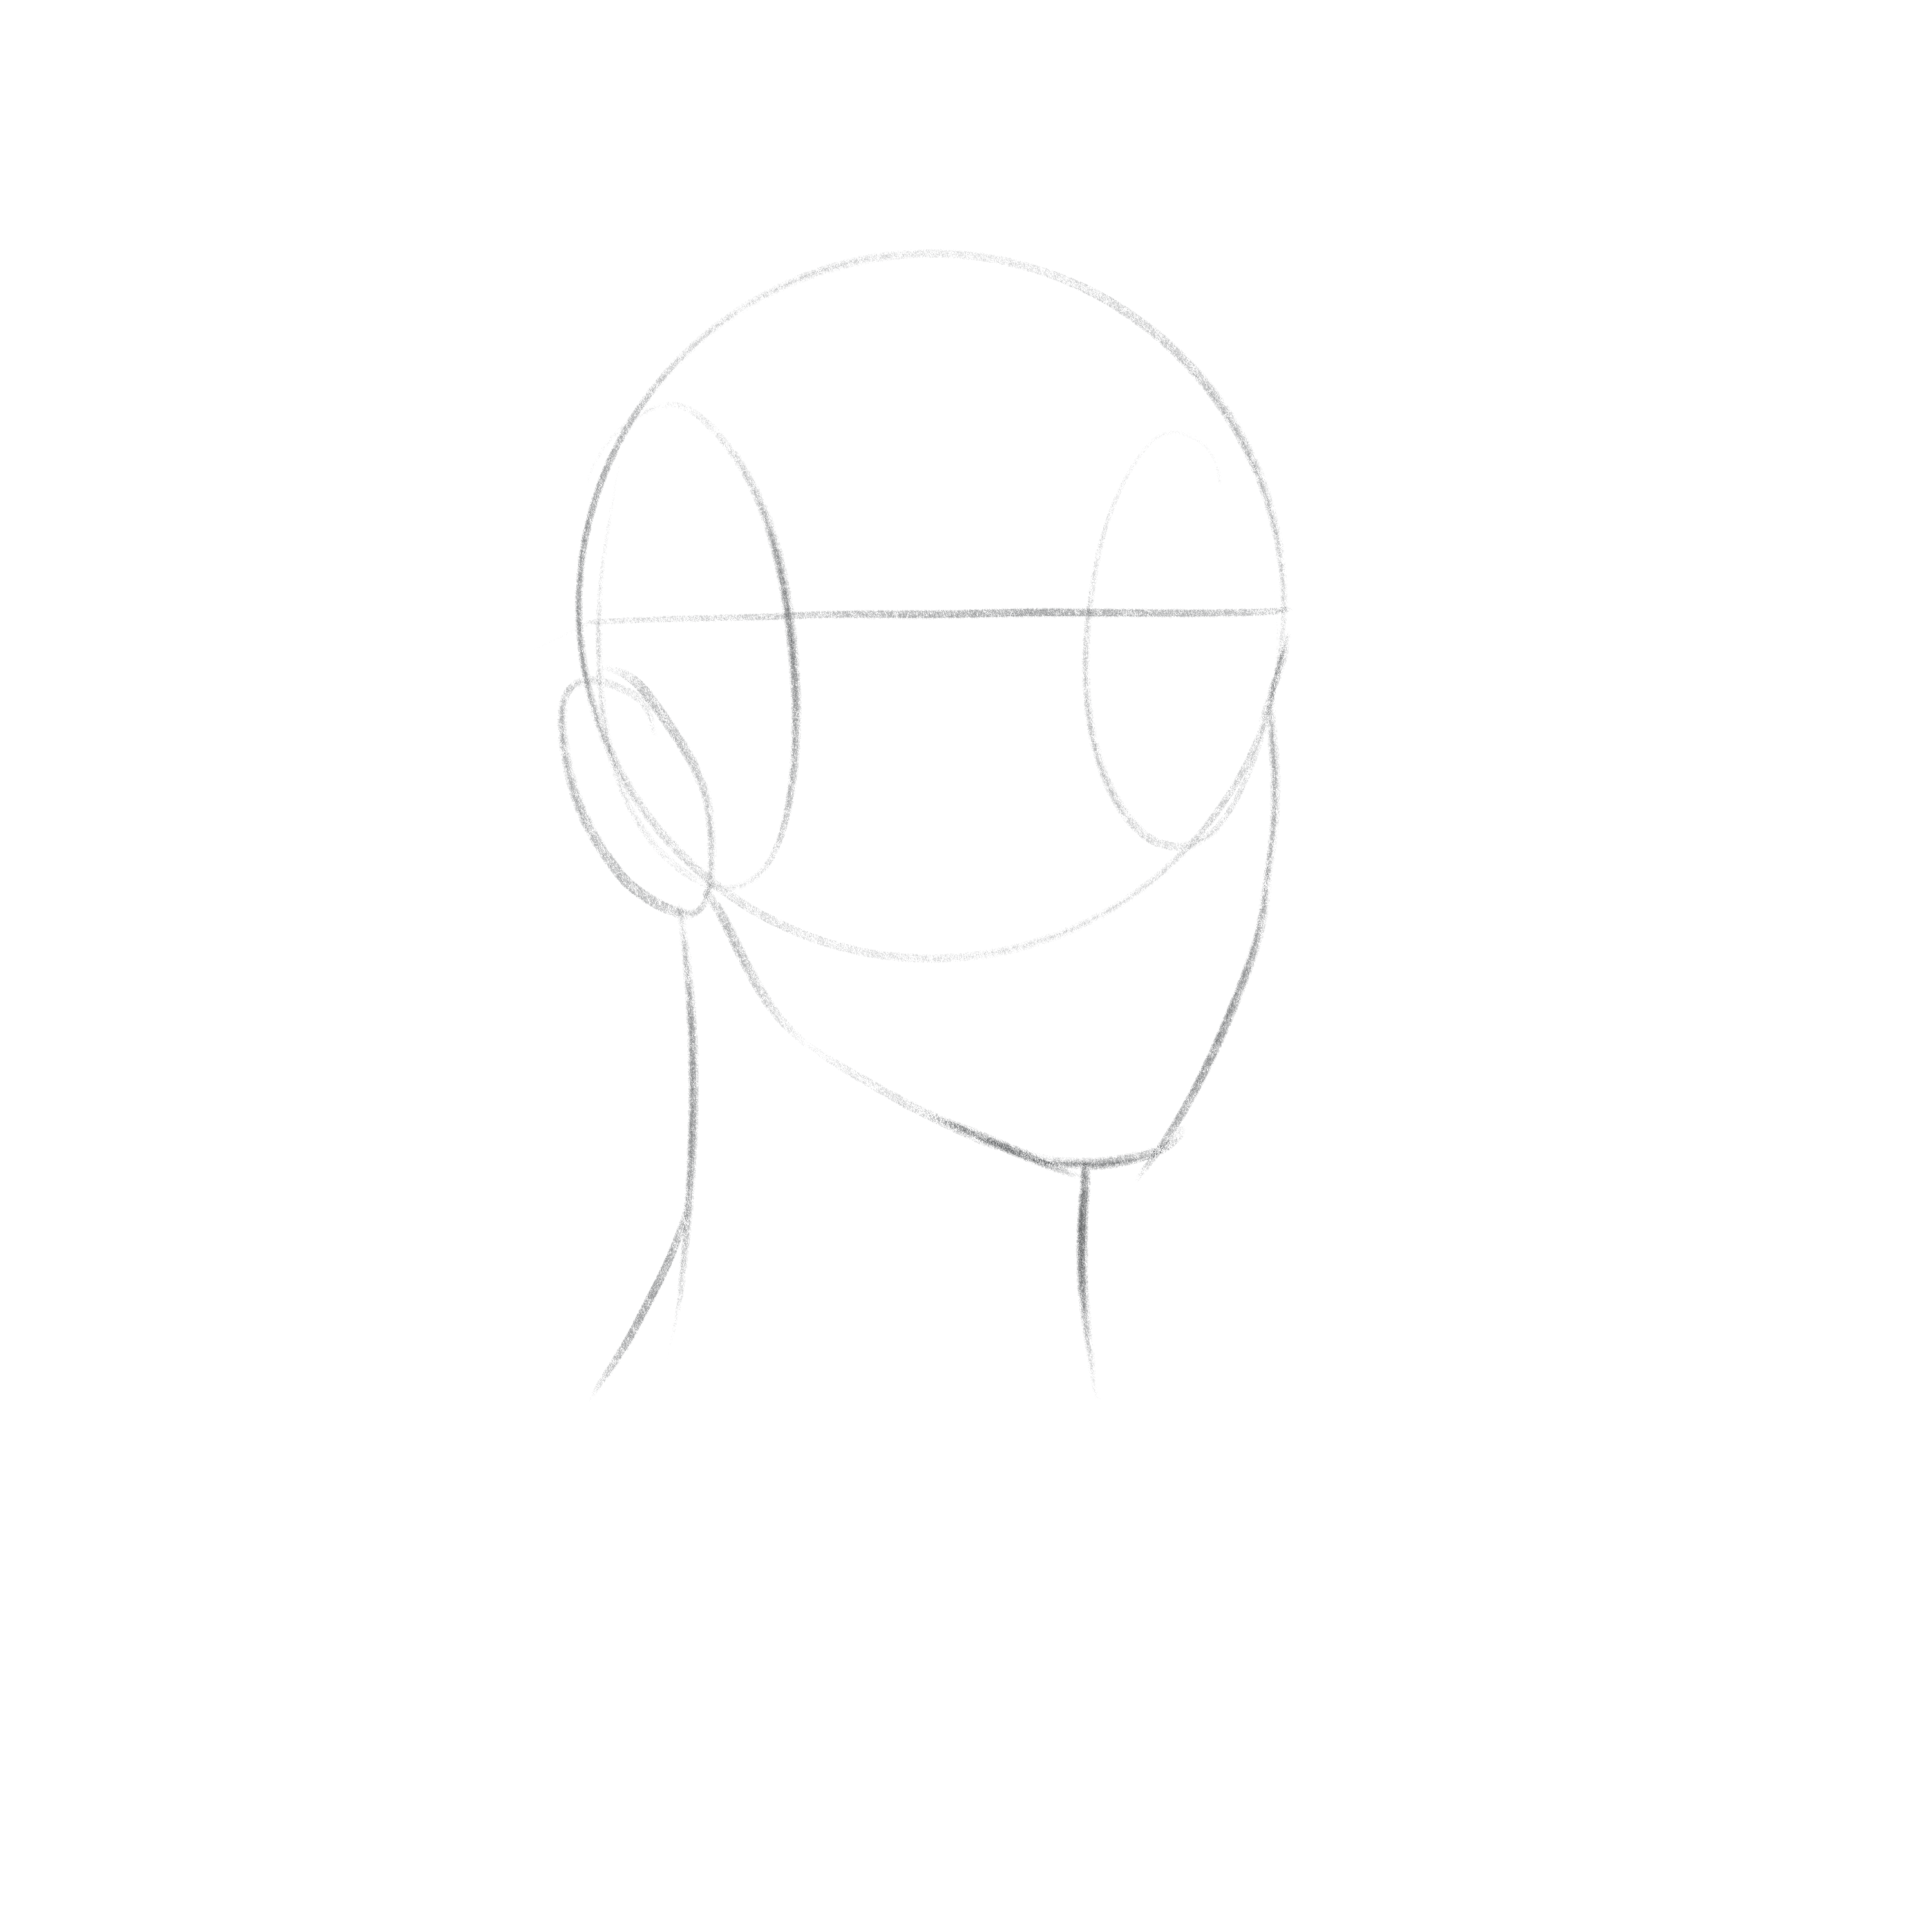
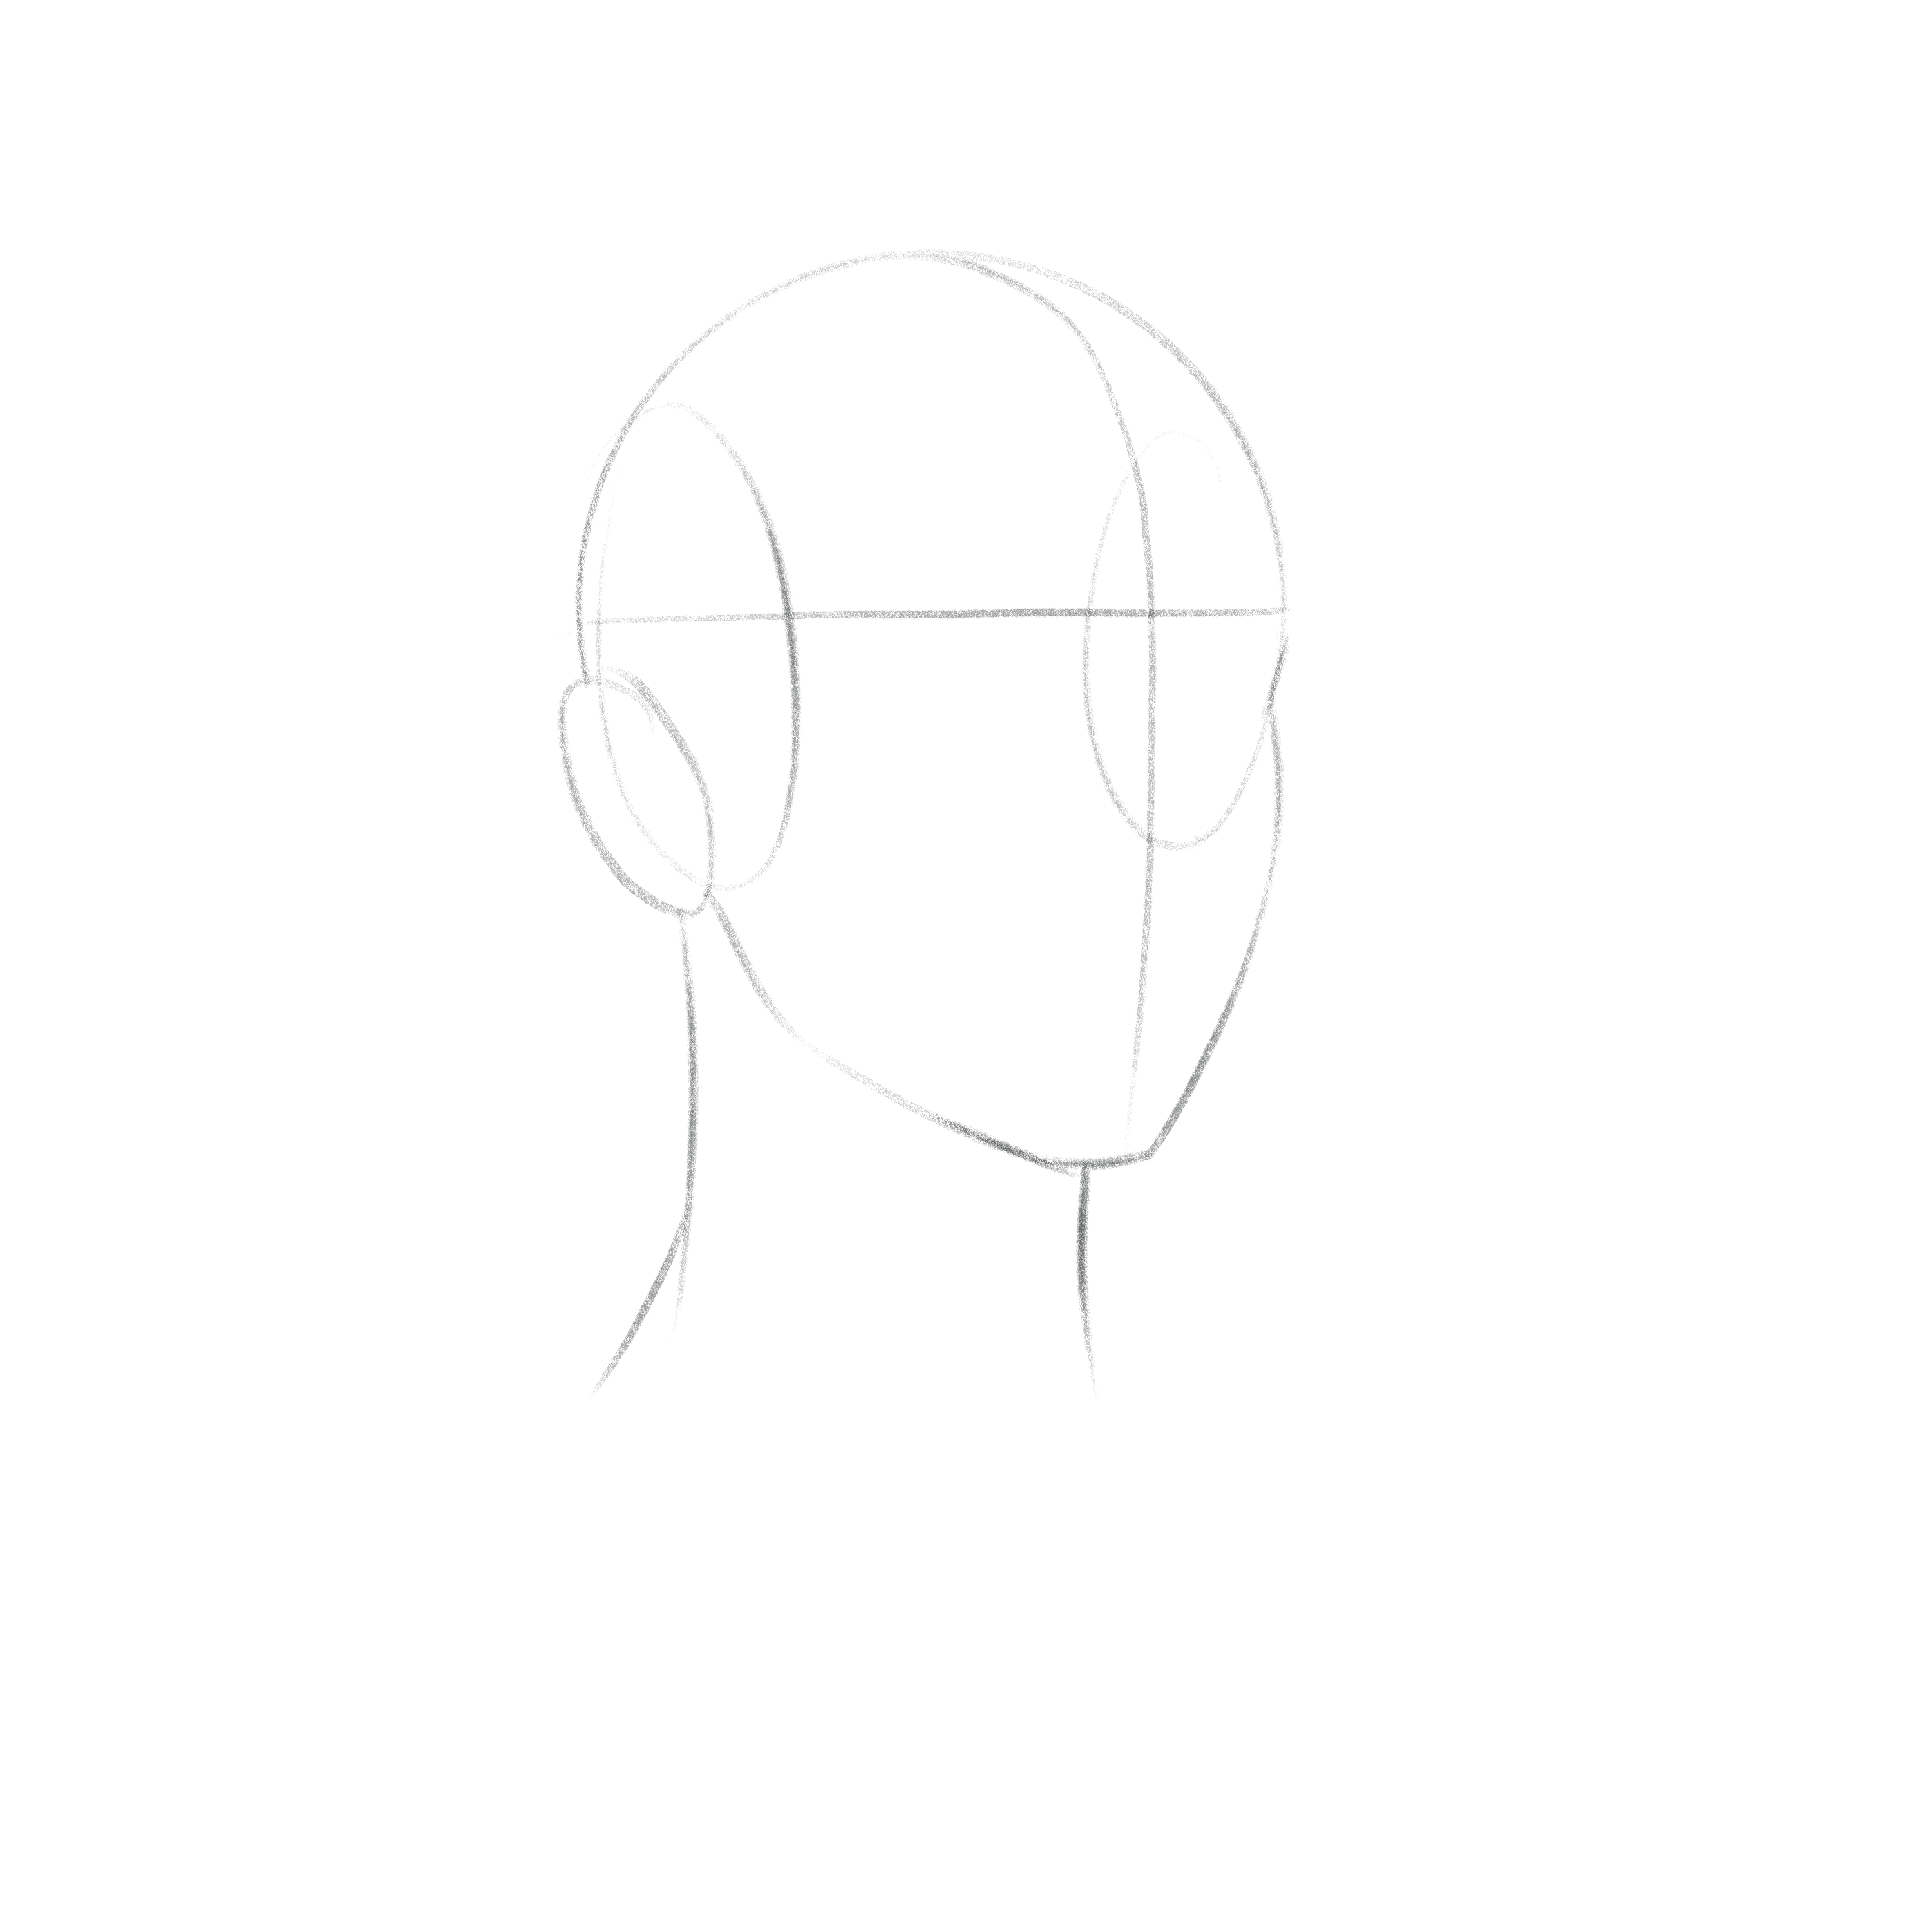
Step 5: Add the facials features
Lightly sketch the eyes, nose, and mouth to have a better reference for the hair.
Step 6: Establish the hair direction and length
Now, here’s where it gets a bit complicated. Most anime hair drawing tutorials use round arrows coming from the top part of the head to indicate the shape of the head and hair. However, hair grows in layers, and it doesn’t tend to be entirely straight, so visualize the layers of the hair and sketch them lightly to have a reference for the shape and volume.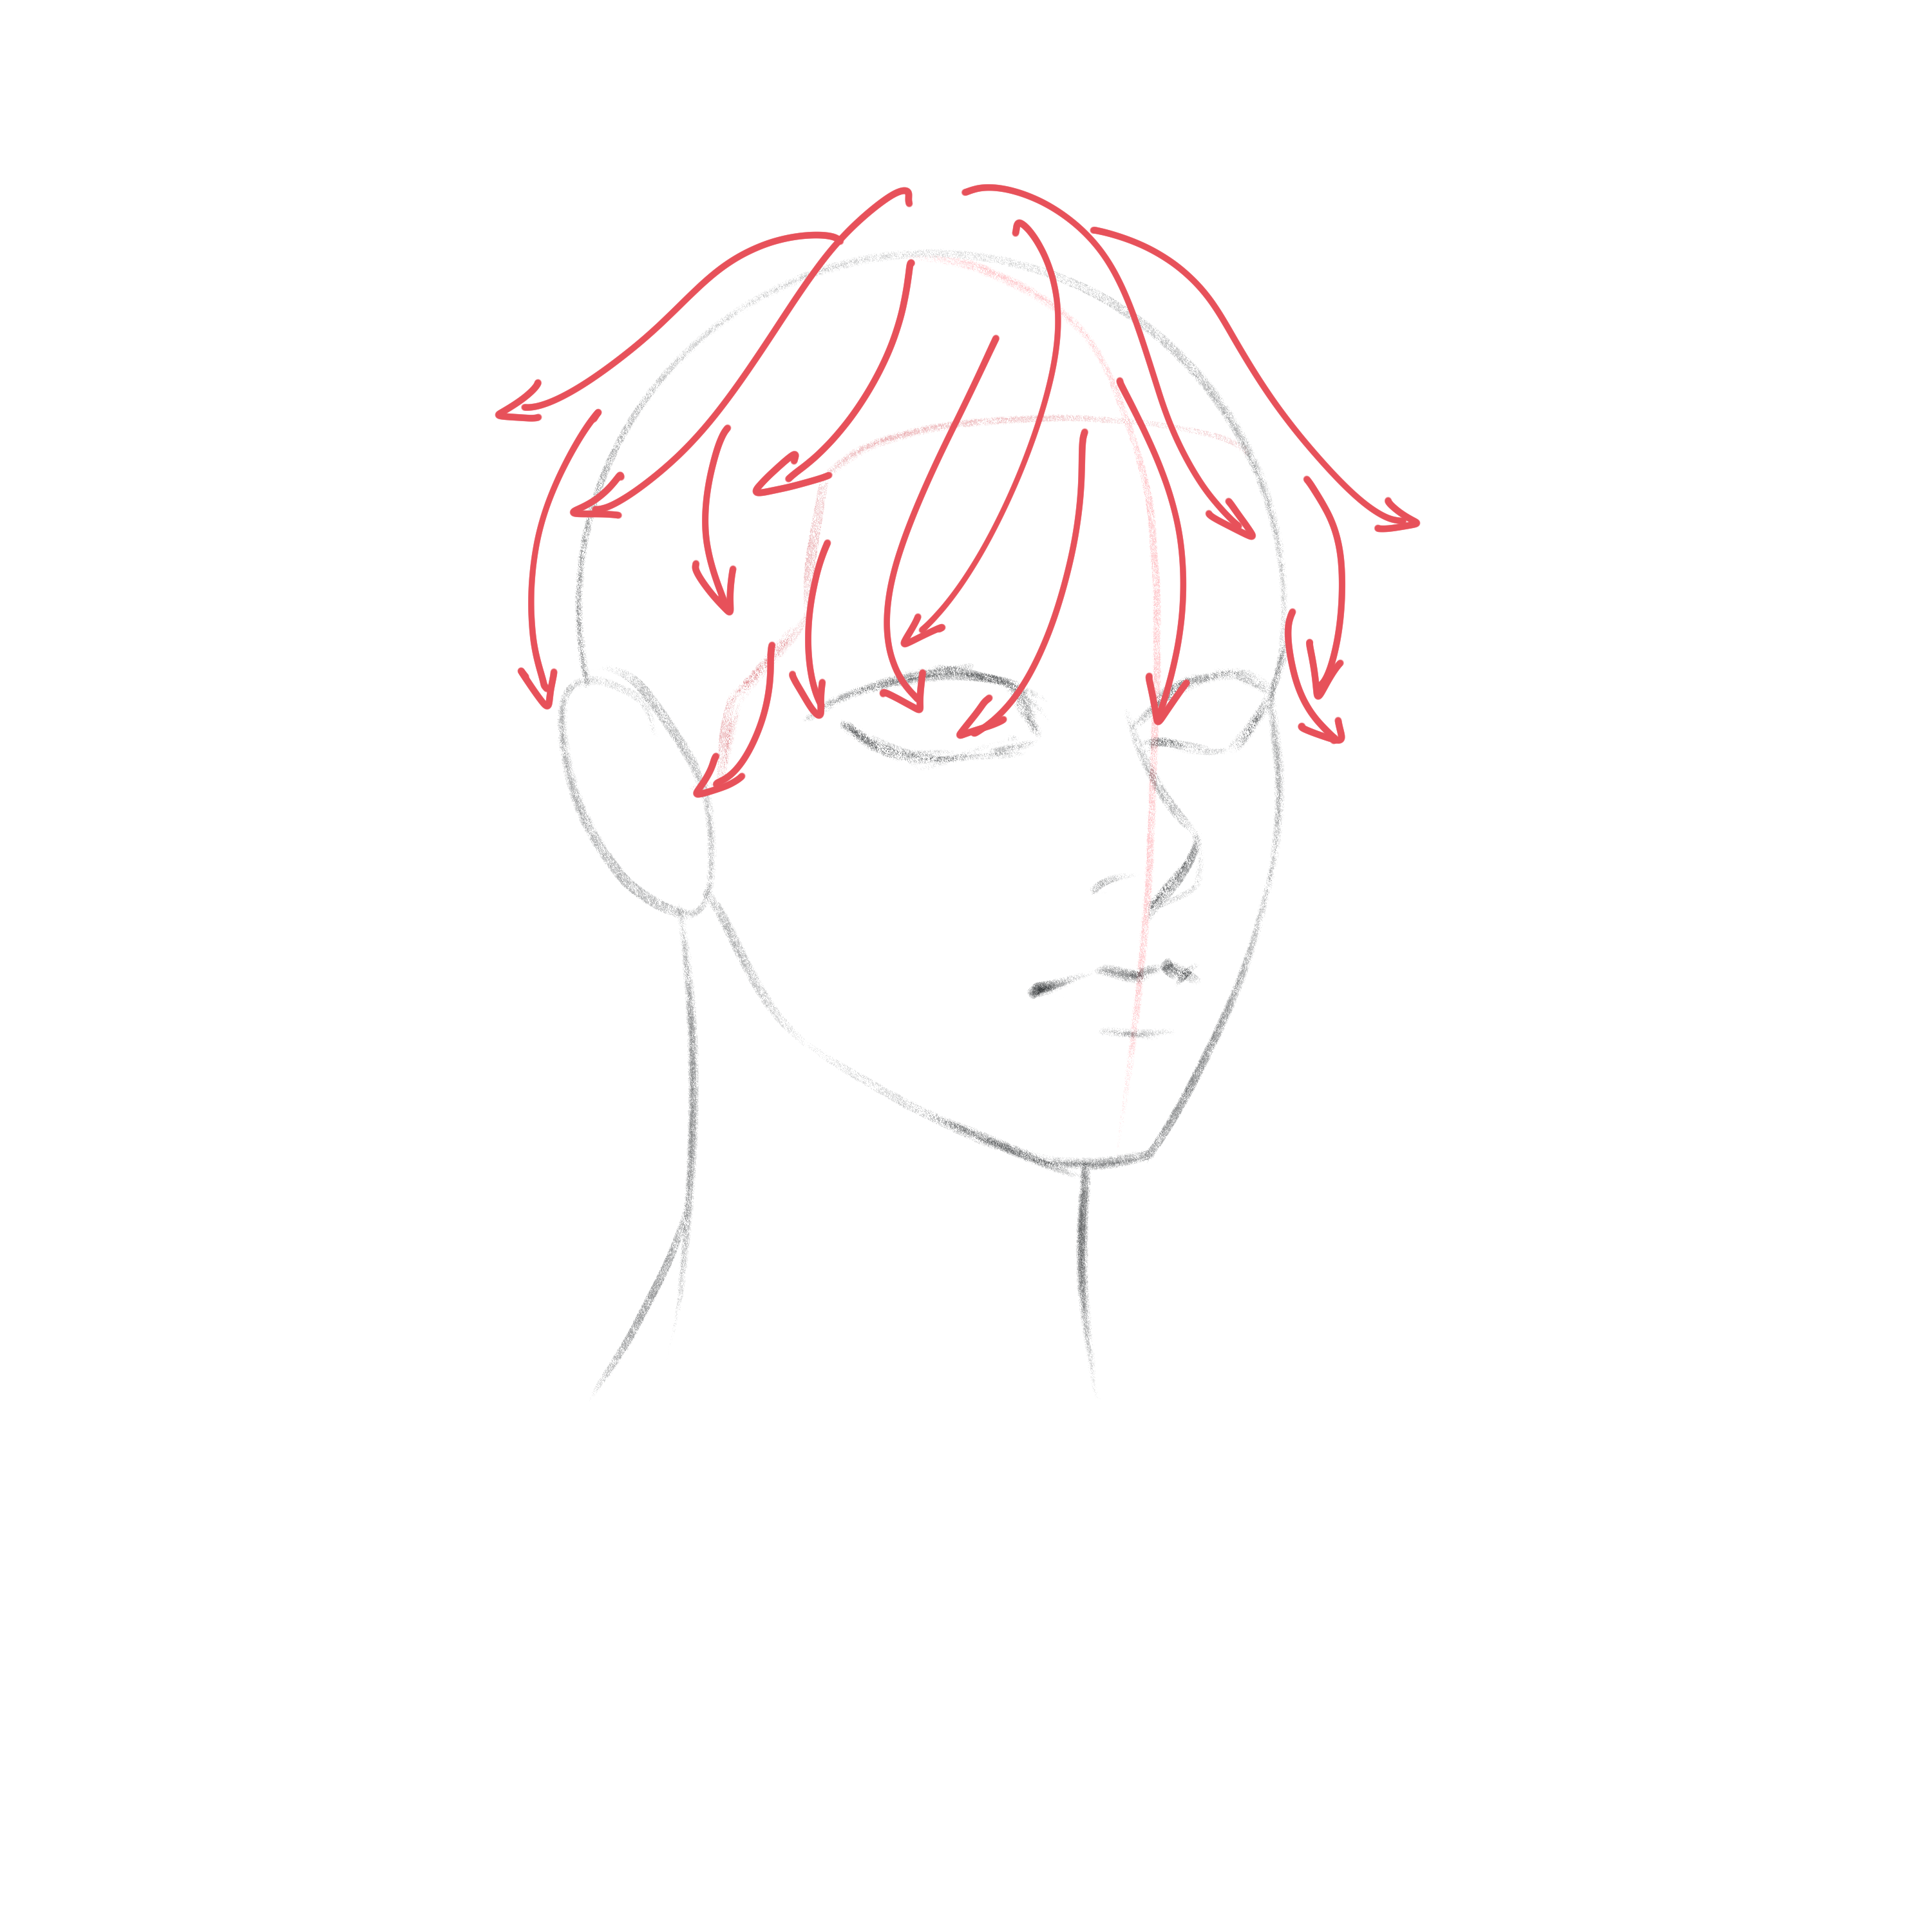
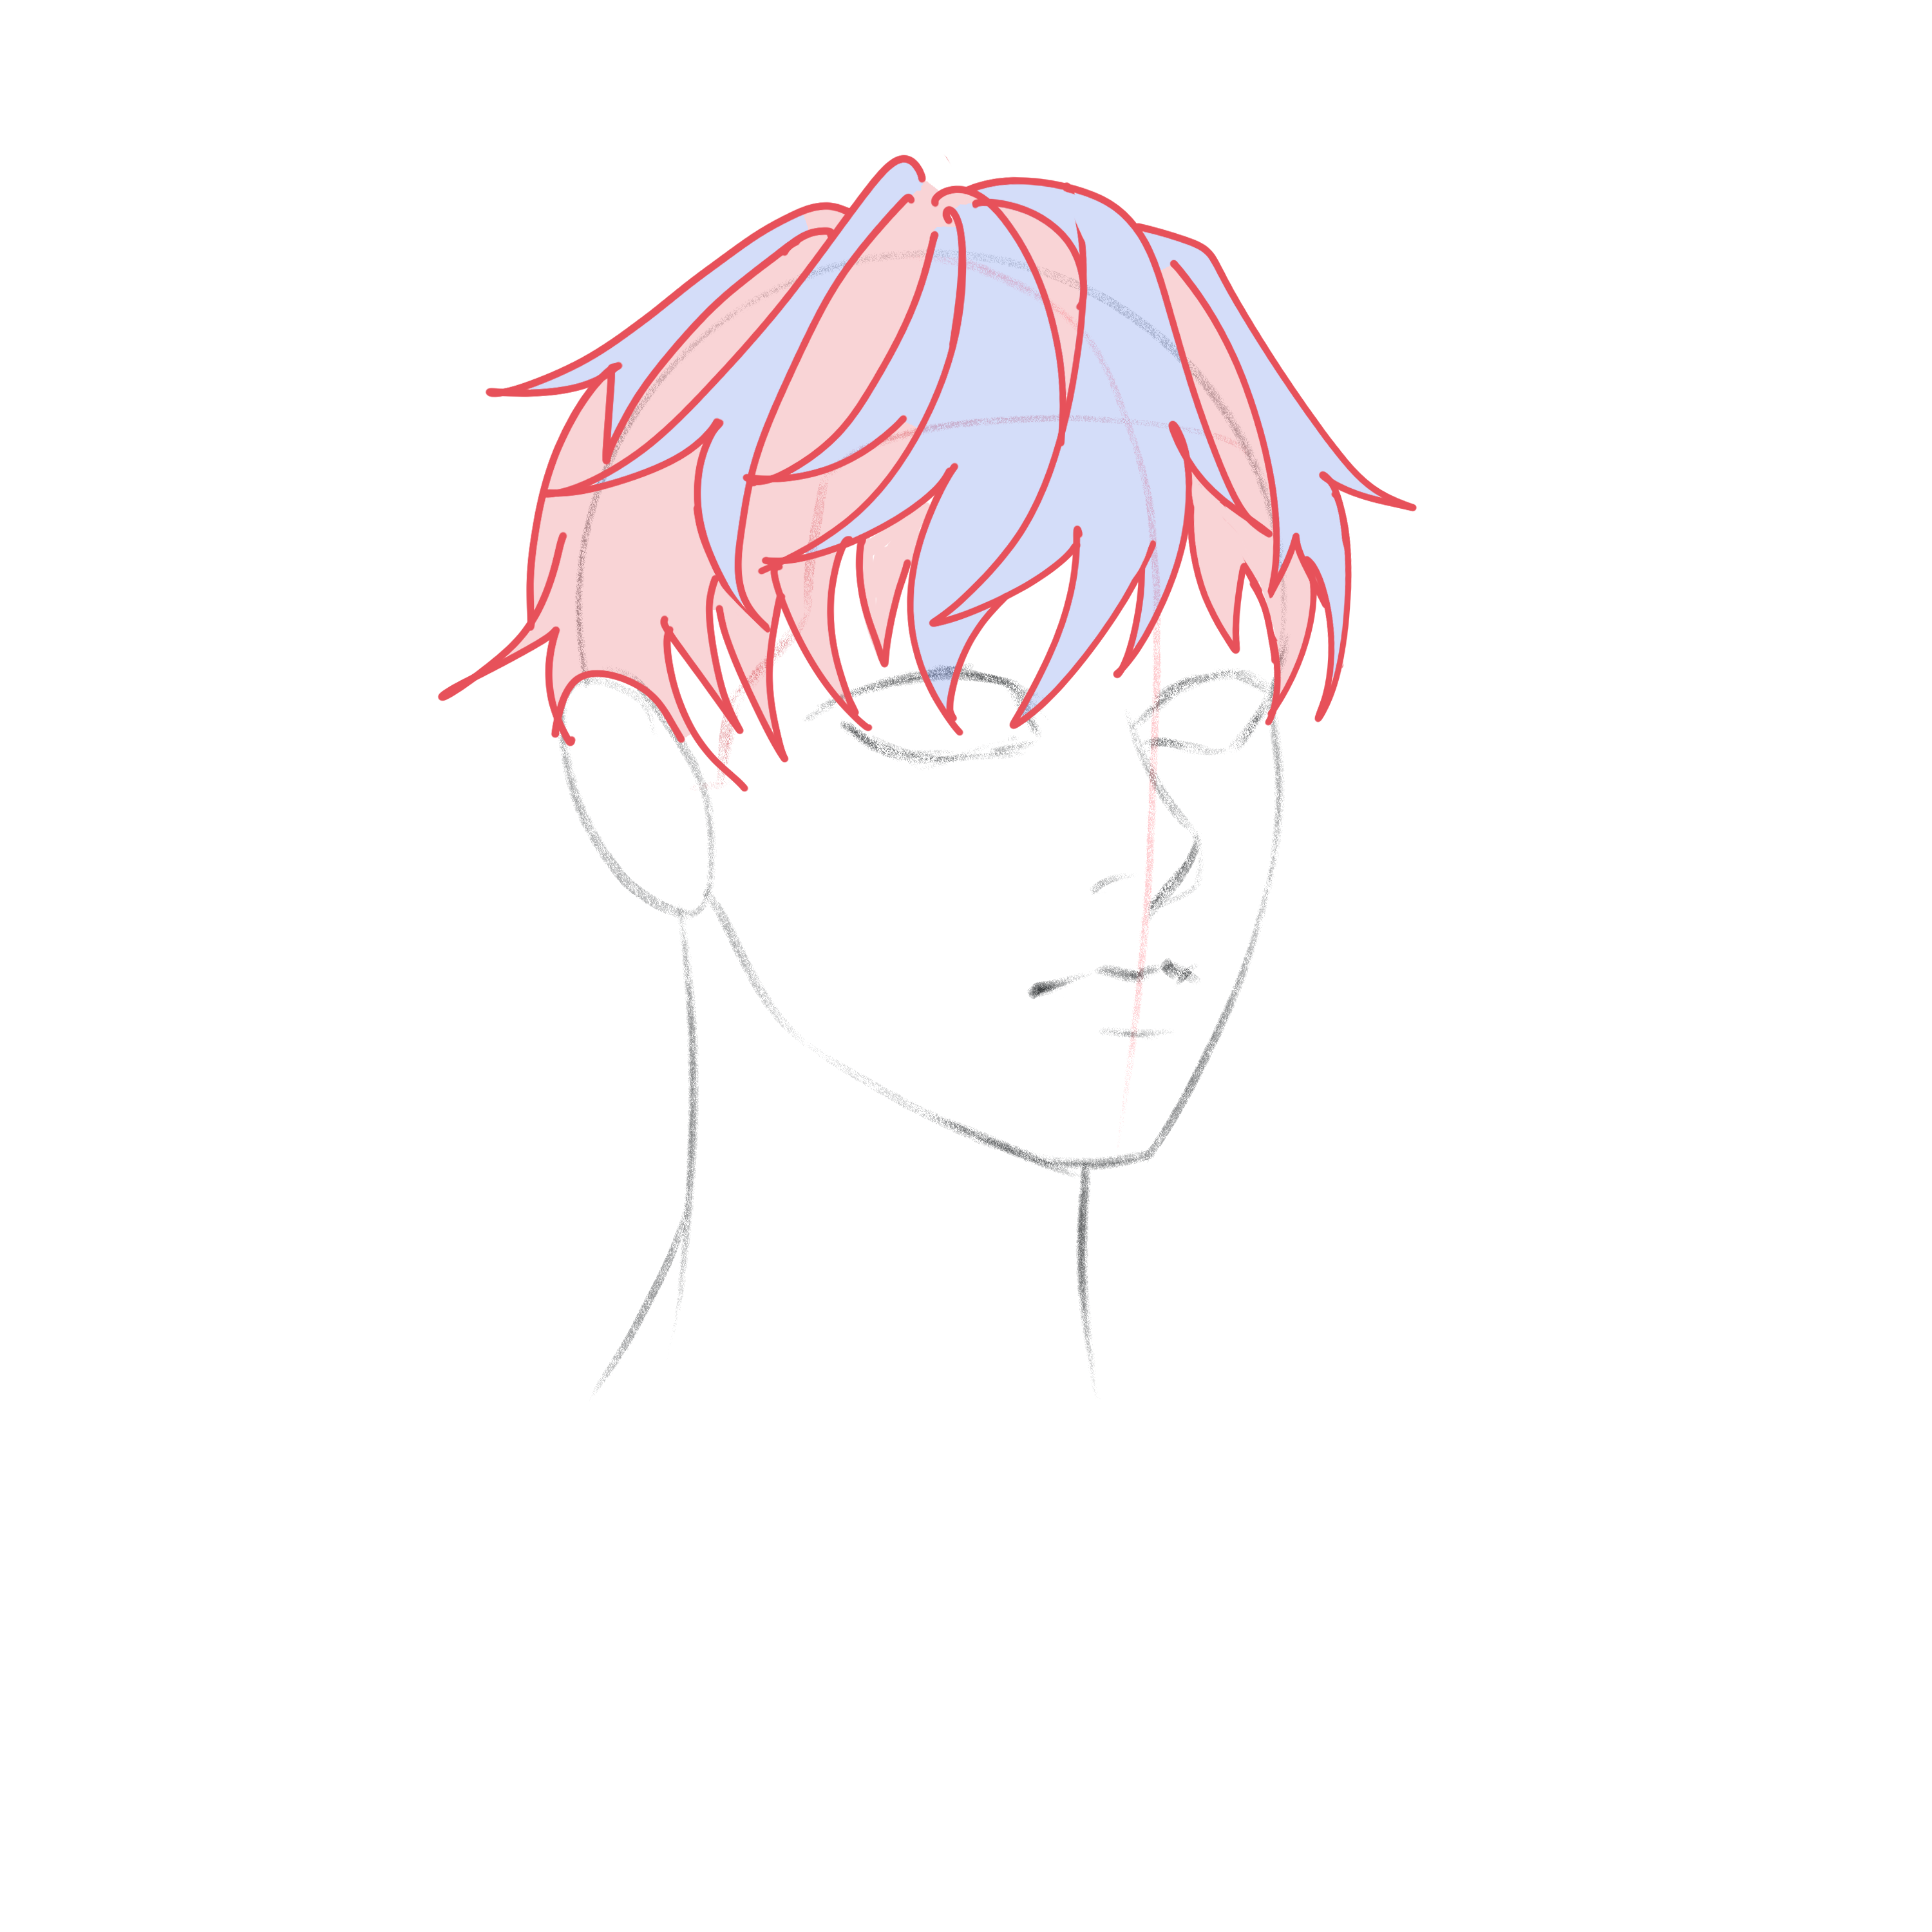
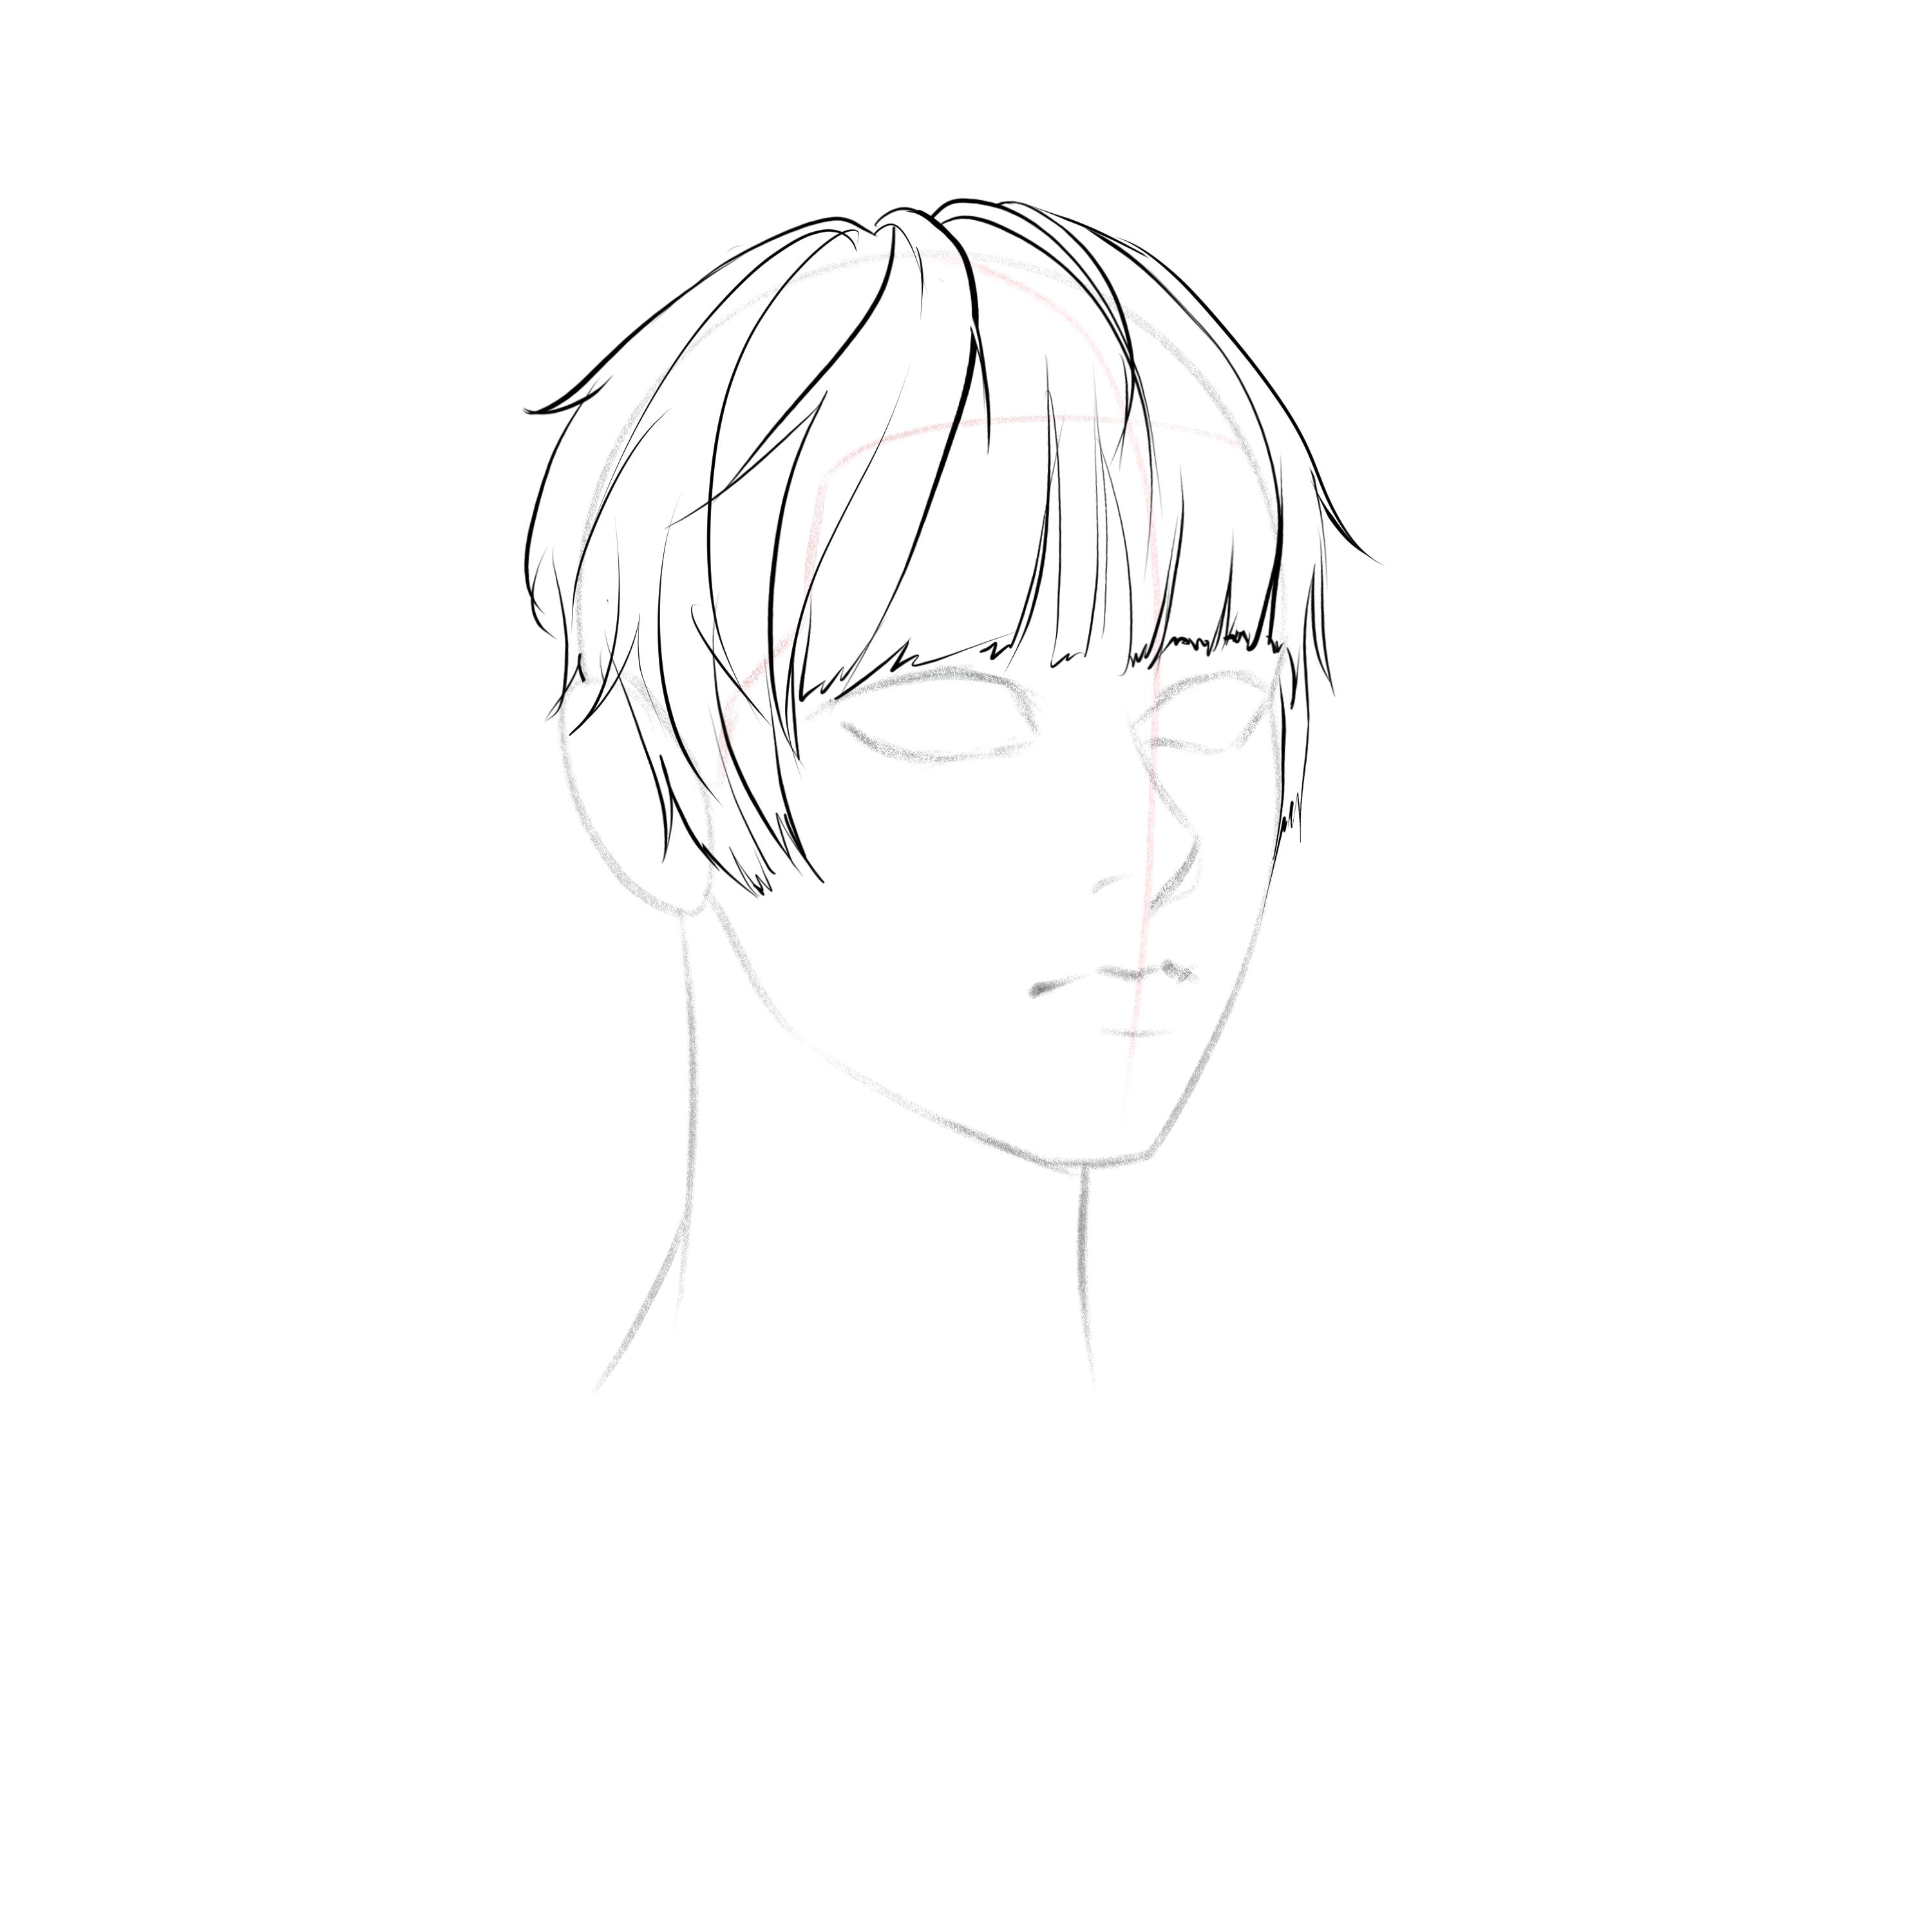
Step 7: Line the hair
Now, following your sketch, start working on the lines of the hair. The red lines indicate the usual lines that are used in anime and manga to add dynamism to the hair, so make sure to practice and include a few of them in your drawing.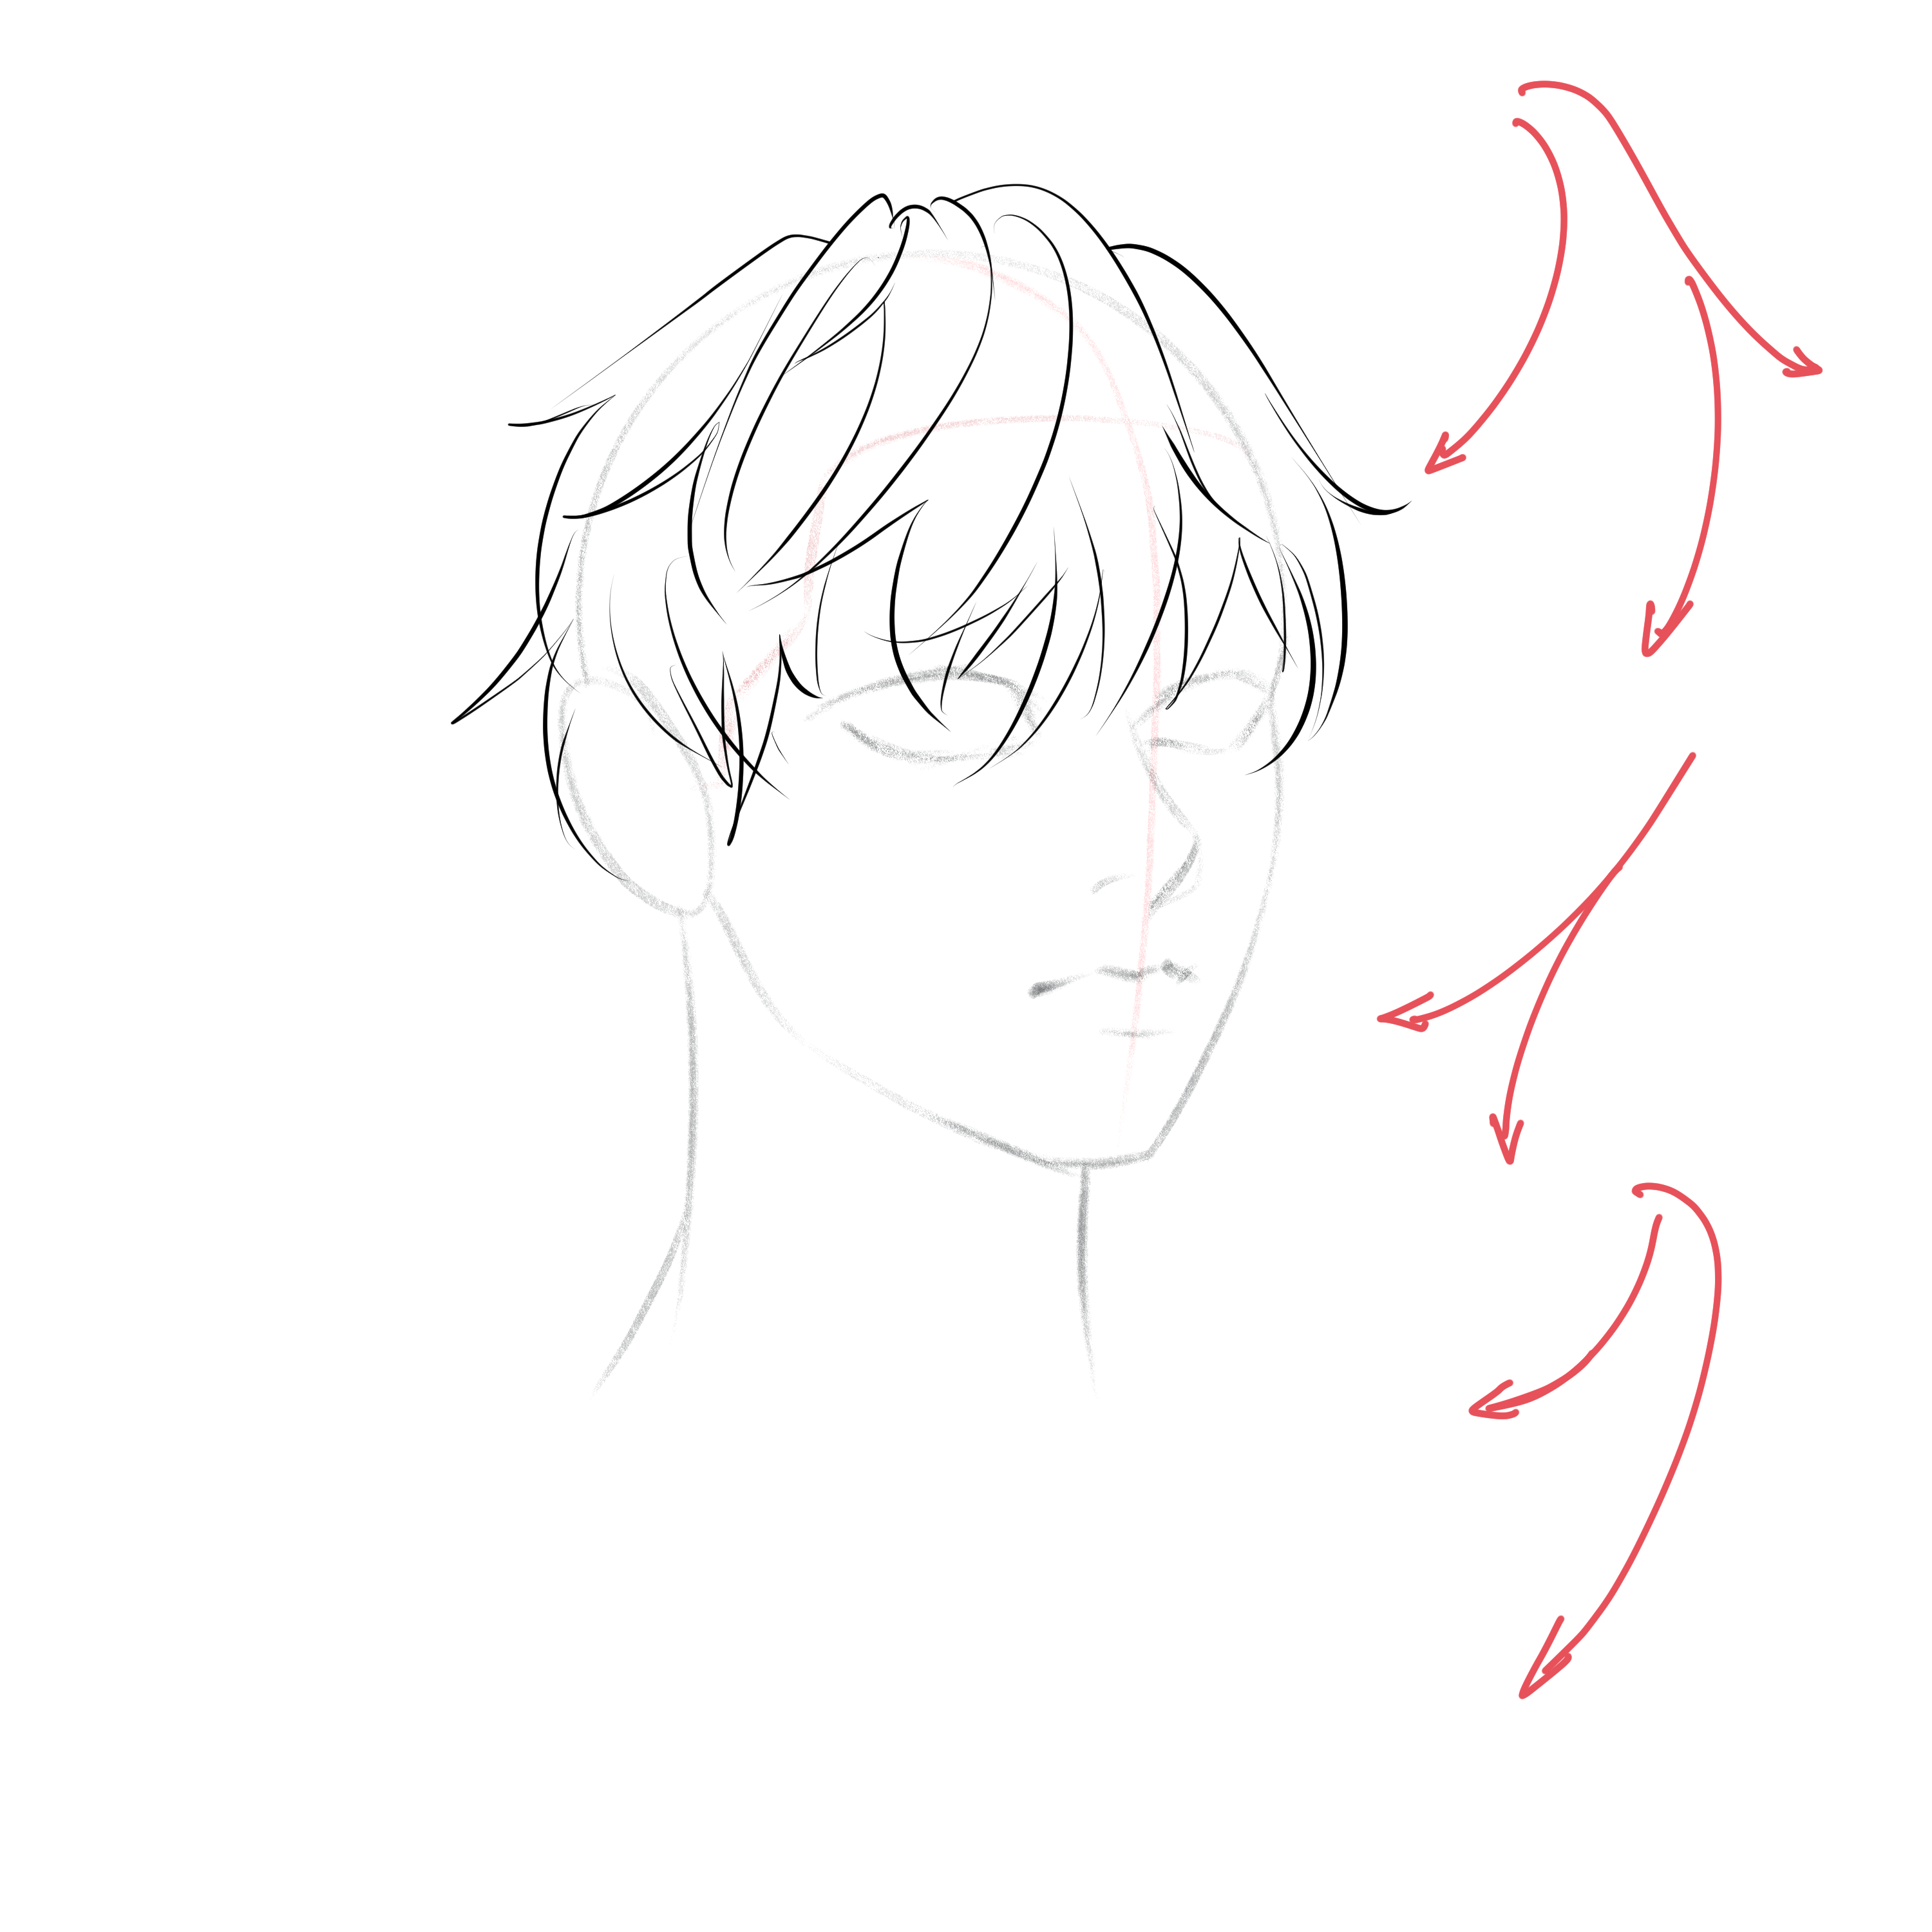
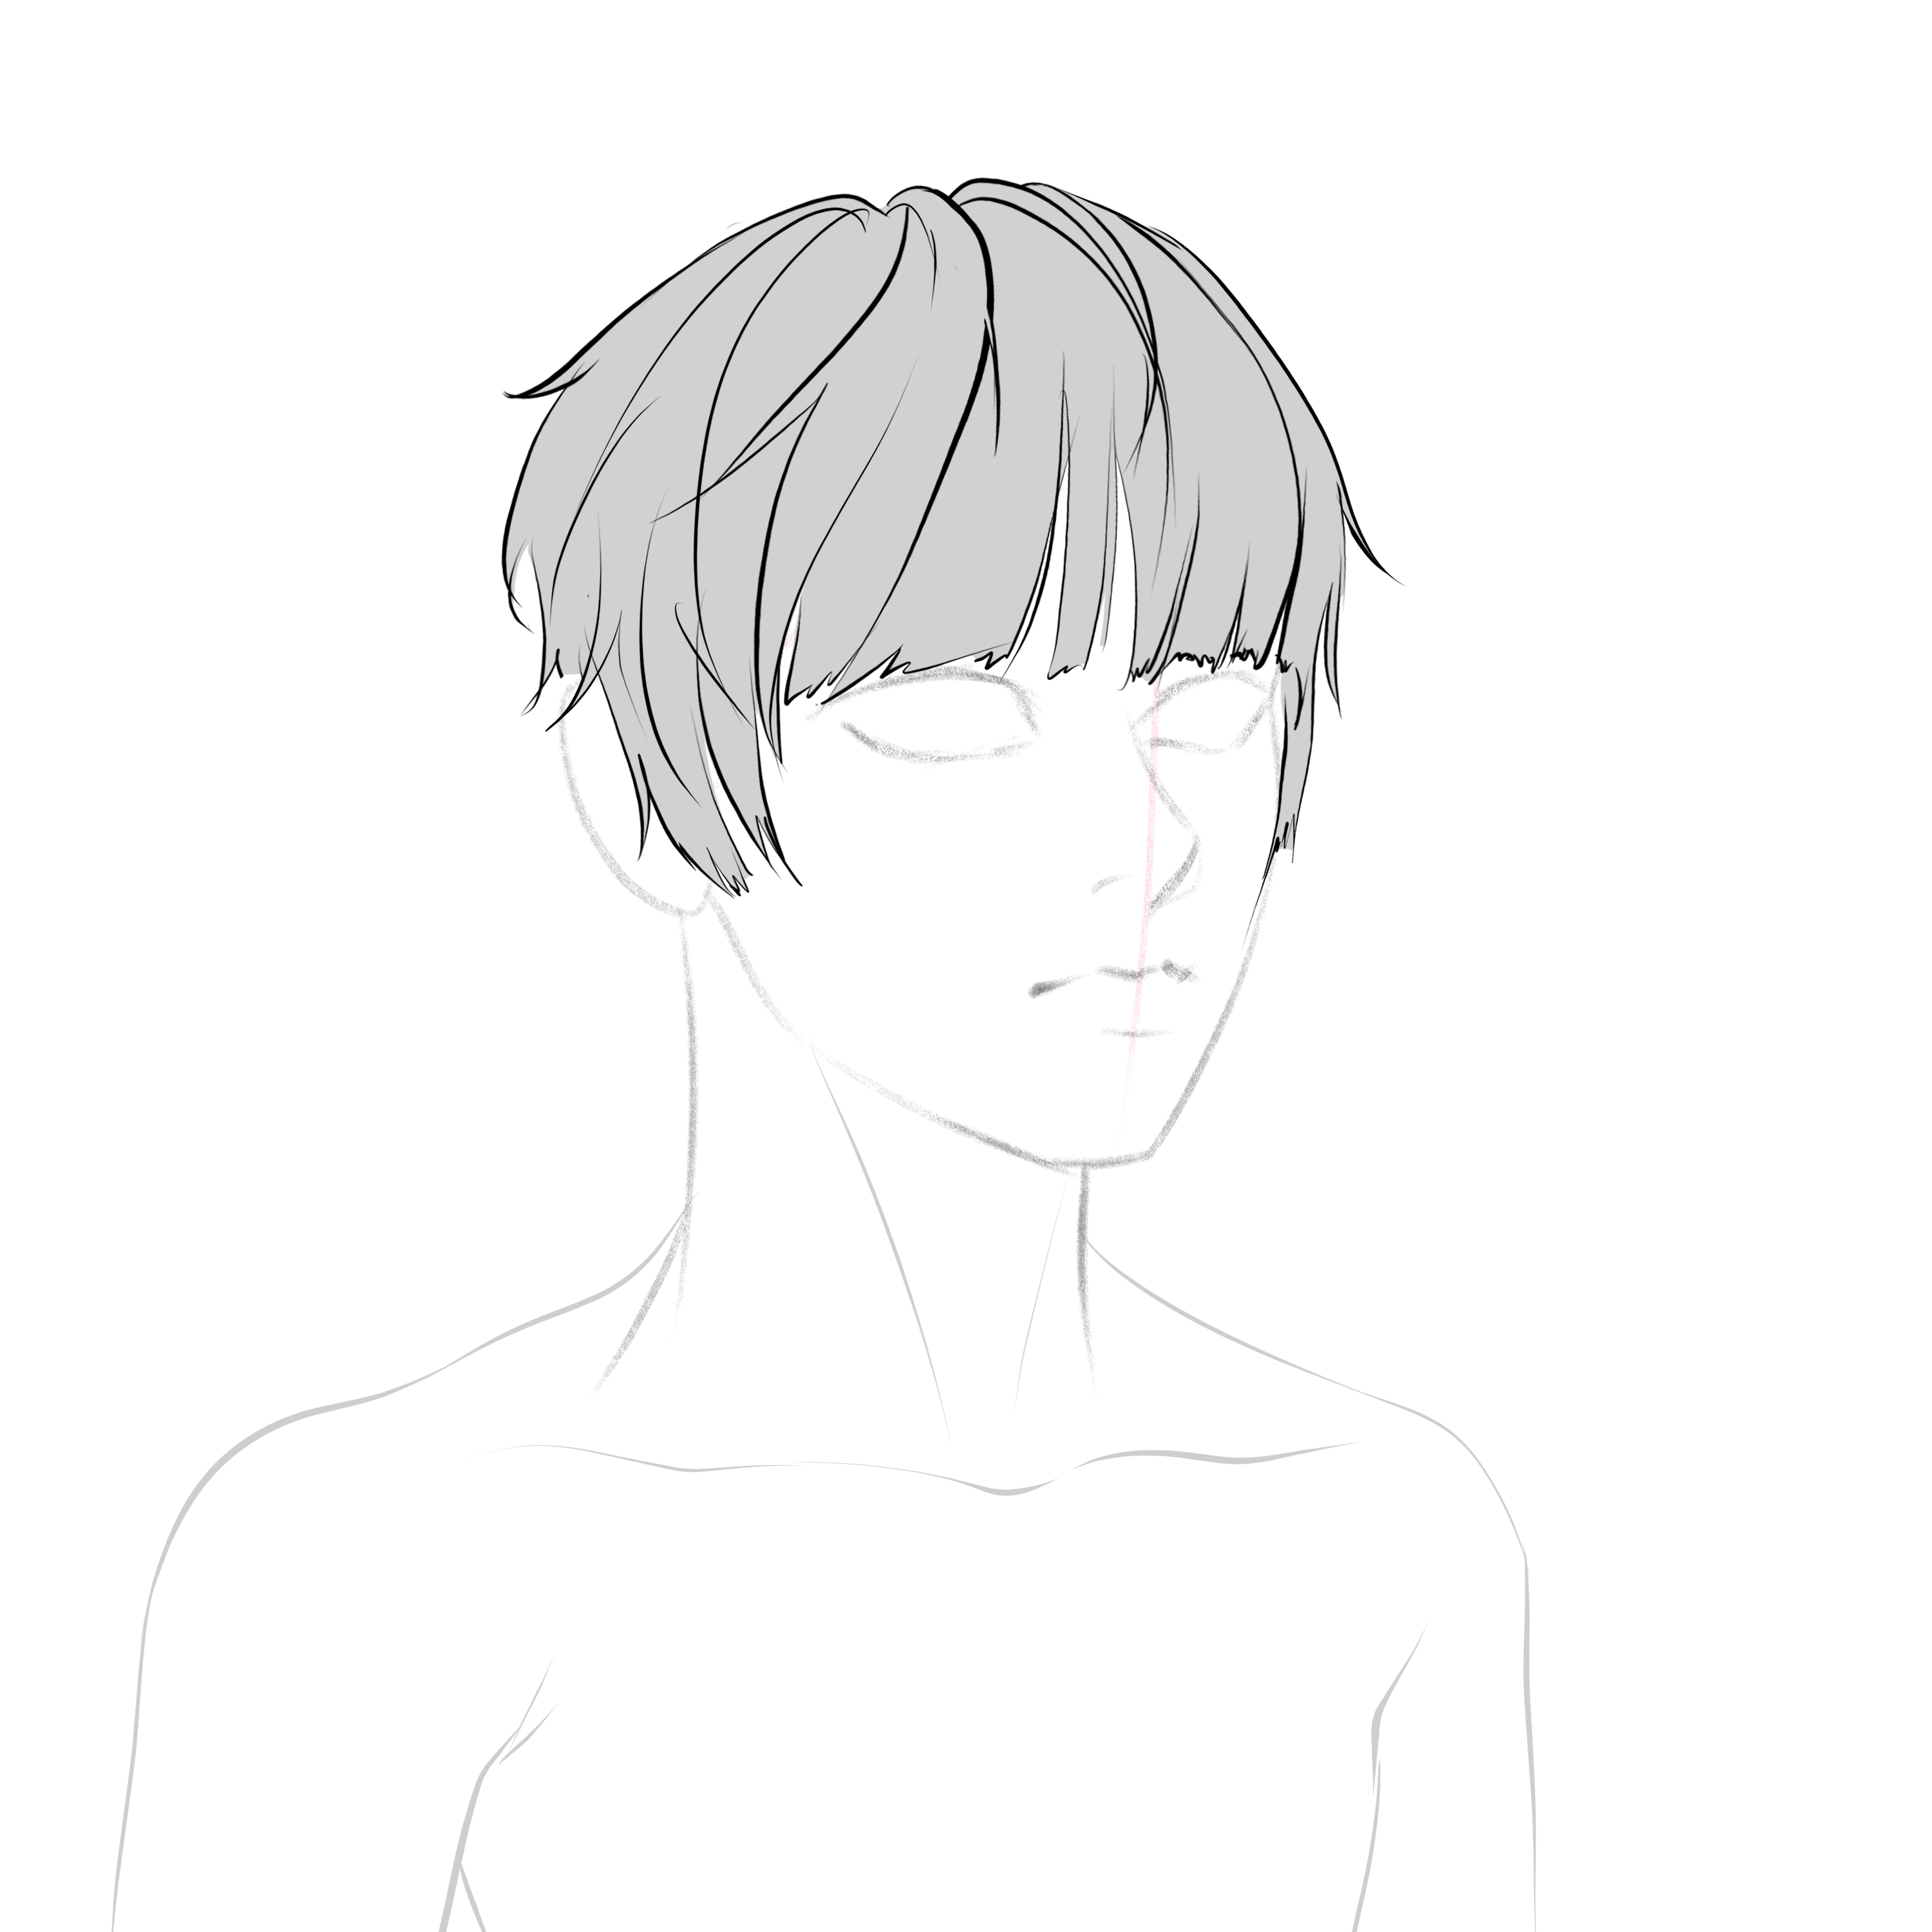
Step 8: Practice
Now you can do the same with different hairstyles; even the simplest initial shapes can become dynamic and fluid hairstyles.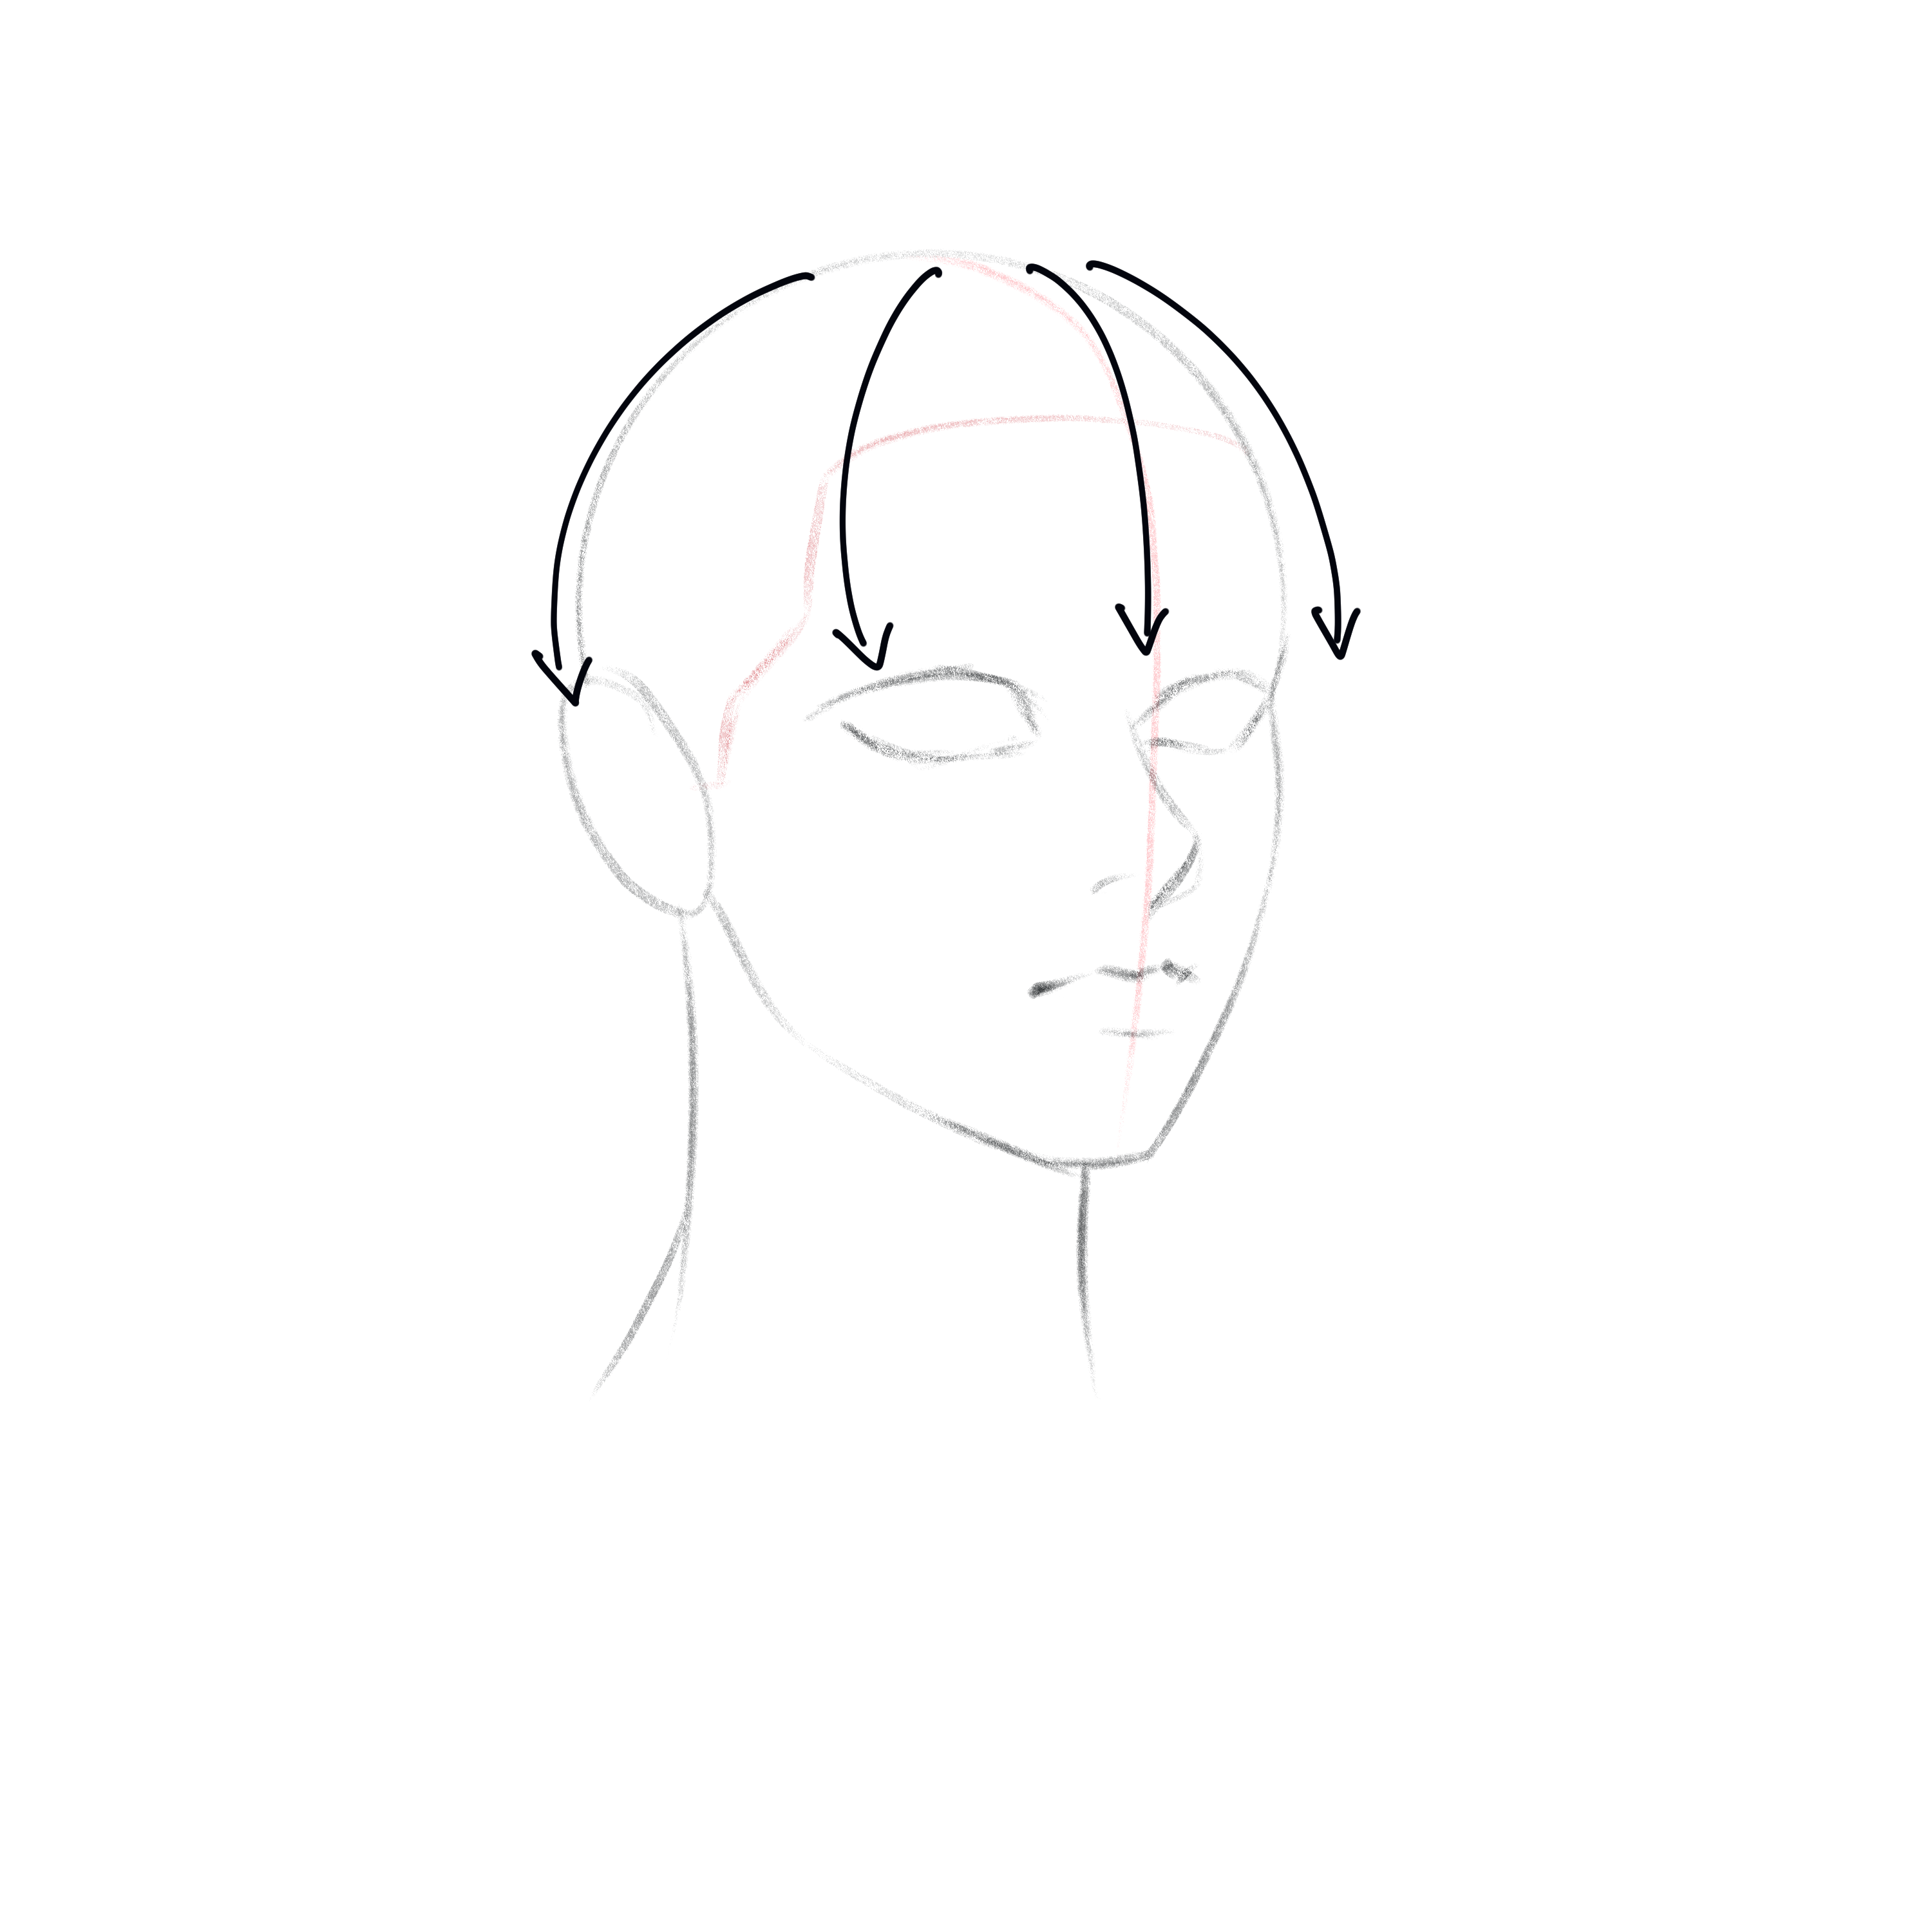
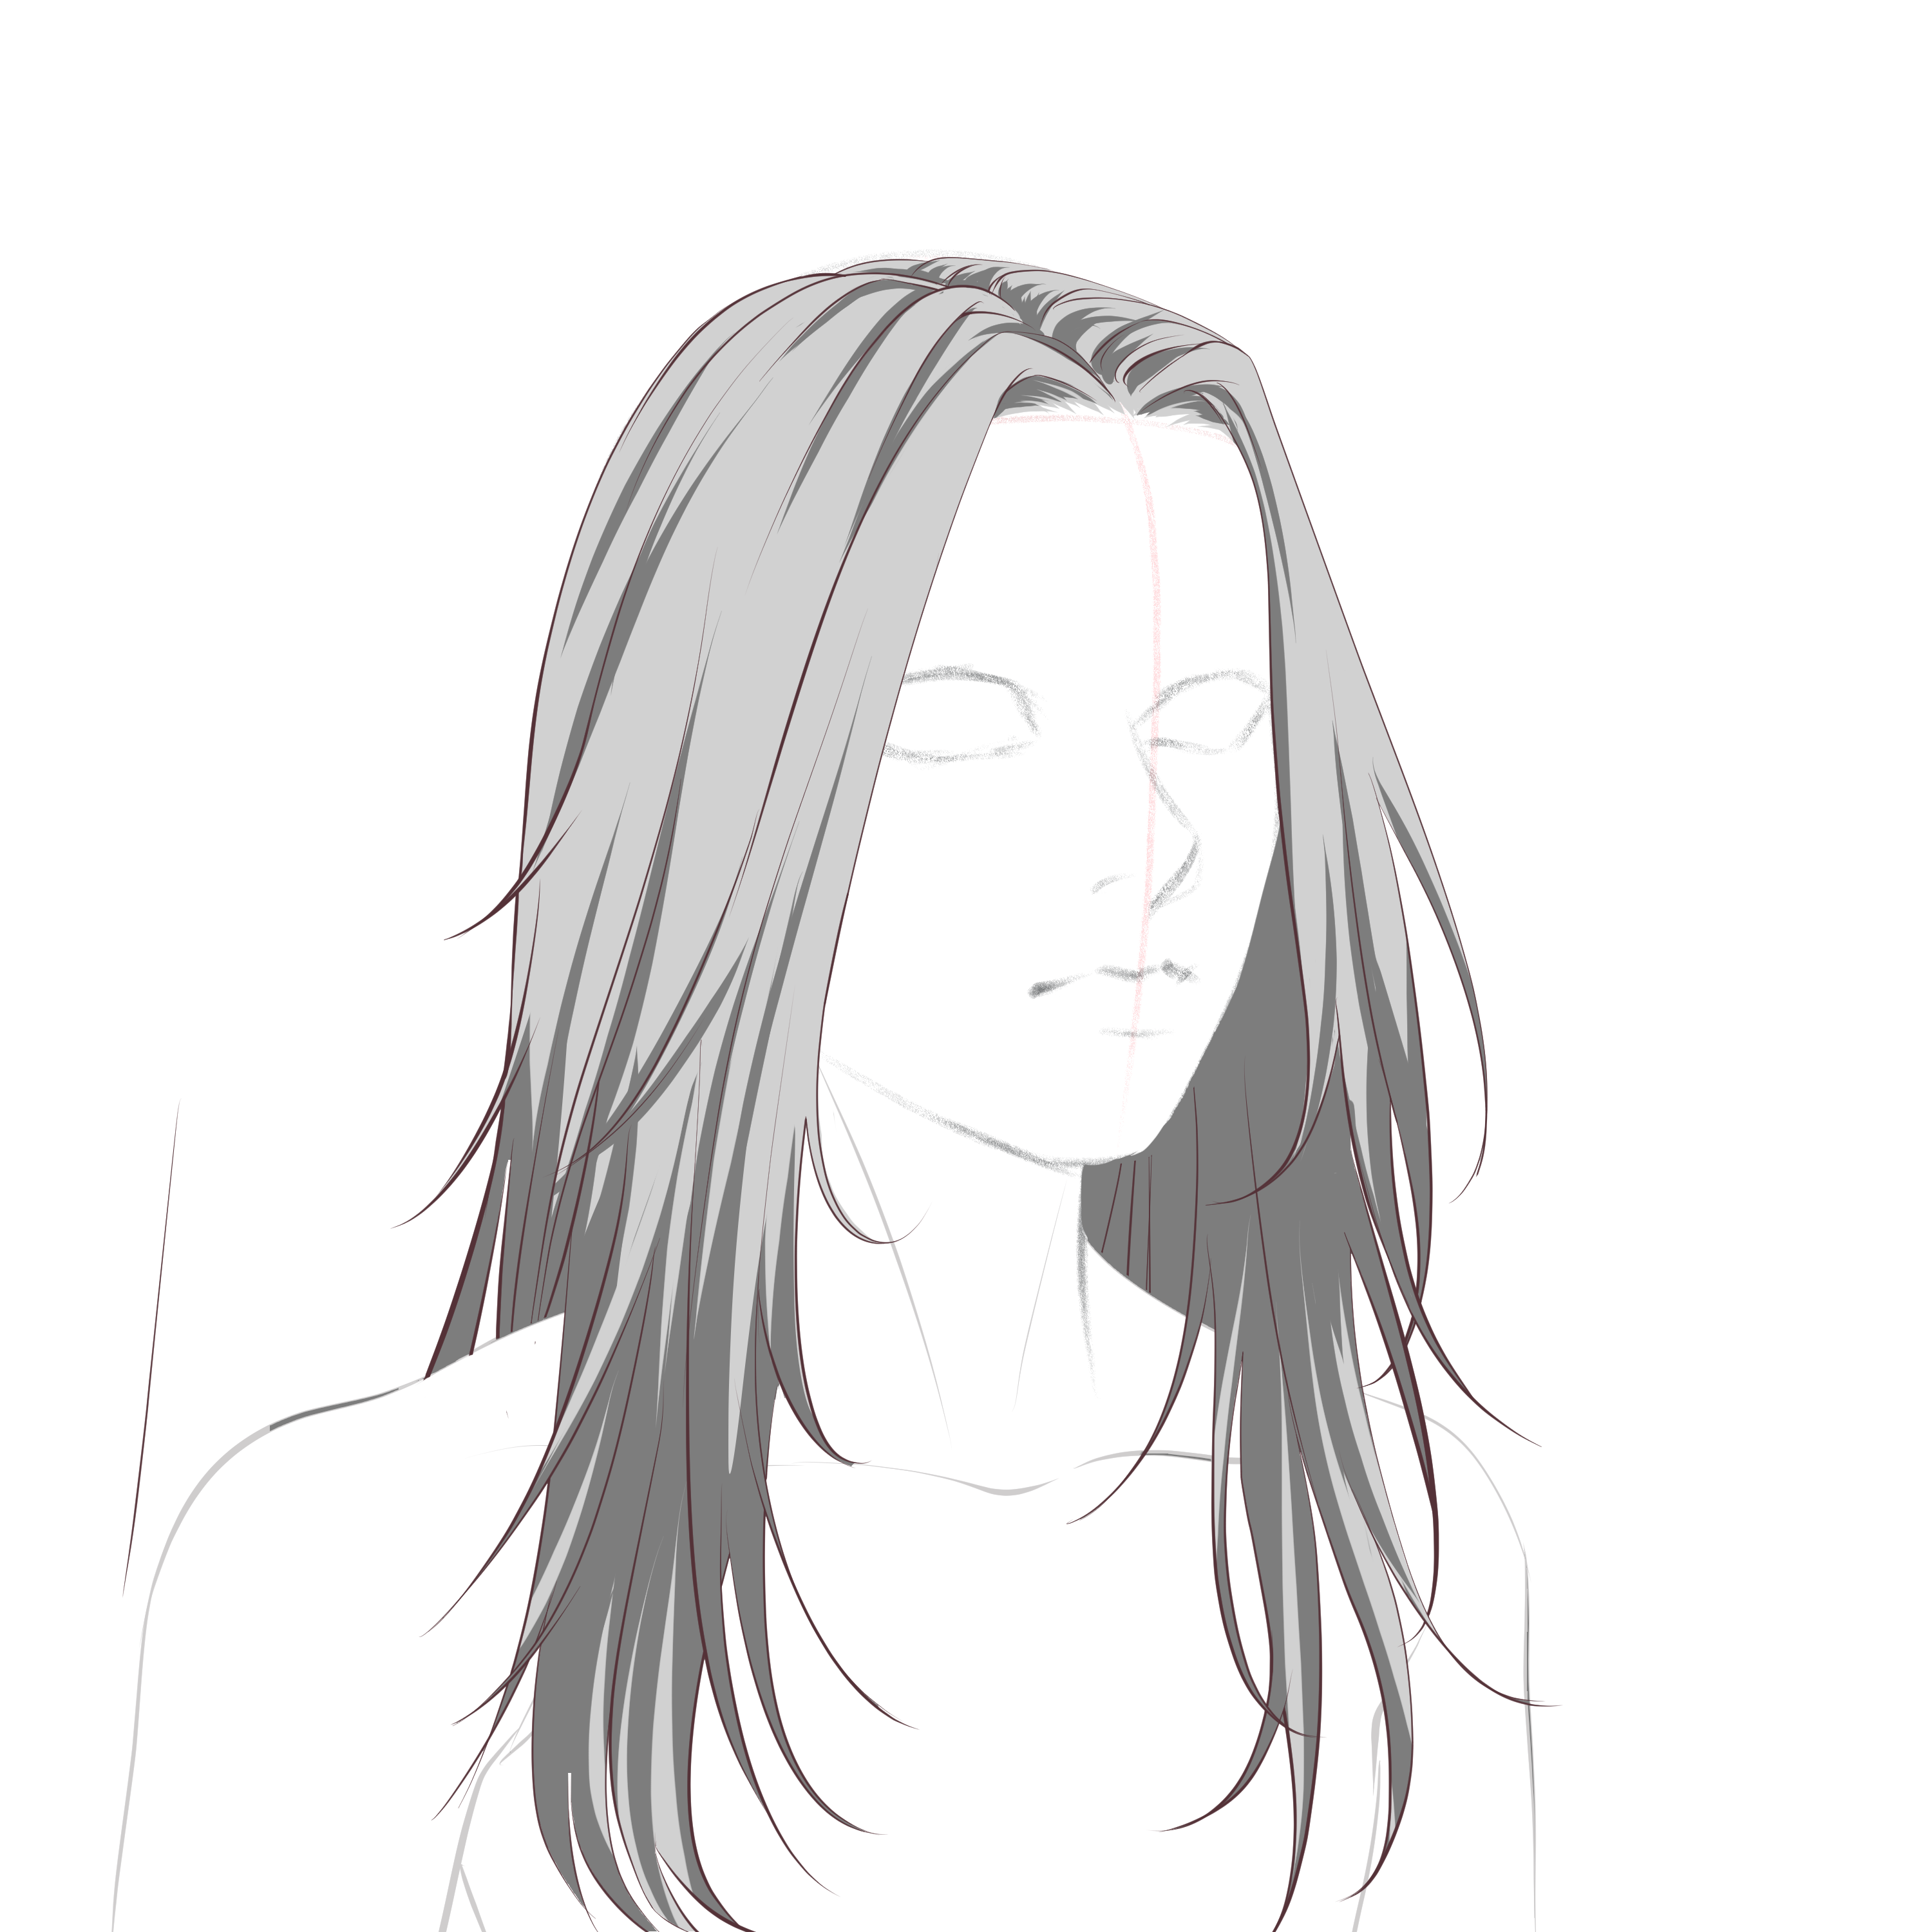
Section 2.- How to draw long anime hair
Step 1: Draw two lines
Draw two lines connecting the head and the shoulders.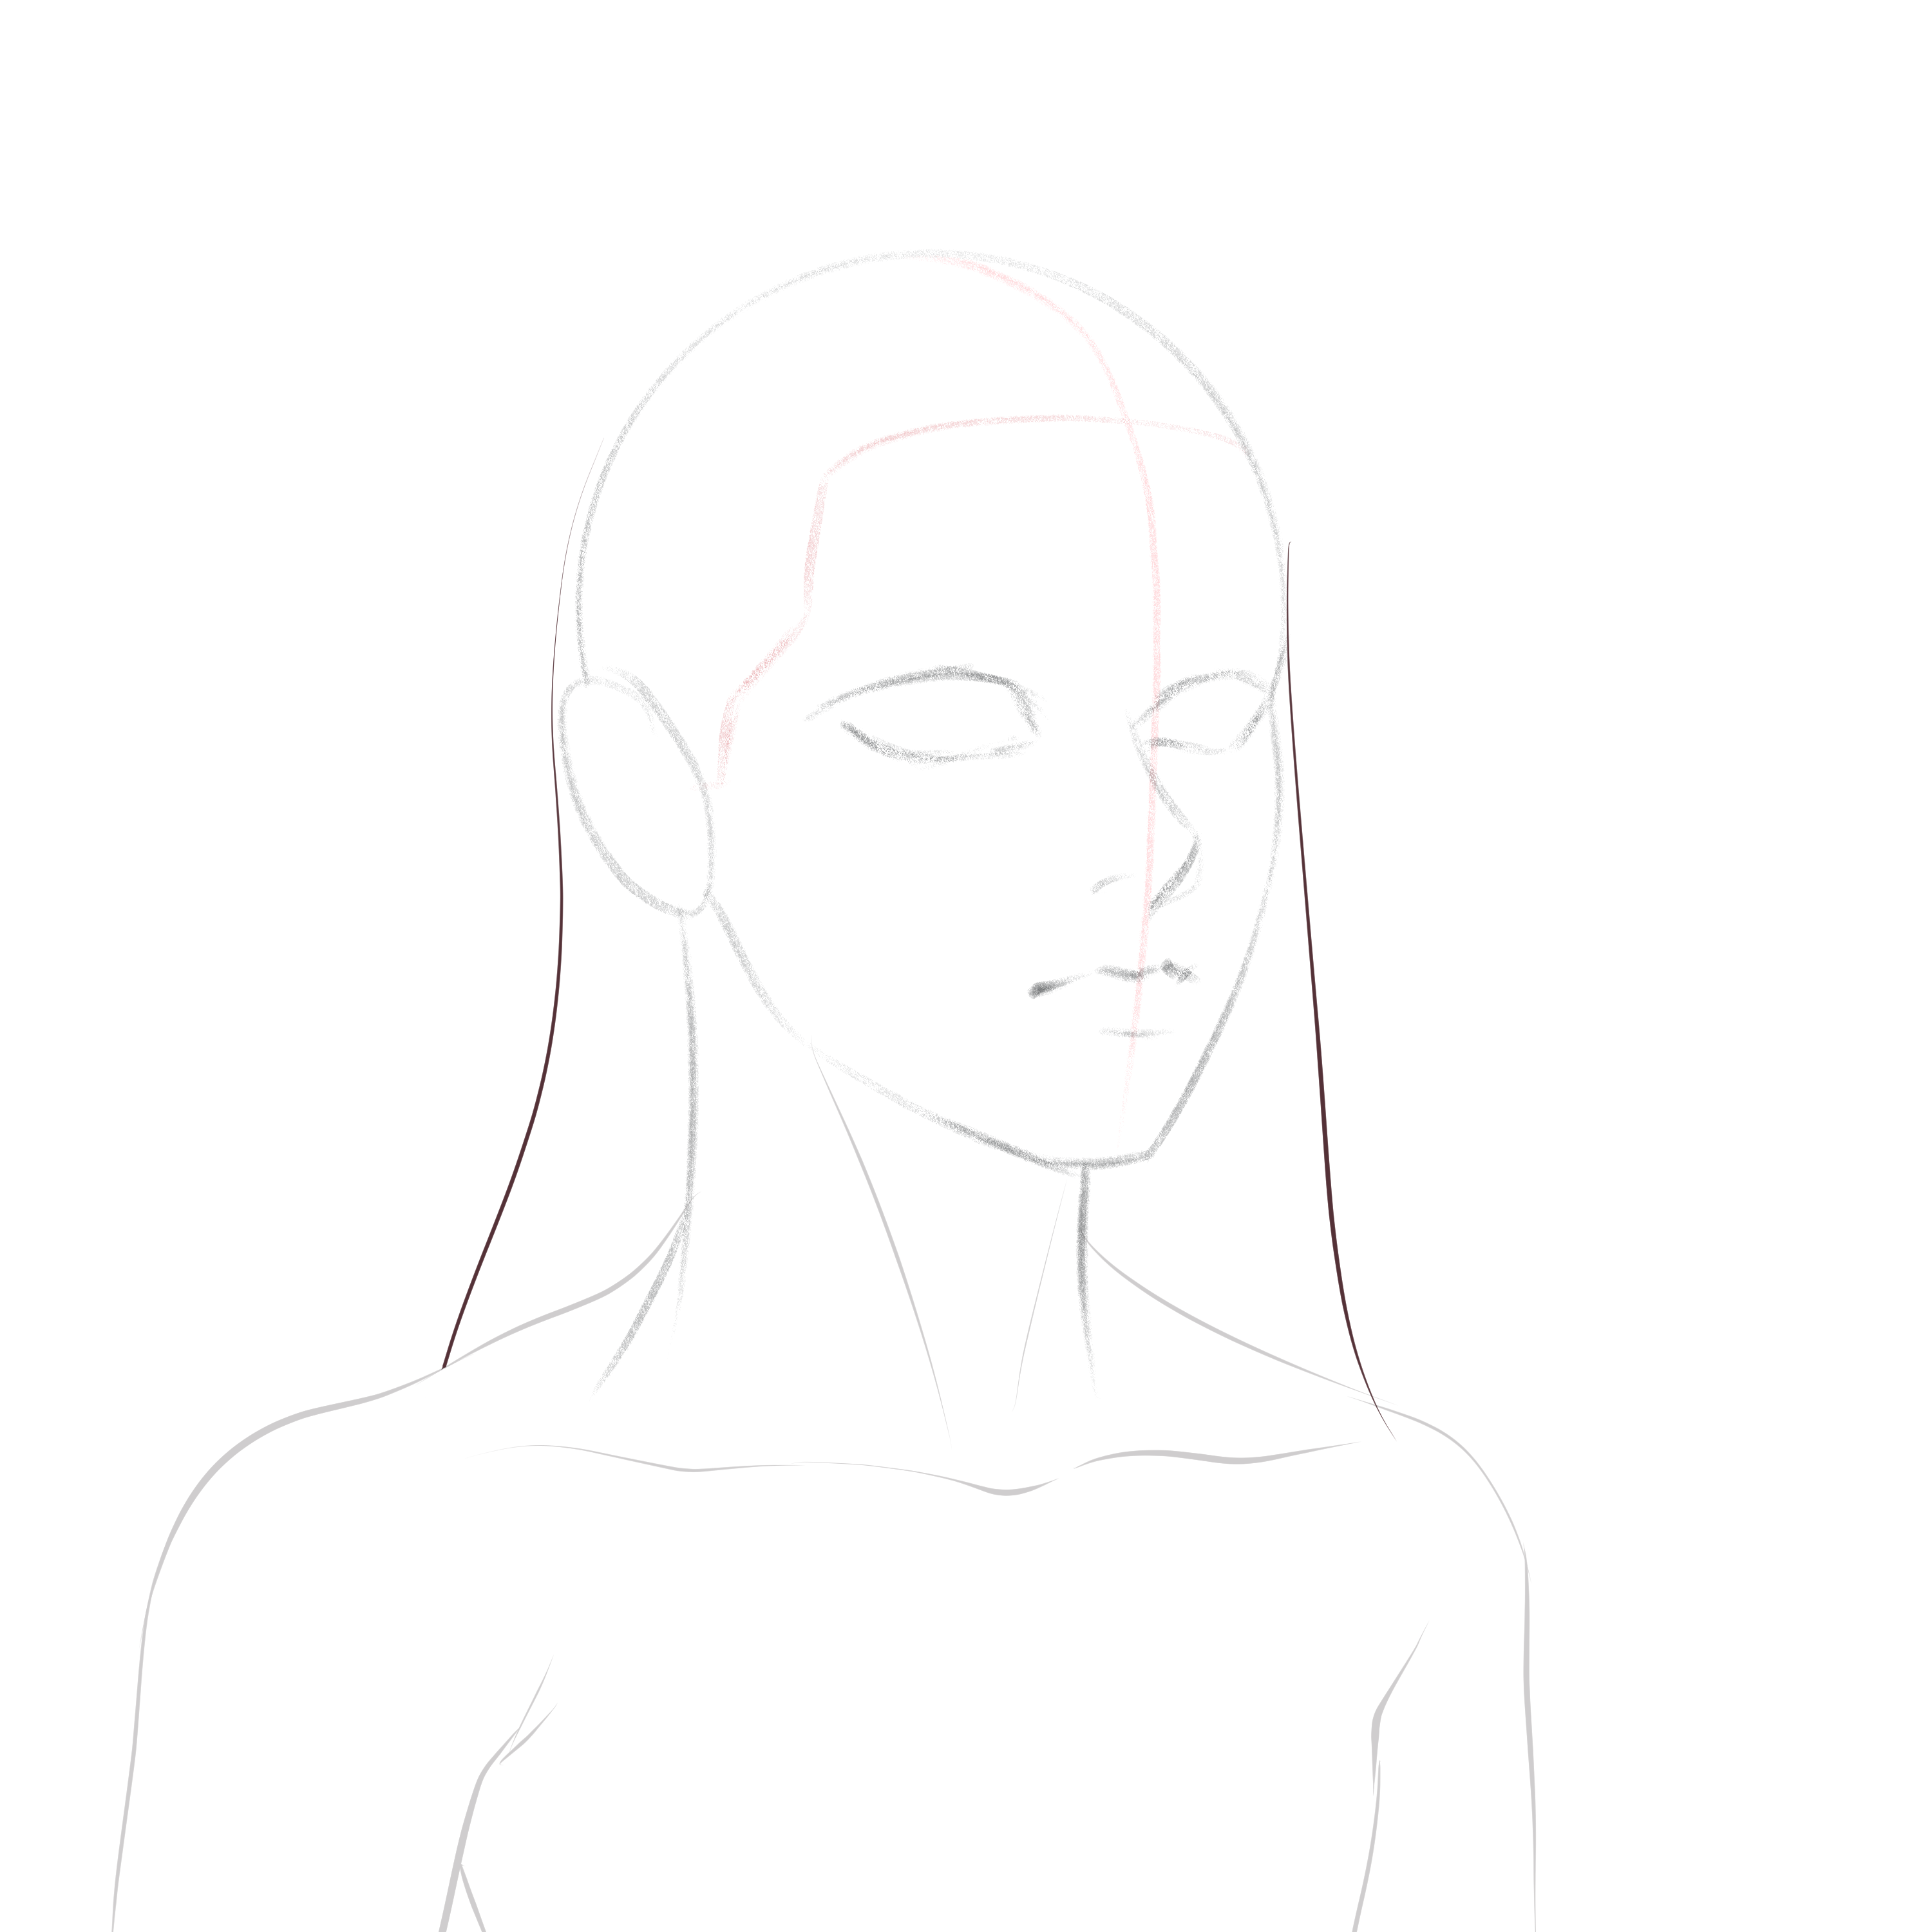
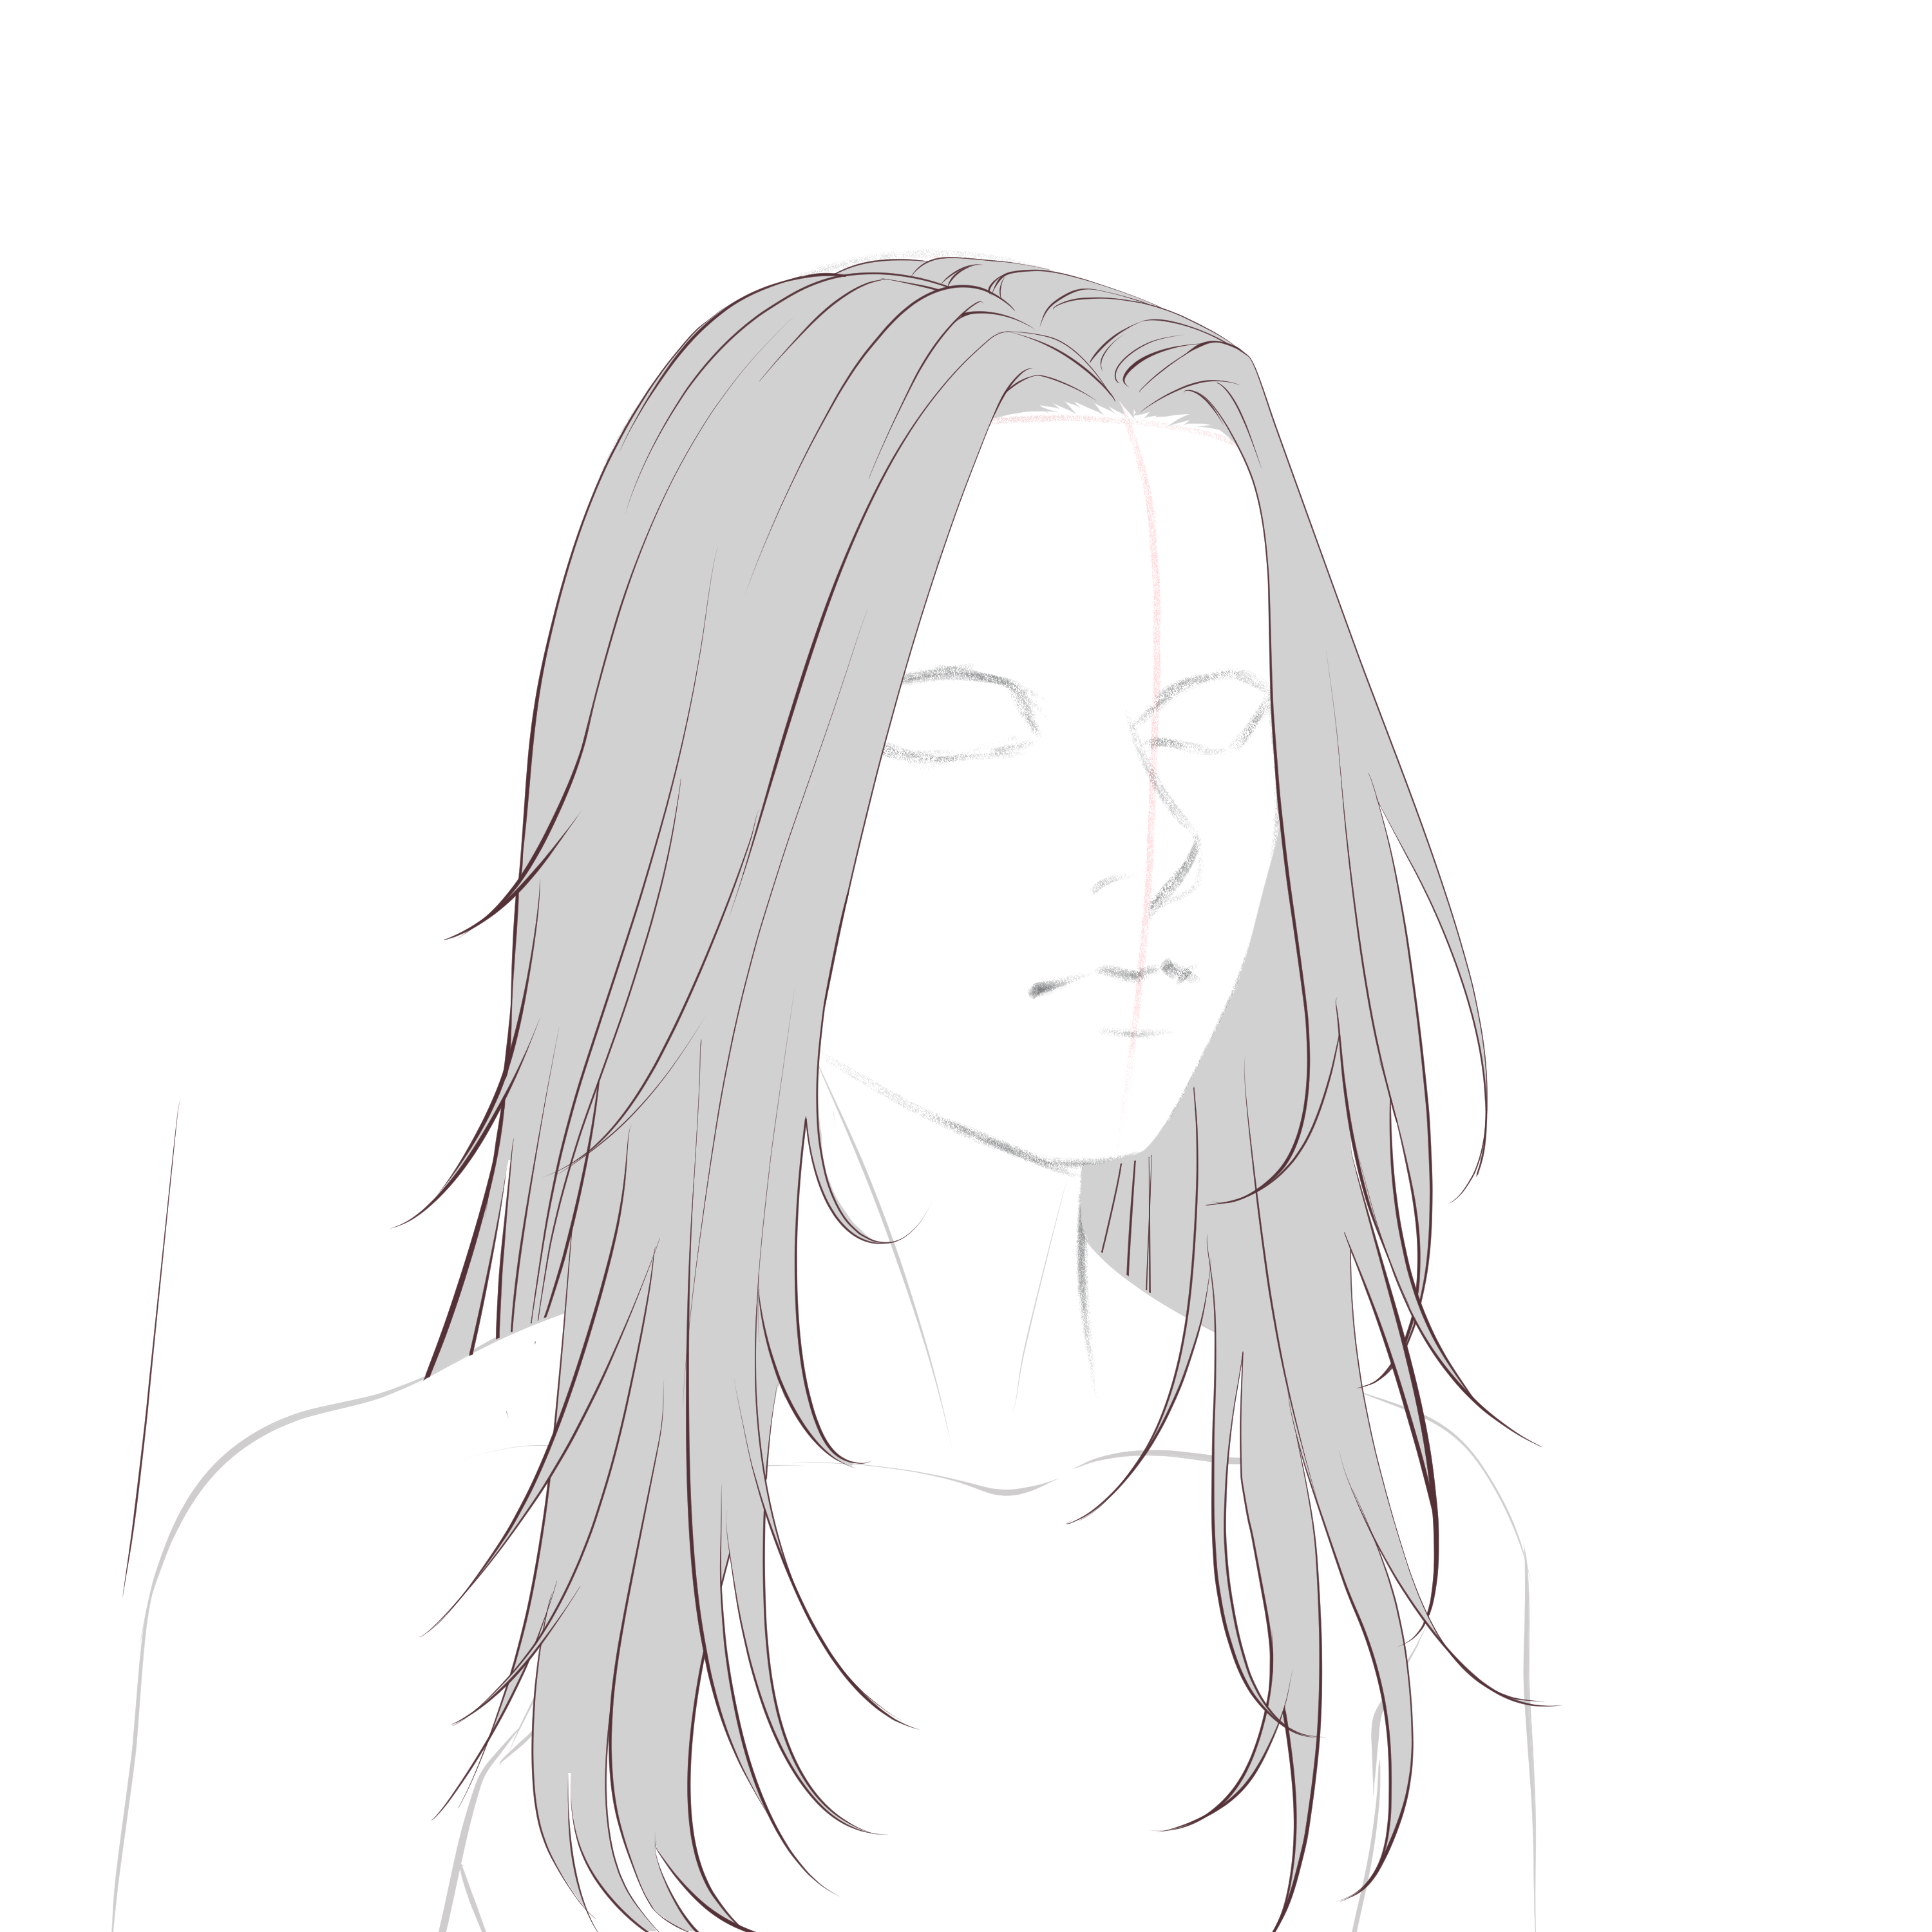
Step 2: Determine the length and shape
In this step, we are going to work on the first layer of hair, determining the shape and length, whether the hair is straight or curly, and how large it is. 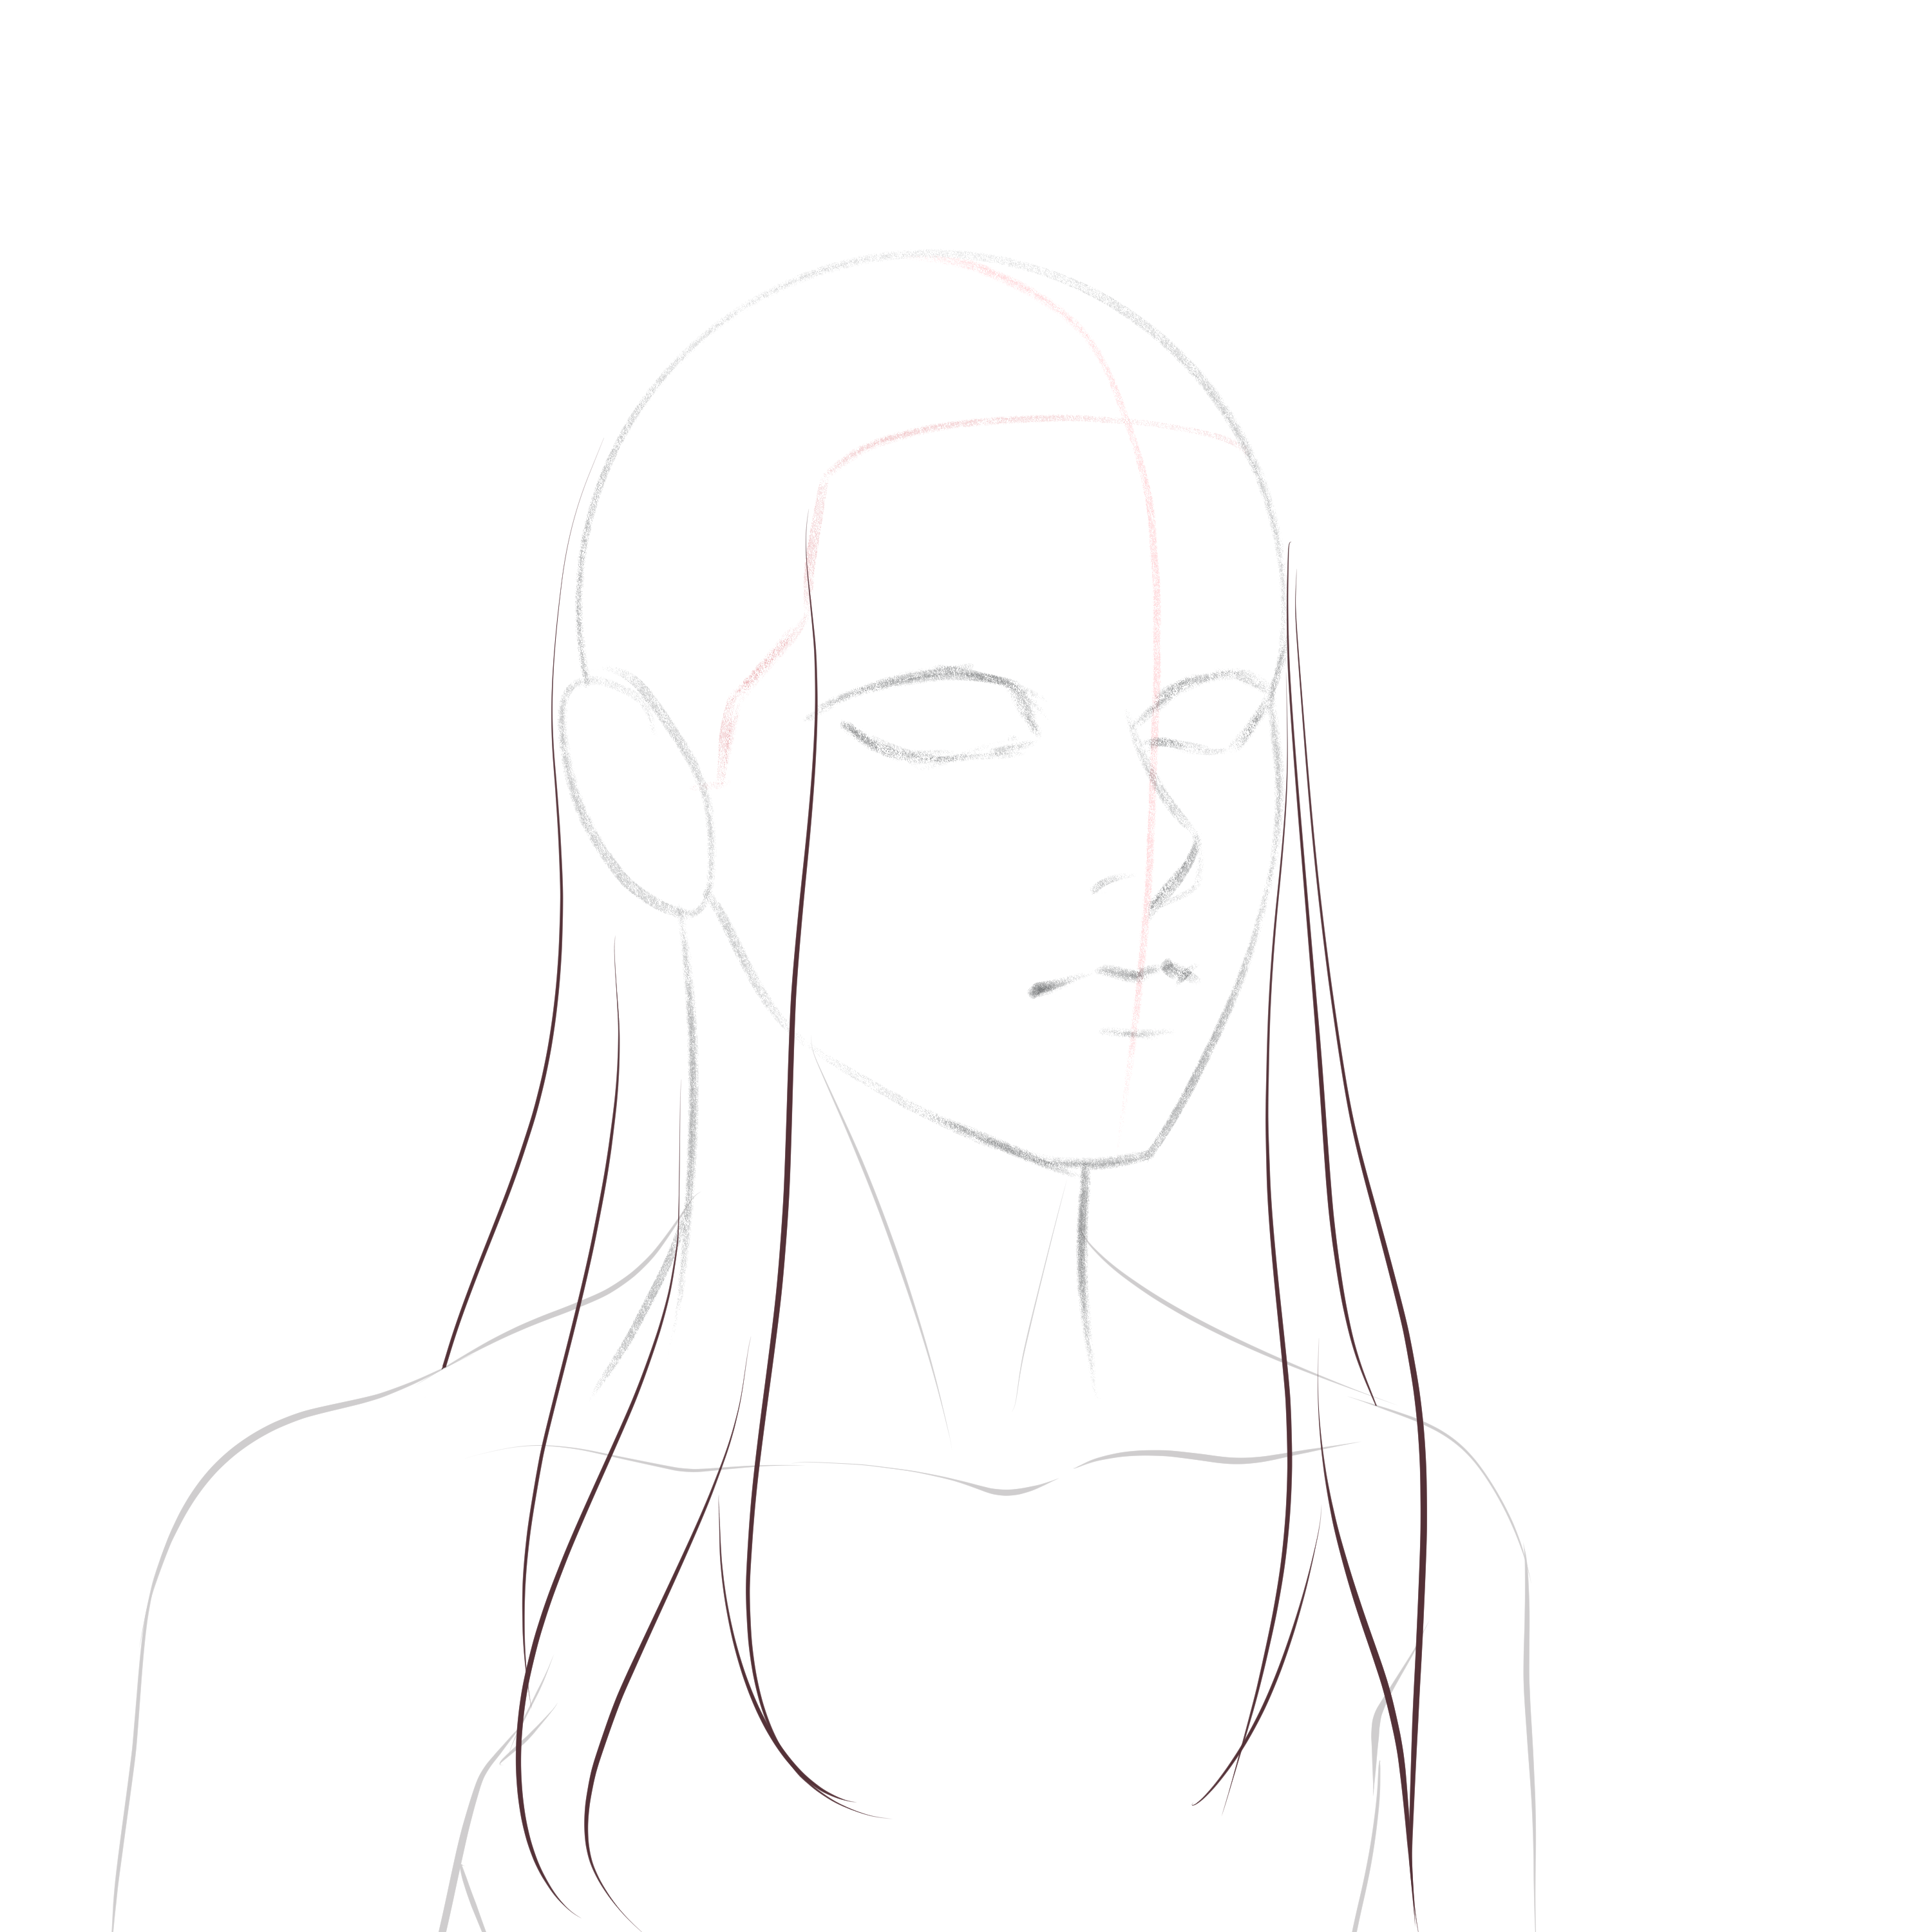
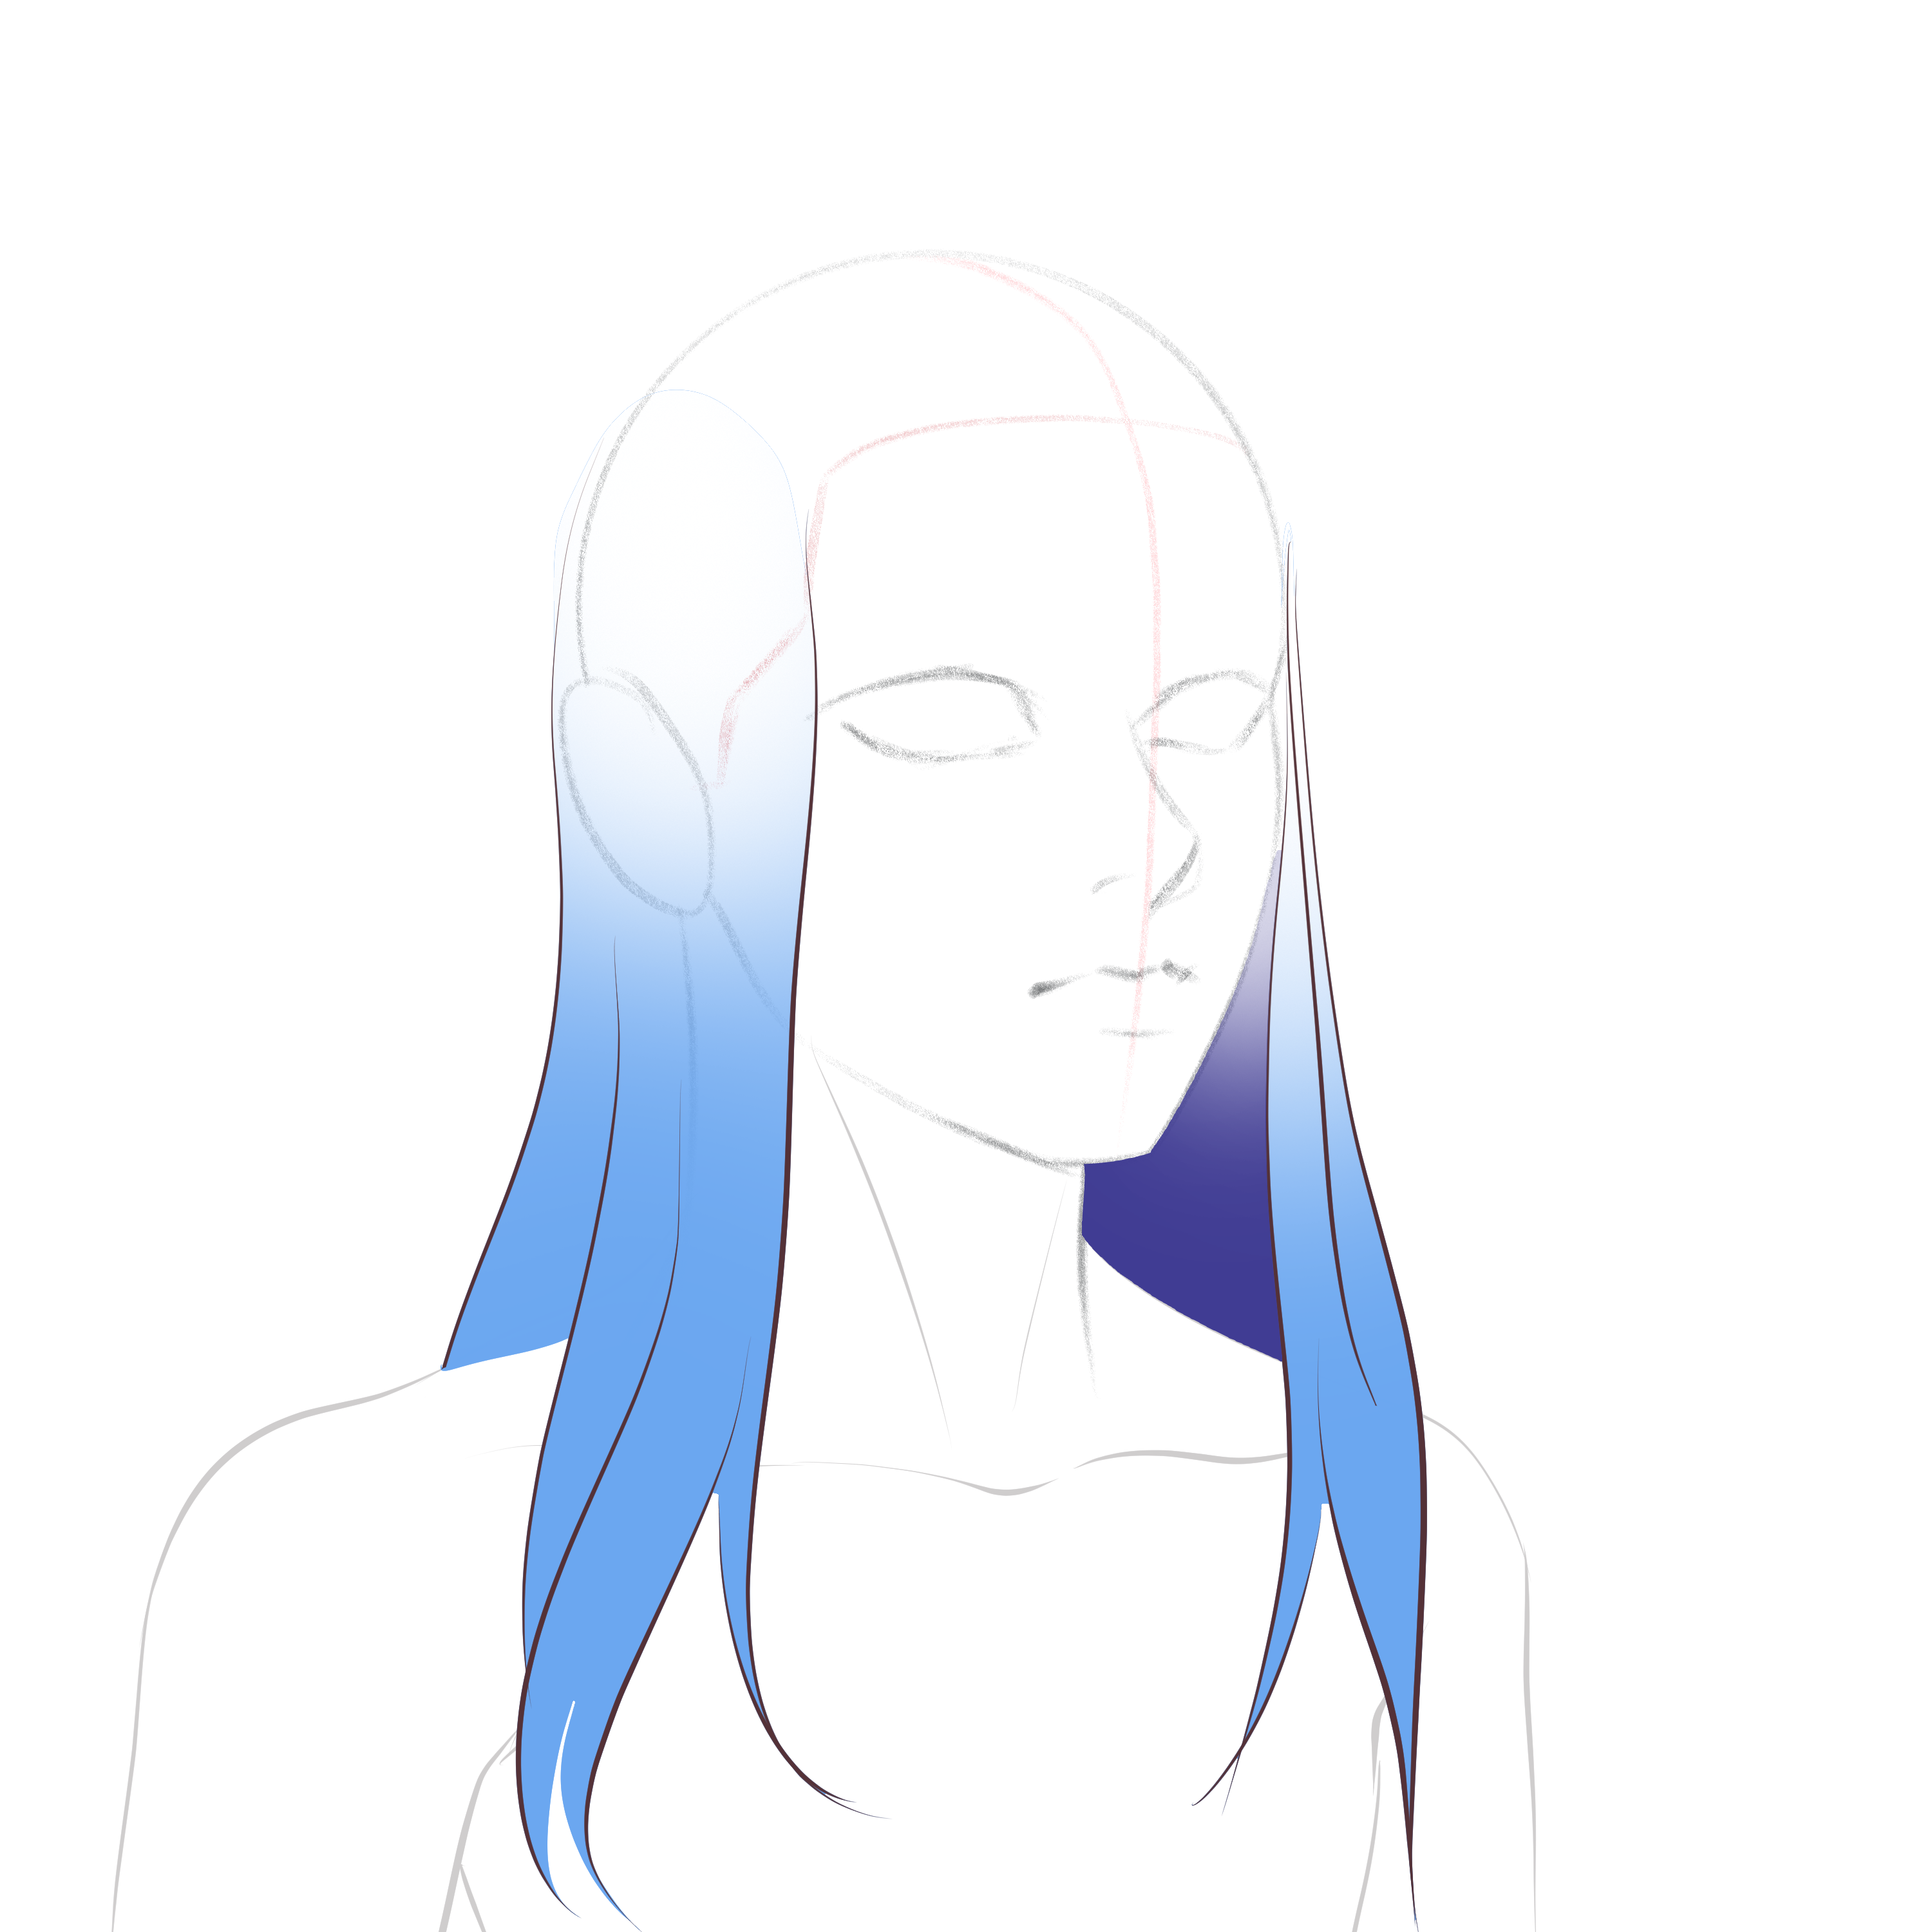
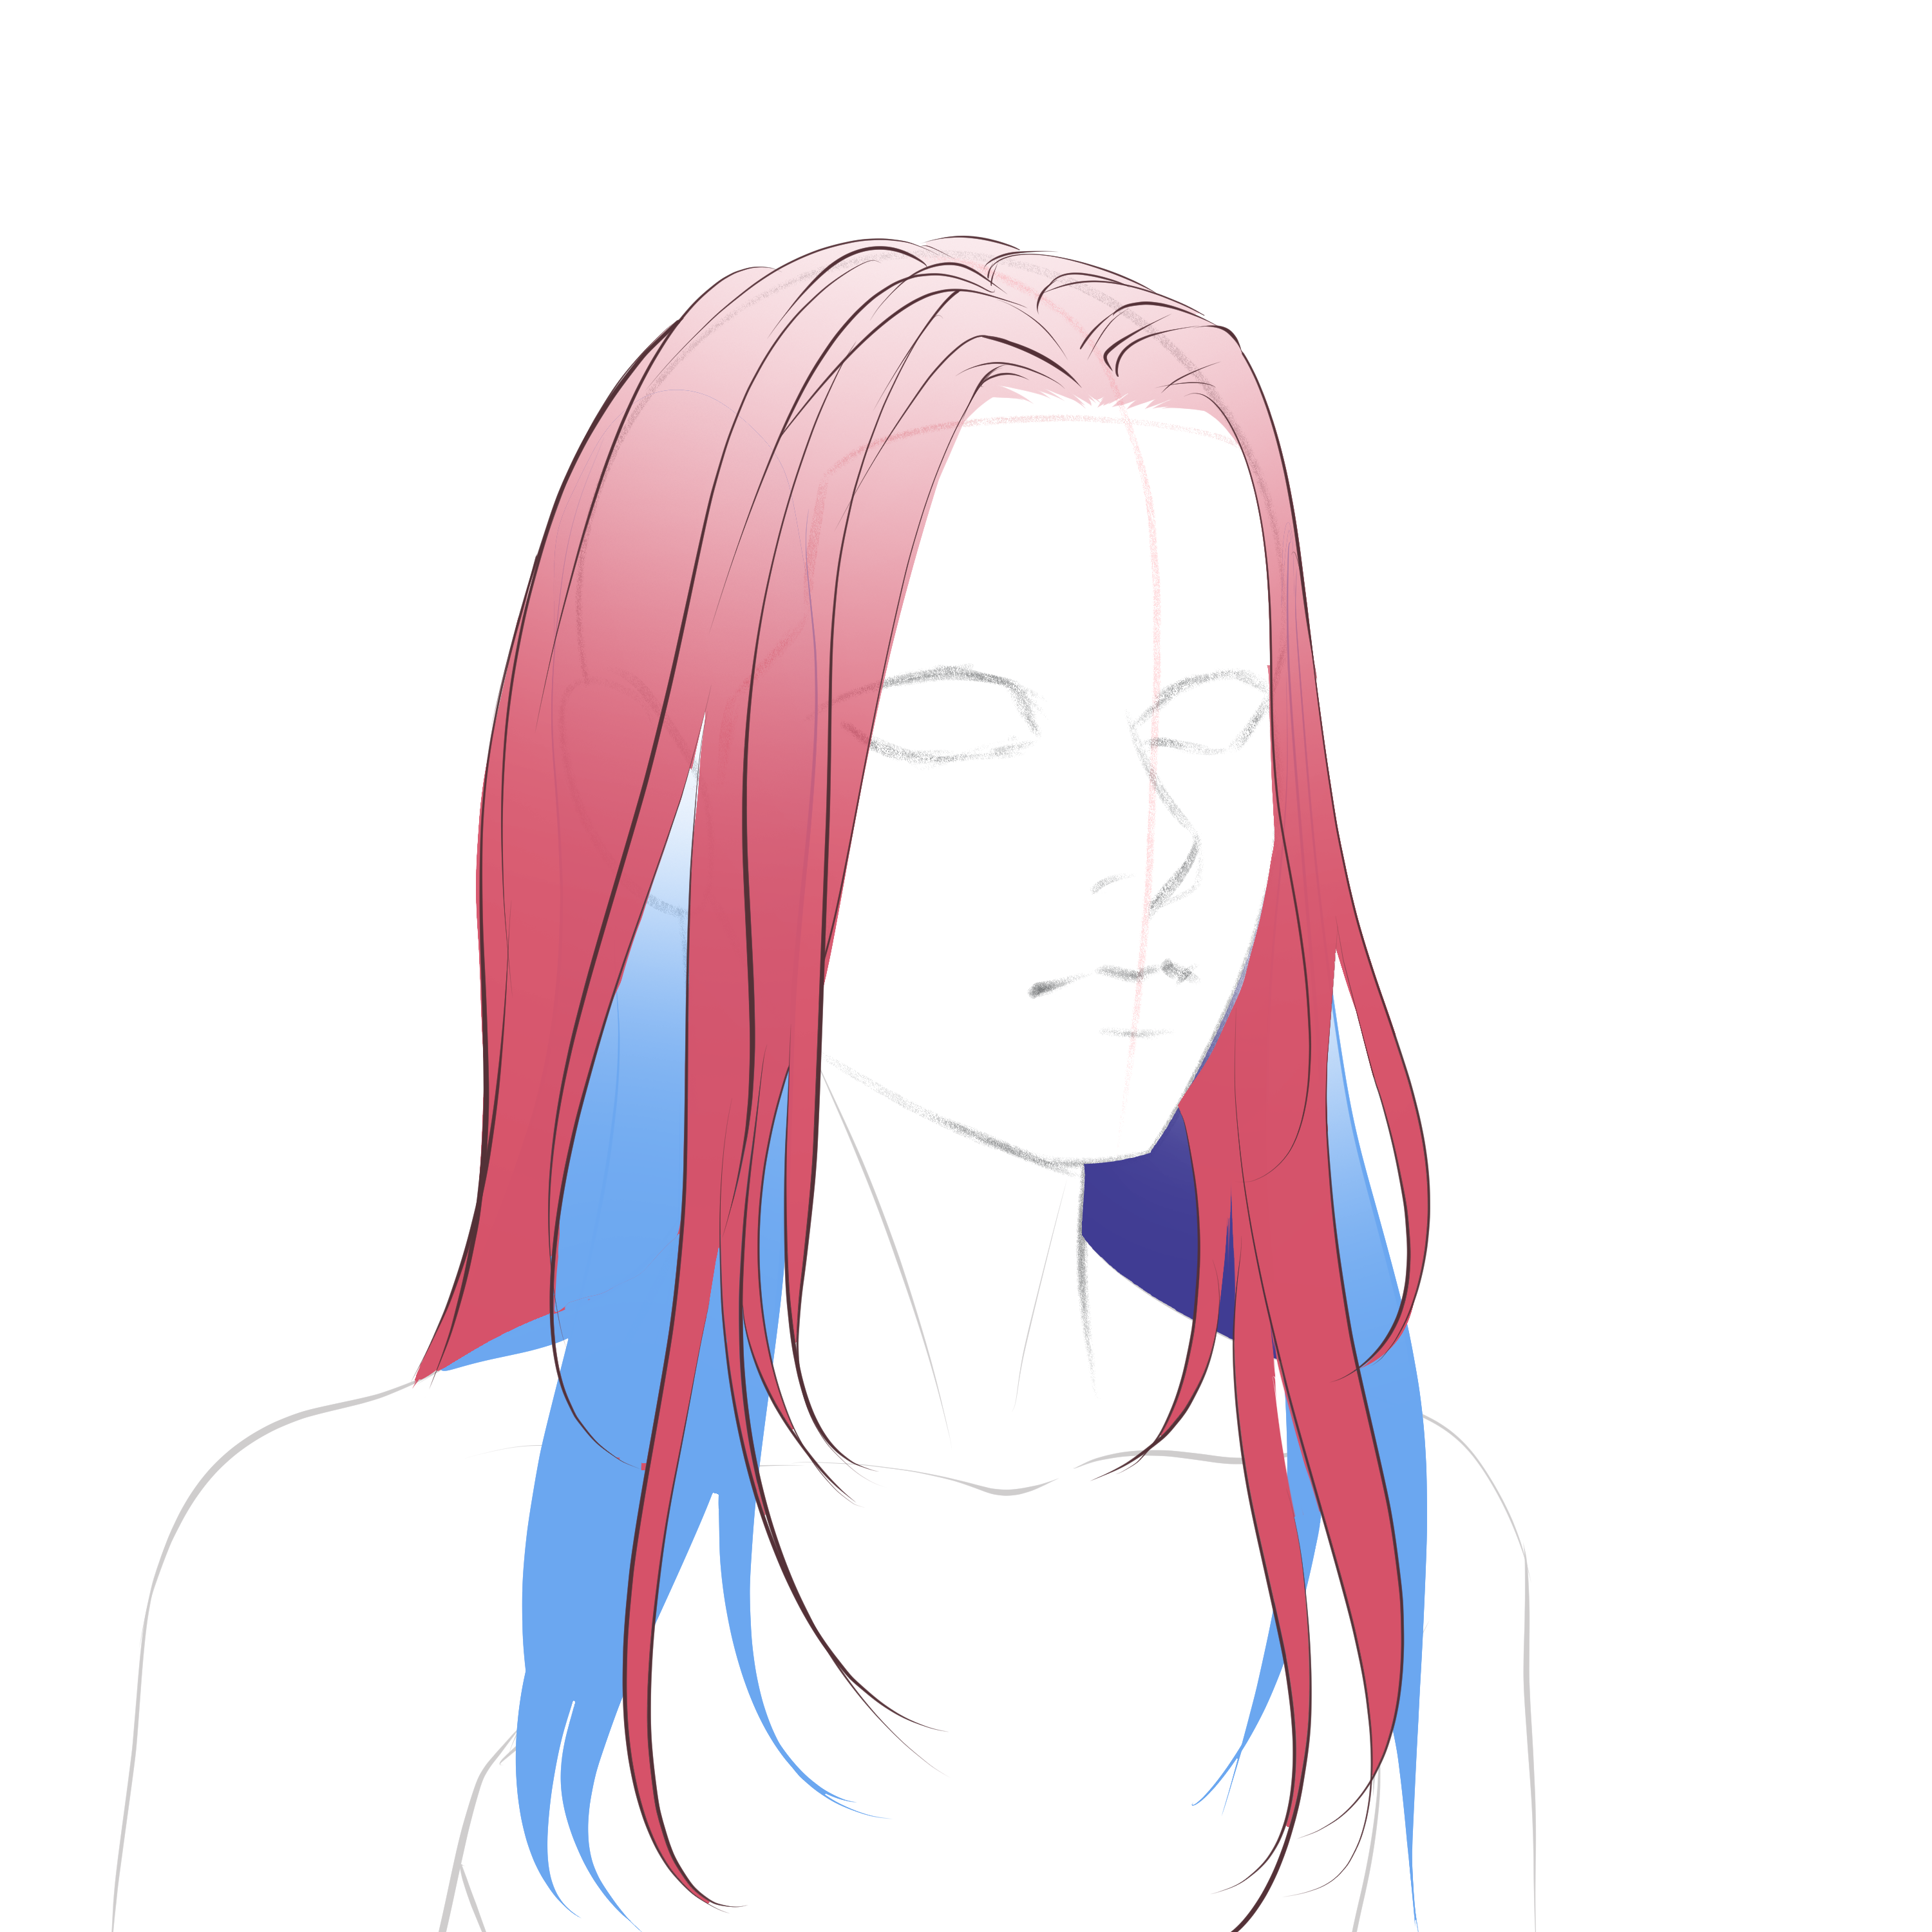
Step 3: Add the second layer of hair
Now, this step might seem a bit complicated since we’ll be drawing on top of our sketch again, but it’s one of the easiest ways to build hair and learn how it really works. Erase your first layer leaving a faint sketch, and then draw the second layer of hair on top. Vary the length, the shape and add some partitions to it.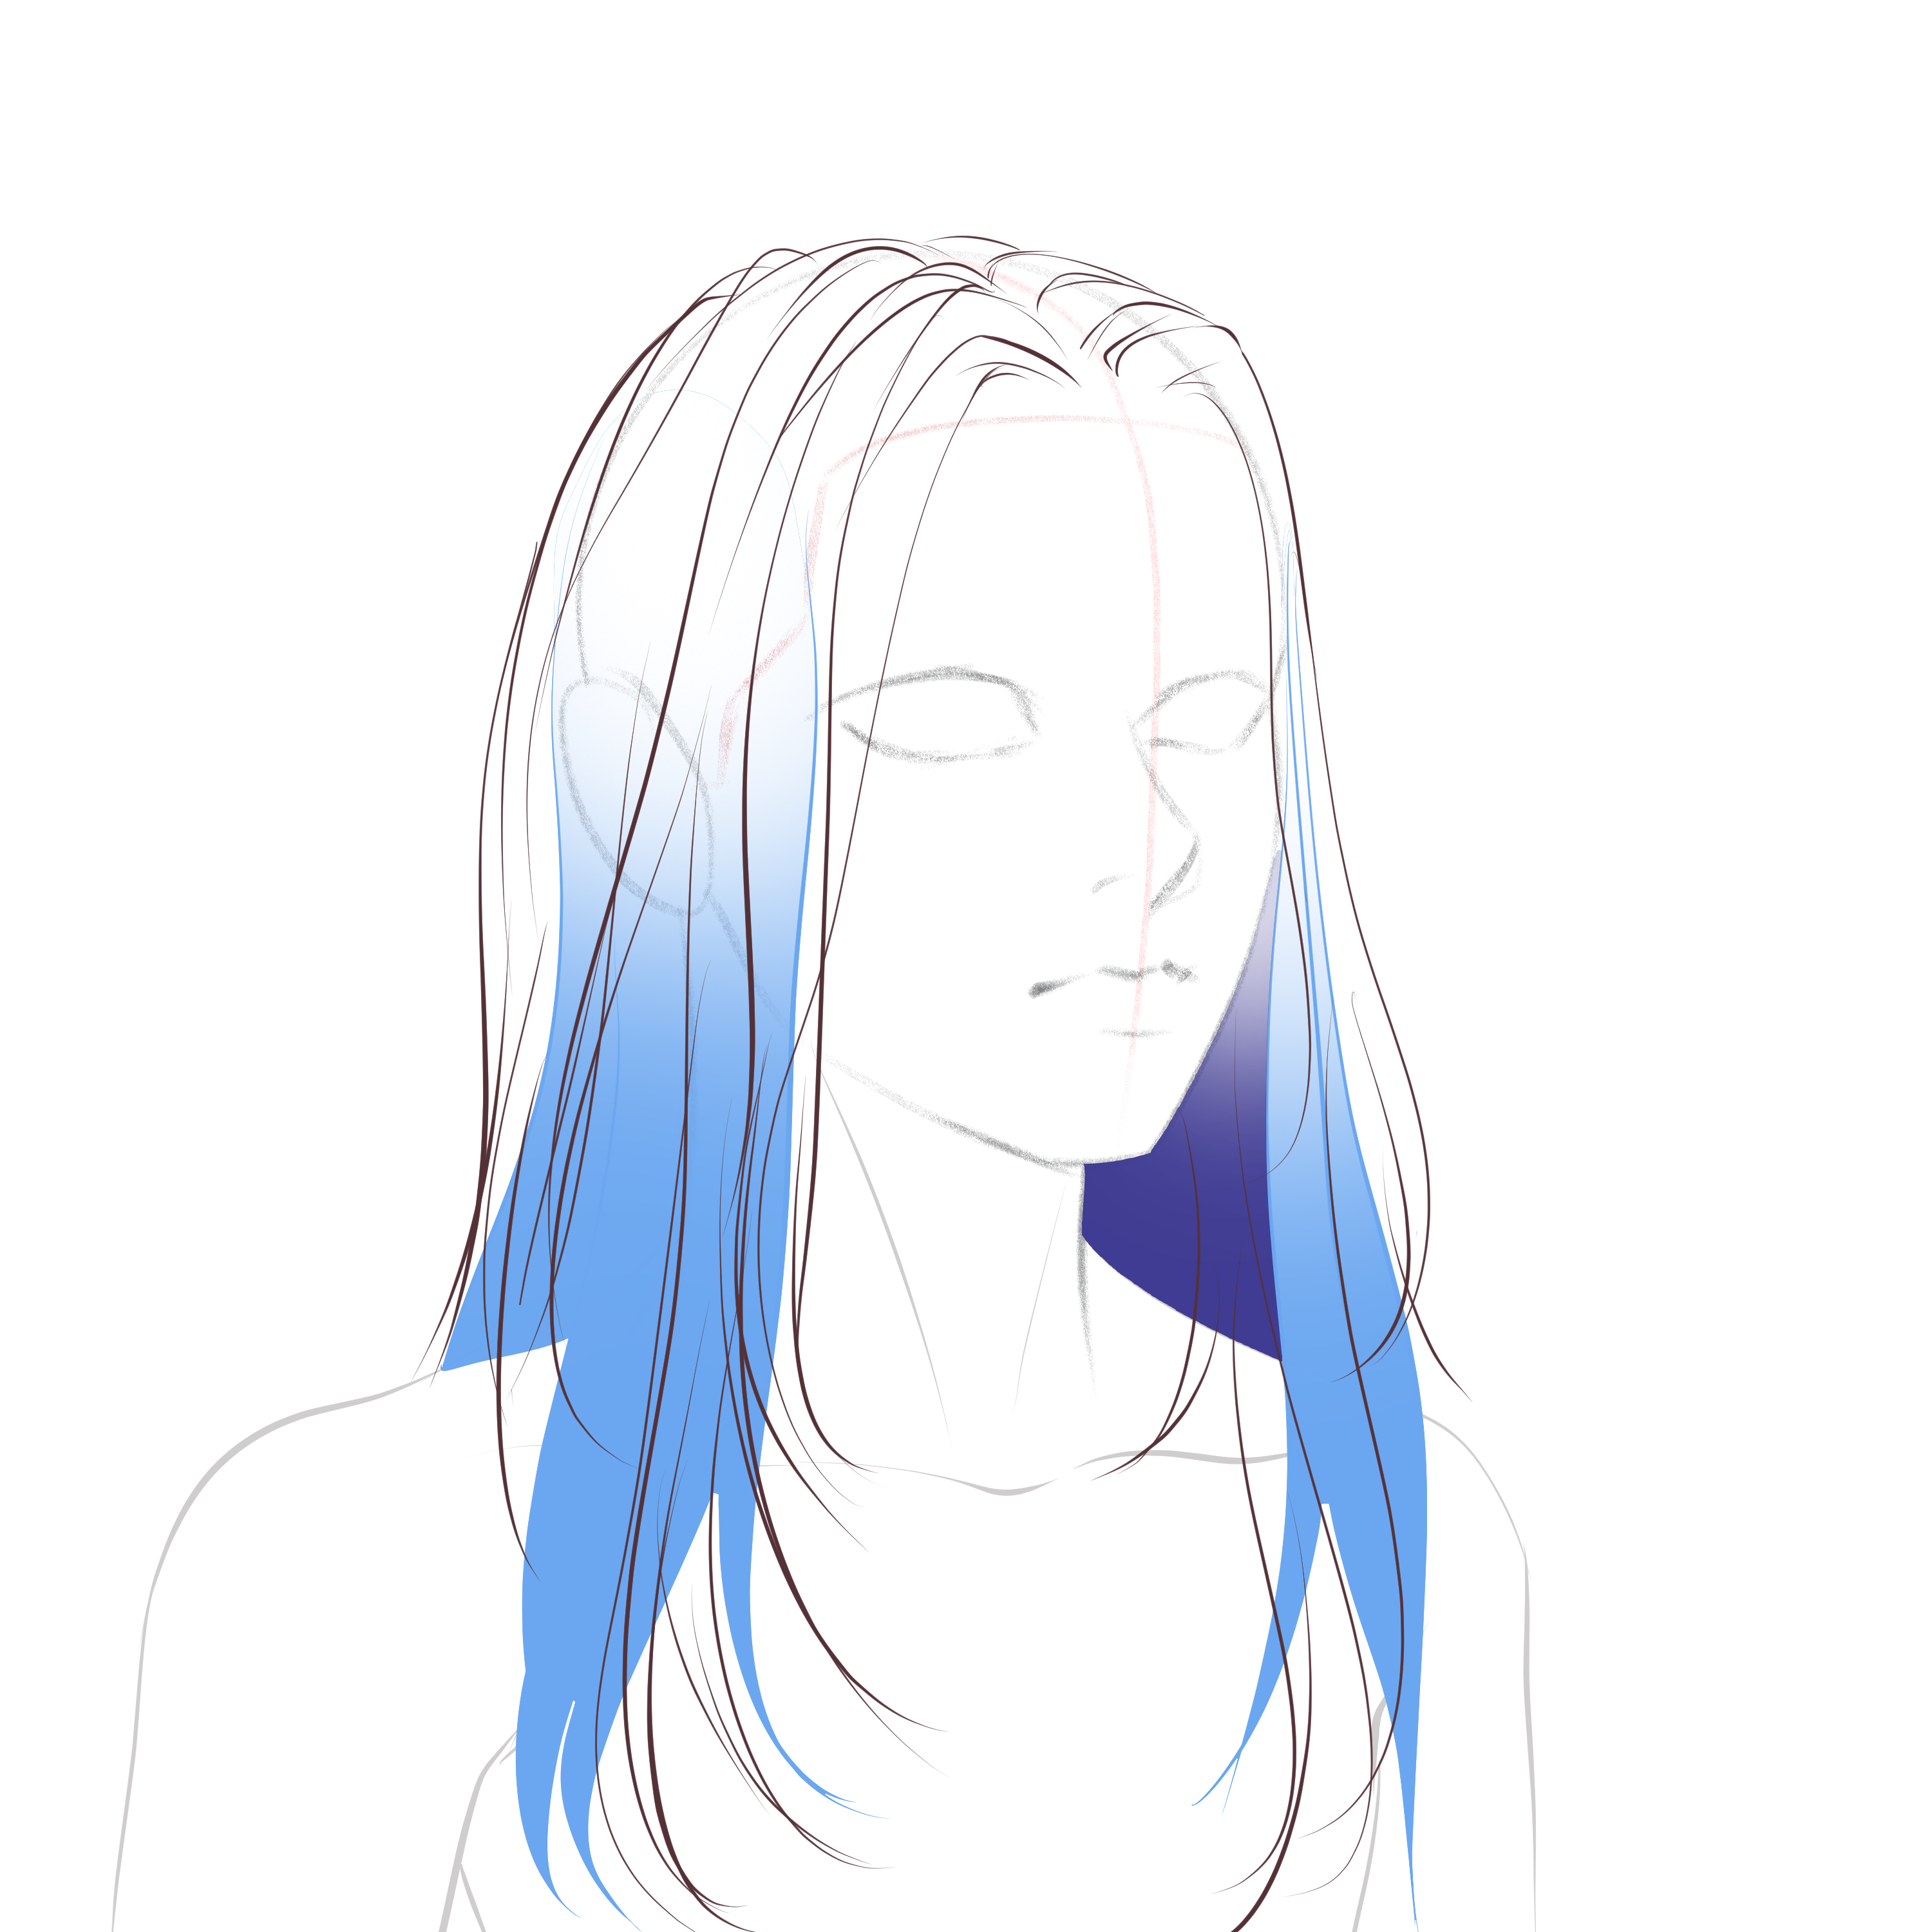
Step 4: Add details
Repeat the step above, and this time add some details like loose strands of hair to add dynamism.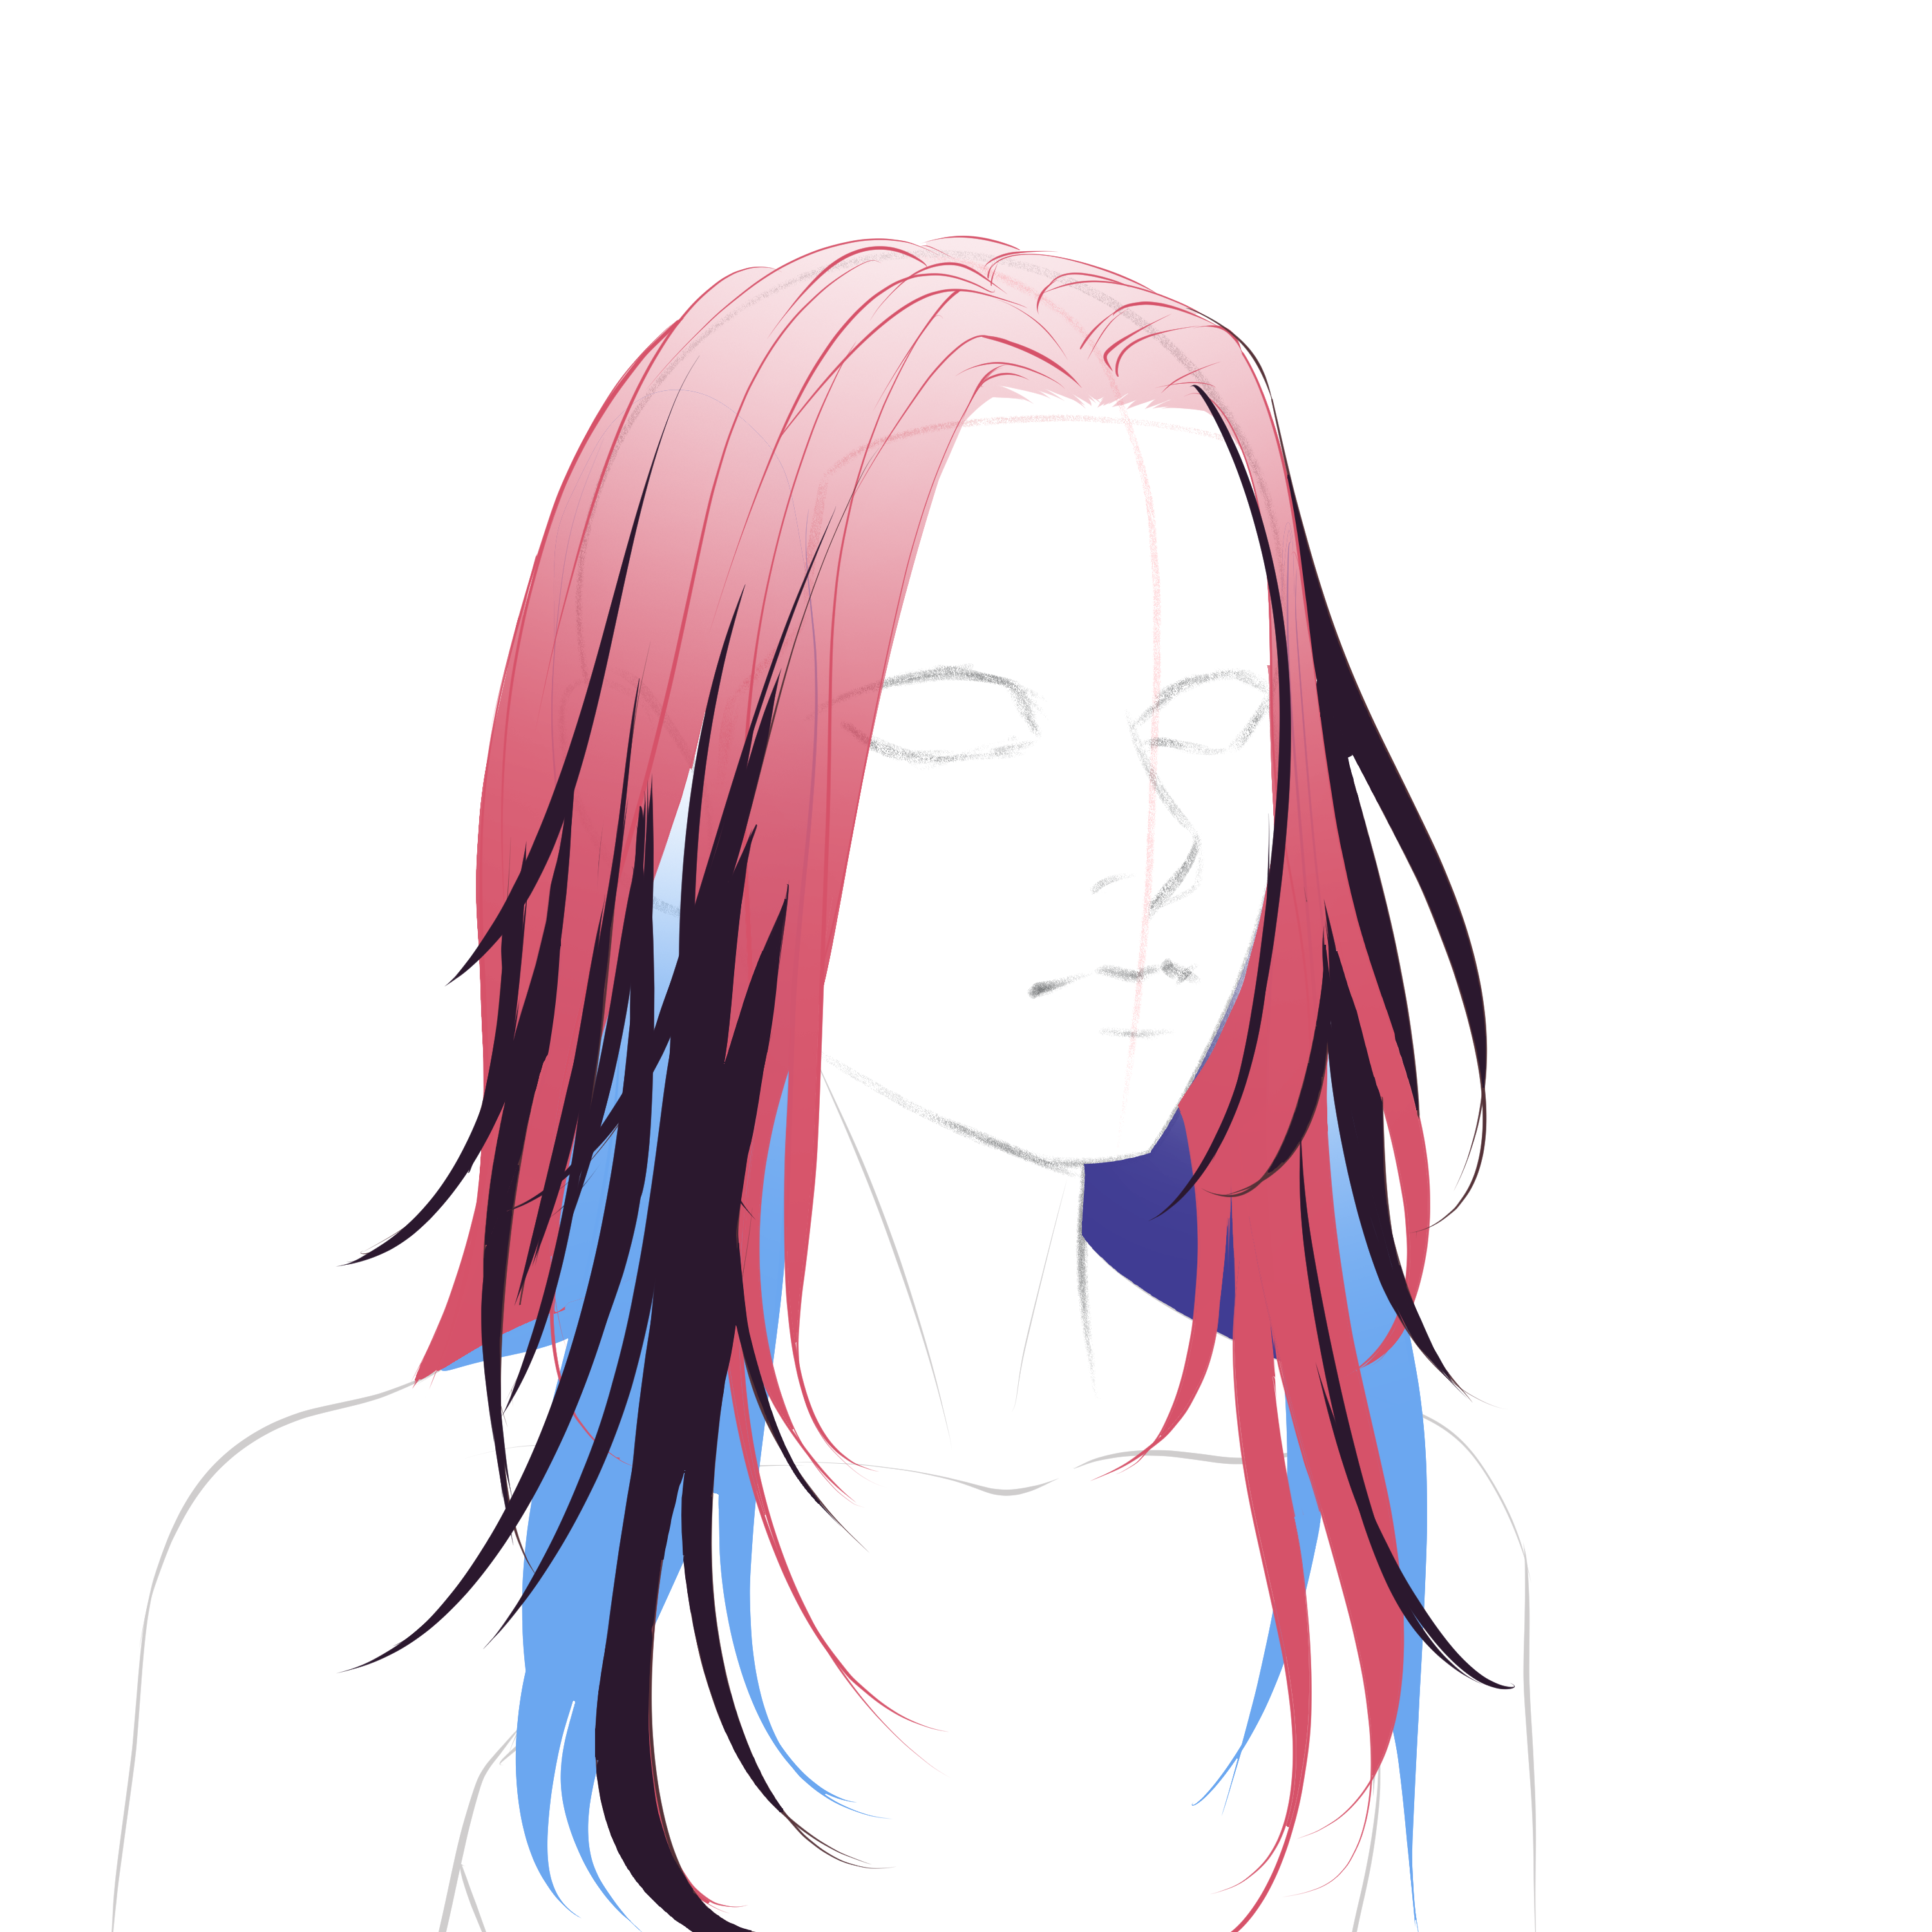
Step 5: Outline
Now, erase your sketch and outline your hair following the shapes you’ve created.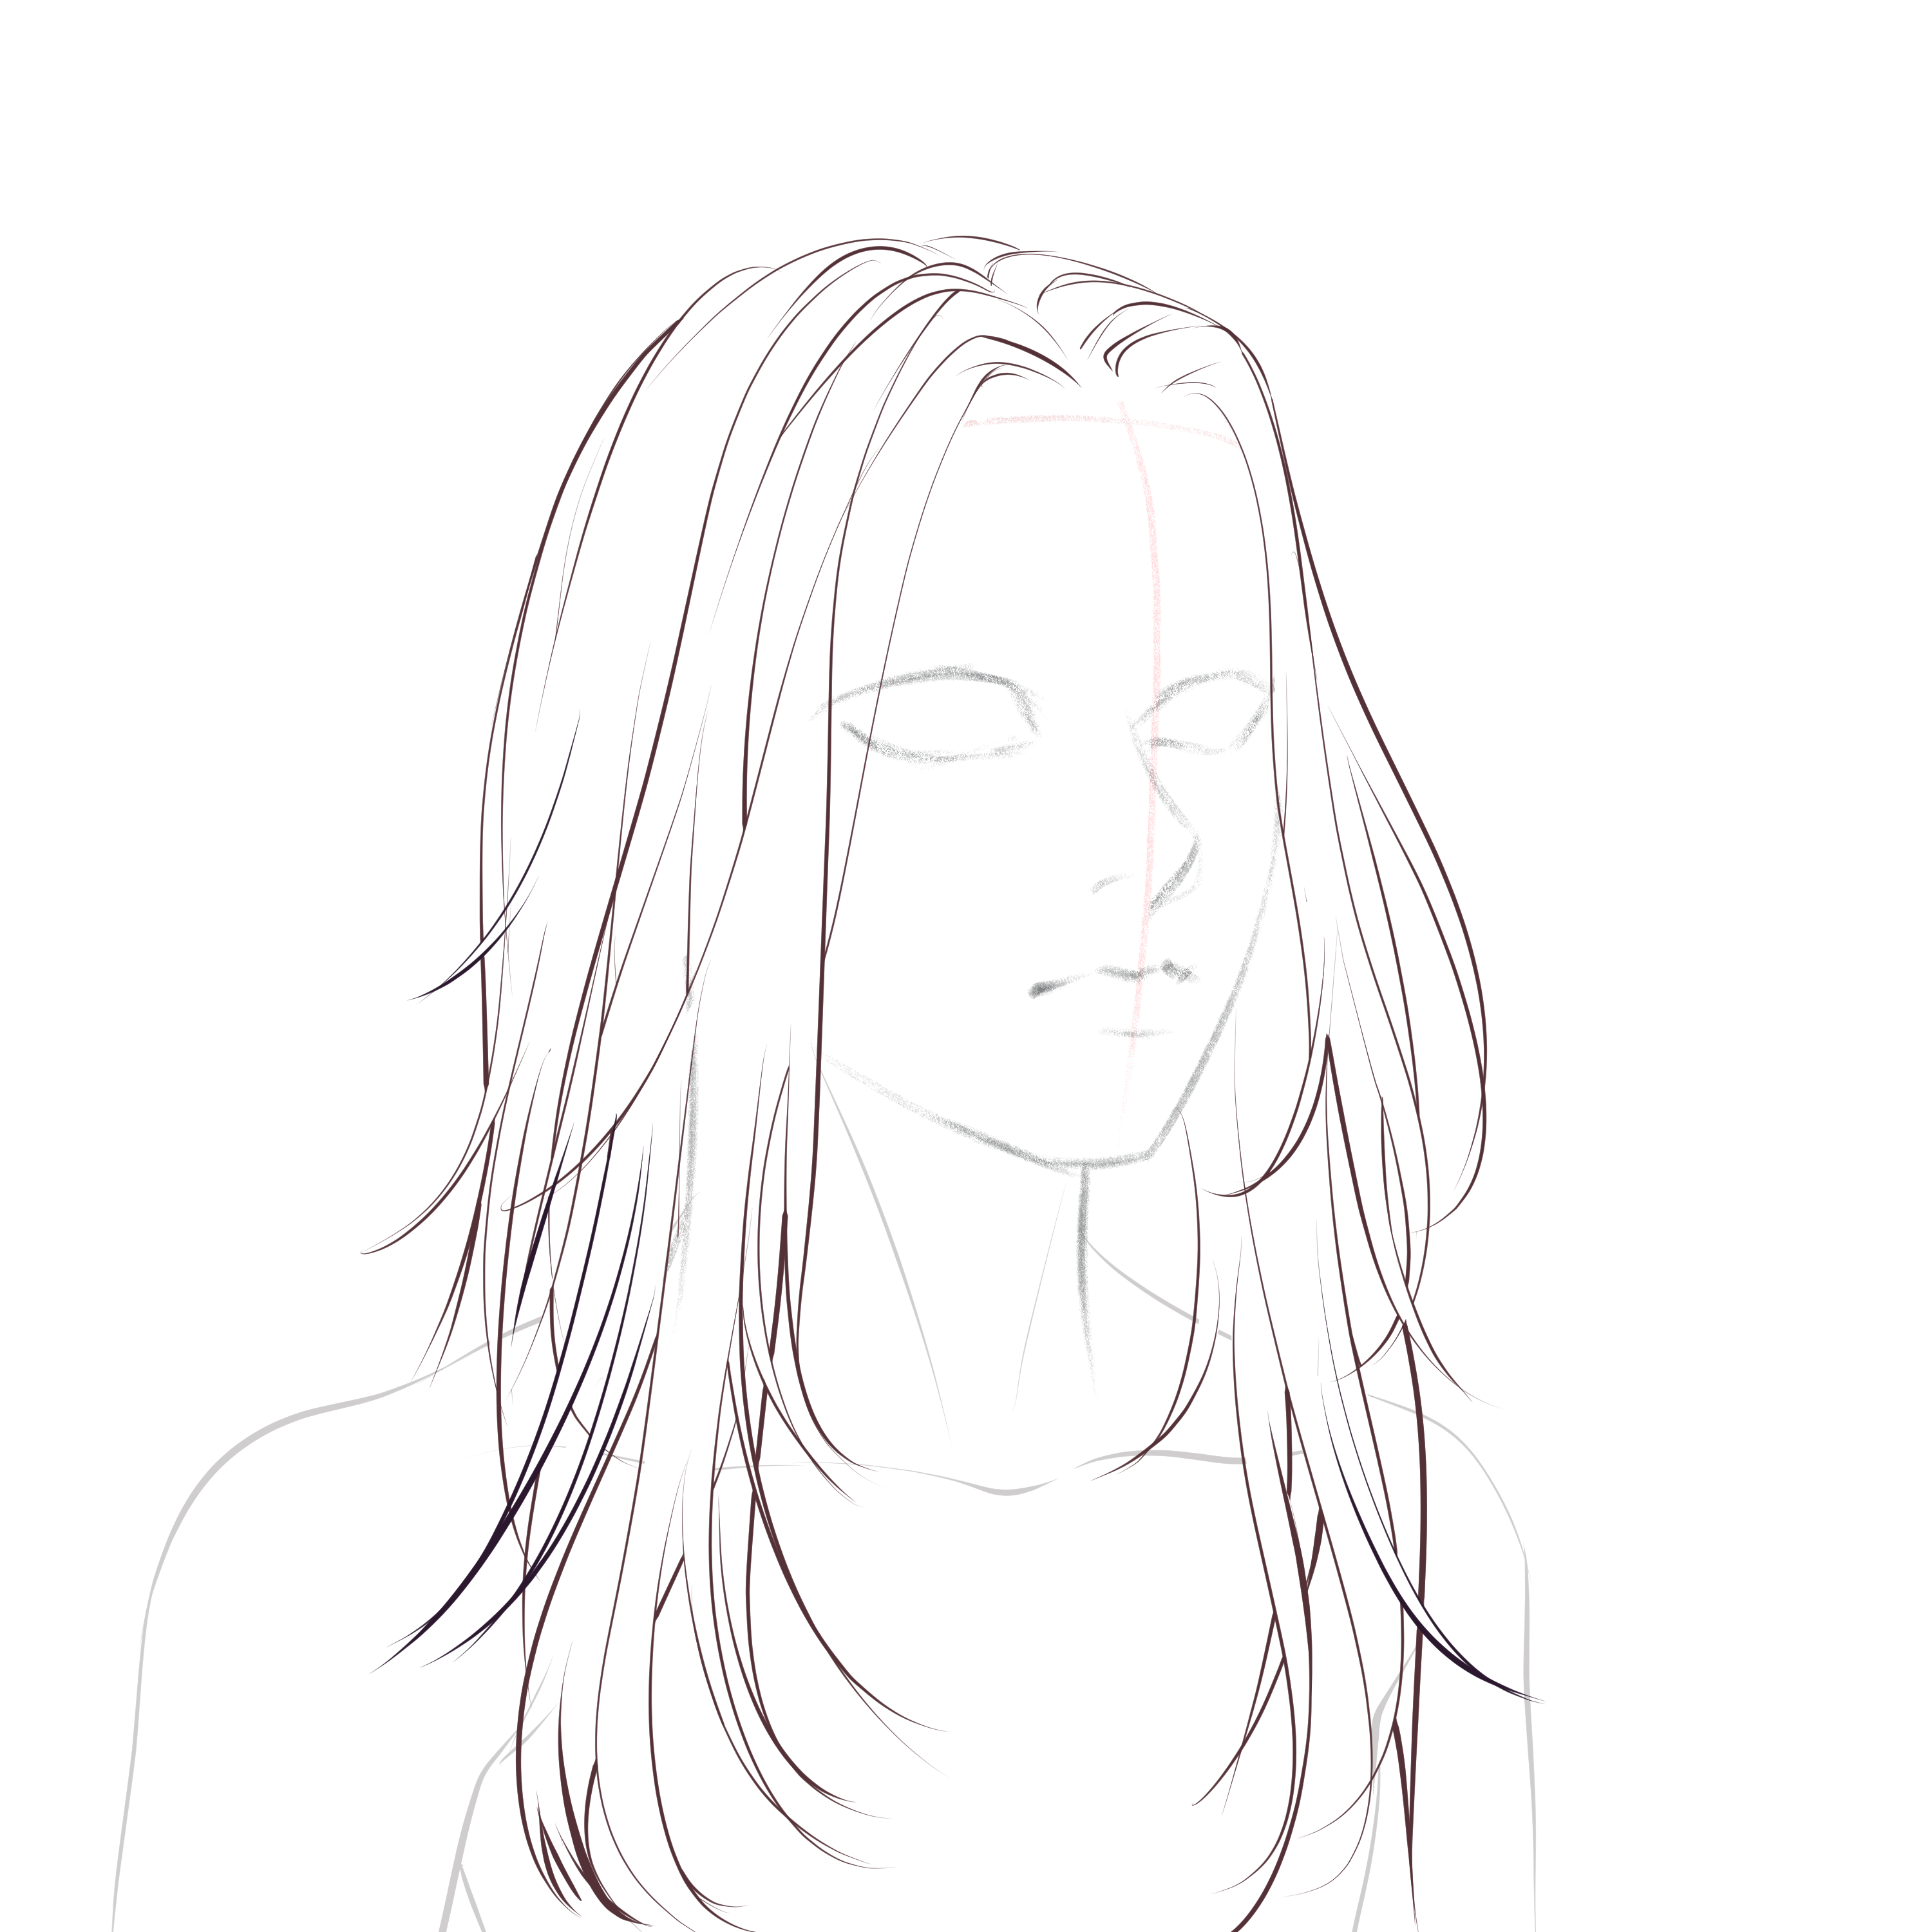
Step 6: Practice
Now that you have a clear notion of how to draw anime hair, we suggest you practice with new styles, lengths, and textures. You can draw your own anime head base or use the following sheet to practice.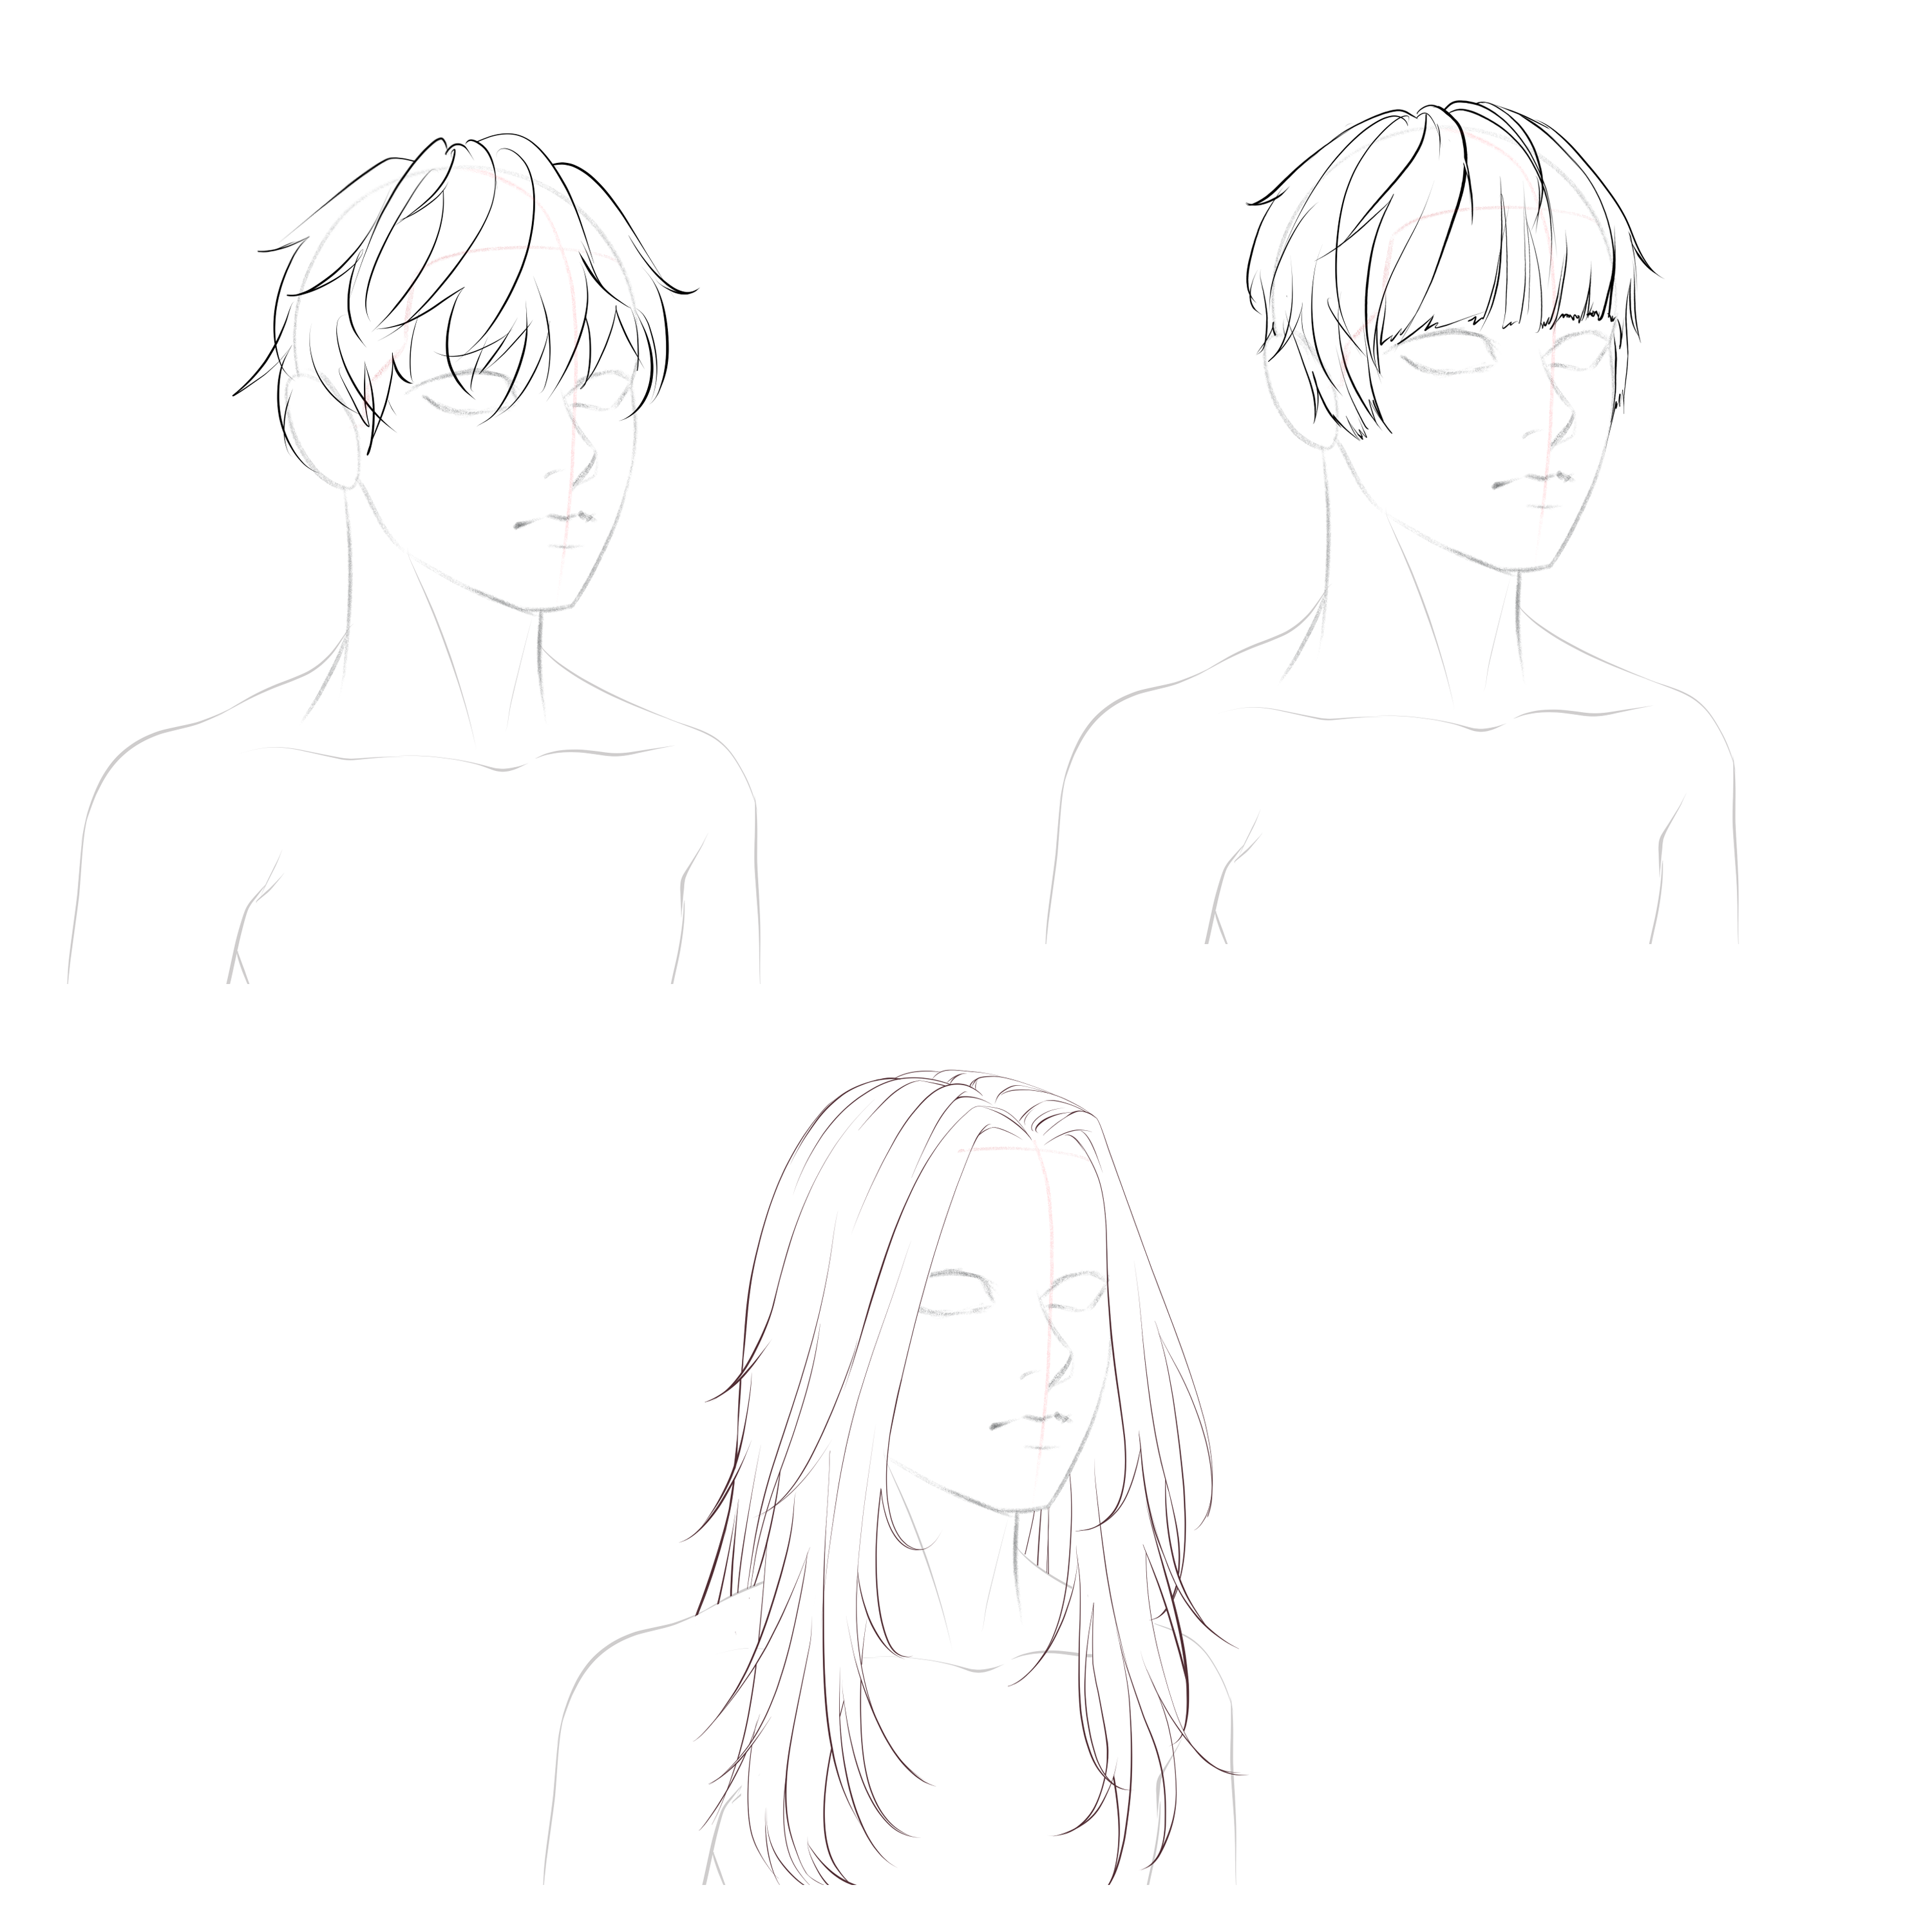
Section 3.- How to shade anime hair
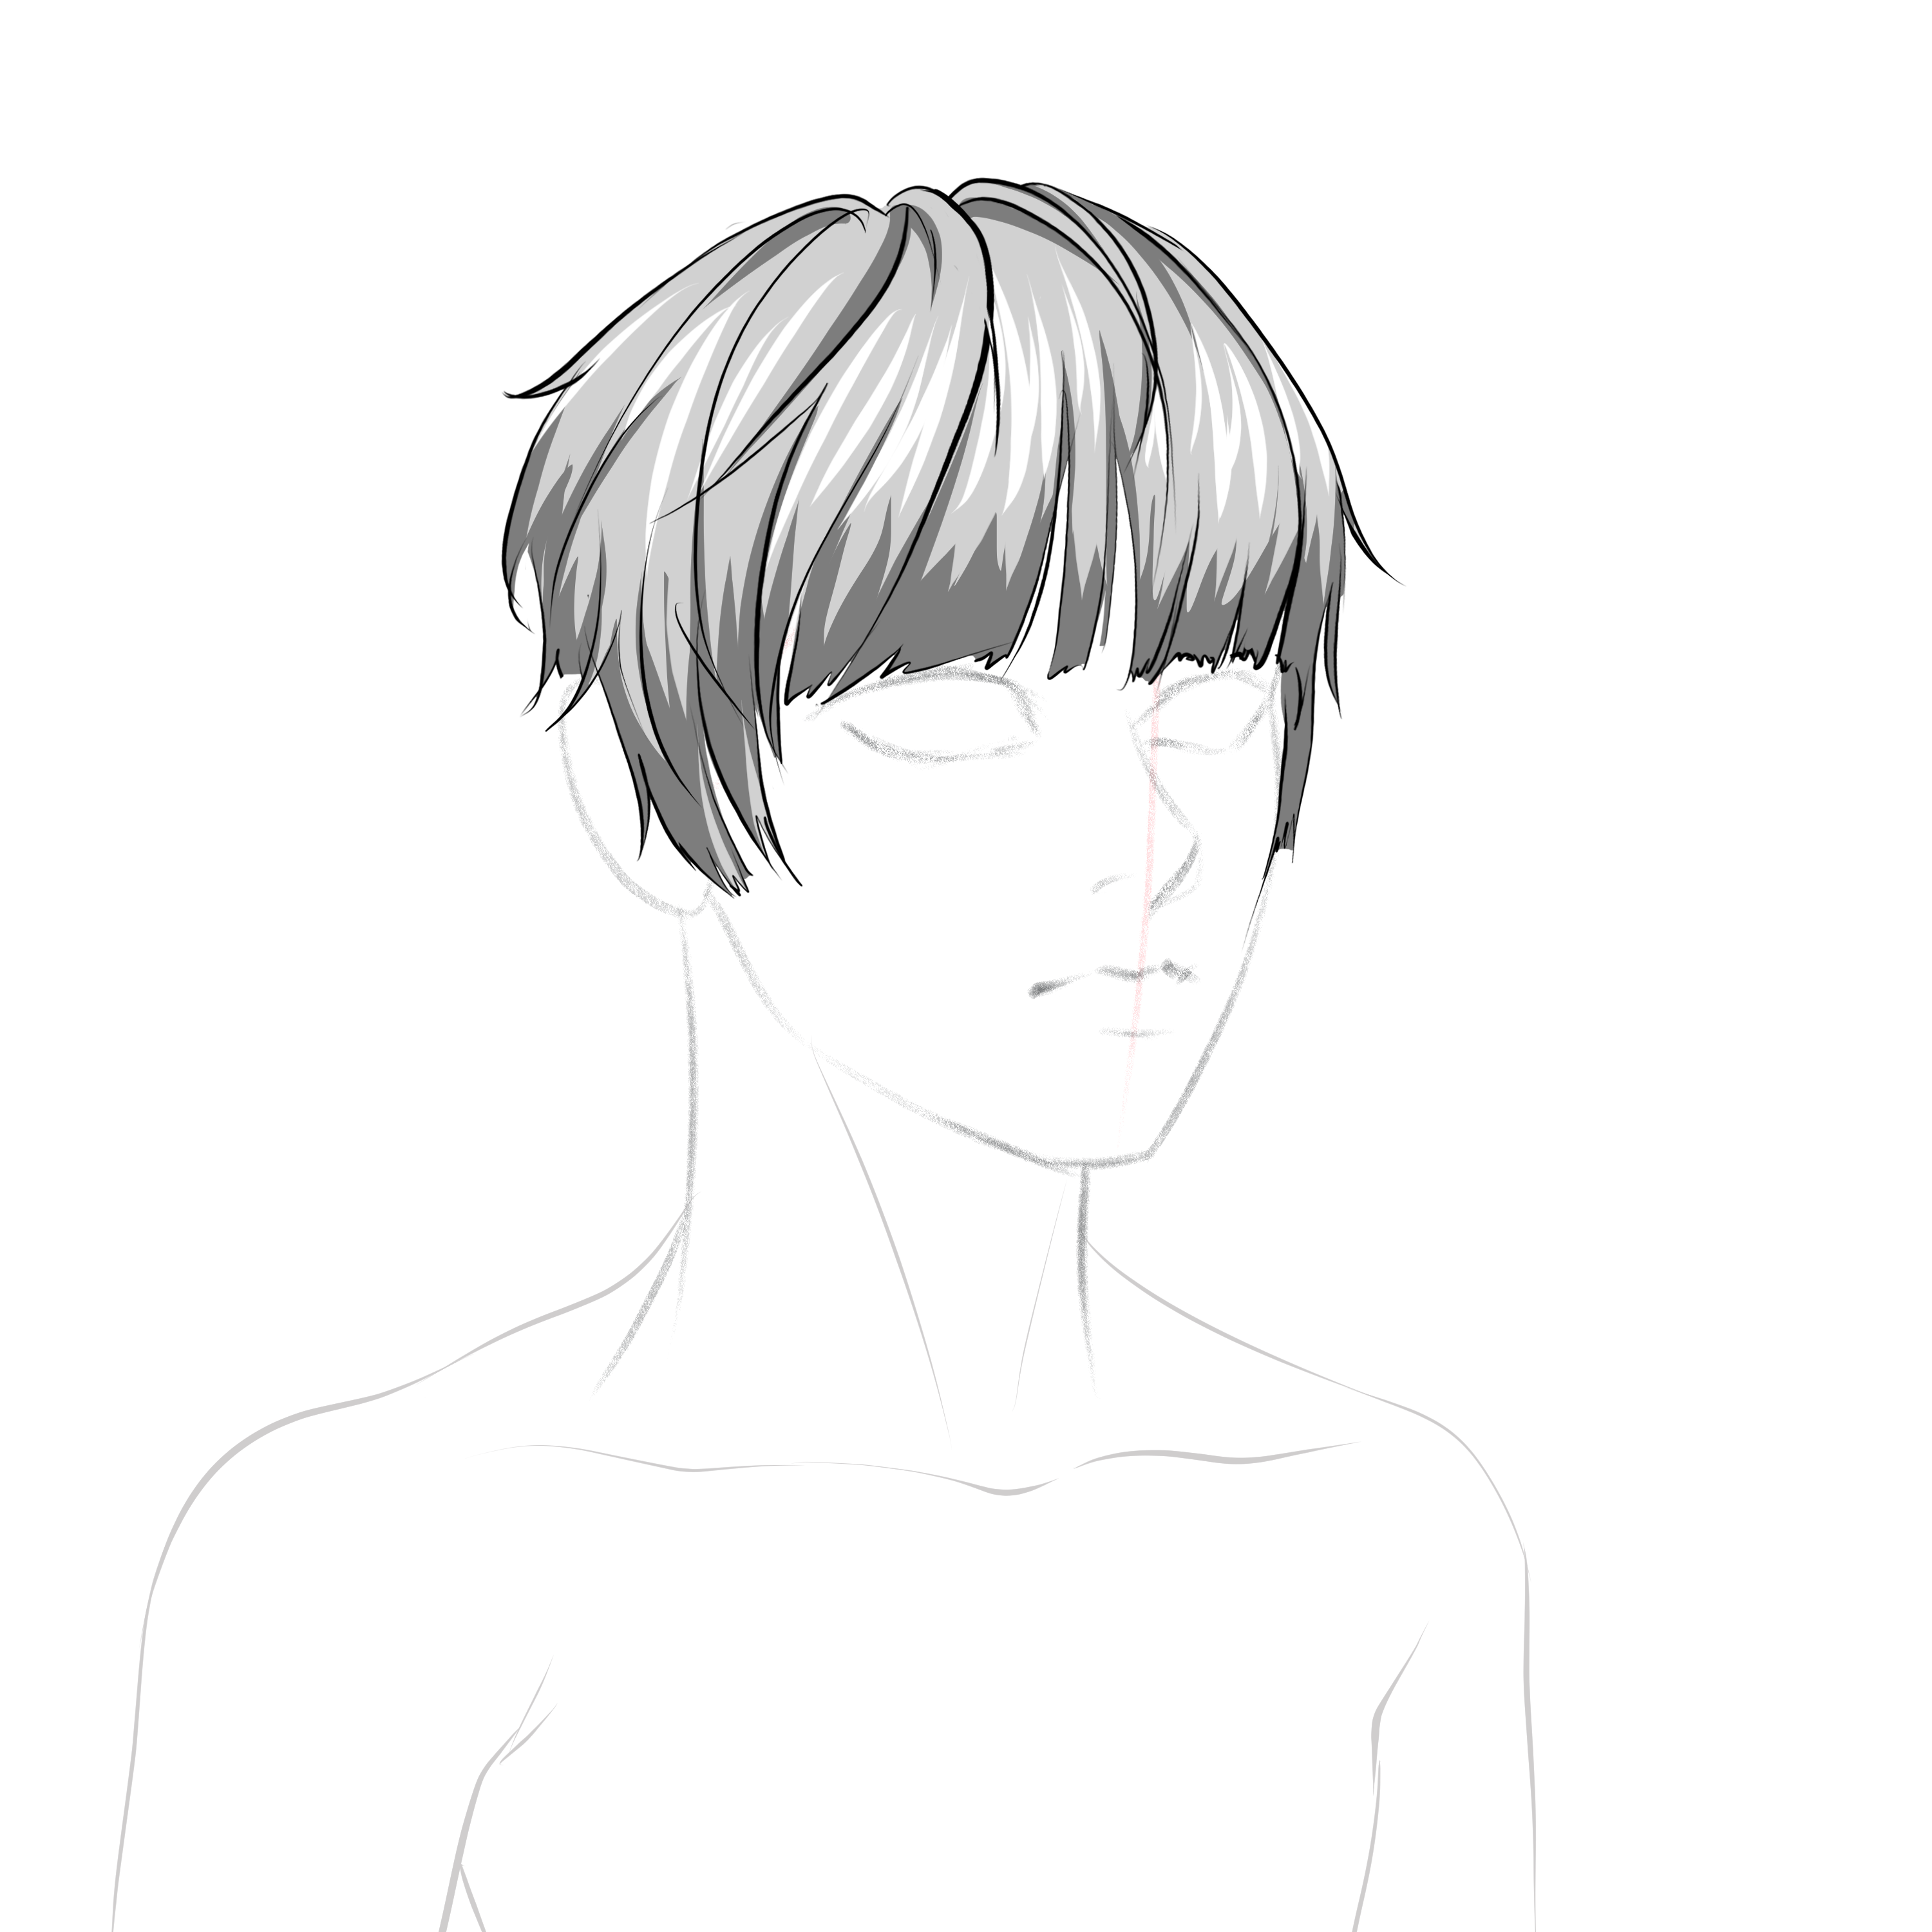
Step 1: Fill the hair with a mid-tone
For this step, make sure all your sketch lines are gone. Using your 2H pencil build a soft layer of graphite in the hair area.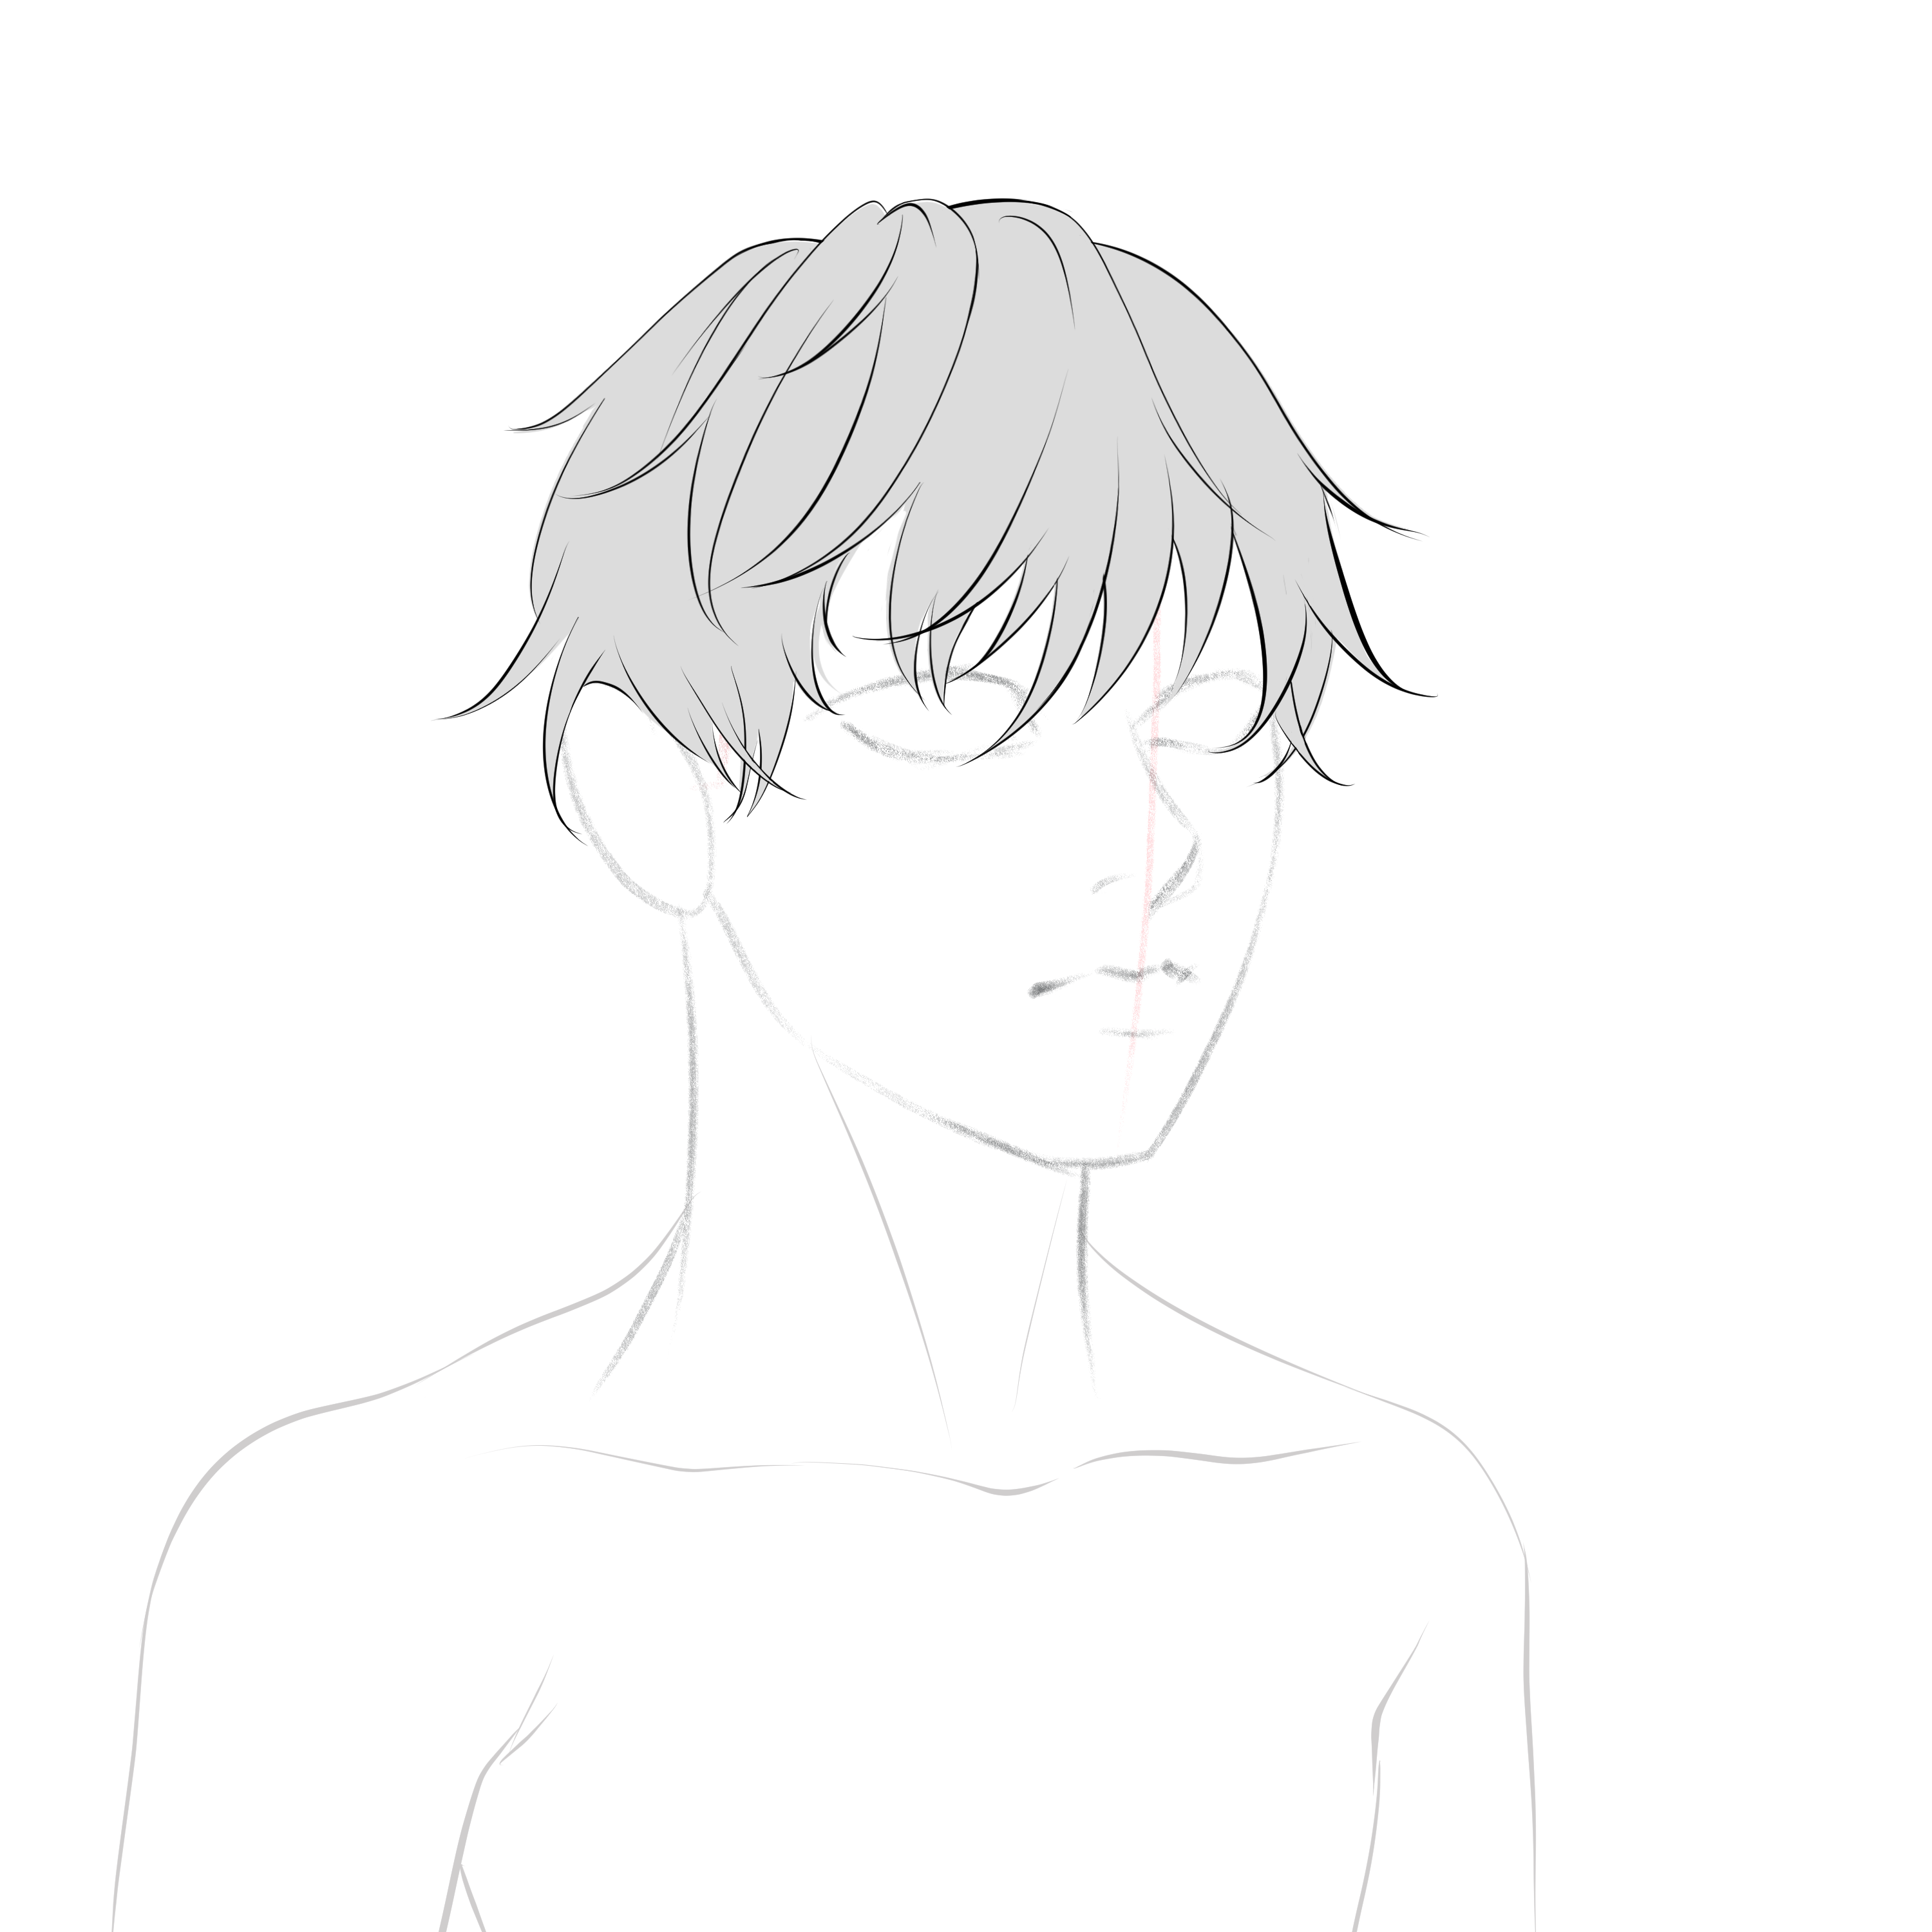
Step 2: Add shadows
Now, with your 4B pencil, add shadows to the base of the hair, following the shapes and flow of the lines.
Step 3: Add more shadows
Repeat the step above, but this time focus only on the shadows cast by strands on the top of the head.
Step 4: Add highlights
Using your Tombow mono zero eraser or your pencil eraser, take away some graphite, creating highlights on the hair’s upper-middle area, follow the shape of the head, and keep the highlights small on the sides.
Step 5: Repeat
You can repeat those steps for any hairstyle and get a great result. Keep experimenting with different light settings and hairstyles, and you’ll master the art of drawing anime hair.


And that’s it. You’re done!
If you followed the steps outlined in this tutorial, you should now understand how to draw and shade anime hair, plus you’ve now learned how to build your own head base to keep practicing on your own.
Let me know in the comments if you want a more detailed tutorial, and I’ll do my best to deliver!
Remember that drawing is a skill that requires time and practice to perfect. So, if your first attempt turns out differently, keep practicing and experimenting!
Thank you for joining us on this adventure, and happy drawing!