
Welcome to the wonderful world of watercolor painting!
We’re very excited about this new line of art tutorials we’ve prepared for you.
Today, we’ll be exploring the vast and beautiful universe by creating our very own watercolor galaxy. This tutorial is perfect for beginners and those looking to add a unique touch to their artwork. With just a few simple steps, you’ll be on your way to creating a stunning masterpiece that you can proudly display in your home or give as a gift to a loved one.
Just a heads up, though, we’ll be using the wet-on-wet technique, which does come with a small level of difficulty. But don’t let that deter you; with a little bit of patience and practice, you’ll be amazed by what you can create.
So, grab your paintbrushes and some watercolor paper, and let’s get started on this exciting and creative journey!
What you’ll learn:
- How to prepare the watercolor paper
- The wet-on-wet technique
- How to paint a watercolor galaxy
Materials needed:
– A piece of 140lb watercolor paper
– Lemon Yellow, Cadmium Yellow, Cobalt Blue, Viridian Green, Ultramarine Blue, and Indigo/Payne’s grey watercolors
– A flat wash brush
– A thick round brush
– White acrylic paint
– A flat rough brush
– A piece of sponge
– A palette
– Masking tape
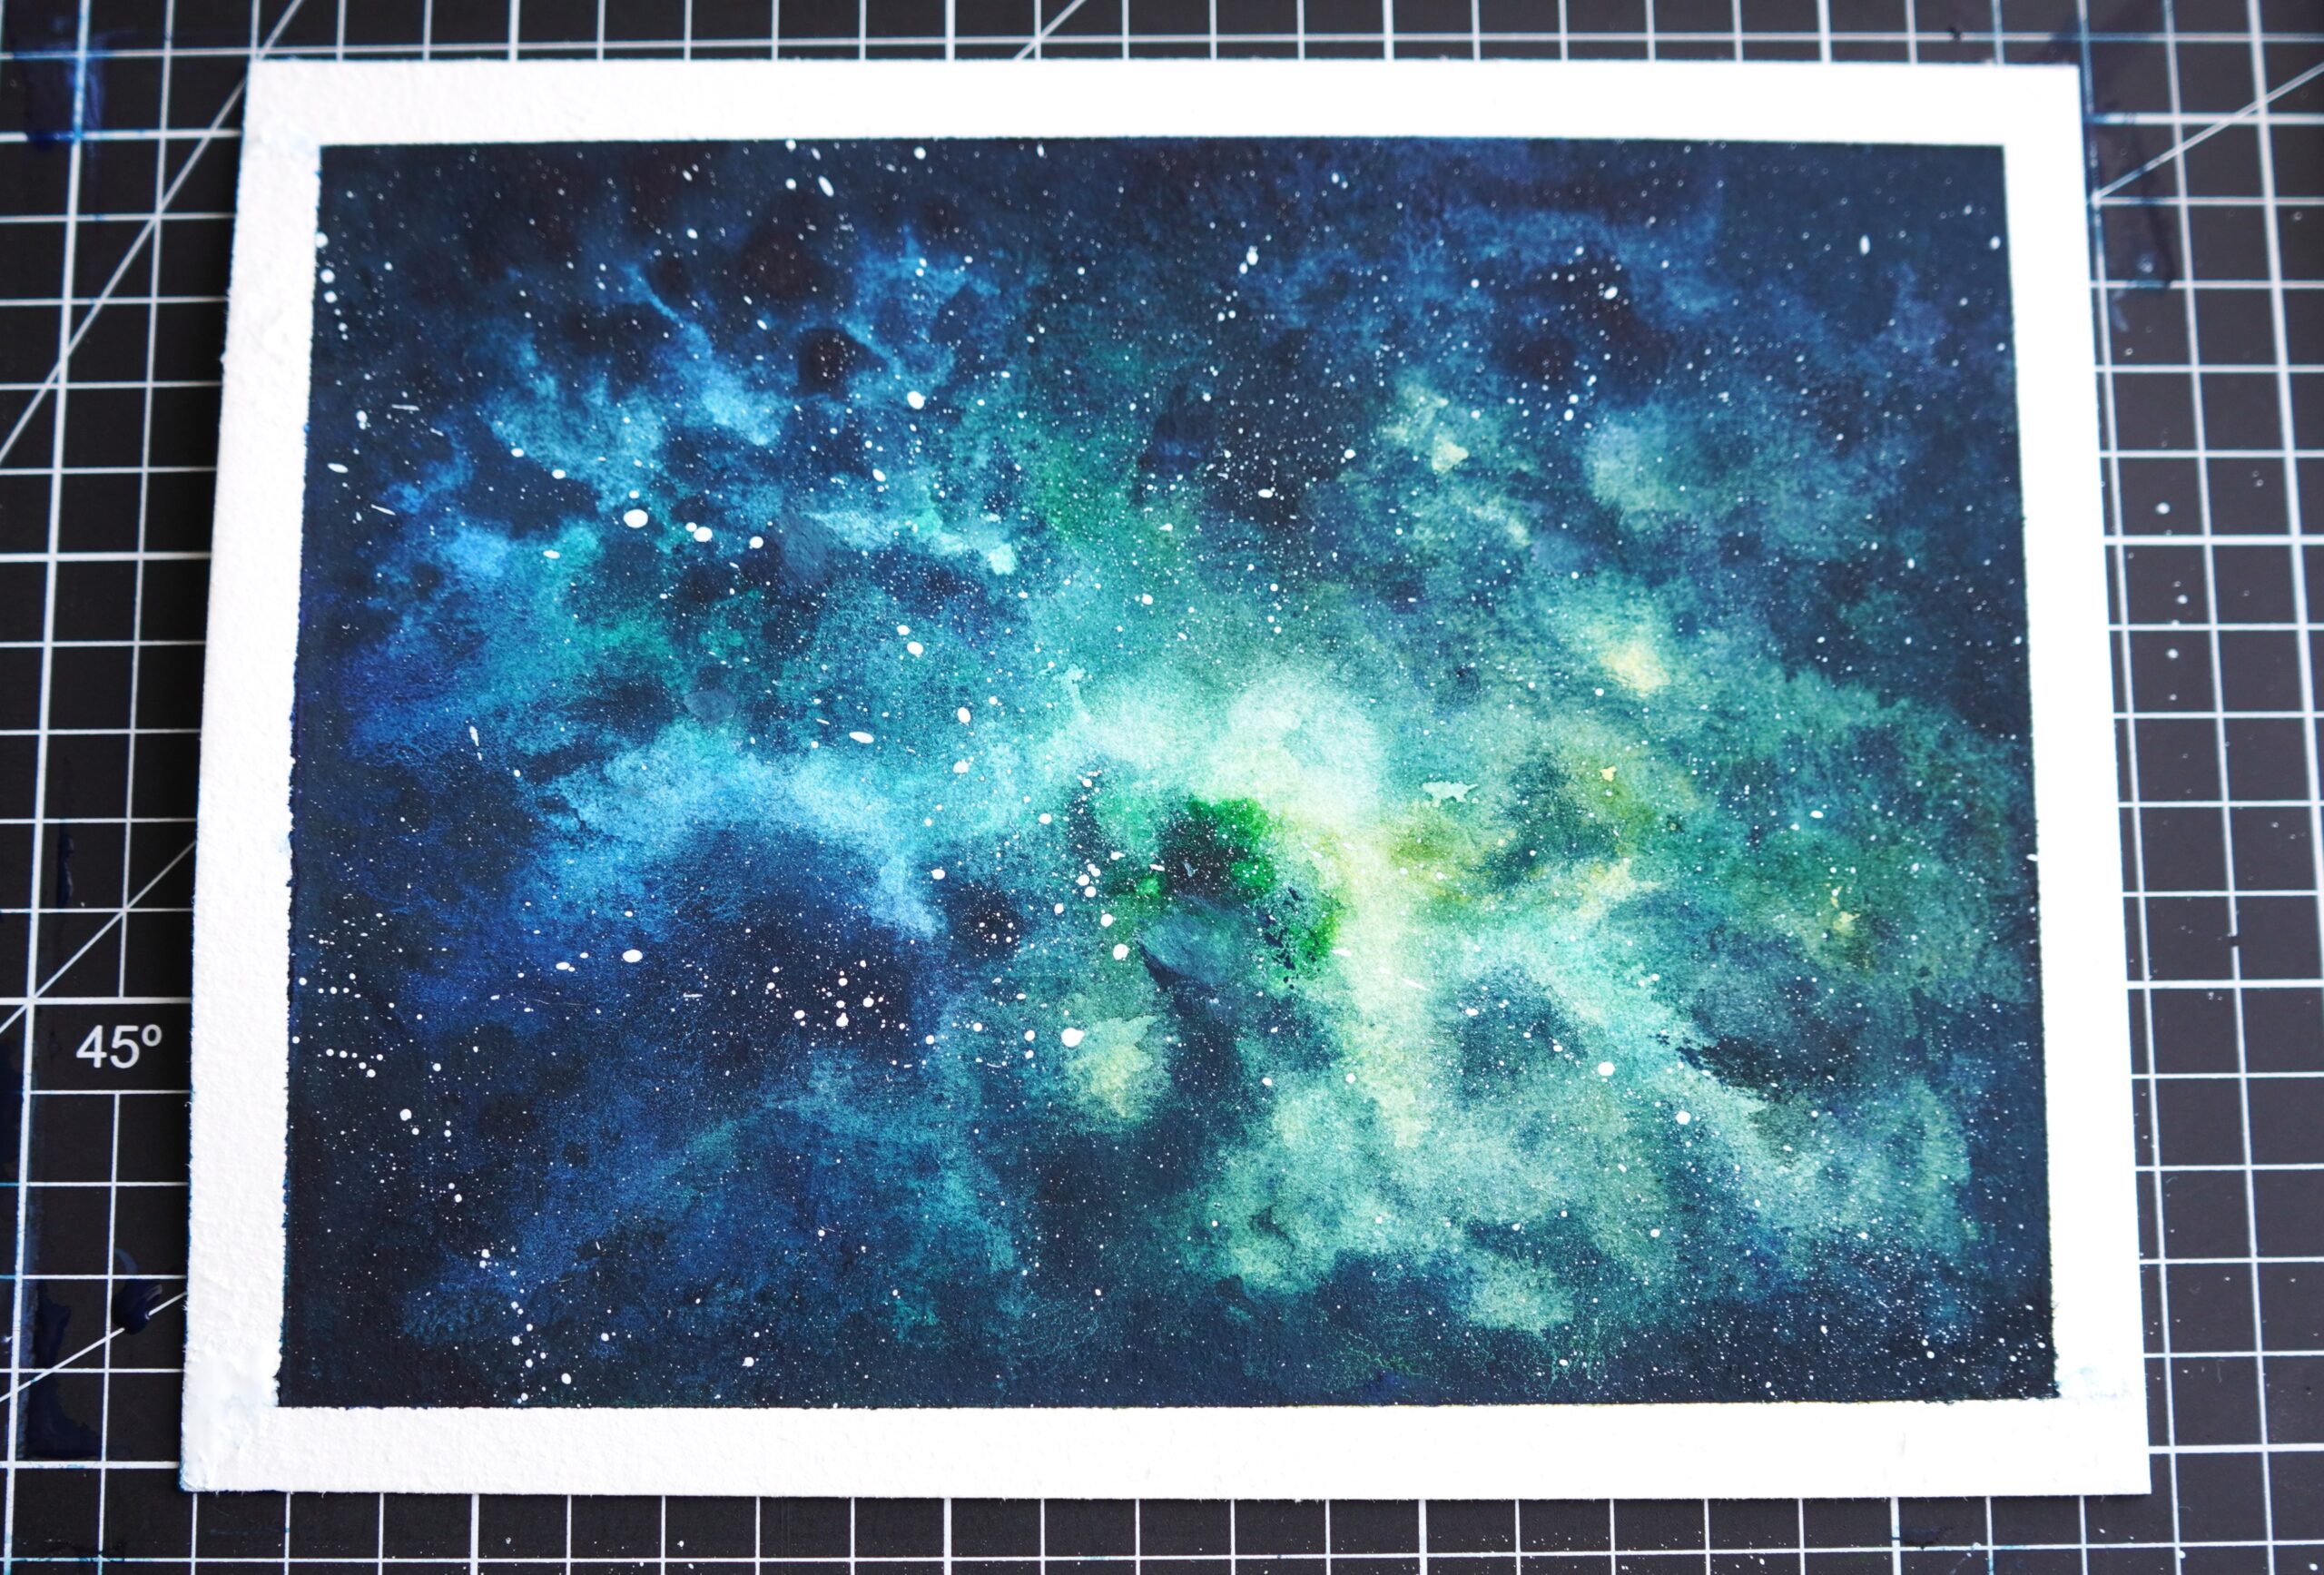
This is the watercolor galaxy you’re going to draw:
And these are all the steps we’ll walk you through: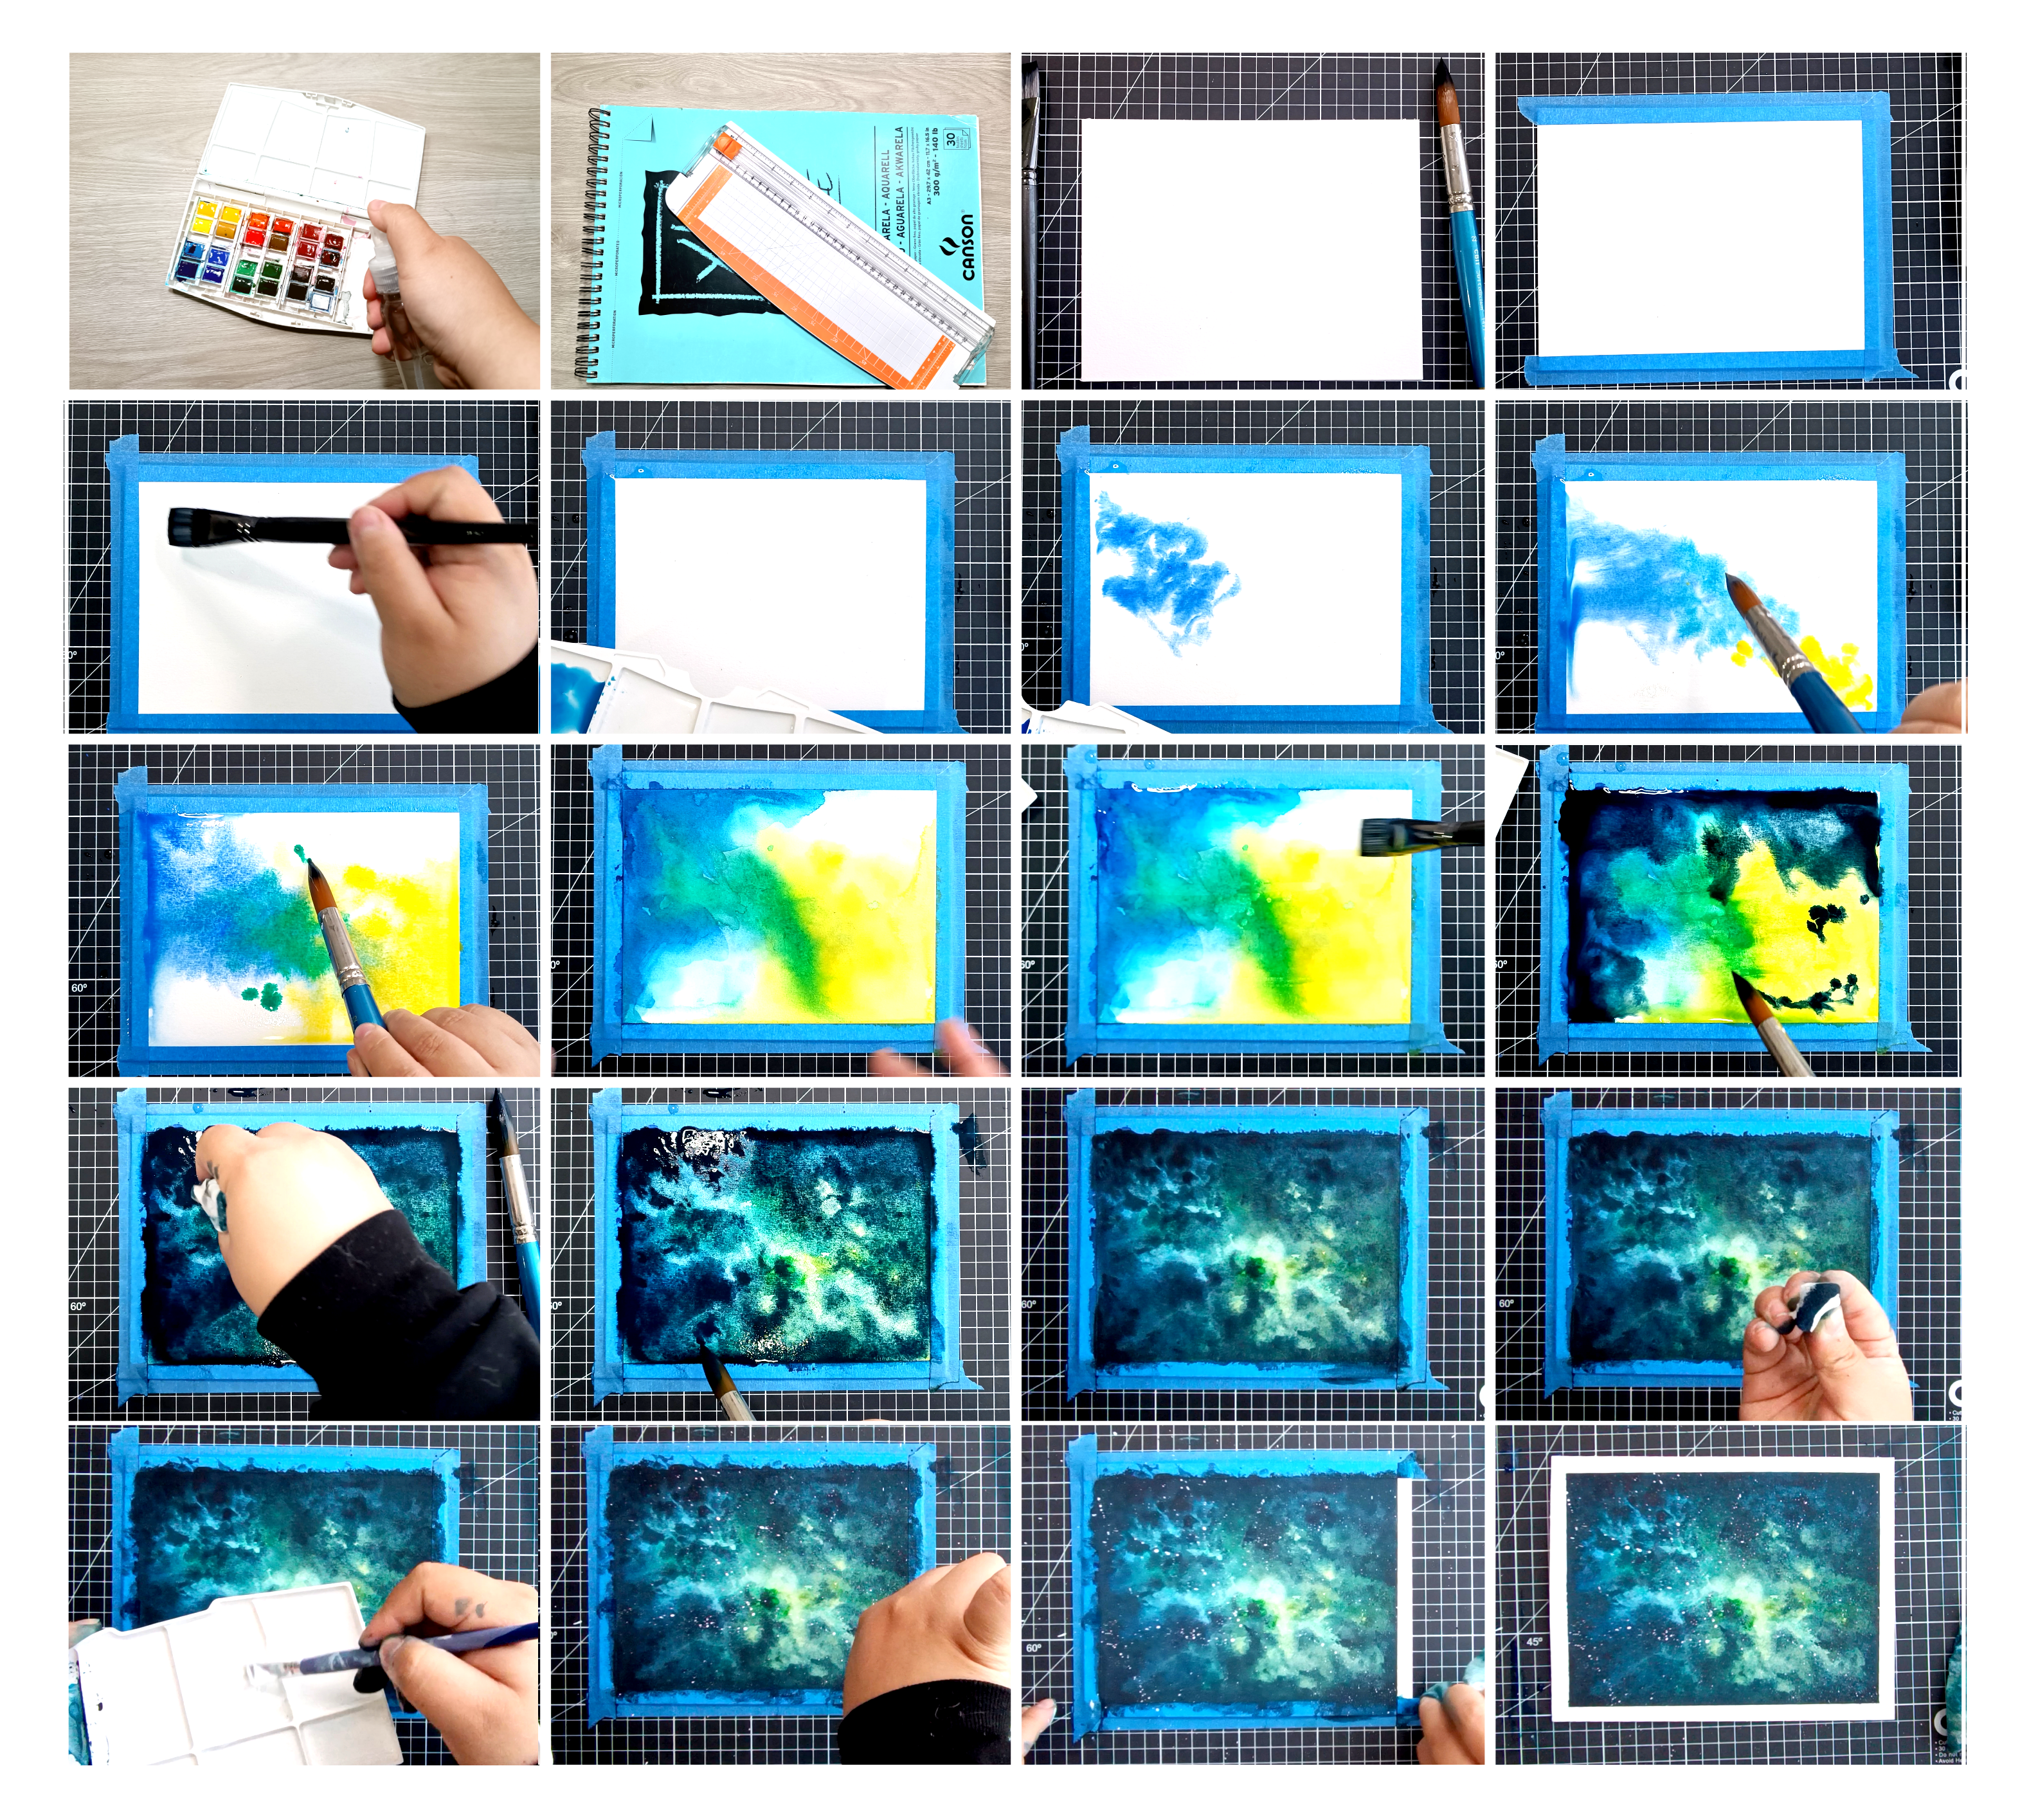
Section 1.- How to Prepare Watercolor Paper
Step 1: Cut your paper
First, make sure you’re using high-quality watercolor paper that’s specifically designed for this type of painting. We recommend using paper with 140 lb or more since most blocks come in larger sizes. Cut the ideal size for your painting, and make sure you’re using the right side of your paper.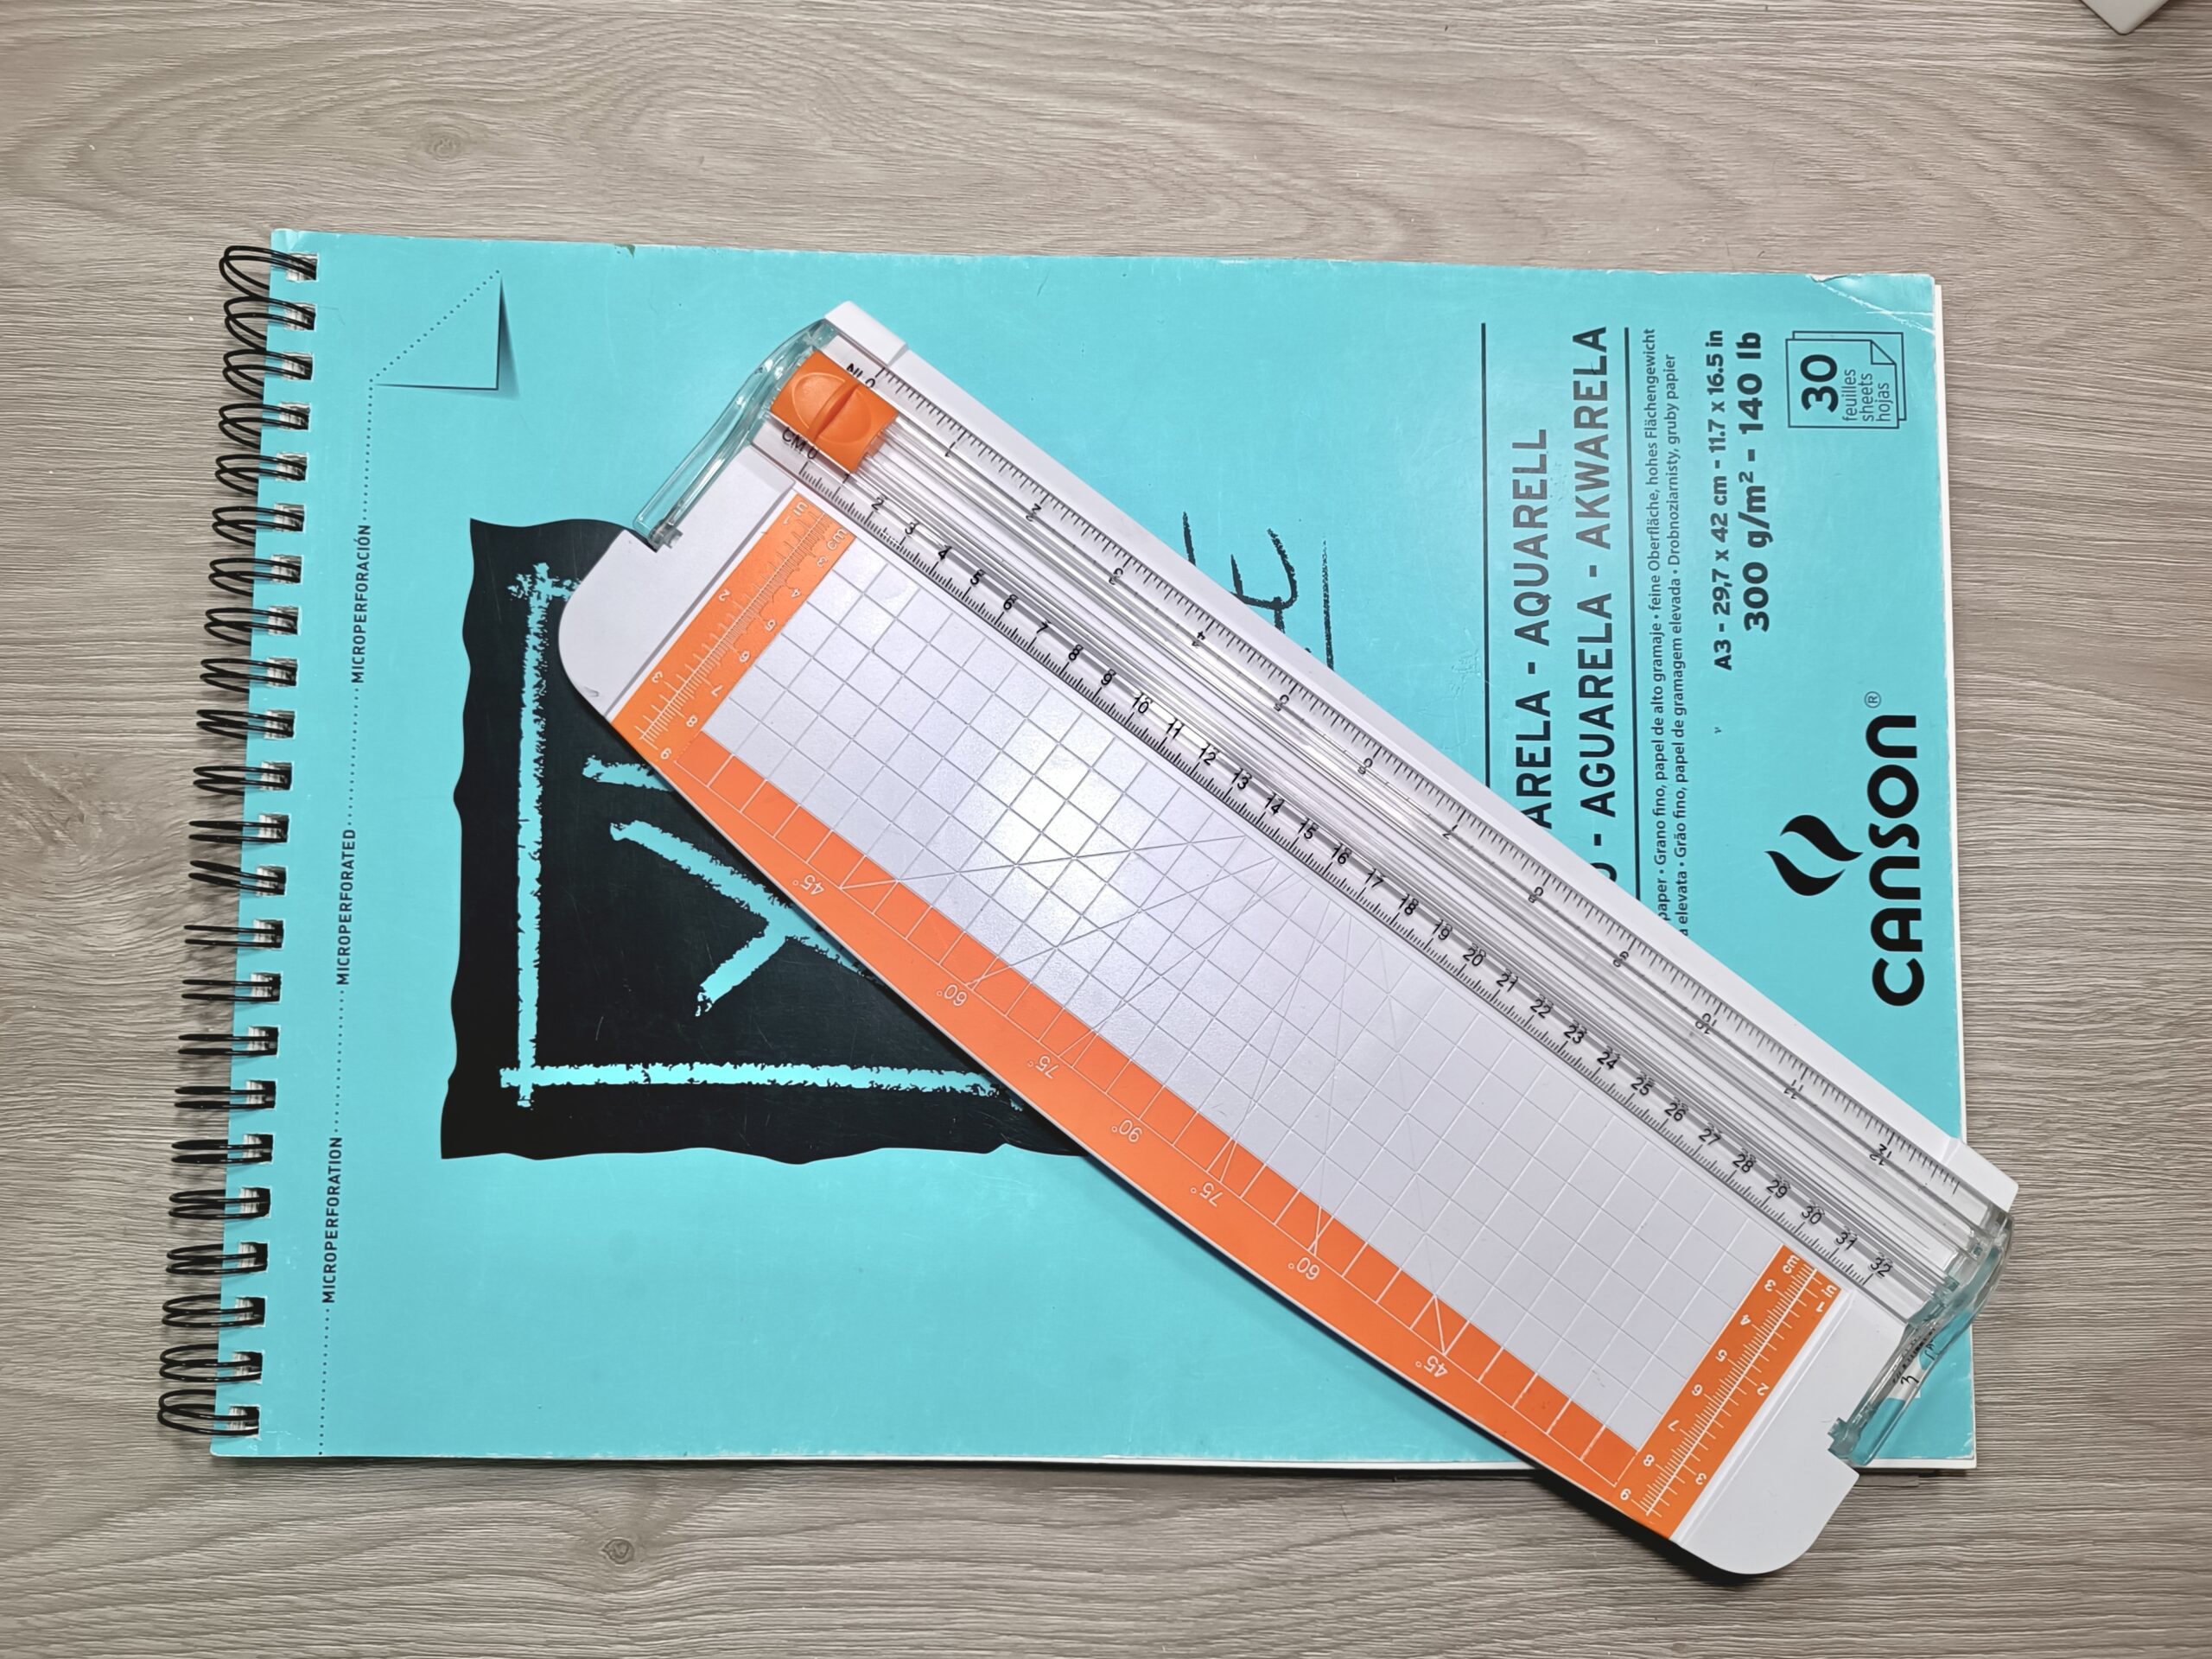
Step 2: Damp your paper
Next, gently dampen the paper by spritzing it with water or lightly brushing it with a soft wet brush.
Let the paper sit for a few minutes to allow it to absorb the water.
Step 3: Tape your paper down
Then, lay the paper flat on a surface that won’t warp or buckle, like a desk or a drawing board.
After you’ve let your paper dry for a few minutes, take your masking tape and gently place it around the edges of the paper, securing it to the board.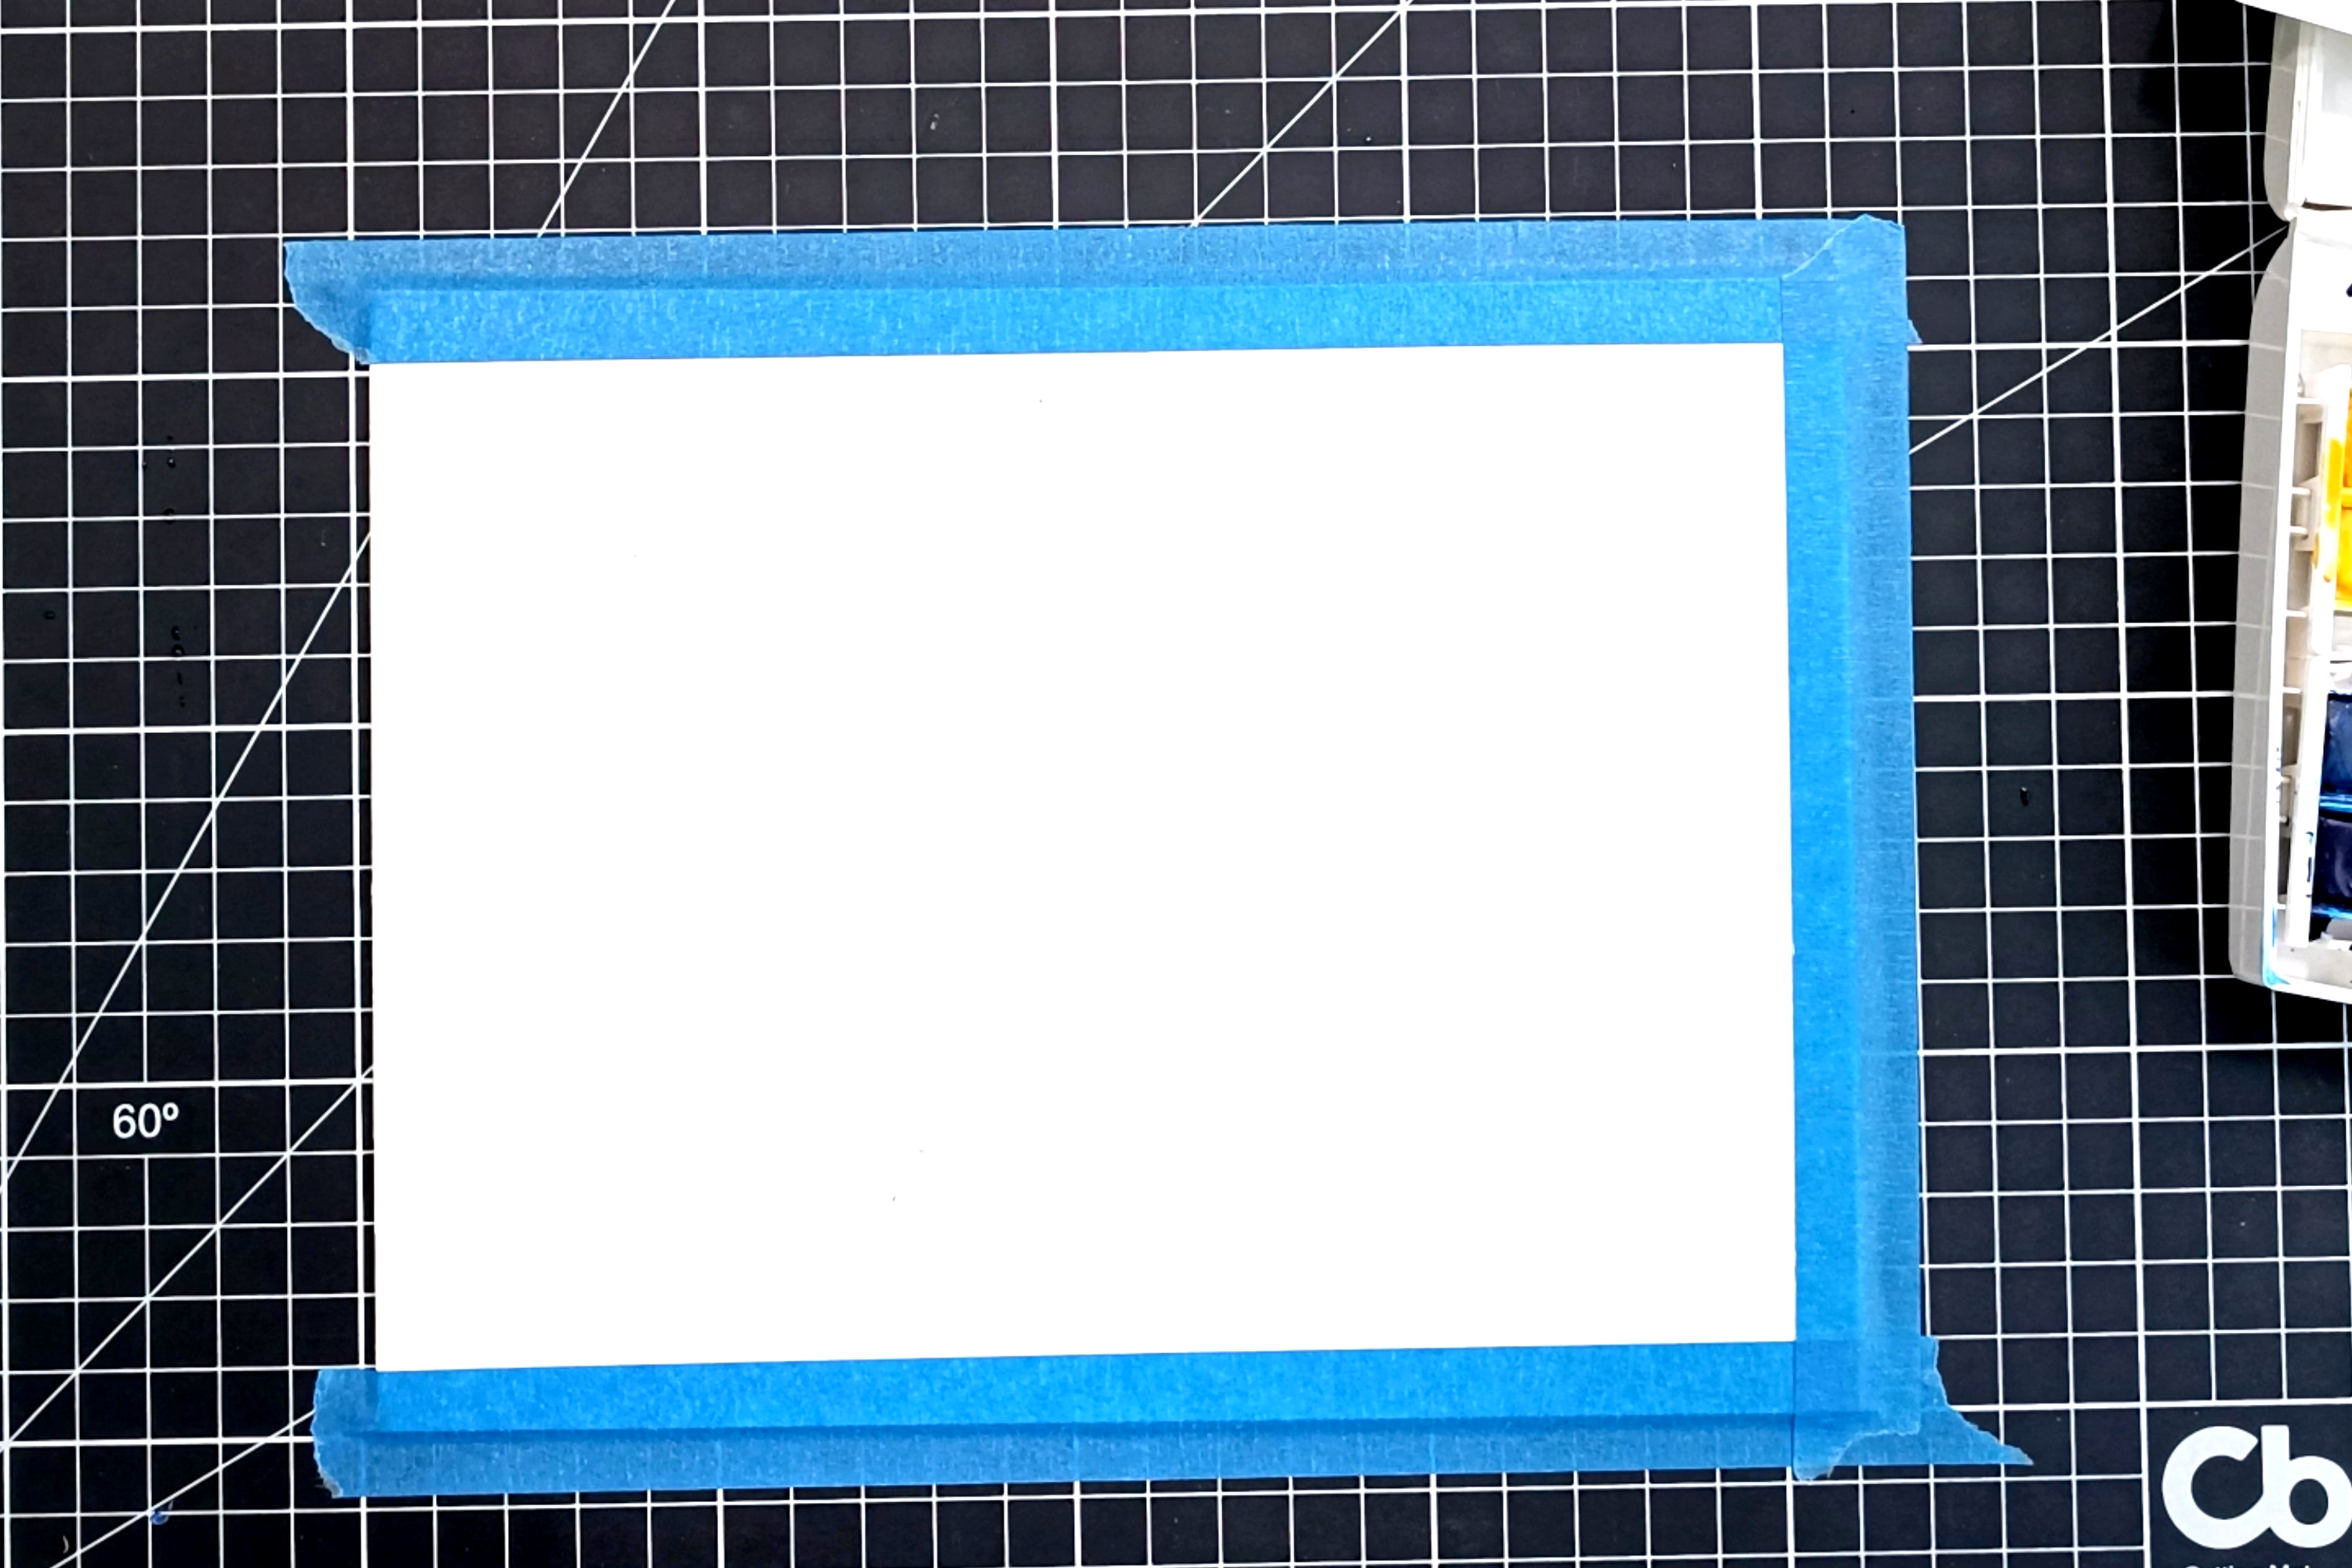
Make sure the tape is tight enough to hold the paper down but not so tight that it pulls the paper or creates wrinkles.
And that’s it! Now your paper is ready for you to start painting with wet-on-wet techniques.
Section 2.- The wet-on-wet technique
Wet-on-wet is a watercolor painting technique where you apply wet paint to a wet surface rather than a dry one. This allows the colors to blend and spread out on the paper, creating soft, blurred edges and beautiful, organic blends.
Tips for Beginners:
Make sure your paper is properly prepared: Follow the steps in Section 1 to ensure you’ve prepped your surface well enough.
Have all your paint, brushes, and water ready to use and close to you, and make sure you have a clean palette or mixing surface to use.
Start with a light wash, and use a large, soft brush to apply a light wash of water over the area where you want to paint. This will help to keep the paper wet and receptive to the paint.
Apply paint while the surface is still wet, load your brush with paint, and then apply it to the damp area of the paper. Work quickly, as the paint will start to spread and blend as soon as it hits the wet surface. Mastering this technique takes time and lots of trial and error. However, since the tutorial we are going to follow is relatively easy, then this will be more of a “trust the process” situation.
Experiment with different brush strokes and techniques; you can create a variety of effects by changing the pressure you use with your brush or by tilting the paper to control the flow of paint, and this tutorial is perfect for you to try, learn, and improvise.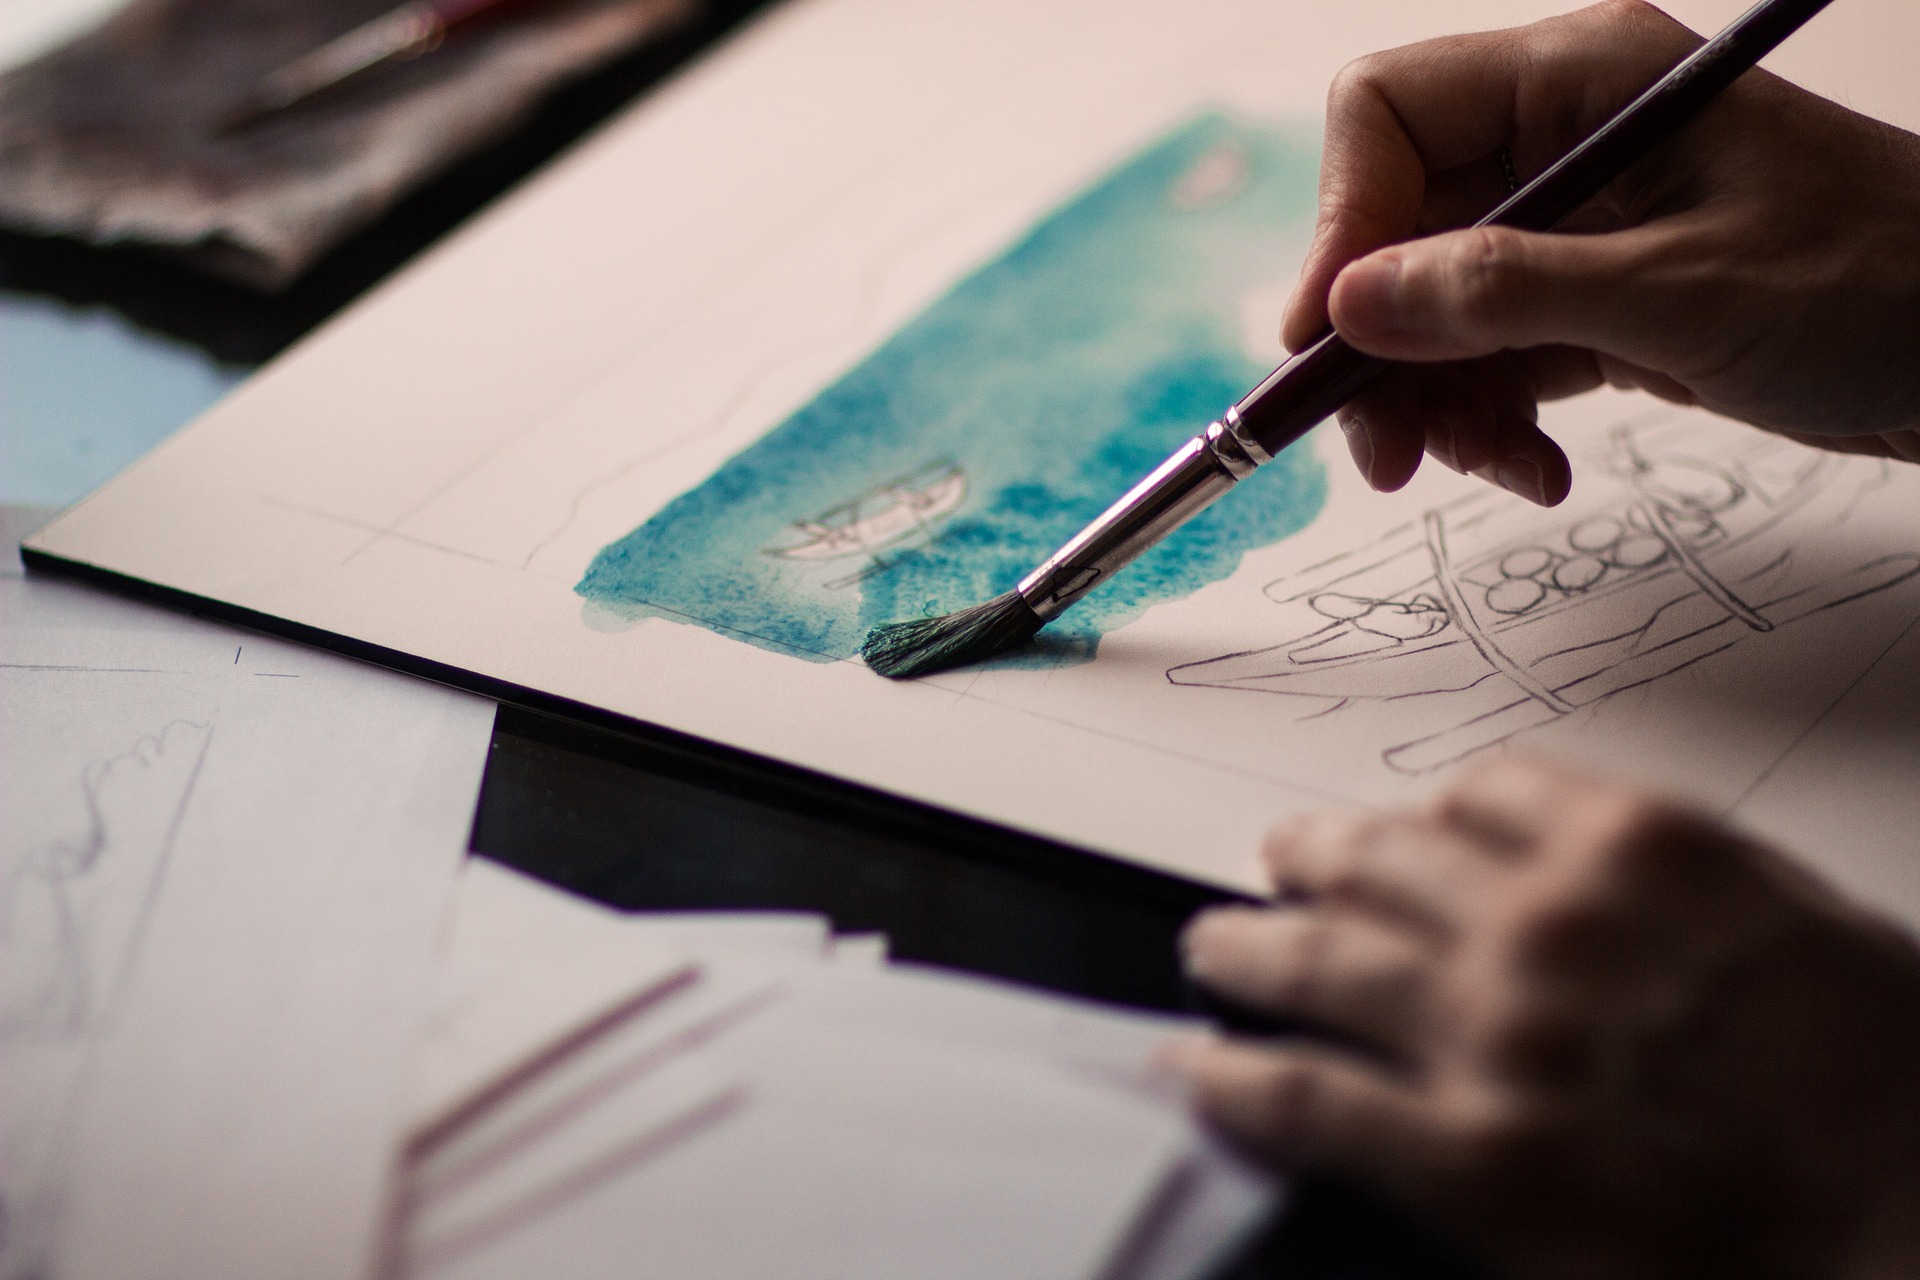
Be mindful of your paper’s drying time: As the paper dries, the paint will start to set and become harder to blend. Keep a close eye on your paper and re-wet areas as needed to maintain a wet surface. Some paints and pigments don’t fully adhere to the paper, so make sure to use a very soft brush to re-wet your paper to avoid dragging pigment, and make sure to let the paint dry well, or else it will dilute with the second water application.
Keep In Mind
The wet-on-wet watercolor technique can be challenging since it’s a technique where you can’t control the conditions and materials you’re working with. It’s quite demanding to keep wetting the paper and applying paint while keeping their workspace clean and organized, and many mistakes are prone to happen.
Besides, blending and mixing can be tricky as the spread of the paint needs to be controlled in order to achieve the desired effect. Also, good brush control and a steady hand are required, which can be challenging for those still developing these skills.
However, with patience and practice, beginners can become proficient in the wet-on-wet technique and create beautiful, fluid paintings with unique blends and textures. Just work slowly, experiment with different brush strokes and techniques, and find what works best for you.
Section 2.- How to Paint a Watercolor Galaxy
Step 1: Prepare your colors
One crucial step in the wet-on-wet technique, especially if you have pans and not tubes of watercolor paint, is to prepare your paint. As you can see, we are using pans in this tutorial, and in order to prepare them, all we have to do is wet the colors we are going to use.
You can use any brush to wet your pans or mist them with a spray bottle
This process is called “waking up” the watercolors, and it has a big impact on the amount of pigment you can pull and use in each brushstroke.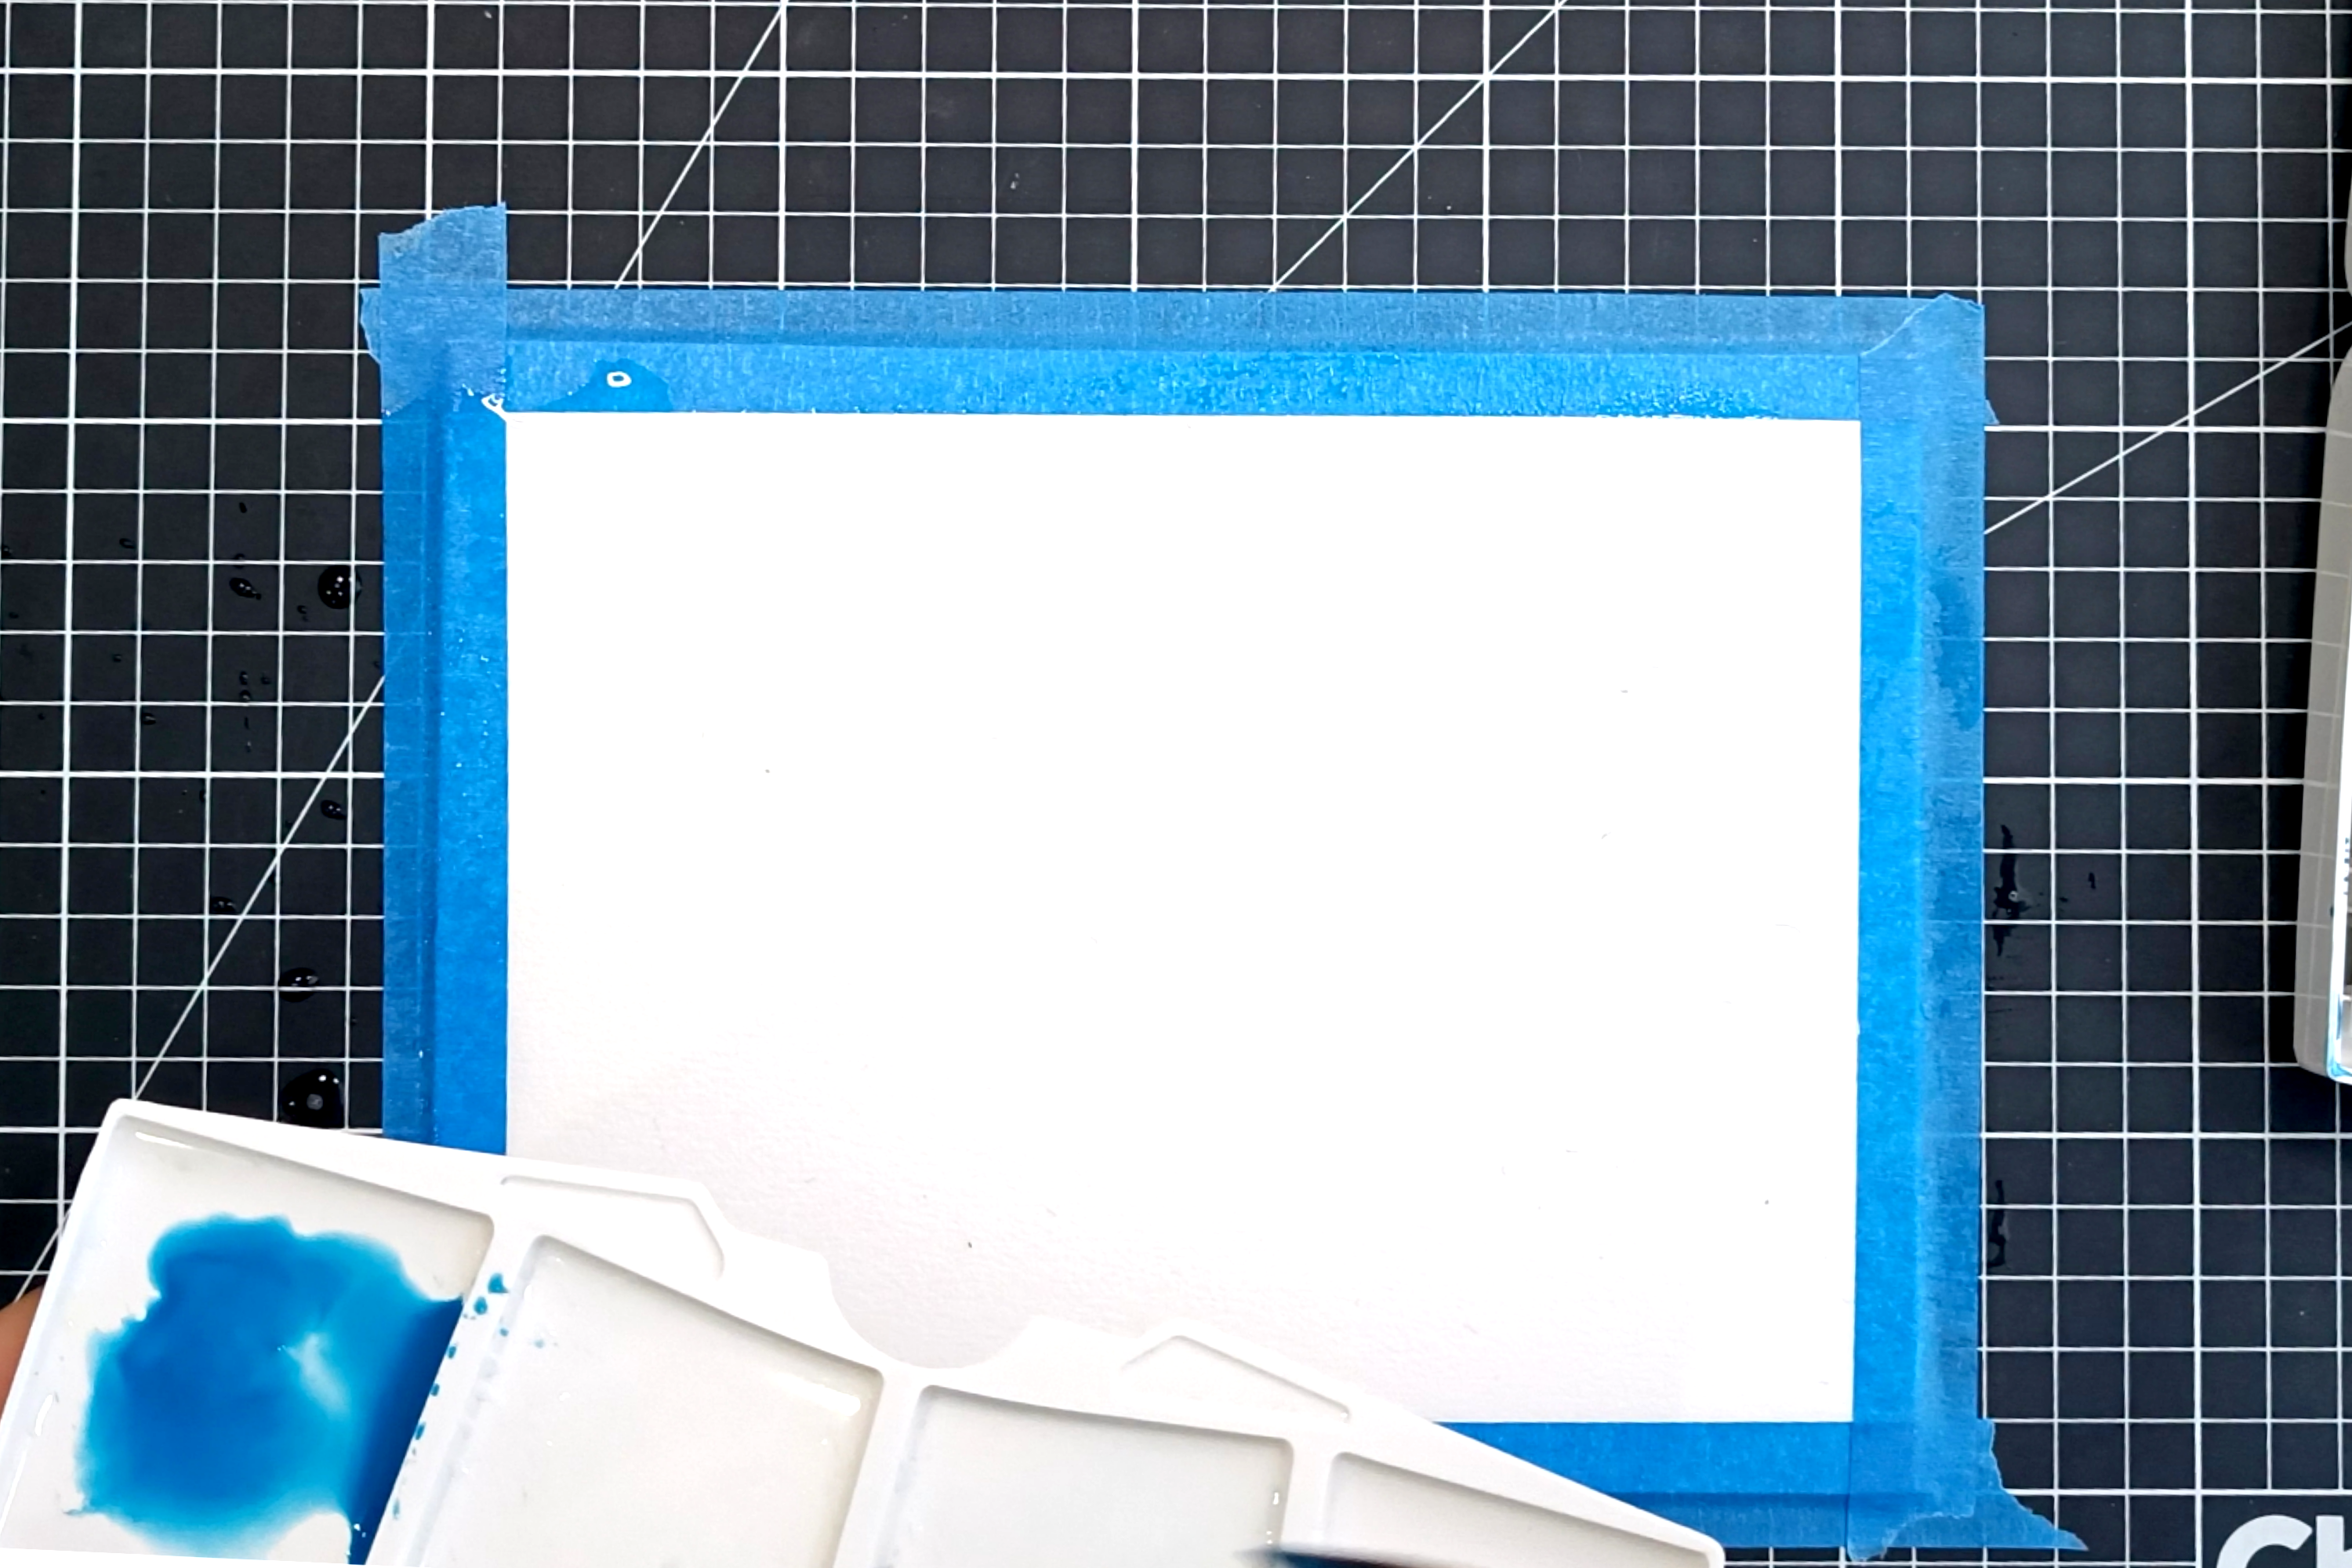
Leave them for around two minutes, and then start preparing your colors in your palette. Make sure to use a lot of pigment and little water but prepare as much as you can.
Step 2: Wet your paper
After following the steps in Section 1, wet your paper using clean water and a thick flat brush. Apply the water softly since you might damage your paper if you use too much strength.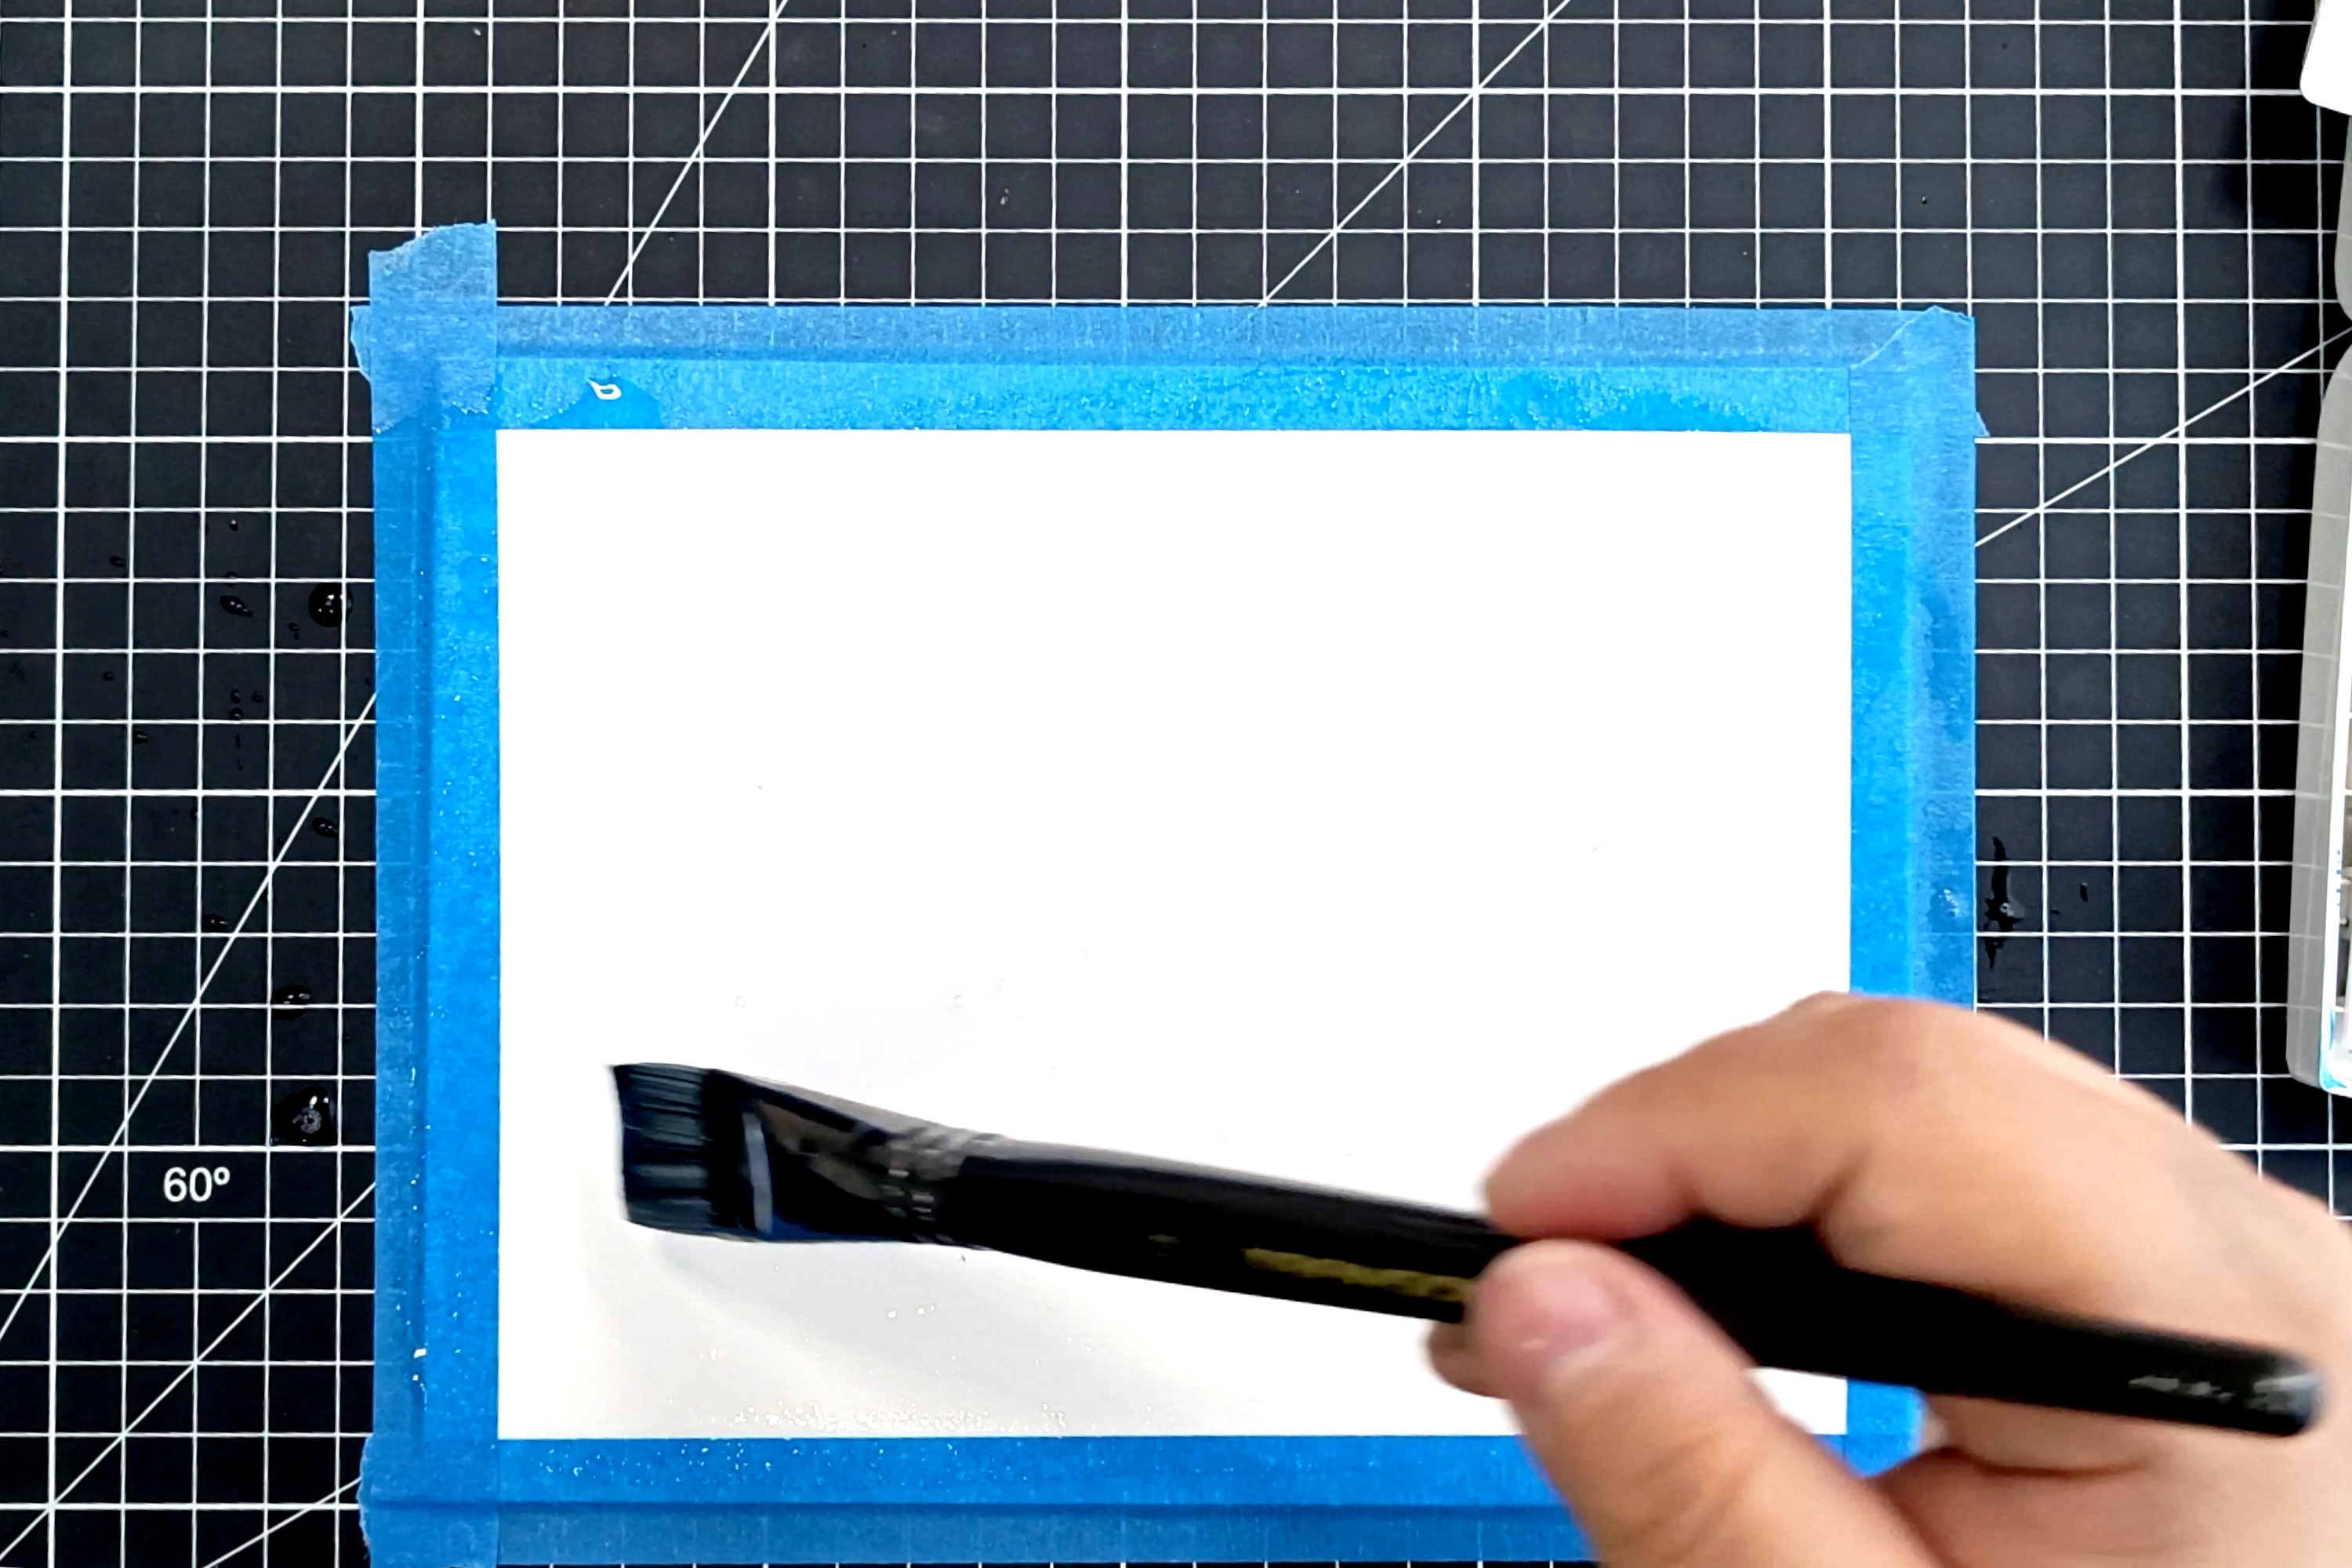
Step 3: Add your first color
Using your flat brush, add your first color starting from the sides and going towards the middle, and add the secondary shade of your first color towards the middle. Don’t think too much about the shape, and let the technique do the rest.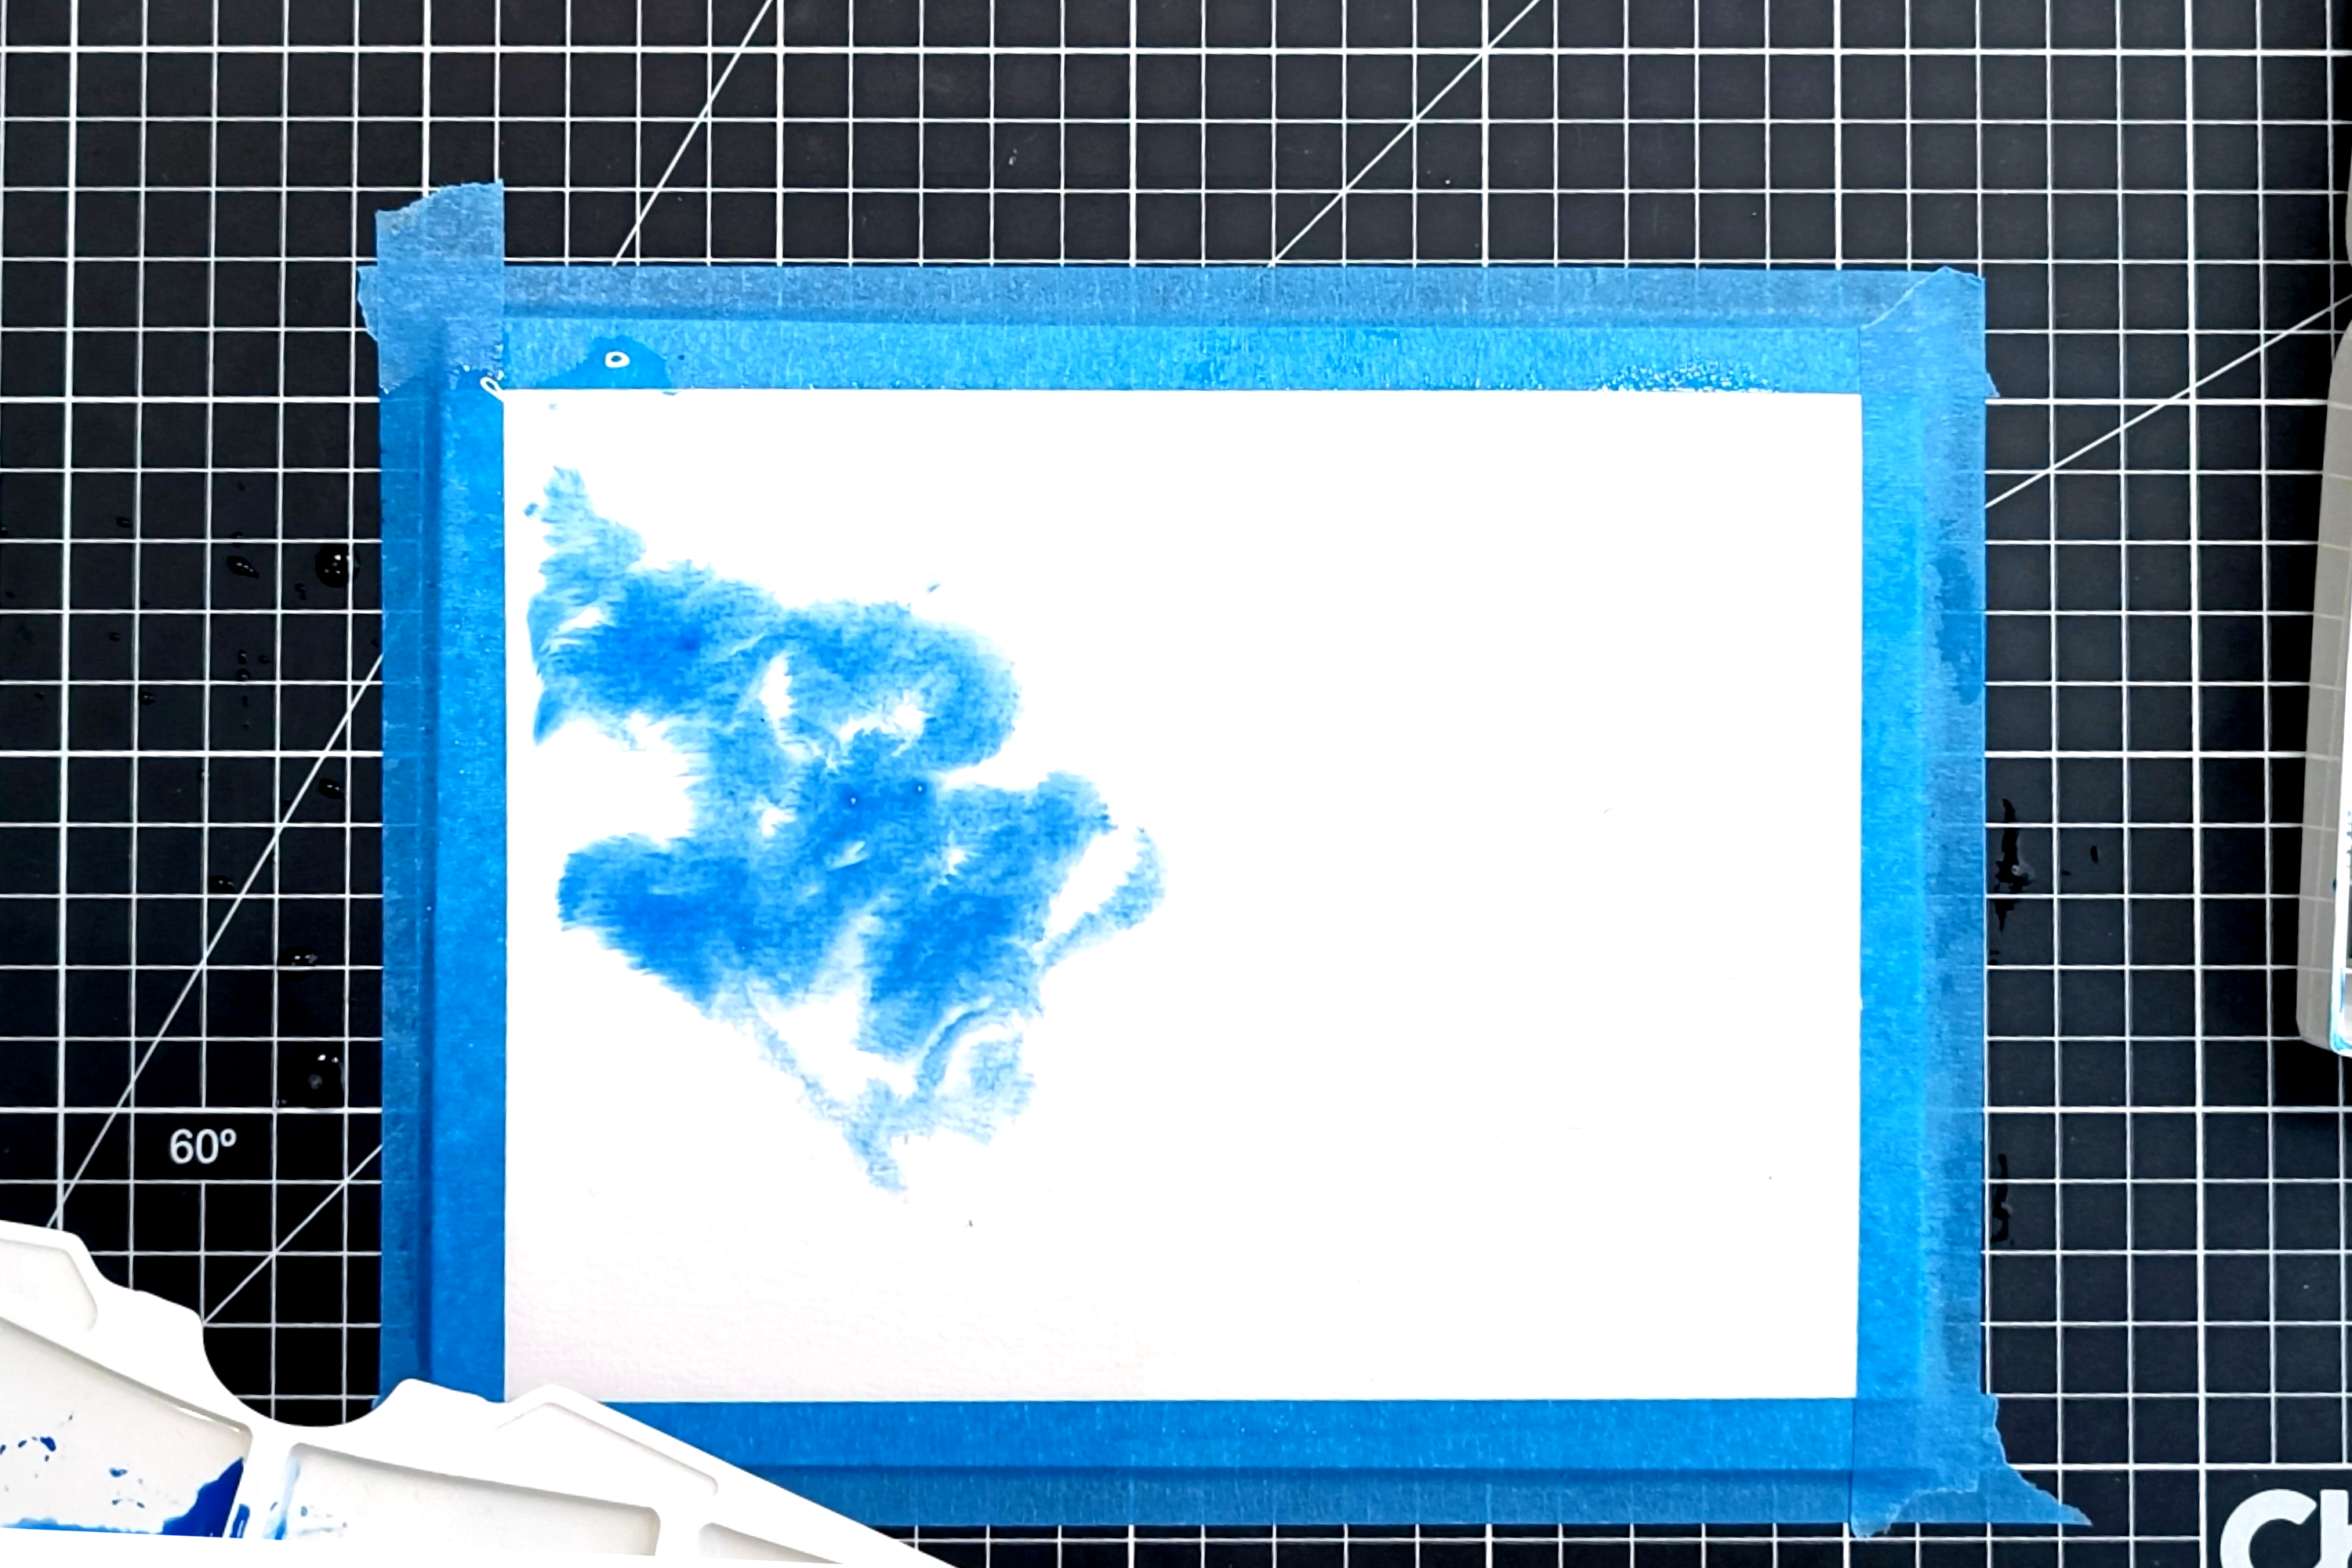
Step 4: Add your second color
Using a different brush, apply your second color toward the other end of the paper. You can use drops and soft movements with your brush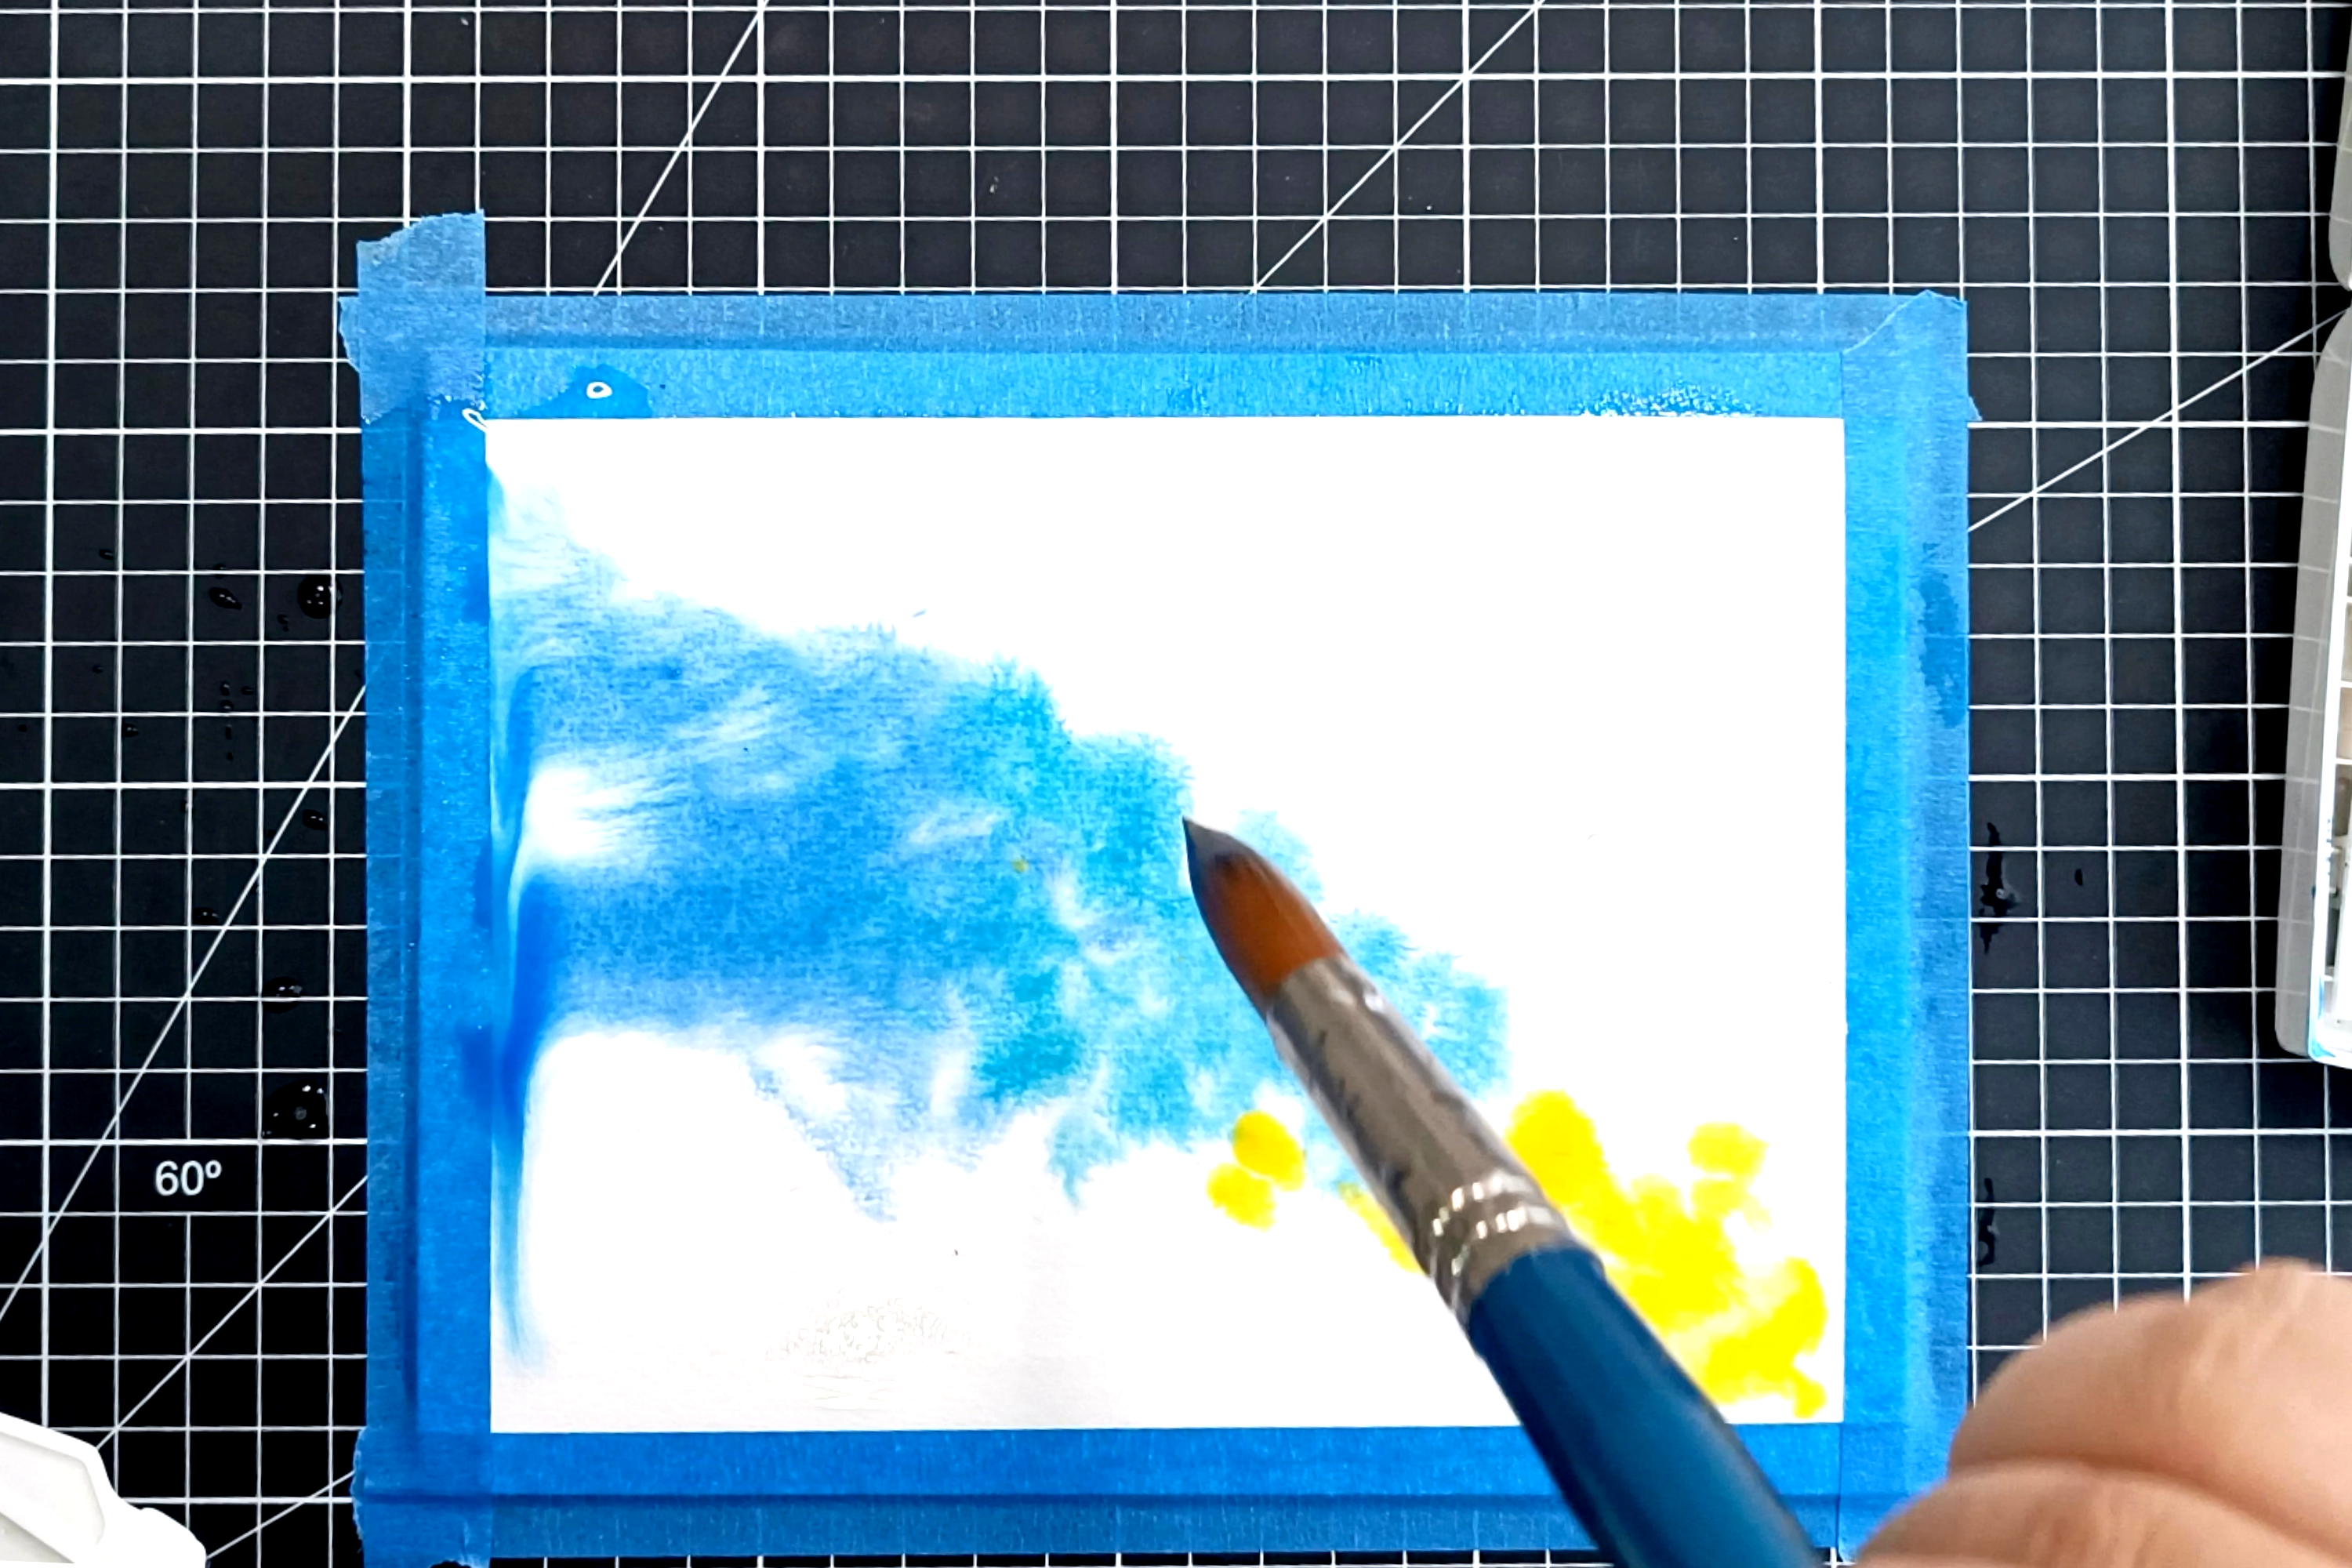
Step 5: Add your transition color
Now, add your transition color to the middle of the page, and try your best to blend it softly with the other two colors while the paper is still wet.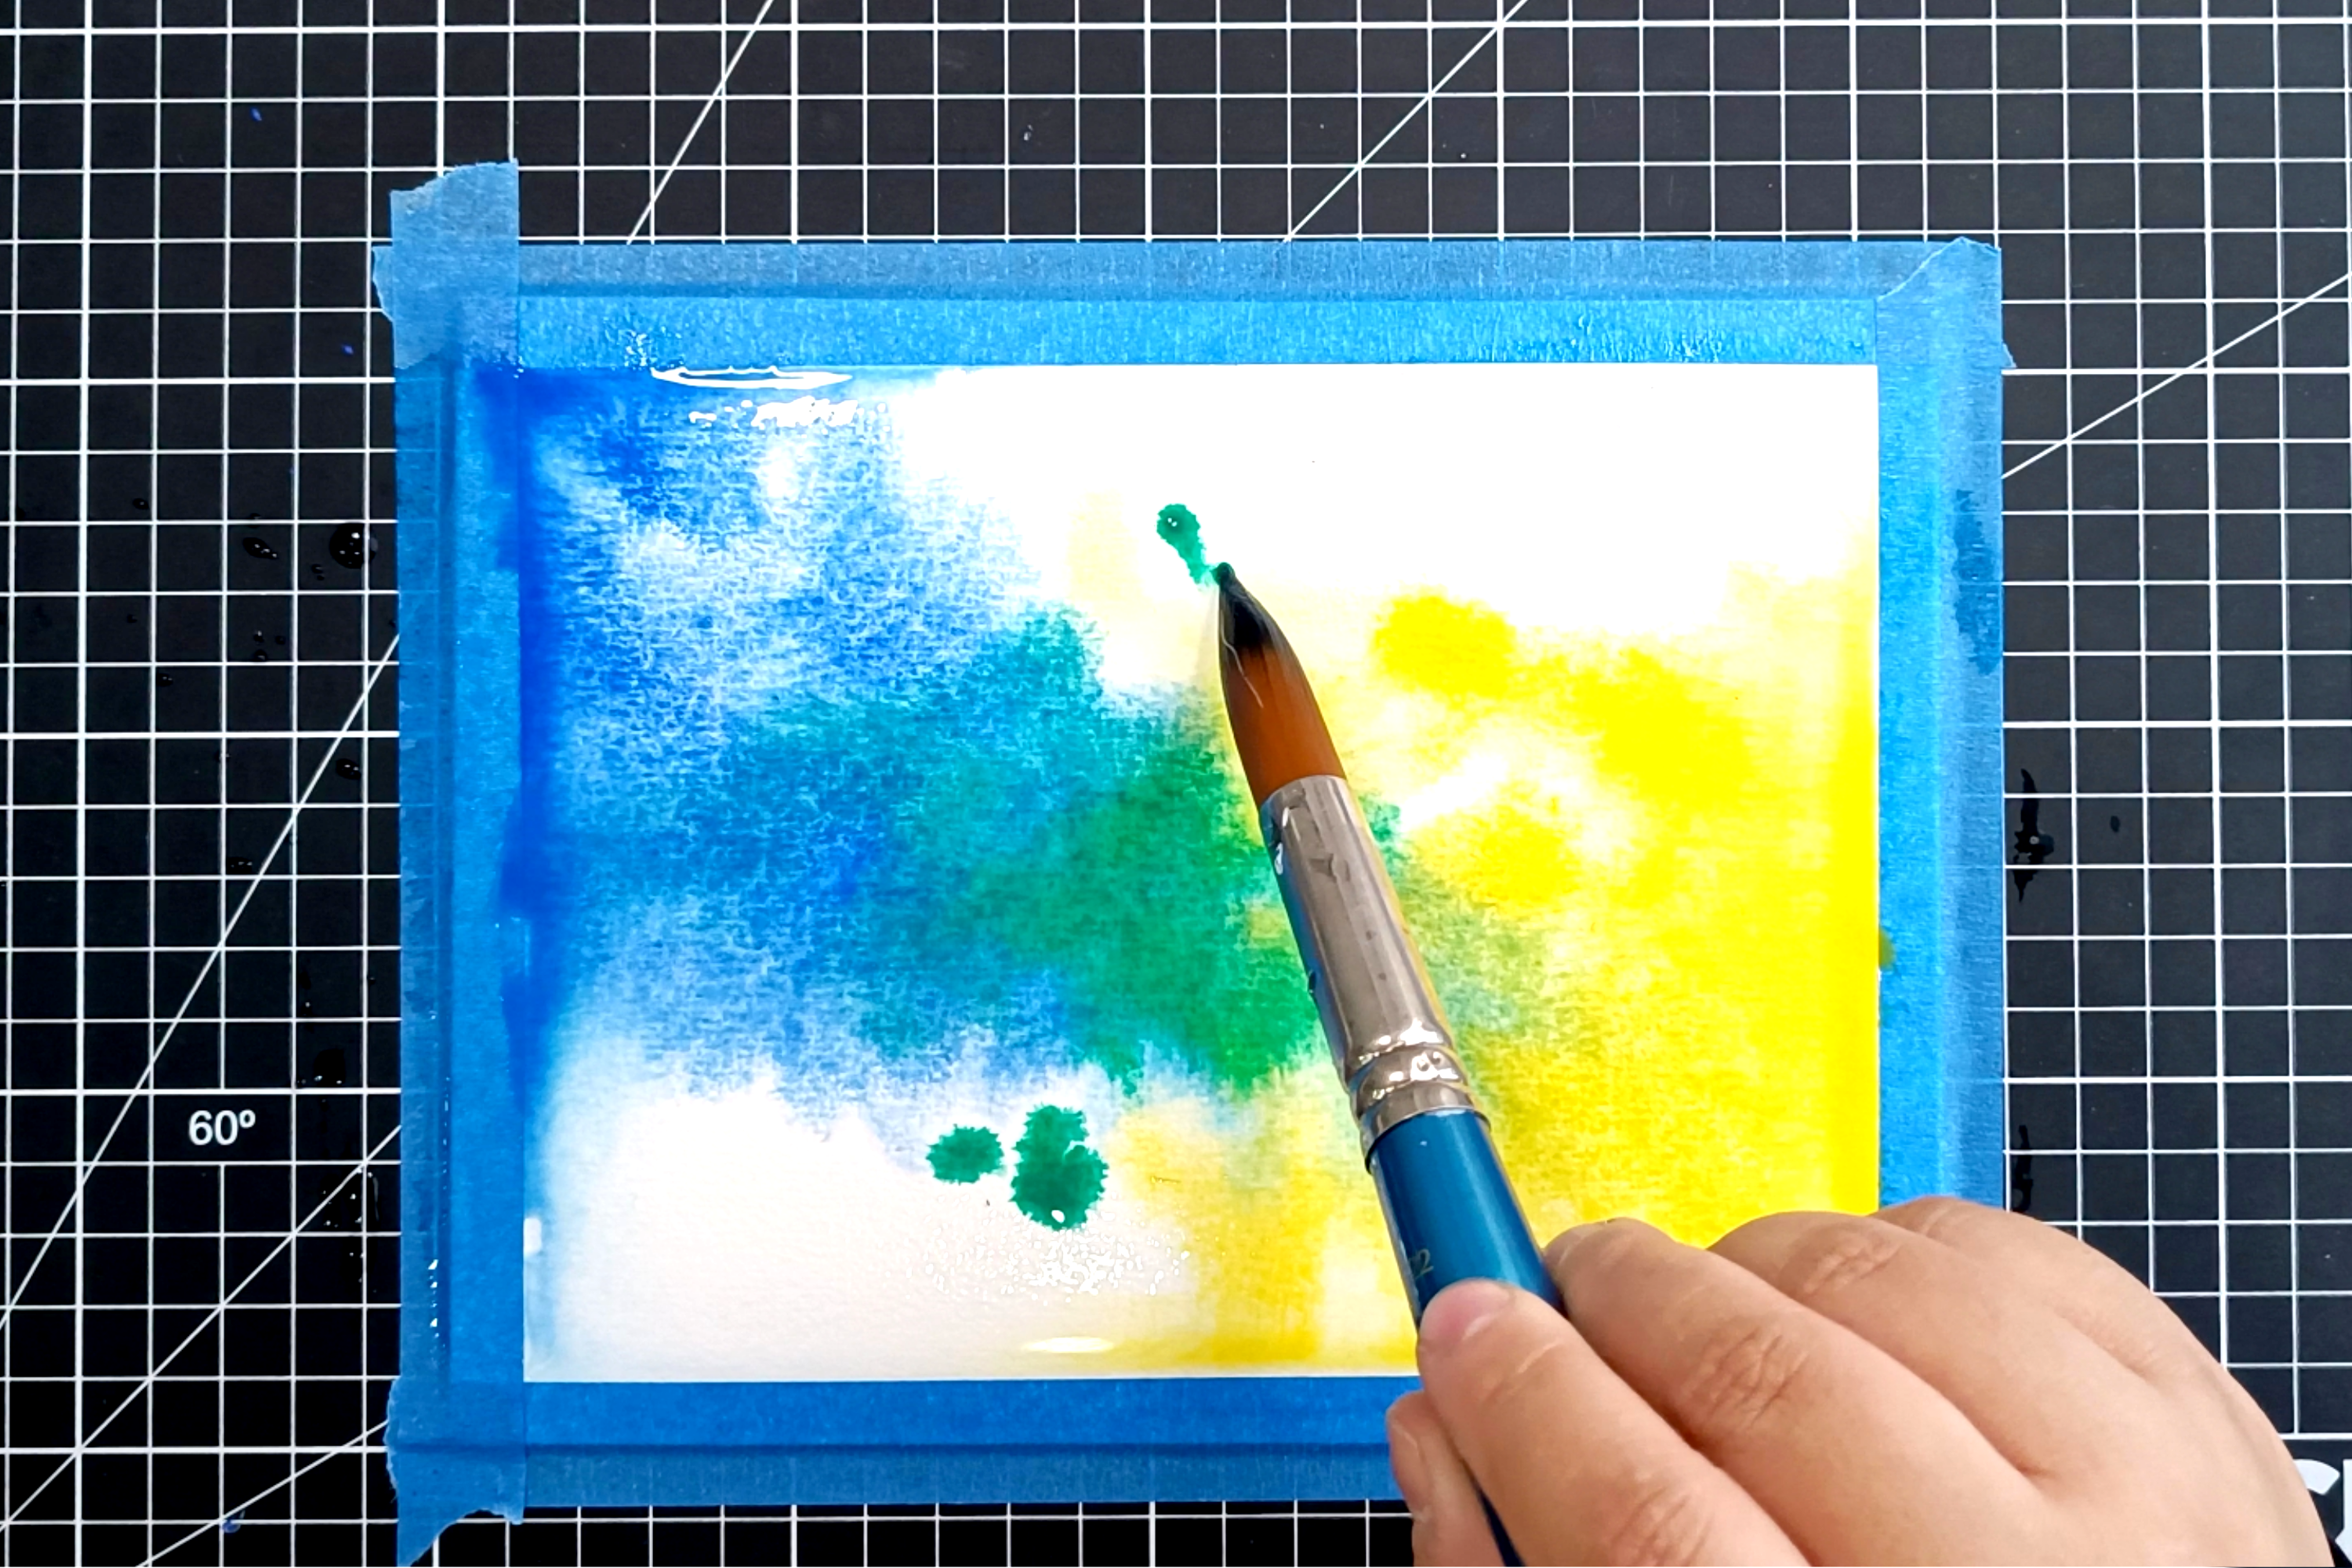
Step 6: Let it dry
This step might not seem too important, but it is actually crucial for this technique. You need to let your painting dry completely before adding more colors. For this step, let the paper absorb the water and pigments, and once it’s not as wet, you can use a blow dryer or a heat gun (very carefully) to finish the drying process. Check with the back of your hand, and don’t wet your paper again until it feels completely dry.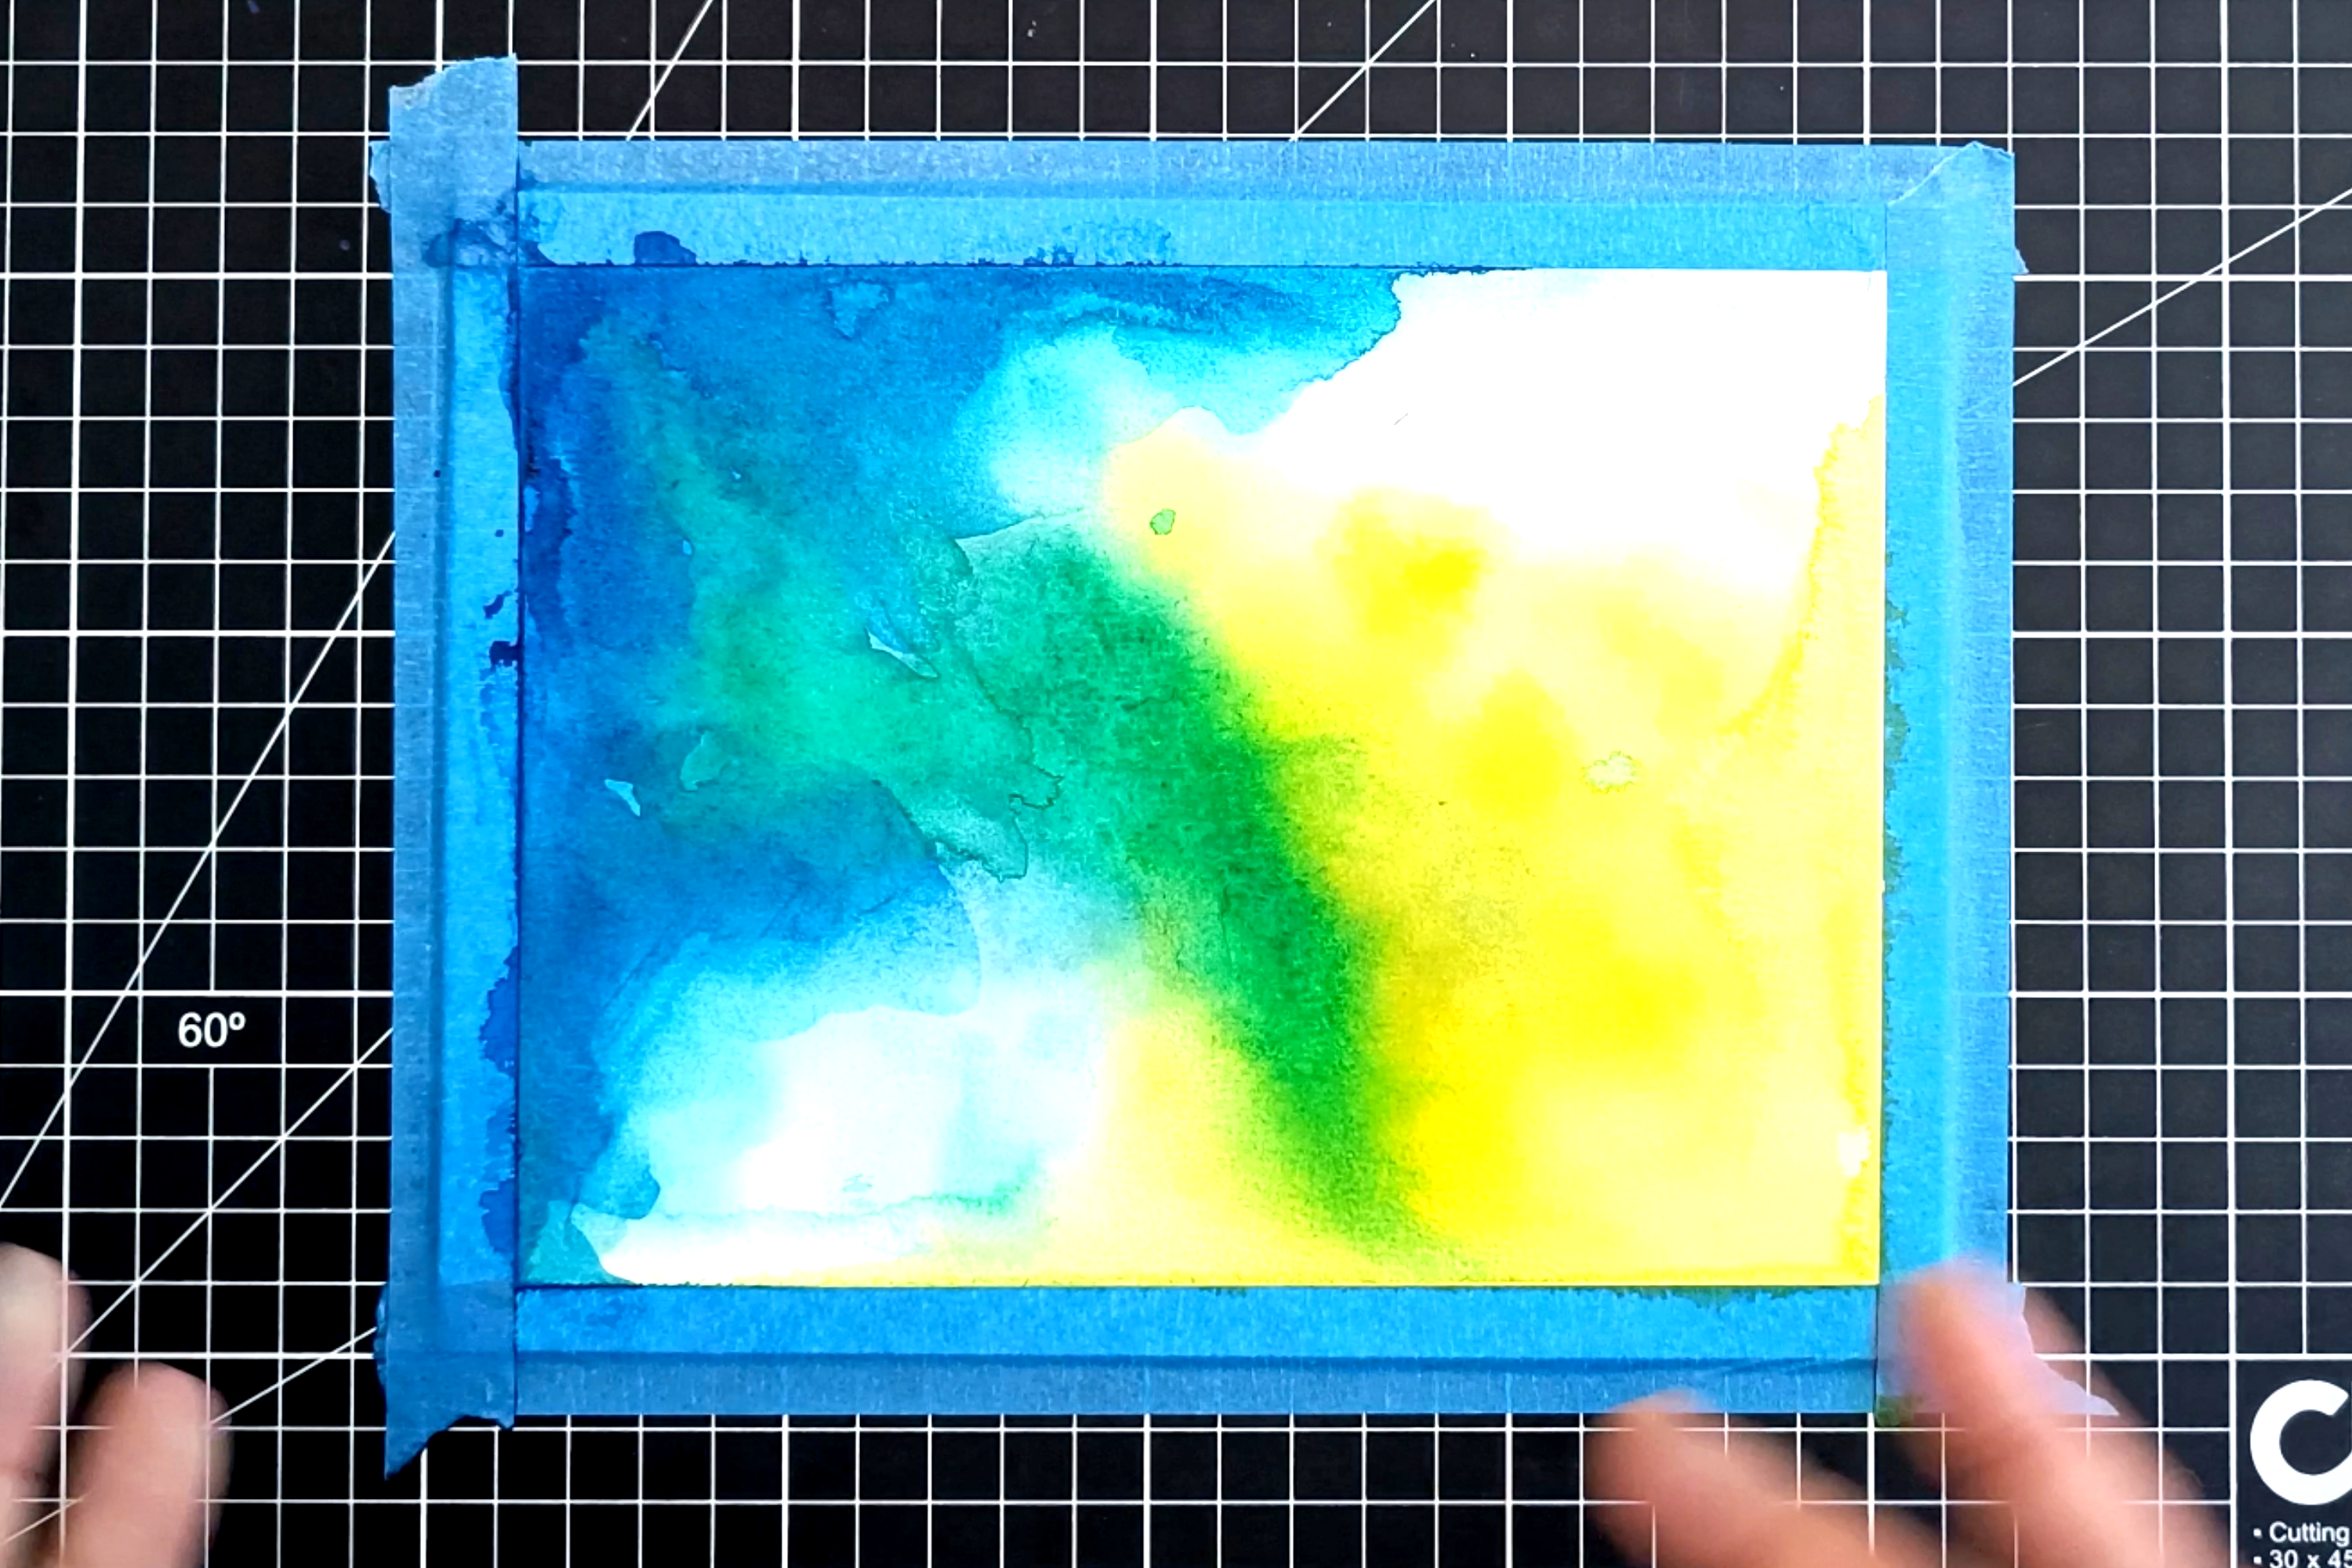
Step 7: Wet your paper again
Now, clean your flat brush thoroughly, and with soft movements, wet your paper again. If you notice that your brush drags some of the paint, try to apply the least amount of pressure possible.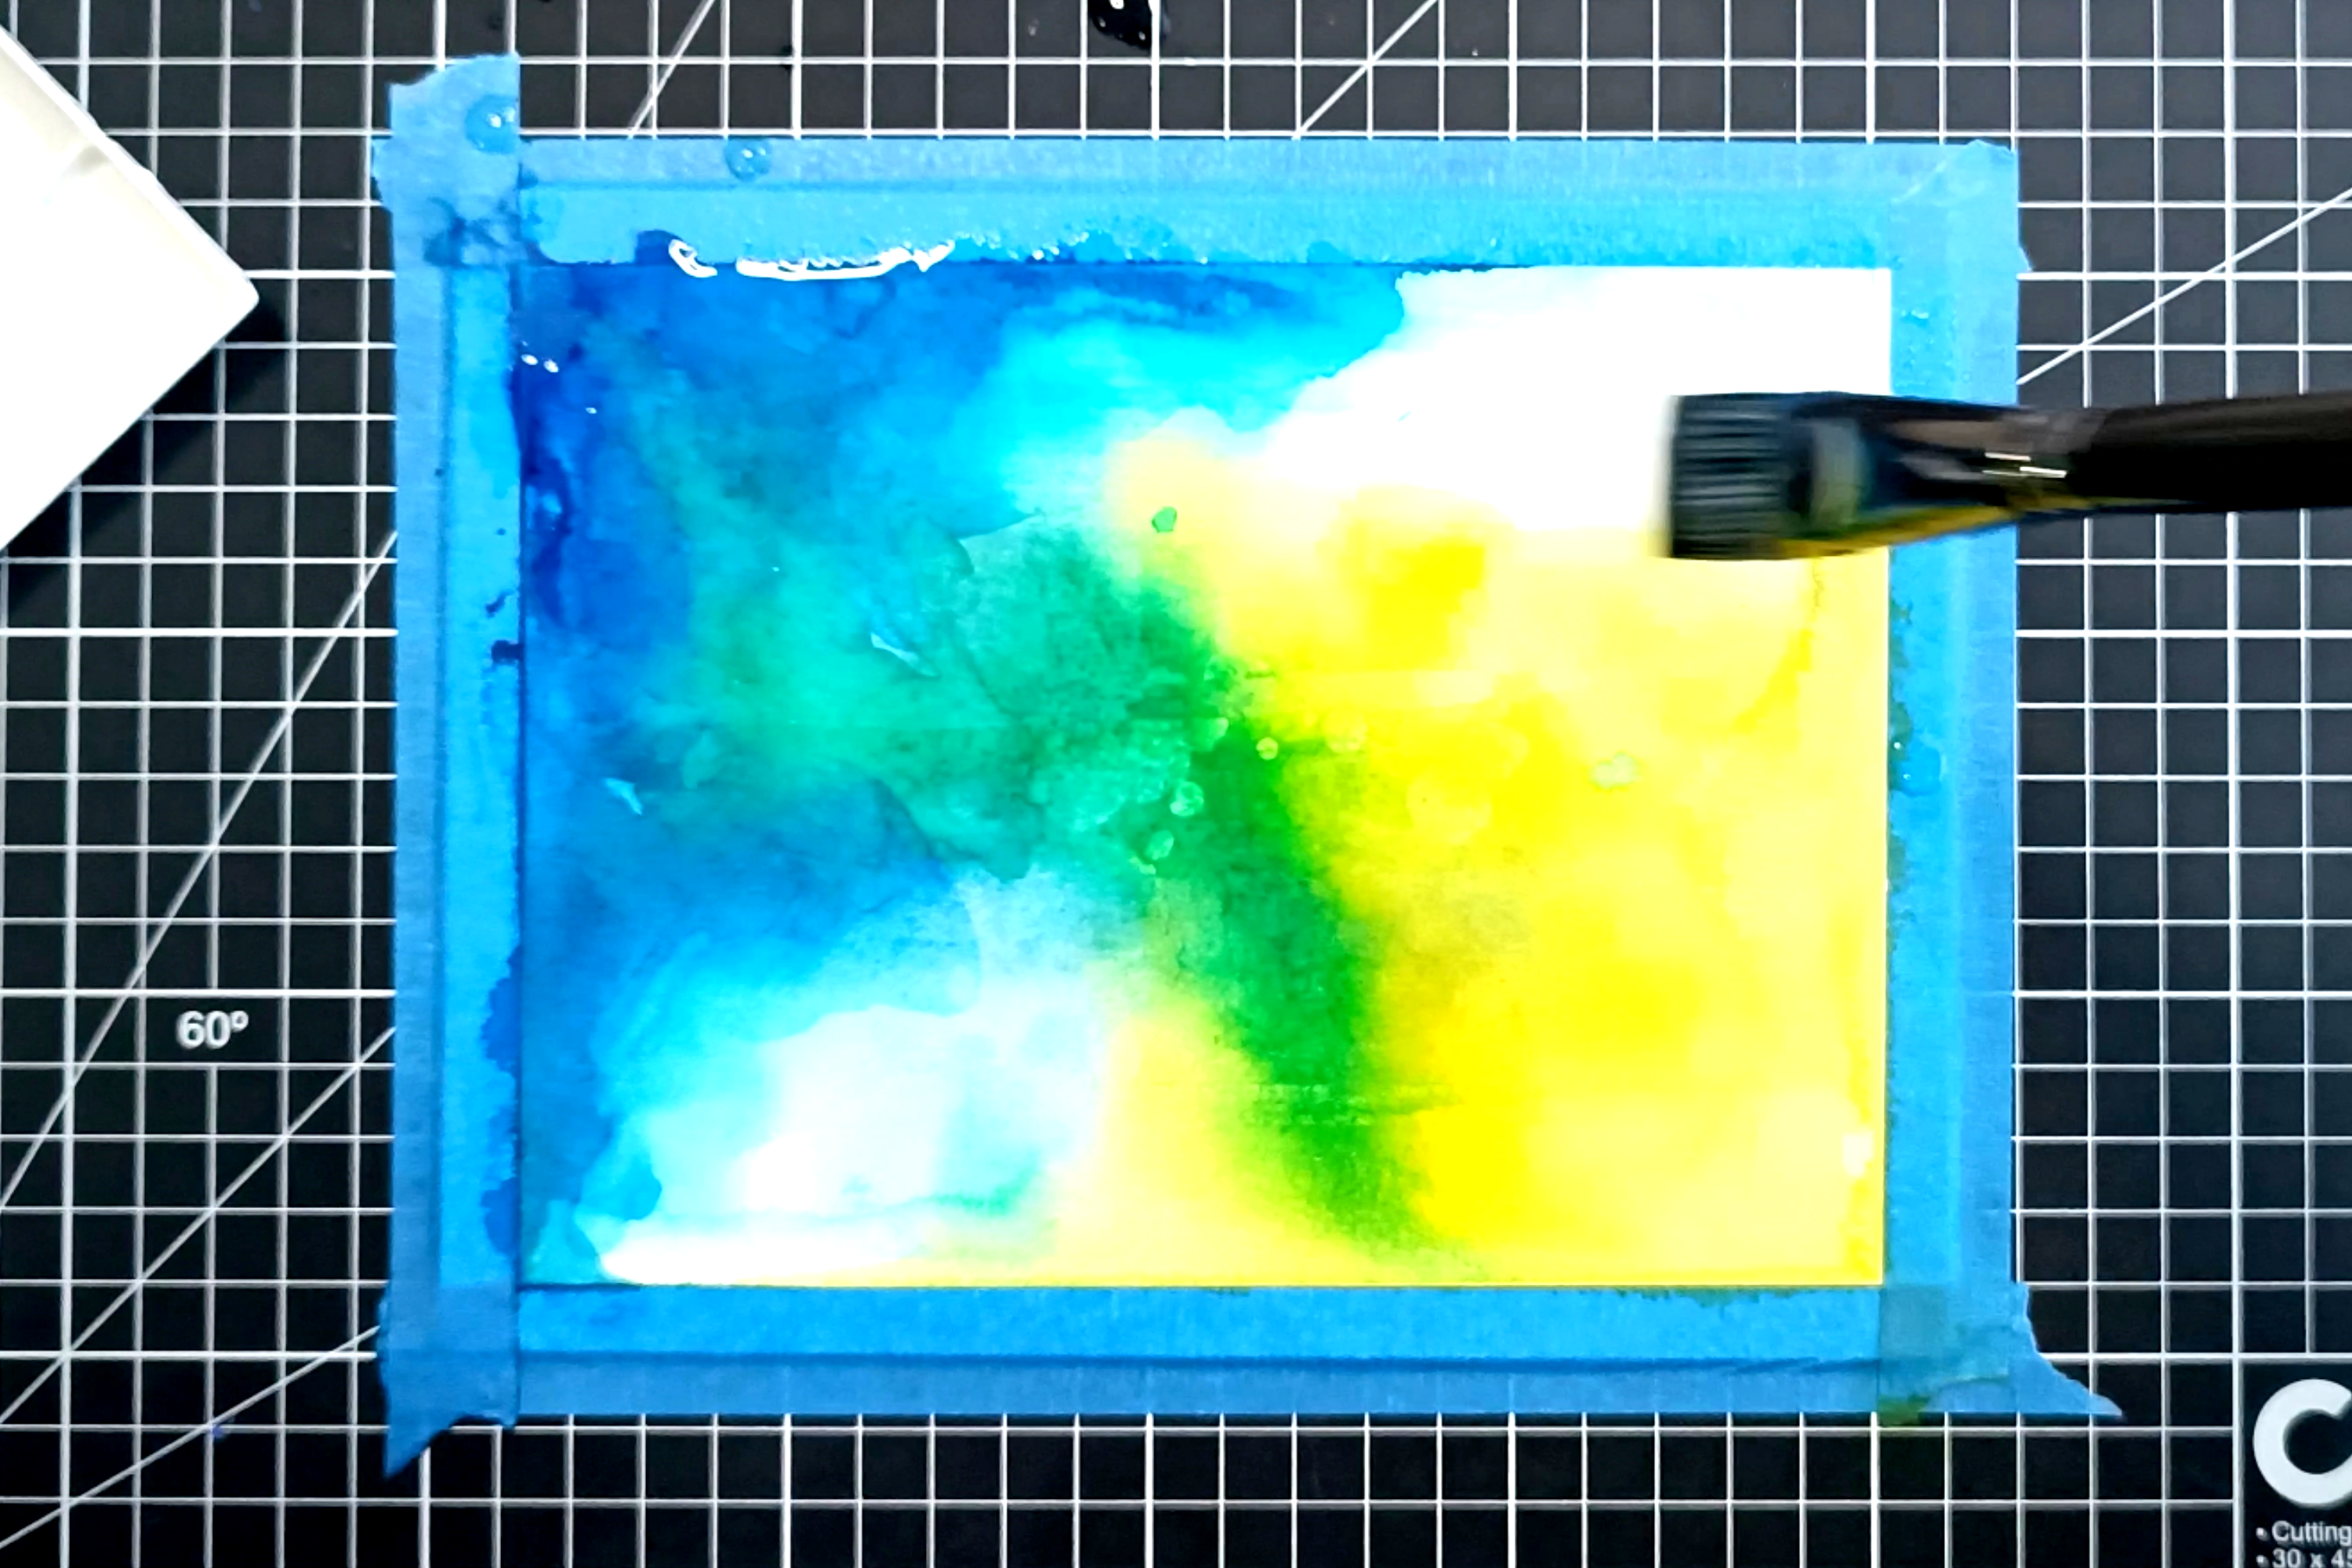
Step 8: Apply your darker colors
Make sure to prepare enough of your darker colors, and using a thick round brush, apply them starting from the borders of the paper towards the middle. Don’t worry if it covers your lighter colors but try to leave some of the middle section clean.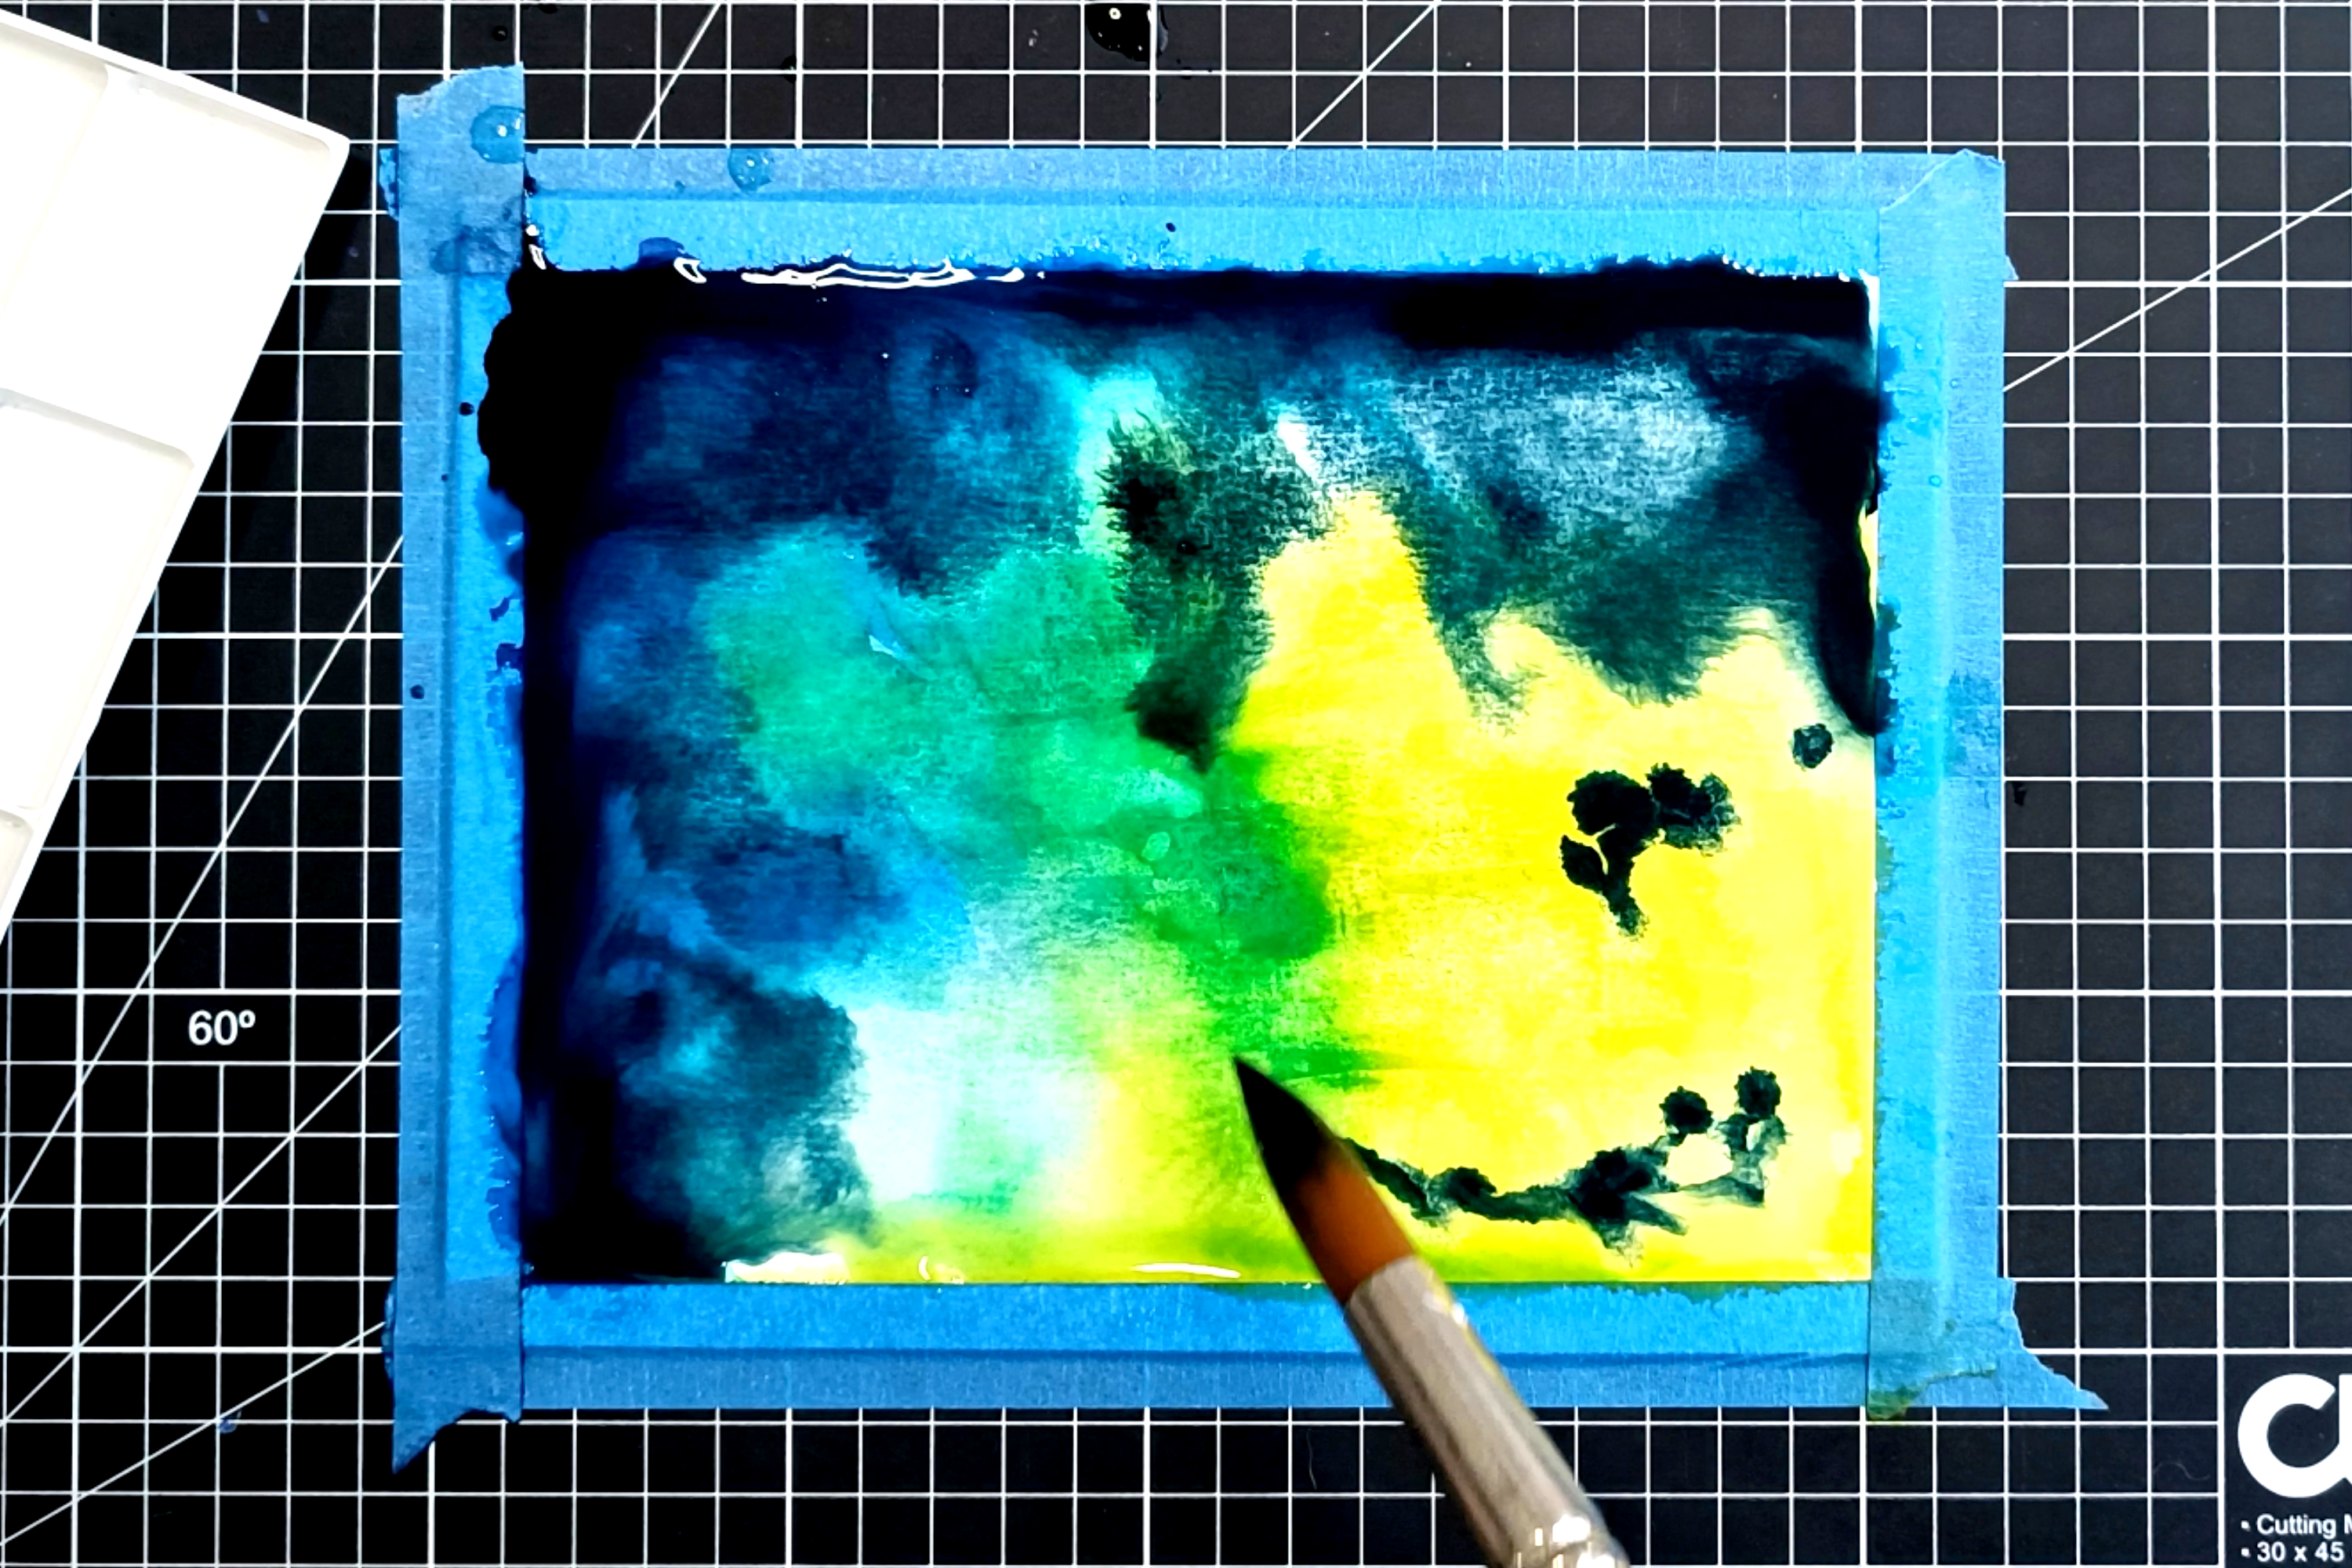
Step 9: Take some color away
For this step, we are going to use a clean rag or paper towel to take some of the dark colors away and let our light shades show. Since the paper is still wet, it will be easy to take the dark colors away.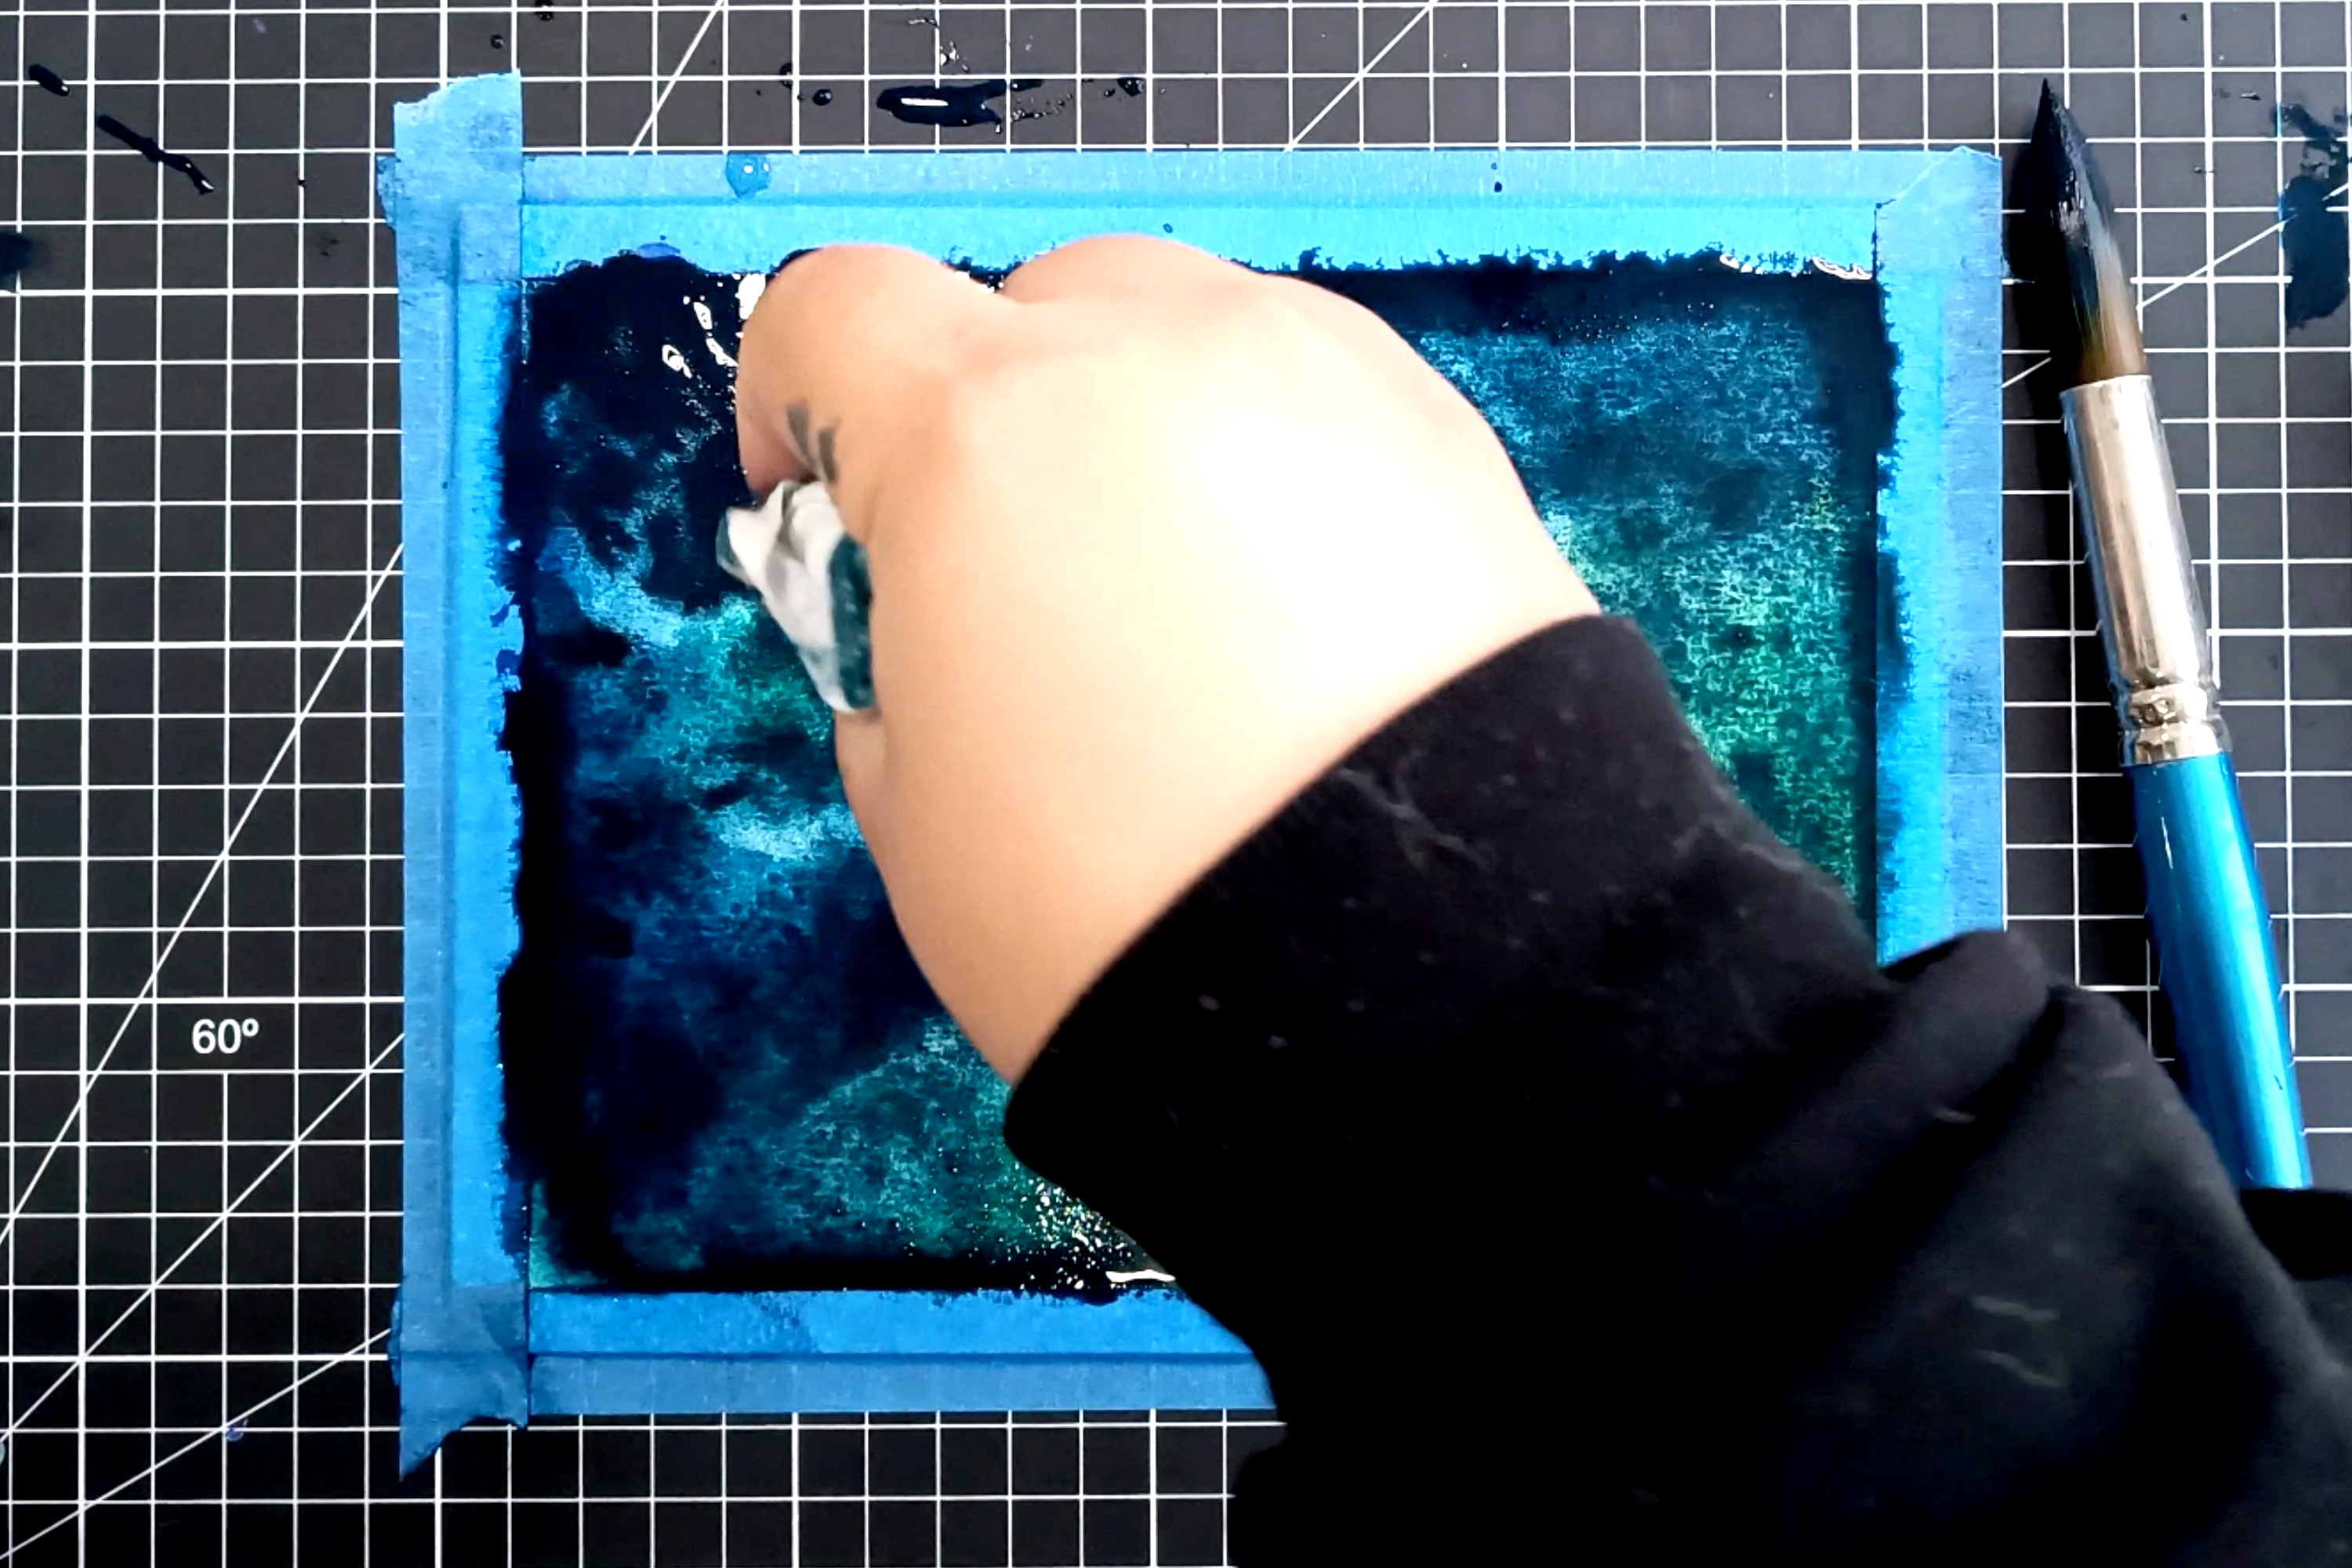
Step 10: Add contrast
Charge your brush with pigment, and with the tip, start adding contrast to your painting. Since the paper is still wet, let the color spread and repeat Step 9 in case it covers your lightest values.
Step 11: Let it dry
Once again, let your paper dry fully. You’ll notice the pigments in the borders might’ve lost some saturation, so using a sponge, take some pigment and start applying it to the borders.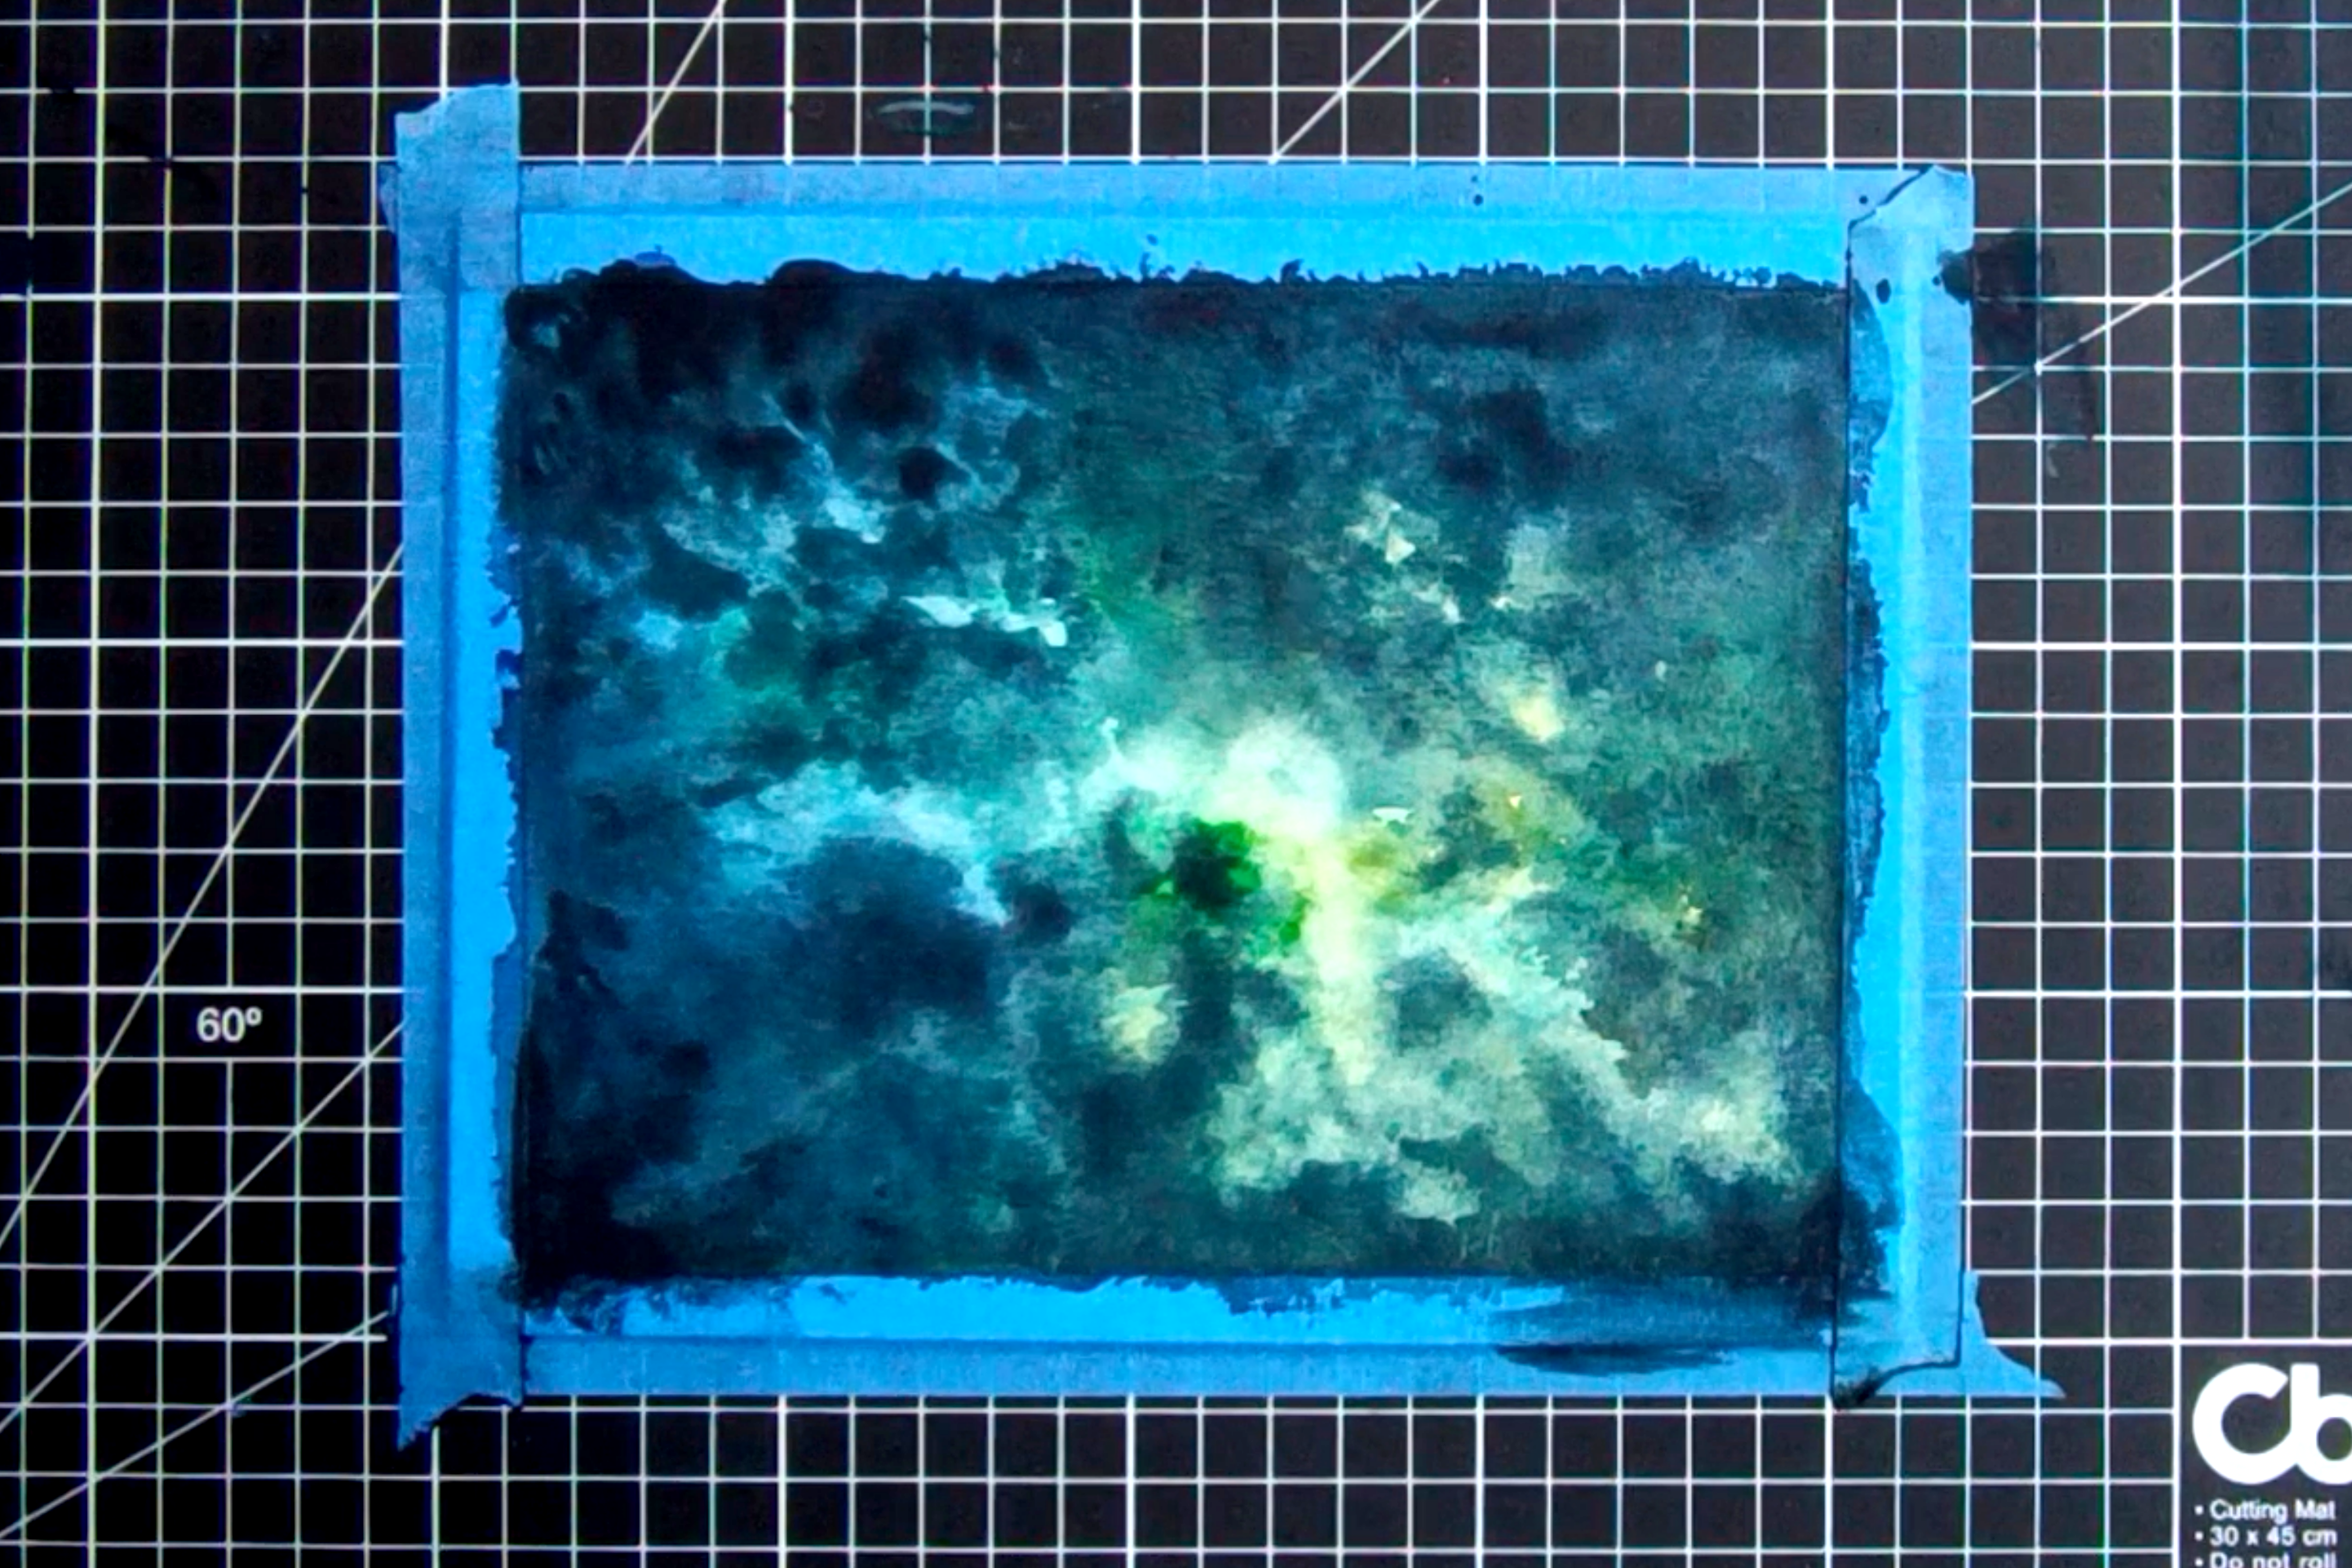
Step 12: Prepare your acrylic paint
Using your flat brush, your white paint, and a few drops of water, dilute your paint to a more flowy consistency, clean your brush, and using only the tip, spritz the paint on the paper. Practice a couple of times on other surfaces in order to get consistency and directions eight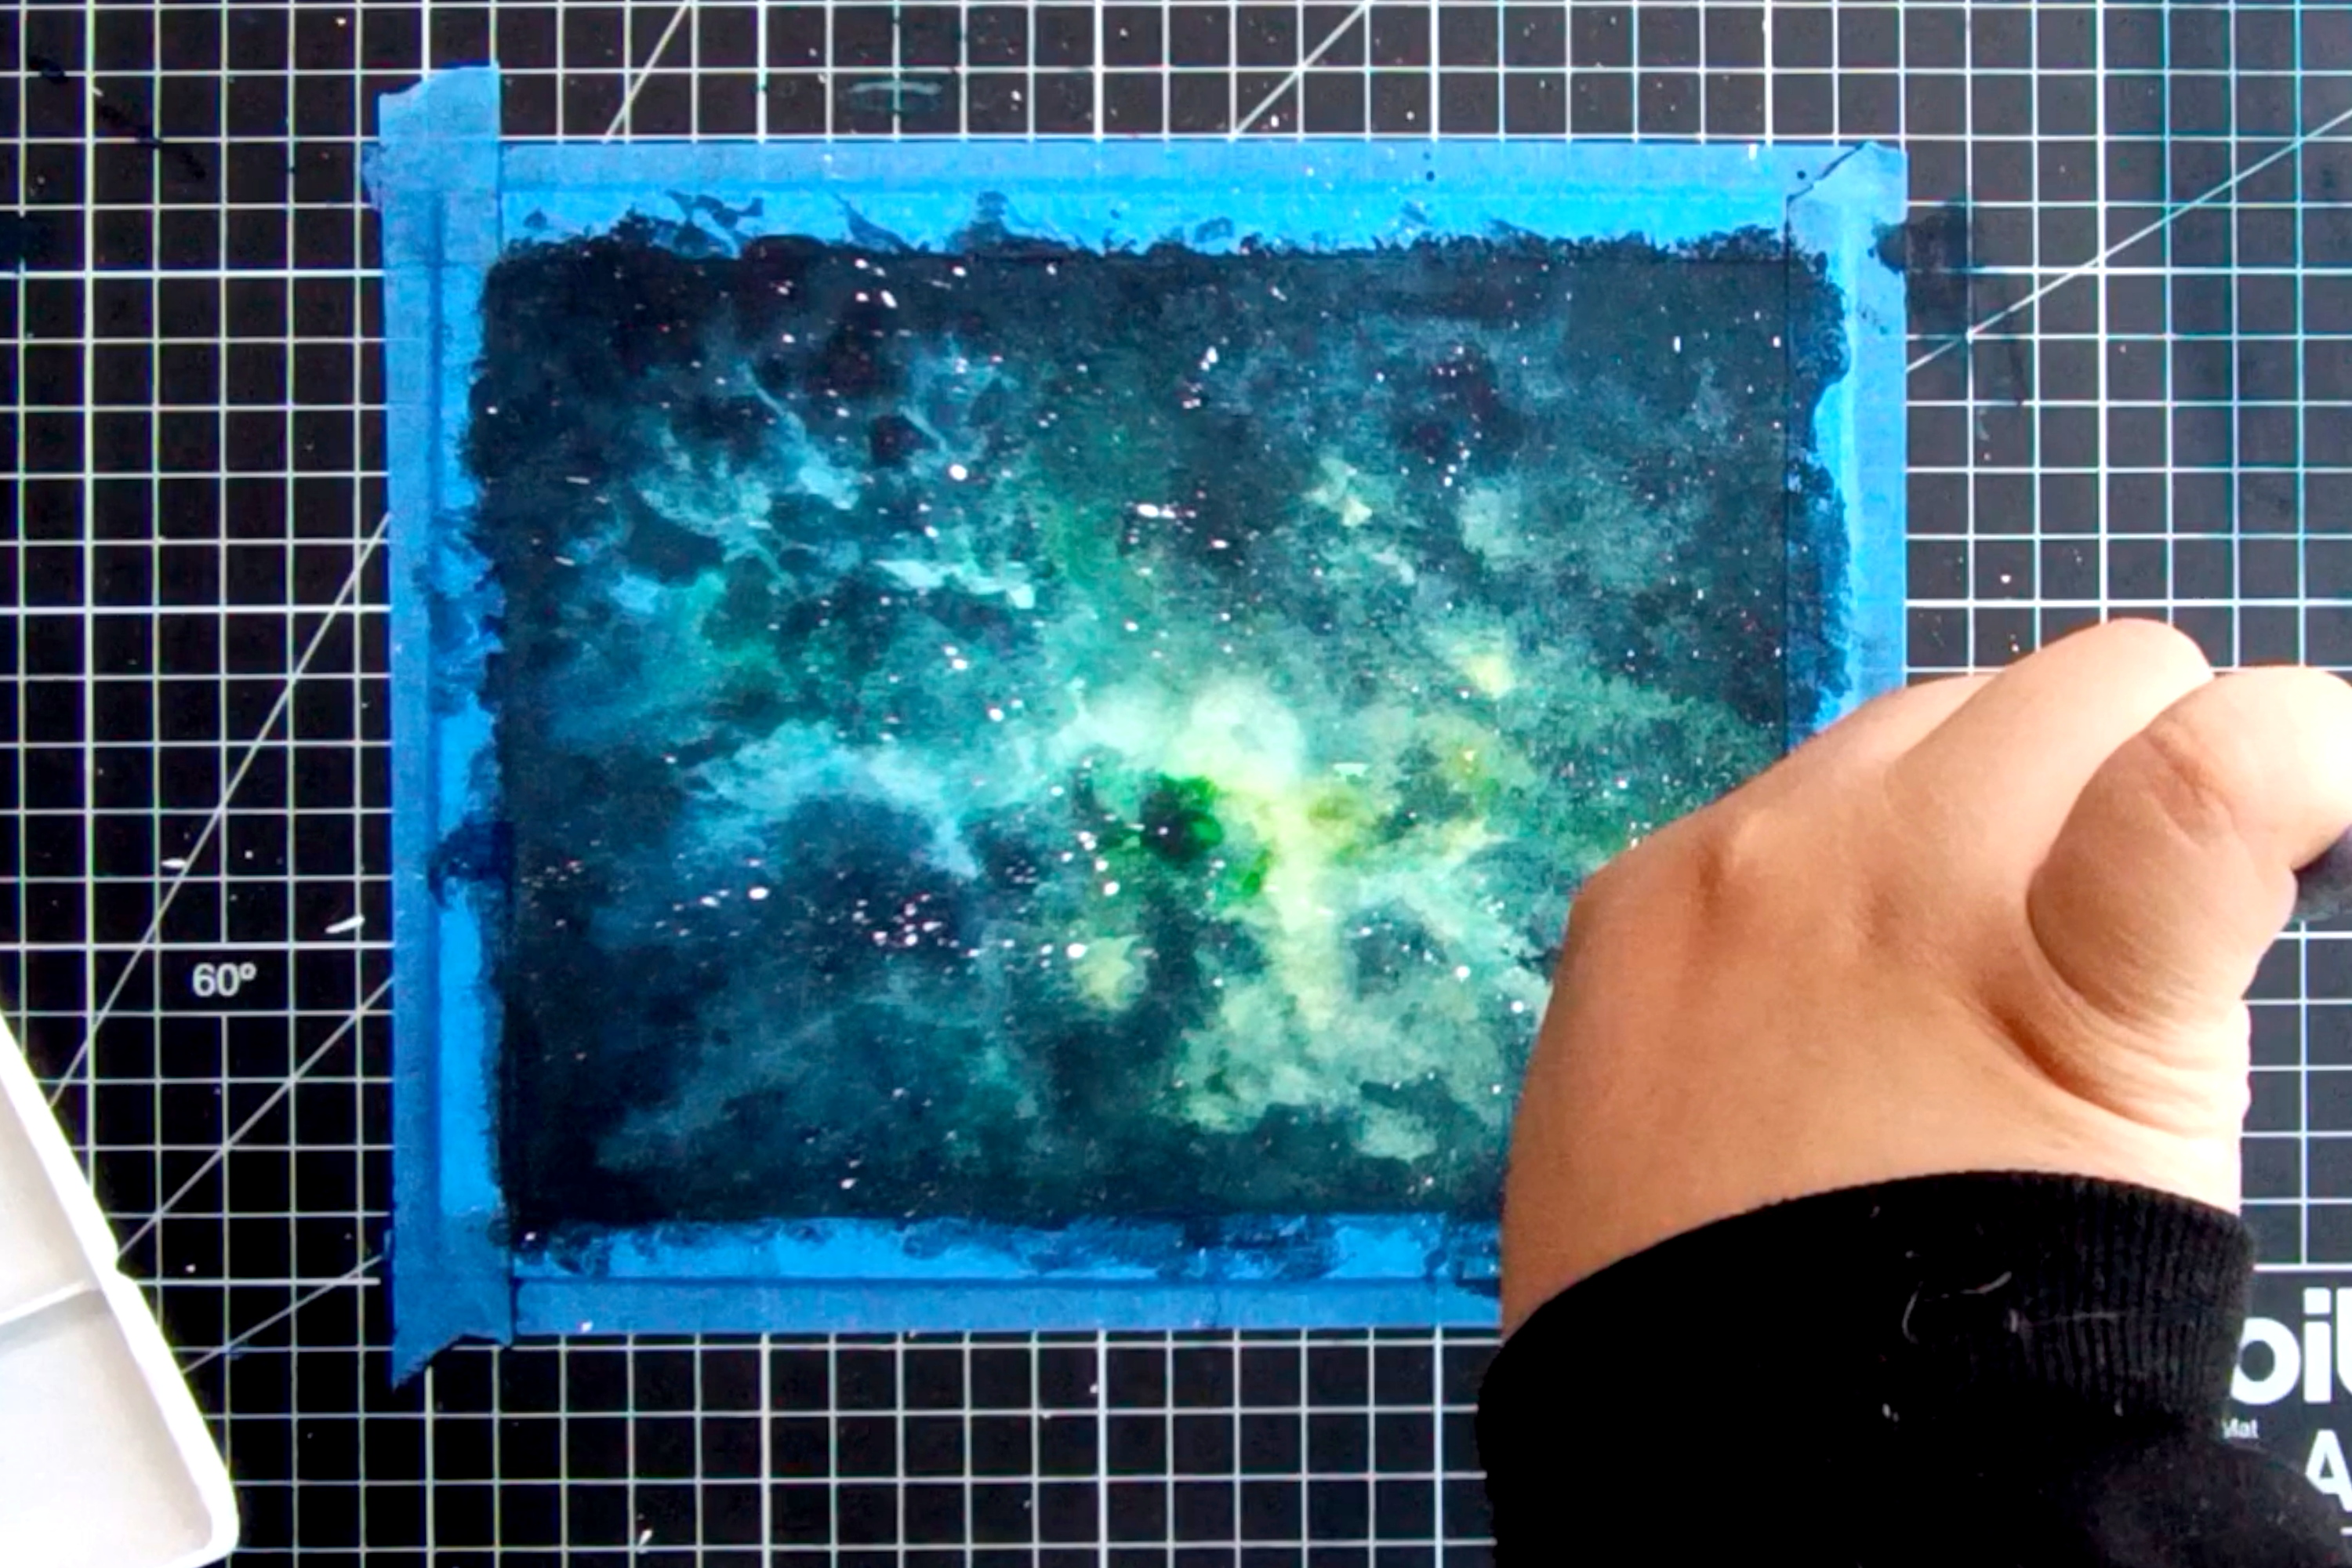
Step 13: Remove the tape
Carefully remove the tape from the borders of your painting. In case some paint has bled through the tape, paint these spots with white acrylic paint.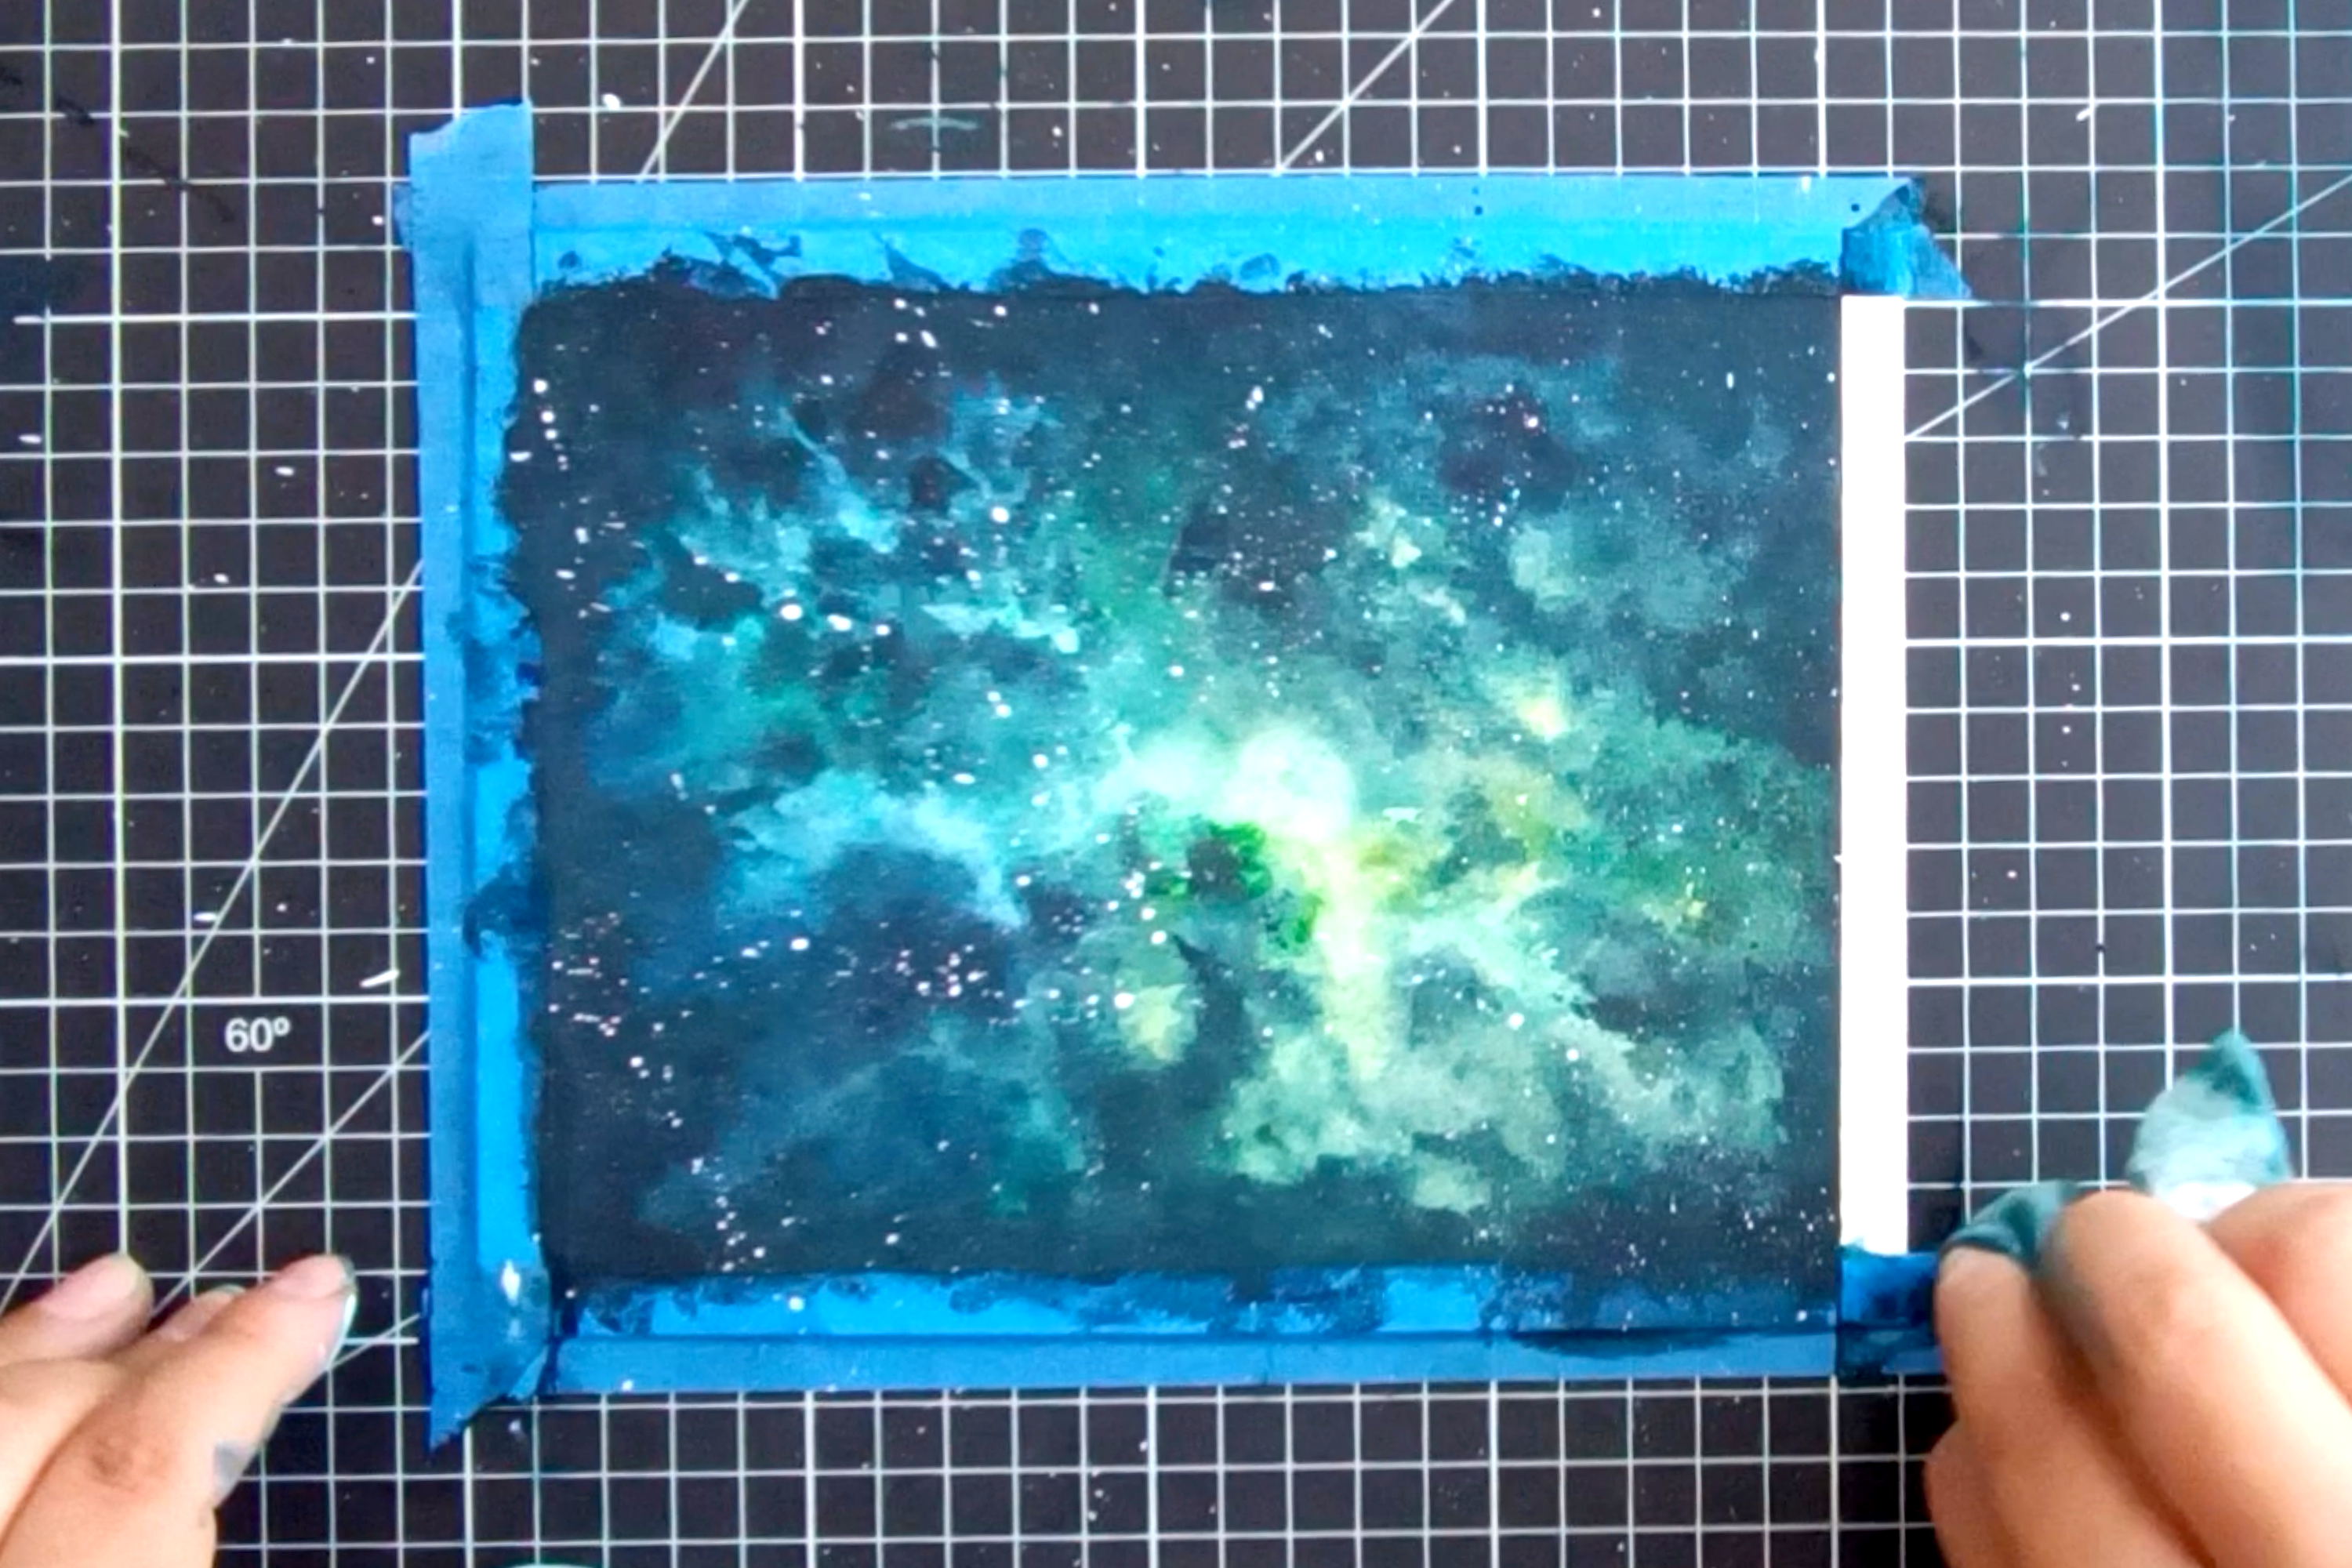
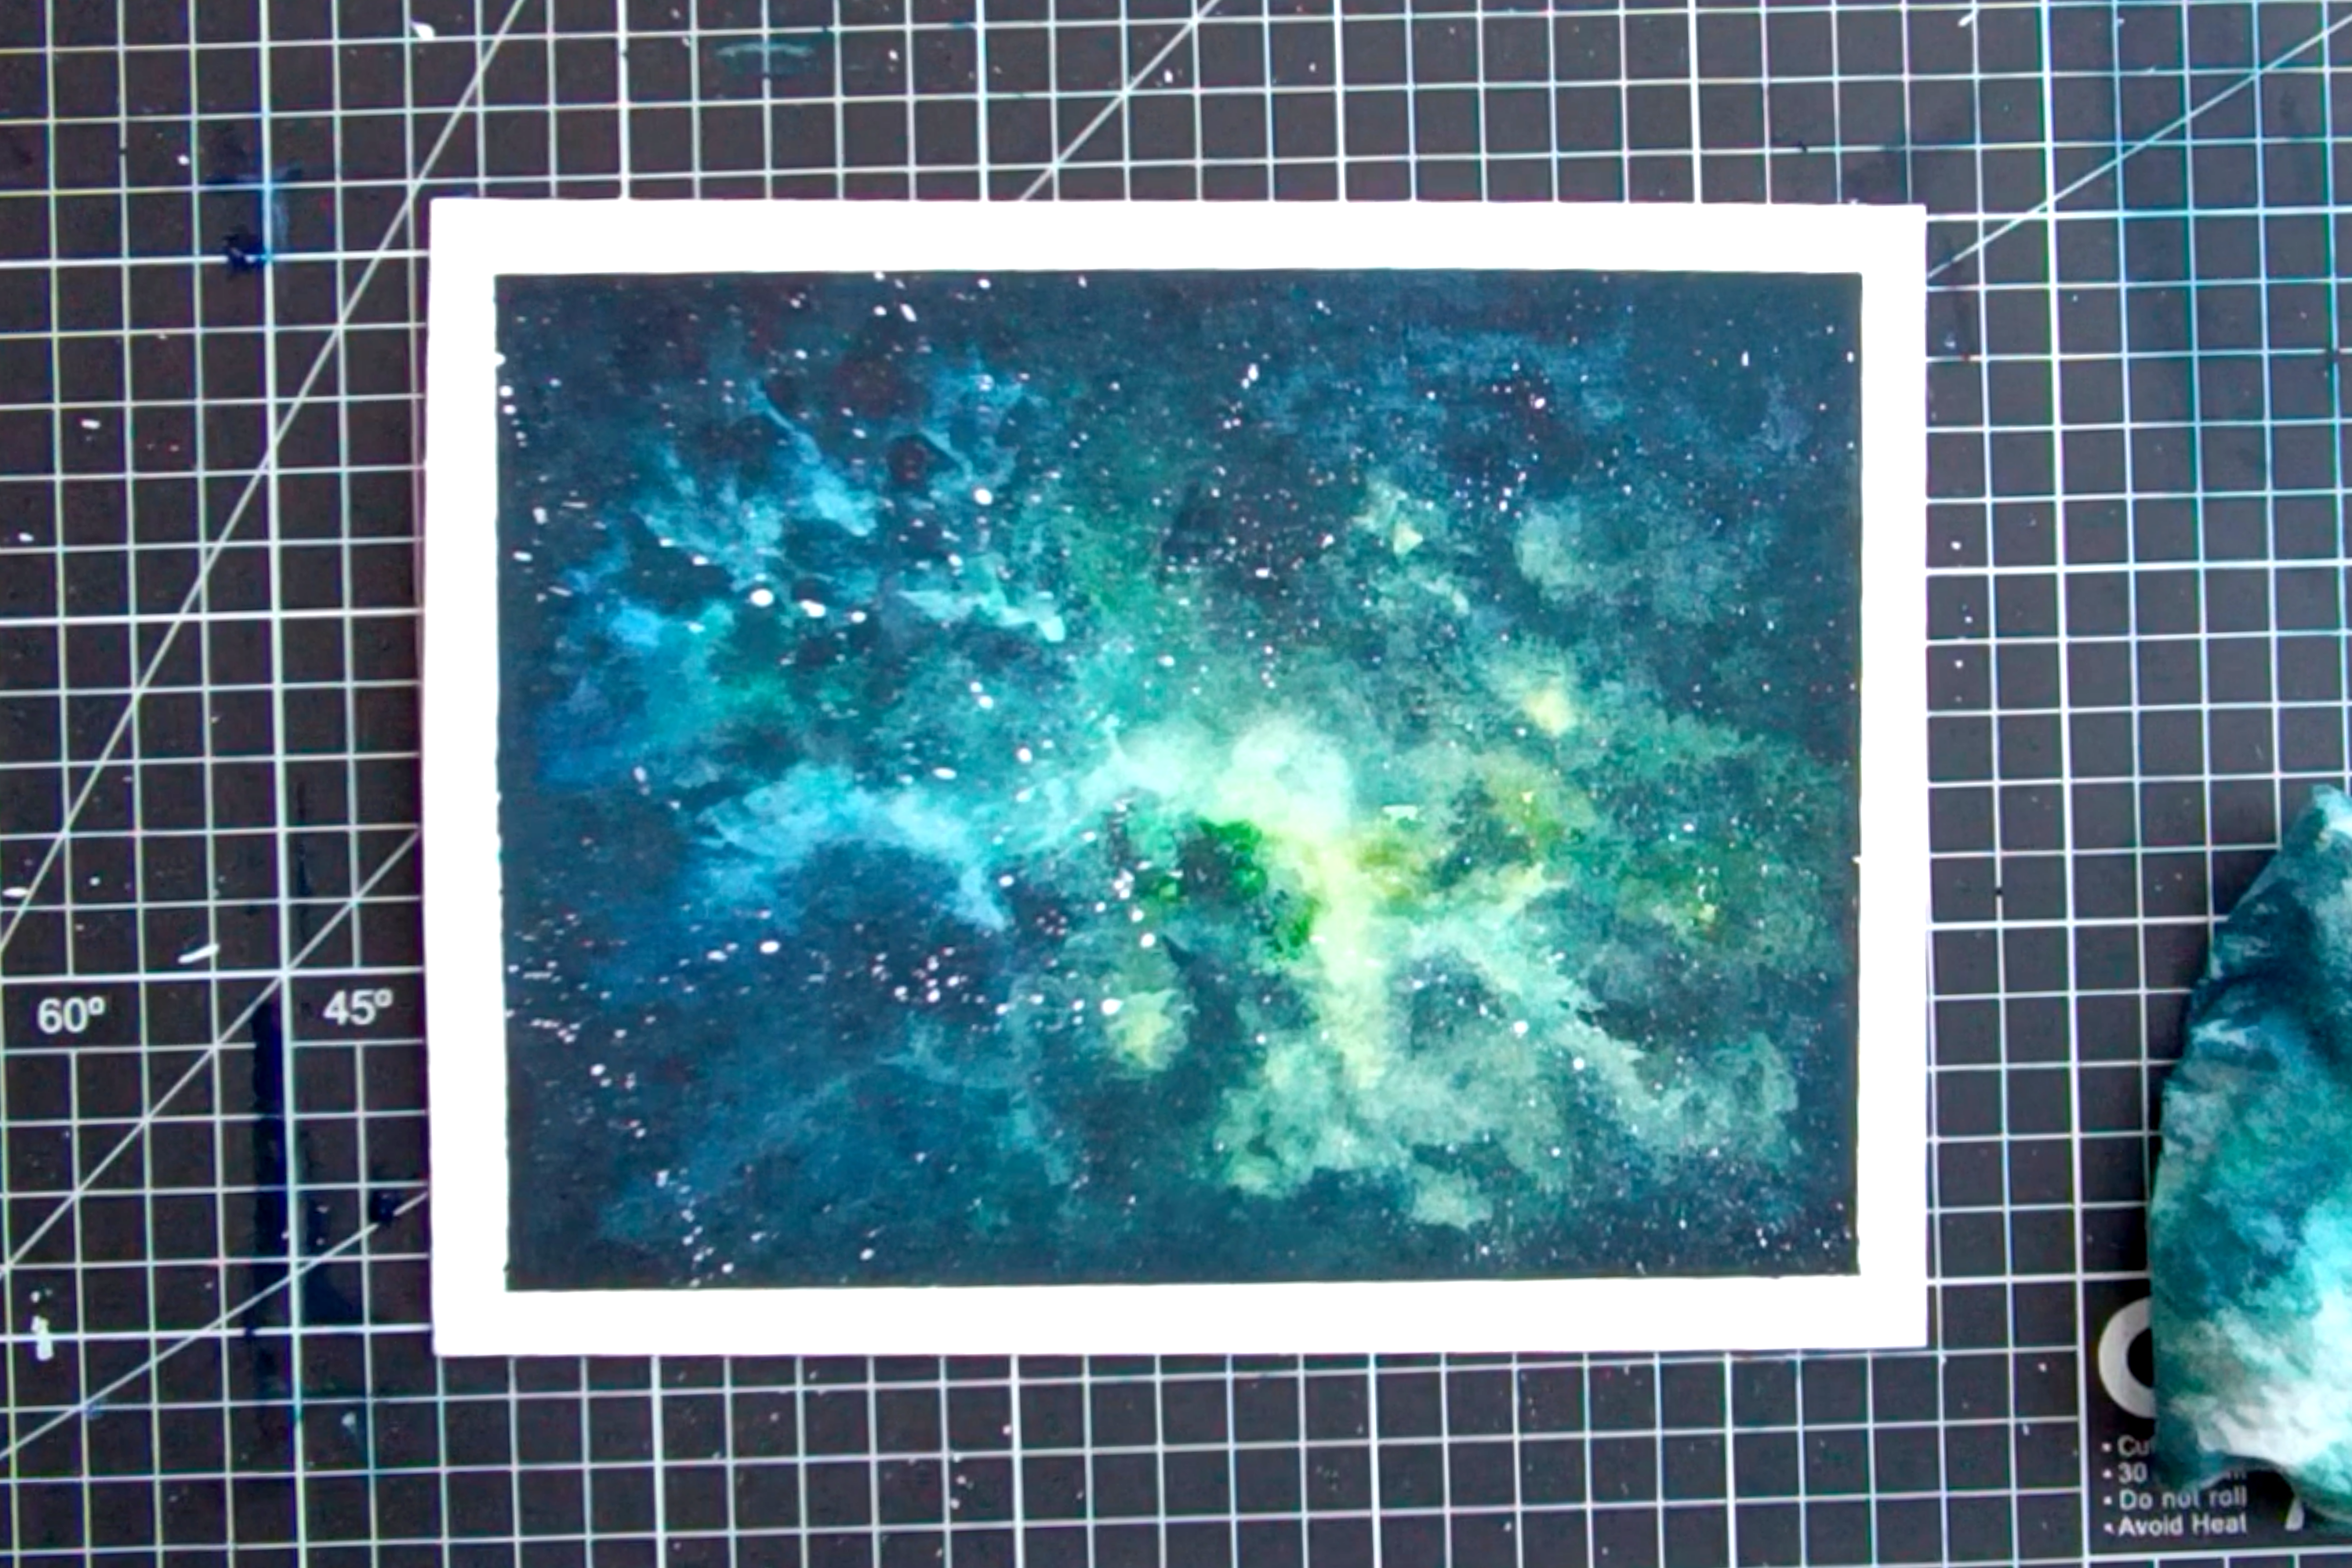
And that’s it. You’re done!
In conclusion, painting a watercolor galaxy is a fun and creative project that can bring out your inner artist. With a few simple supplies, such as watercolor paper, paint, and brushes, you can create a stunning and unique piece of artwork that captures the beauty of the cosmos. By following the steps in this article, you can create your own interpretation of a watercolor galaxy. You can use your own color combinations and make several space paintings while experimenting and gaining experience with the wet-on-wet technique.
Thank you for joining us on this adventure. Happy painting!